Painting koi fish with acrylic paint is a stunningly beautiful way to capture their unique grace and elegance. Whether you are an experienced artist or just starting, painting these majestic creatures can be both enjoyable and rewarding. In this article, I will provide step-by-step instructions on how to create your own beautiful koi fish paintings using acrylics.
Using the right tools and techniques, anyone can achieve amazing results! By following my simple tips, you'll soon be creating vibrant works of art that perfectly capture the natural beauty of these mesmerizing creatures. And best of all - it's easy once you know what to do! So let's get started...
This guide will take you through everything from which paints to use, preparation tips for getting the most out of your canvas, plus plenty more helpful hints along the way. With a little practice and patience, you’ll be producing breathtaking images in no time at all – so grab those brushes, and let’s dive into some serious koi-painting fun!
Gather Materials And Tools
What a coincidence! I was just wondering how to paint koi fish with acrylics when I came across this article. So, let's dive in and learn what the steps are for making an amazing painting of these beautiful creatures.
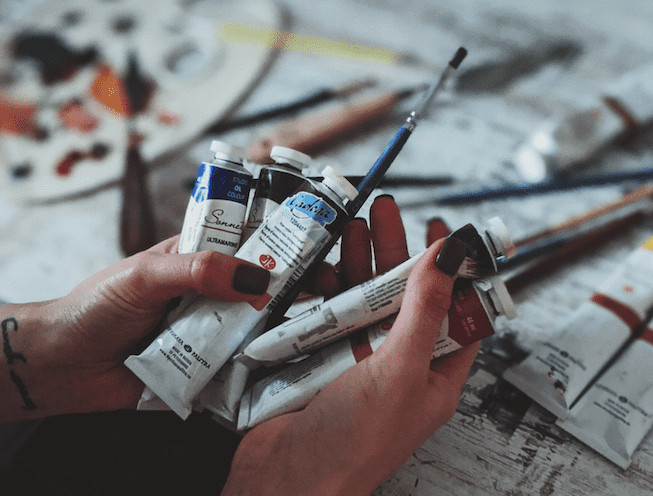
First, we need to gather all our materials and tools for the task ahead. This includes things like paints (acrylic is best), brushes, palettes, rags or paper towels, water containers, and a canvas board. If you don't have some of these items already then check out your local art supplies store for good deals on quality products.
Once you've got everything ready it's time to prepare the canvas by lightly sanding it down so that the surface is smooth and even. It's important to use light pressure while doing this so as not to damage the board too much. Once done be sure to wipe away any dust particles with a damp cloth before moving on to the next step...
Prepare The Canvas
I'm getting ready to start painting my koi fish. First, I have to prepare the canvas for painting. To do this, I need some basic materials like a stretched canvas or primed board and an easel if desired. Then it's time to get creative!
Using masking tape -or painter's tape- I can outline the shape of my koi fish on the surface. This will act as an initial guide when starting with my acrylic paints.
The trick is not to make any sharp edges while doing so; they should be curved to create a more realistic effect later on.
Once that part is done, I'll lightly sketch over the taped outlines with a pencil just to give me something extra to work off of before adding color. It doesn't have to look perfect since it won't be visible once finished anyway! With all these components in place, I'm now ready to move on to mixing up some acrylic paint colors and begin creating my masterpiece.
Mix Acrylic Paint
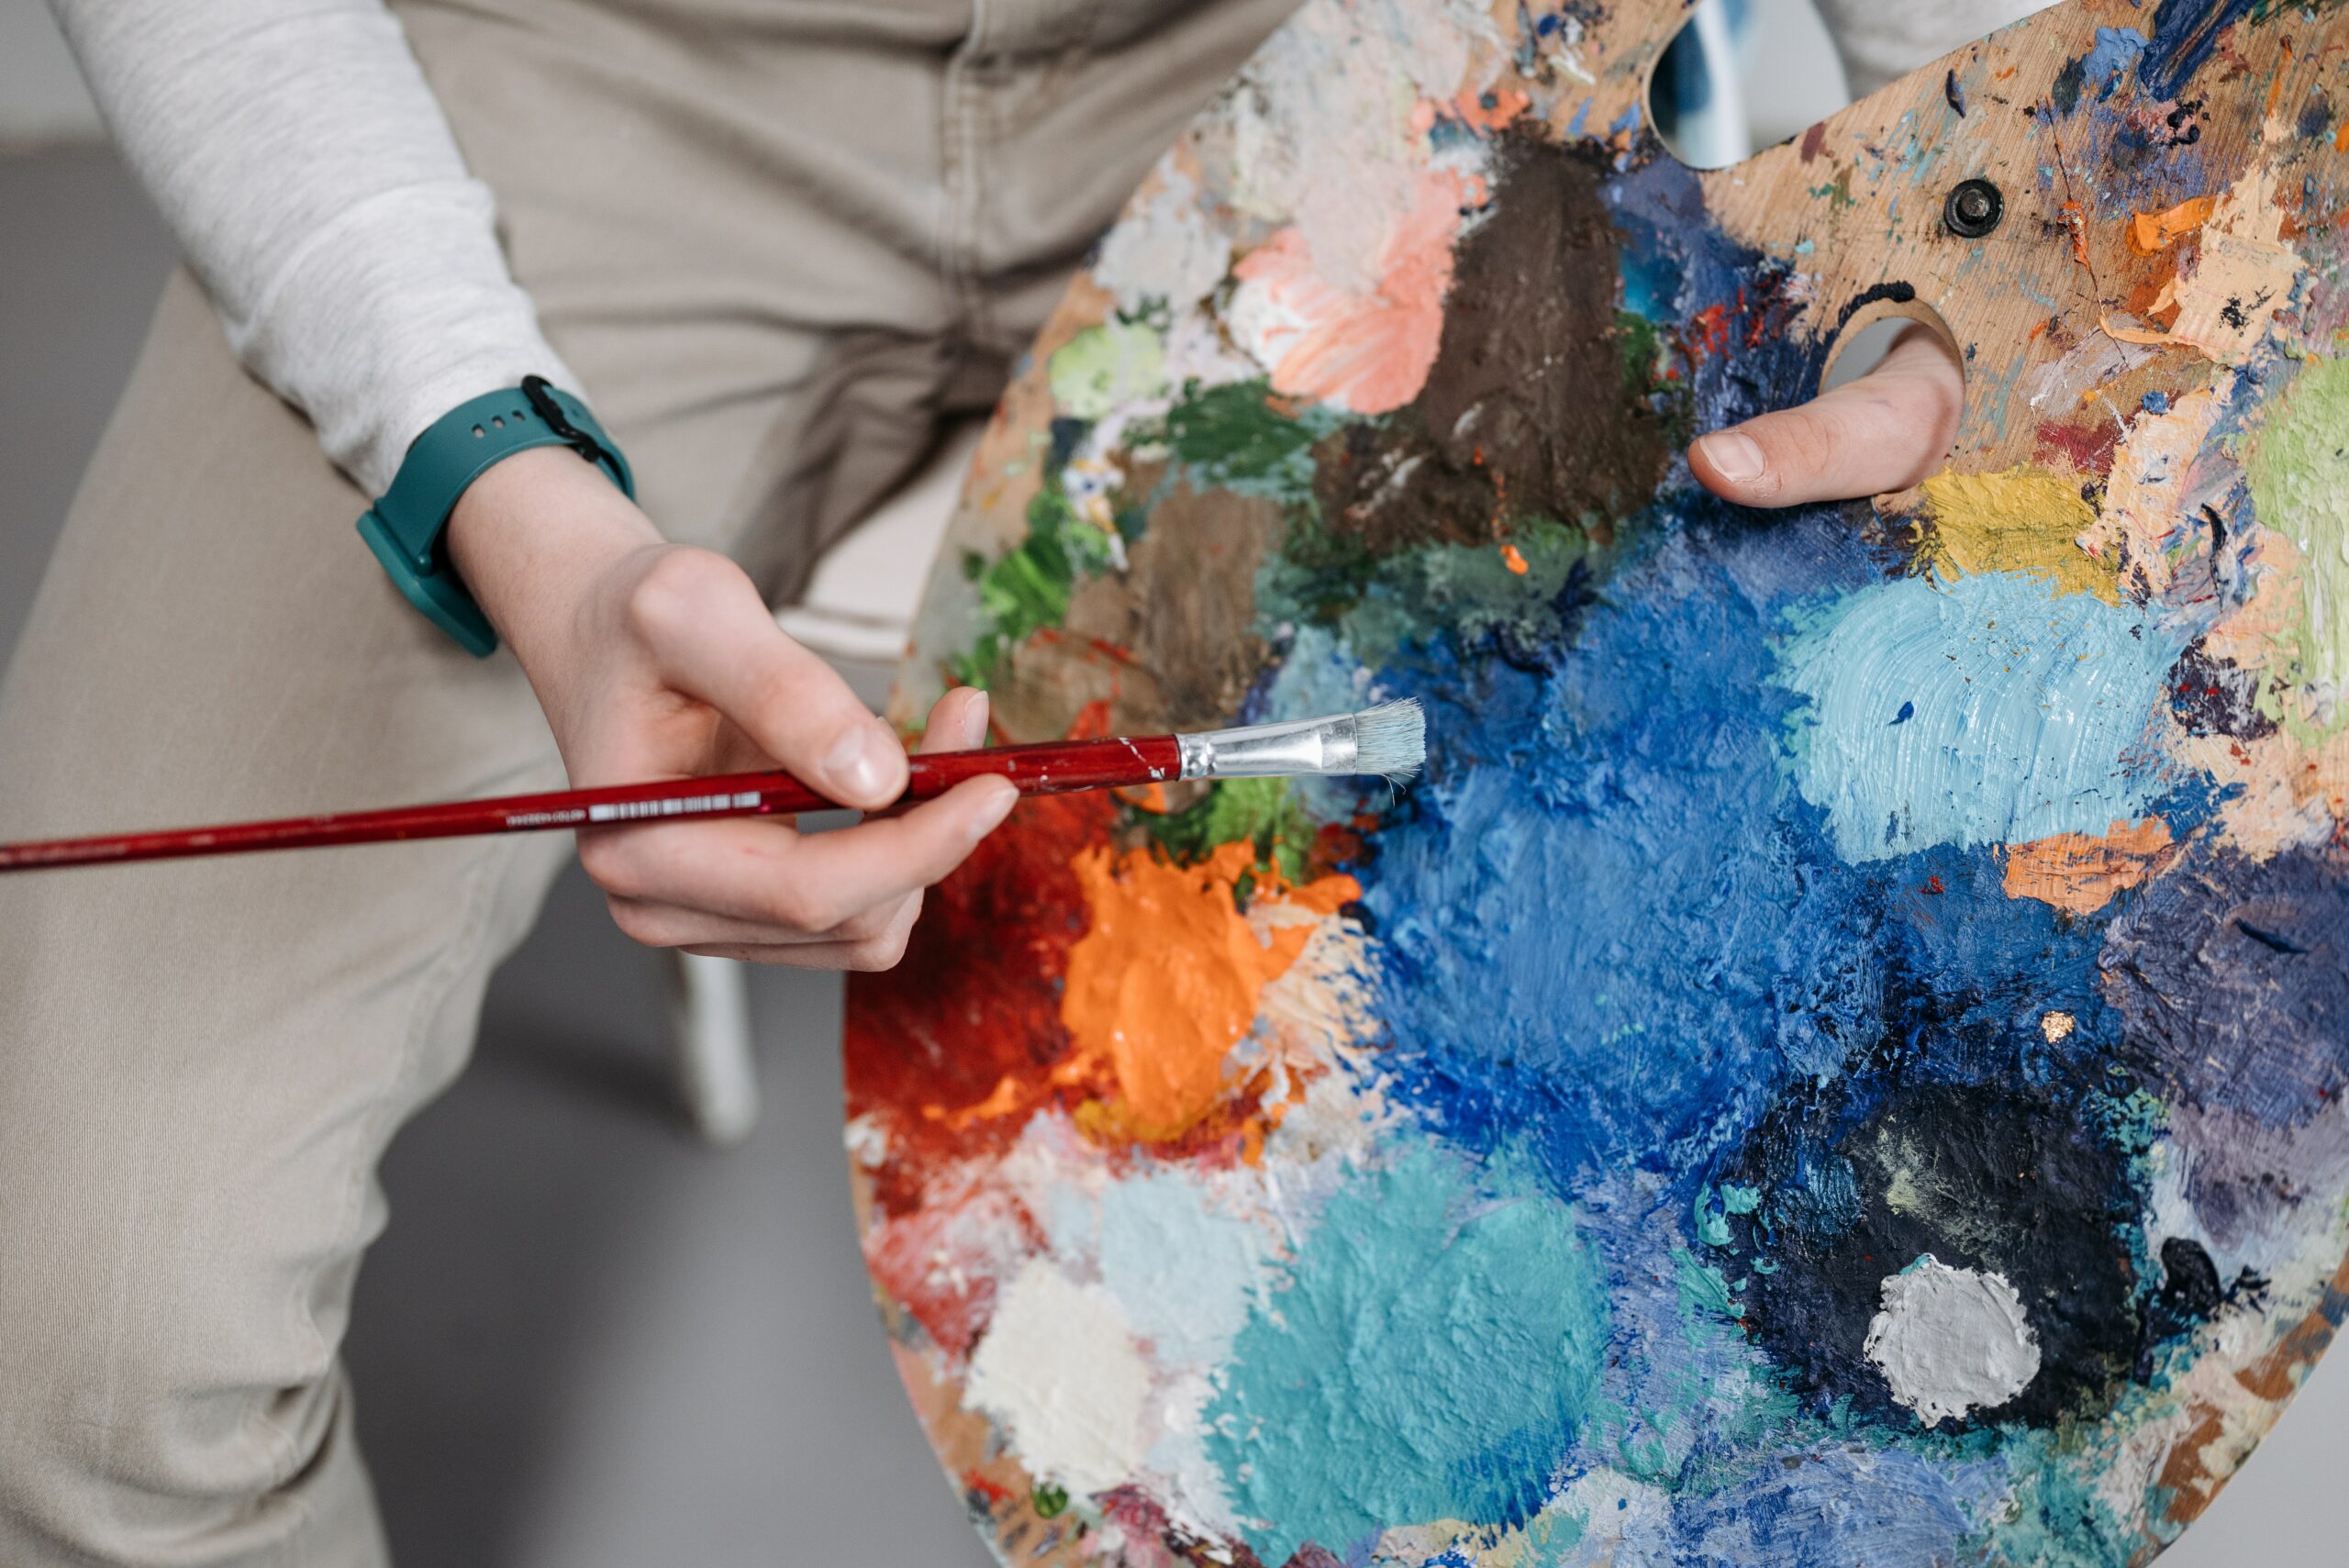
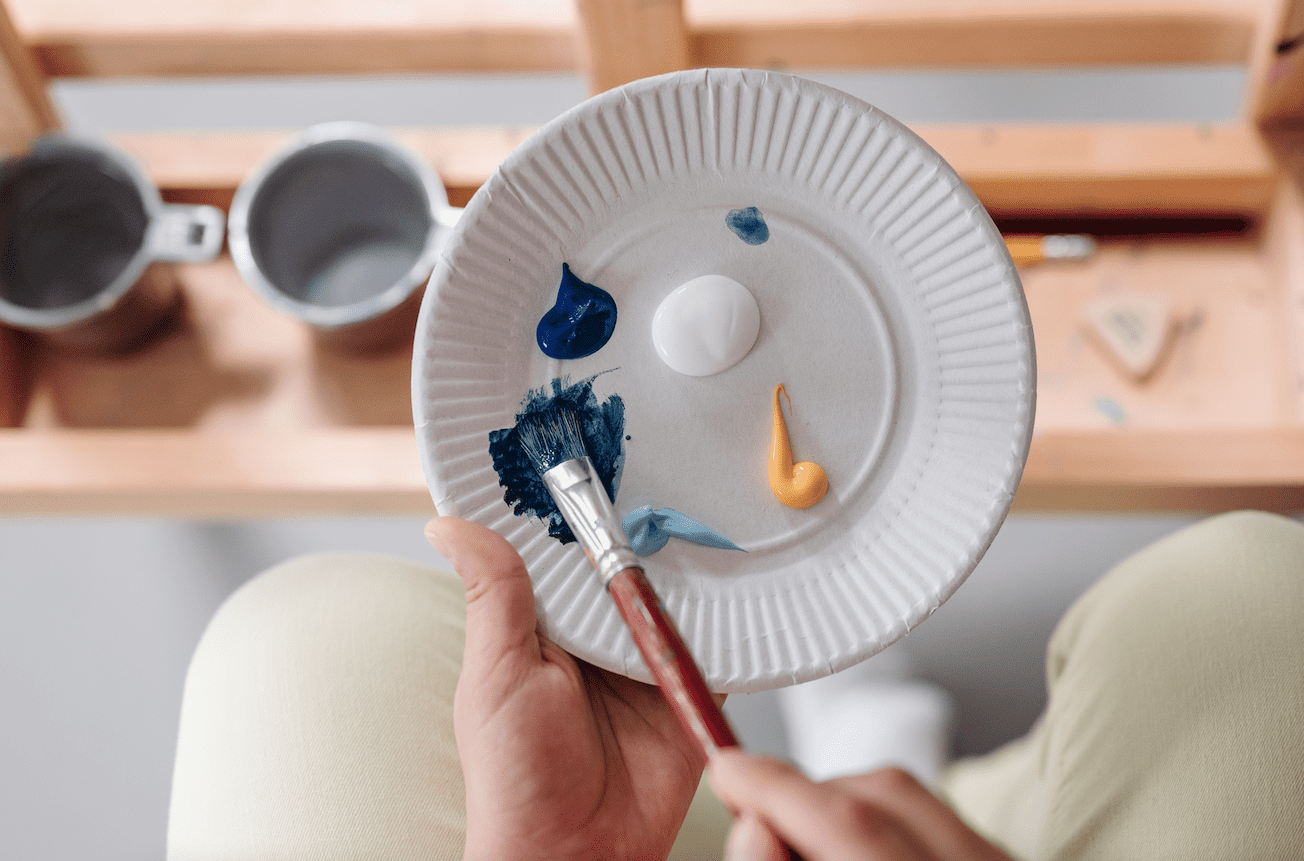
Now that my canvas is ready, it's time to mix some acrylic paint. I'm going to need a few different shades of orange and yellow for the body of the fish and black and white for details like eyes and fins. Acrylic paints are great because they blend easily while still maintaining their vibrancy. Plus, they dry quickly so there isn't much wait time between layers!
To achieve subtle changes in color, start by mixing small amounts of each hue until you have just the right shade. You can always add more paint if the desired tone isn't quite achieved yet. Don’t forget to test any mixes on scrap paper before applying them directly to your painting! Once all the colors are mixed, you can begin outlining the koi fish with them.
Using thin brushes or even toothpicks helps me get nice clean lines when making outlines for intricate designs like this one. If I make a mistake, no worries - since acrylics dry fast, I can simply wipe off what doesn’t look right and start again without having to repaint large areas. Now that my paints are prepared, it's time to outline the koi fish – let's get started!
Outline The Koi Fish
Did you know that over 20,000 varieties of koi fish have been bred? Paint one for yourself is a great way to express your creativity and appreciation for these colorful creatures. The next step in painting koi fish with acrylics is to outline the shape of the fish on your canvas.
To start this process, take some time to study photographs of different types of koi fish until you’ve found one that inspires you. Make sure to pay close attention to the details such as fins, scales, eyes, and other features so they can be accurately represented in your painting. Once you’re ready, use a pencil or charcoal pencil to draw out the basic shapes of the body onto the canvas paper or board.
Once you're happy with your initial drawing, choose an appropriate brush size depending on how big or small it is, and trace around your sketch using black acrylic paint. When outlining make sure not to press too hard with your brush as this could cause mistakes further down the line when adding colors and details.
You should also leave enough space between each line for future layers of color which will give added depth and realism to the painting once finished.
Now that we've outlined our koi fish let's move on to filling in color and detail!
Fill In the Color And Details
Wow, this is it - the final step before your koi fish masterpiece is complete! Filling in color and details sounds like a daunting task but with some patience and practice, you can make it look as if you’ve been painting forever. This has been quite an adventure so far and I'm sure you're looking forward to seeing the finished product!
First things first - use acrylic paints to fill in the outline of your fish. Choose any colors that suit your fancy and mix them for added depth and texture. Get creative here and don't be afraid to experiment by adding more vibrant shades or using different hues within the same family. Once you've filled in all the sections of your koi's body, take some time to add subtle shading around each area. Use light strokes of paint over areas such as fins or tails which will help create dimension within the piece.
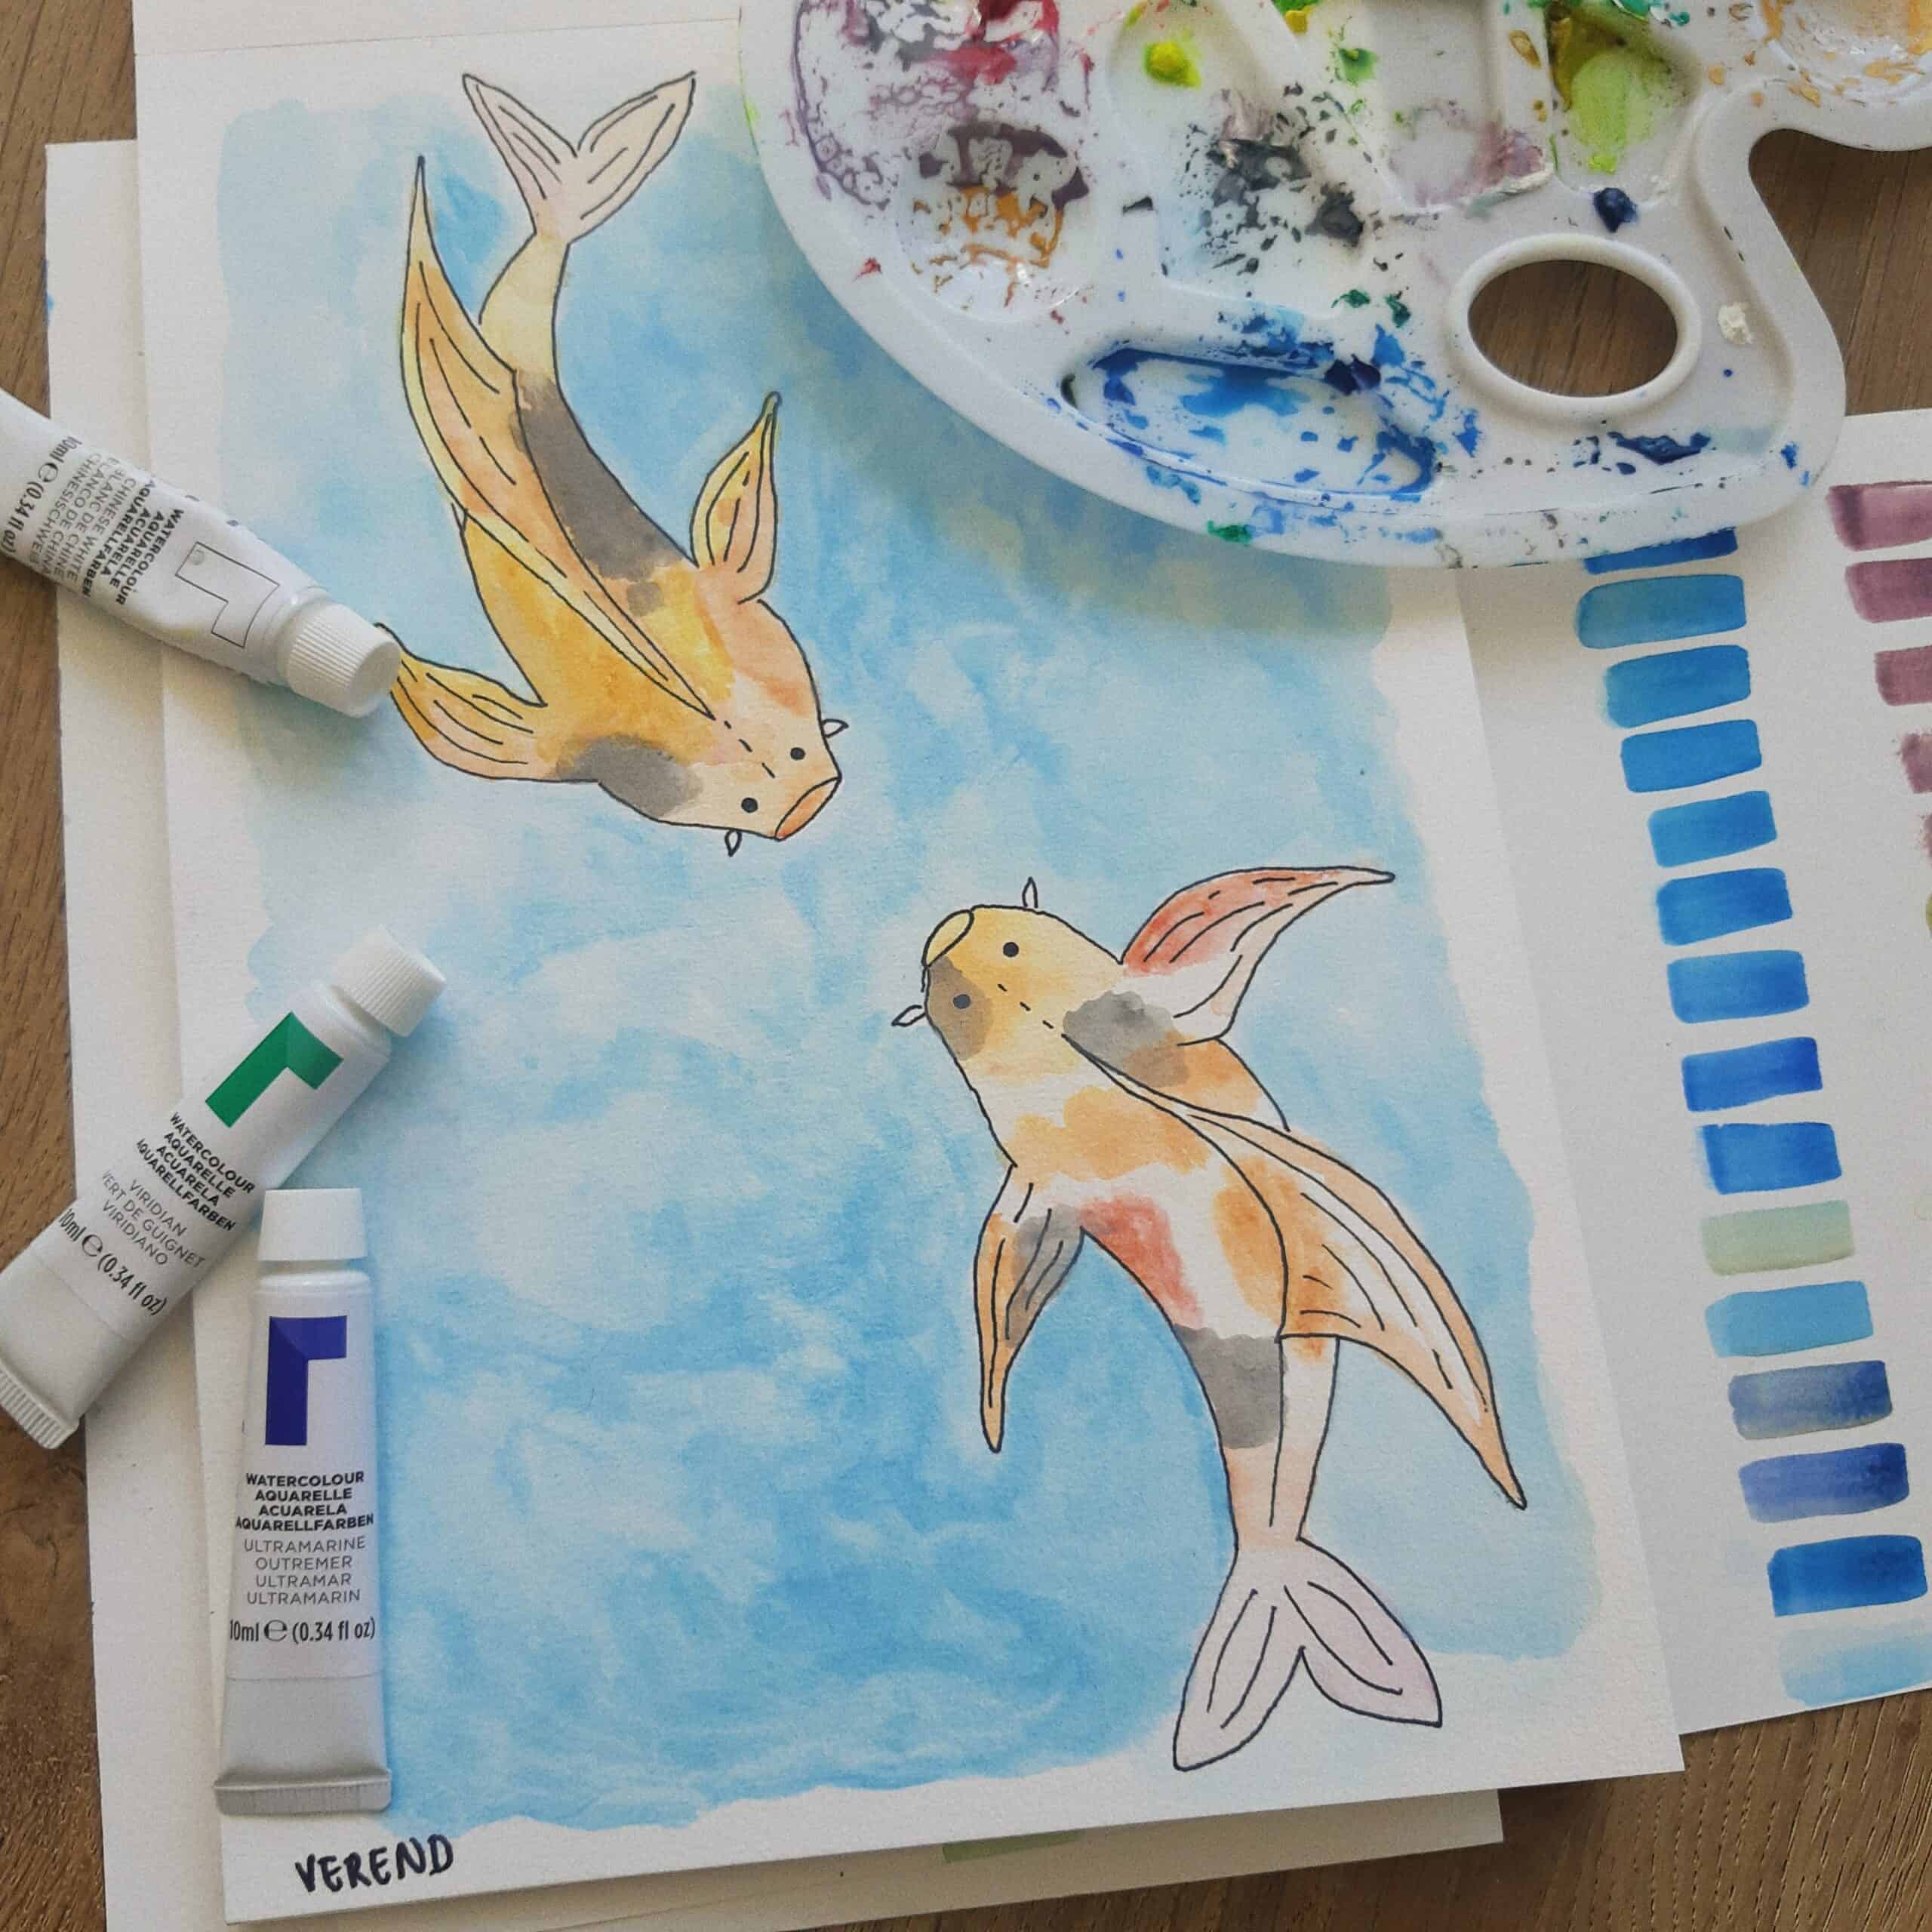
Once everything is colored in, move on to small details such as eyes or patterns on scales. To do this, pick up a thin brush loaded with black paint (or whichever color works best) and draw out tiny circles for eyes then highlight them with white dots inside for reflection. For scale patterns, choose from regular lines, intricate swirls, or just about anything else that comes to mind! Then stand back, admire your work so far, and maybe even snap a photo of it for reference later – because now we get to tackle those finishing touches.
Add Highlights And Finishing Touches
The last step of painting a koi fish is like the frosting on top of a cake: it's the highlight that makes your piece shine! Adding highlights and finishing touches to your acrylic painting will make all the difference in bringing out its beauty.
To begin, let me paint you a picture with words. Imagine gentle brushstrokes, sweeping across the canvas and glinting off these vibrant colors - as if each stroke were made by an artist’s magic wand! With this light touch, you can add dimension and depth to your artwork.
Next, use different shades of each color to create shadows and reflections within the watery depths. Playing around with darker tones gives further definition to elements such as fins and scales.
Highlighting helps bring out the details for a more realistic look - making sure not to overdo it so that your koi does not appear too bright or garish.
Now that you've carefully crafted your masterpiece, here comes one final flourish before you stand back and admire your work. Before calling it quits, take some time for reflection – ask yourself what could be done better. Have I achieved my desired result? This way, when you move on to cleaning up and enjoying the final piece, there won't be any lingering doubts about how satisfied you are with your painting!
Clean Up And Enjoy The Final Piece
The final brush stroke of your koi fish painting has been made, and you can now see the beautiful masterpiece that was created. It's time to clean up and enjoy the results of all your hard work!
Transitioning to this point is like stepping through a magical doorway - one moment you are focused on every little detail of your art, and in the next moment it is complete and ready for display.
This stage of appreciation brings with it many rewards:
- The sense of pride from creating something special
- A feeling of accomplishment when reaching a goal
- The joy of admiring a unique piece of artwork
Cleaning up is an important component at this stage as well. Making sure to put away any supplies used during the process will ensure everything is neat and organized for future use. And once the space is clear, relax and take some time to appreciate what you have achieved! Your koi fish acrylic painting deserves recognition; so show it off proudly or give it as a gift - either way, bask in its beauty knowing that you brought it into existence with your own two hands.
Frequently Asked Questions
When it comes to painting koi fish with acrylics, many people are concerned about how long they should wait for each layer of paint to dry. Sure, you want your artwork to look stunning – but if you don’t give the paint enough time to dry properly, then all that hard work could be wasted! That’s why I’m going to tell you exactly how long you need between layers so that your koi fish looks perfect.
I know what some of you might be thinking: “It’ll take forever for all the layers to dry!” But fear not! Acrylic paints dry pretty quickly – usually within 30 minutes depending on the thickness and type of paint used. So while it may seem like a lot at first, it won’t take as much time as you’d expect.
Of course, it is still important to double-check every few hours or so just in case any parts haven’t fully dried yet. A good rule of thumb is that once each layer has turned from glossy to matte, it’s probably safe for another coat. This way you can create a beautiful masterpiece without worrying about ruining your hard work due to impatience or ignorance. Just make sure that you have plenty of time available before starting this project!
Painting a koi fish with acrylic paint can be like a game of chess — each move is critical to the outcome. But one mistake everyone makes while painting, even experienced professionals, is smudging their work. To prevent it from happening and ensure you get your desired results, here’s what you need to do.
First off, make sure your workspace has plenty of ventilation. Acrylic paint fumes are strong and can easily cause smudges if mishandled or not given enough space to dry properly. Additionally, keep all your tools clean and organized for everything to run smoothly throughout the process. Make sure there isn’t any dust on your canvas as well; that could ruin the entire project!
Finally, practice patience when working with acrylic paints. It takes time for them to dry completely so don’t rush through it. A great tip is to set up an air blower near your artwork while you’re painting. This will help speed things up without risking any smudges along the way. With these tips in mind, you’ll be able to create beautiful art without worrying about ruining it!
Have you ever wondered what type of brush is best for painting koi fish? Acrylic paint, commonly used to create beautiful koi artwork, requires the right brushes to ensure a smooth and successful painting experience. So which brush should you choose for your next masterpiece?
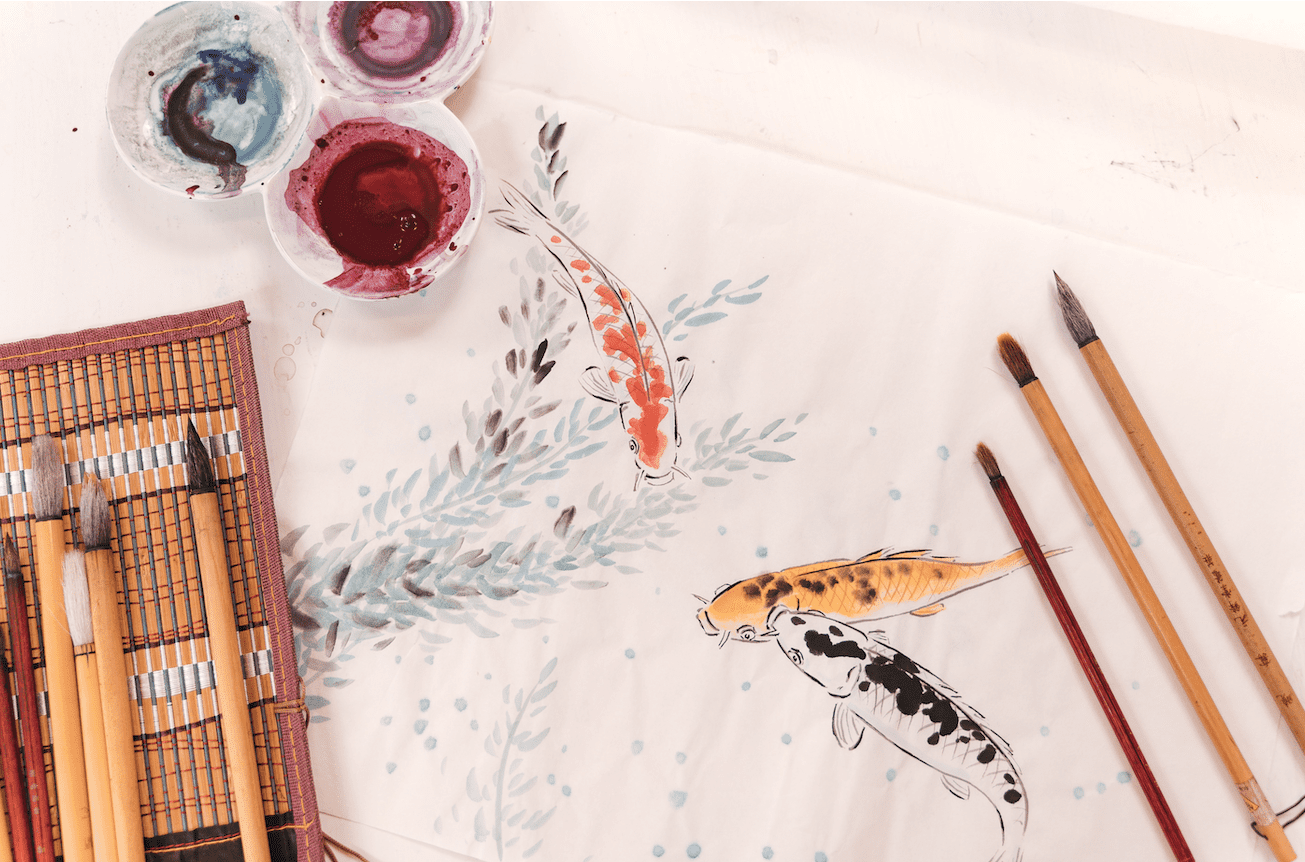
A round or pointed-tip artist’s brush works well when it comes to intricate details associated with koi paintings. These types of brushes can be used to create thin lines that highlight the scales and fins of the fish. A good quality synthetic sable hair brush will help provide even coverage while allowing different combinations in pressure and stroke length as needed. Soft bristle flat wash brushes are also great for filling large areas quickly without sacrificing detail. Smaller sizes work better here since they allow more control over how much paint gets applied as well as giving greater accuracy around delicate features like eyes or gills.
No matter what kind of brush you end up choosing, make sure that it has strong bristles that hold their shape after cleaning so you don’t lose any time creating your piece! Practice makes perfect – take some time before starting on your project to get comfortable with the tools you’ll be using so that your acrylic koi painting looks just how you want it to be!
Painting a koi fish is like embarking on an adventure; it takes time and patience, but the end result can be spectacular. When it comes to painting highlights, choosing the right type of paint is key.
Think of highlights as the stars in your sky; they sparkle and shine and add that extra bit of specialness. Acrylic craft paints are perfect for this because they offer bright colors with plenty of shimmers. If you’re looking to make those highlights stand out, try using metallic or pearlescent acrylics! You’ll need to use small brushes when applying these types of paints since you want them to look precise and delicate.
You also have some options when it comes to mixing colors for custom shades – mix two different colors or blend them with white paint until you achieve the desired effect. To create an even more vibrant look, layer multiple coats one after another until your highlight reaches perfection! Just remember no matter which color palette or combination you choose, have fun experimenting until you find what works best for your masterpiece.
Conclusion
Painting koi fish is a beautiful and rewarding experience. With the right tools, time, and technique, it's possible to create stunning pieces that capture their vivid colors and graceful movement. Taking your time to get each step just right will help ensure you end up with a painting you can be proud of.
When it comes to supplies, use quality acrylic paints for the base layer, then add in highlights with a lighter shade or white paint when needed. Be sure to choose brushes specifically designed for painting fine details—like those found on the scales of a koi fish—to achieve accuracy and precision. And don't forget to allow plenty of drying time between layers so as not to smudge your work!
Ultimately, painting koi fish requires patience and practice. But if you take your time and follow these tips, you'll soon find yourself creating captivating works of art that reflect the beauty of these majestic creatures. In no time at all, you’ll become an expert in capturing vibrant color, texture, and motion – turning simple strokes into something truly special.

