How To Paint Ceramic Mugs
Hi everyone! It's me, your friendly ceramic artist/instructor. I'm here to show you how to paint beautiful ceramic mugs that will impress your friends and family. Painting ceramic mugs is a fun activity that can be done in just an afternoon - all it takes is some creativity and the right supplies!
In this tutorial, I'll walk you through every step of the painting process, from gathering materials to creating stunning designs. You'll learn tips for prepping the mug, selecting colors, and finishing touches. Plus, I'll share ideas for inspiration so you can make unique pieces tailored to your style.
With my guidance and a few simple steps, you’ll have painted mugs that are ready for display or gifting in no time at all. Let’s get started!
Supplies Needed
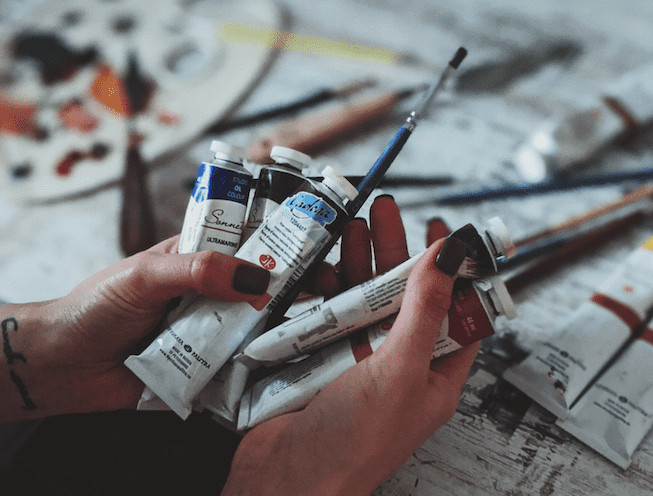
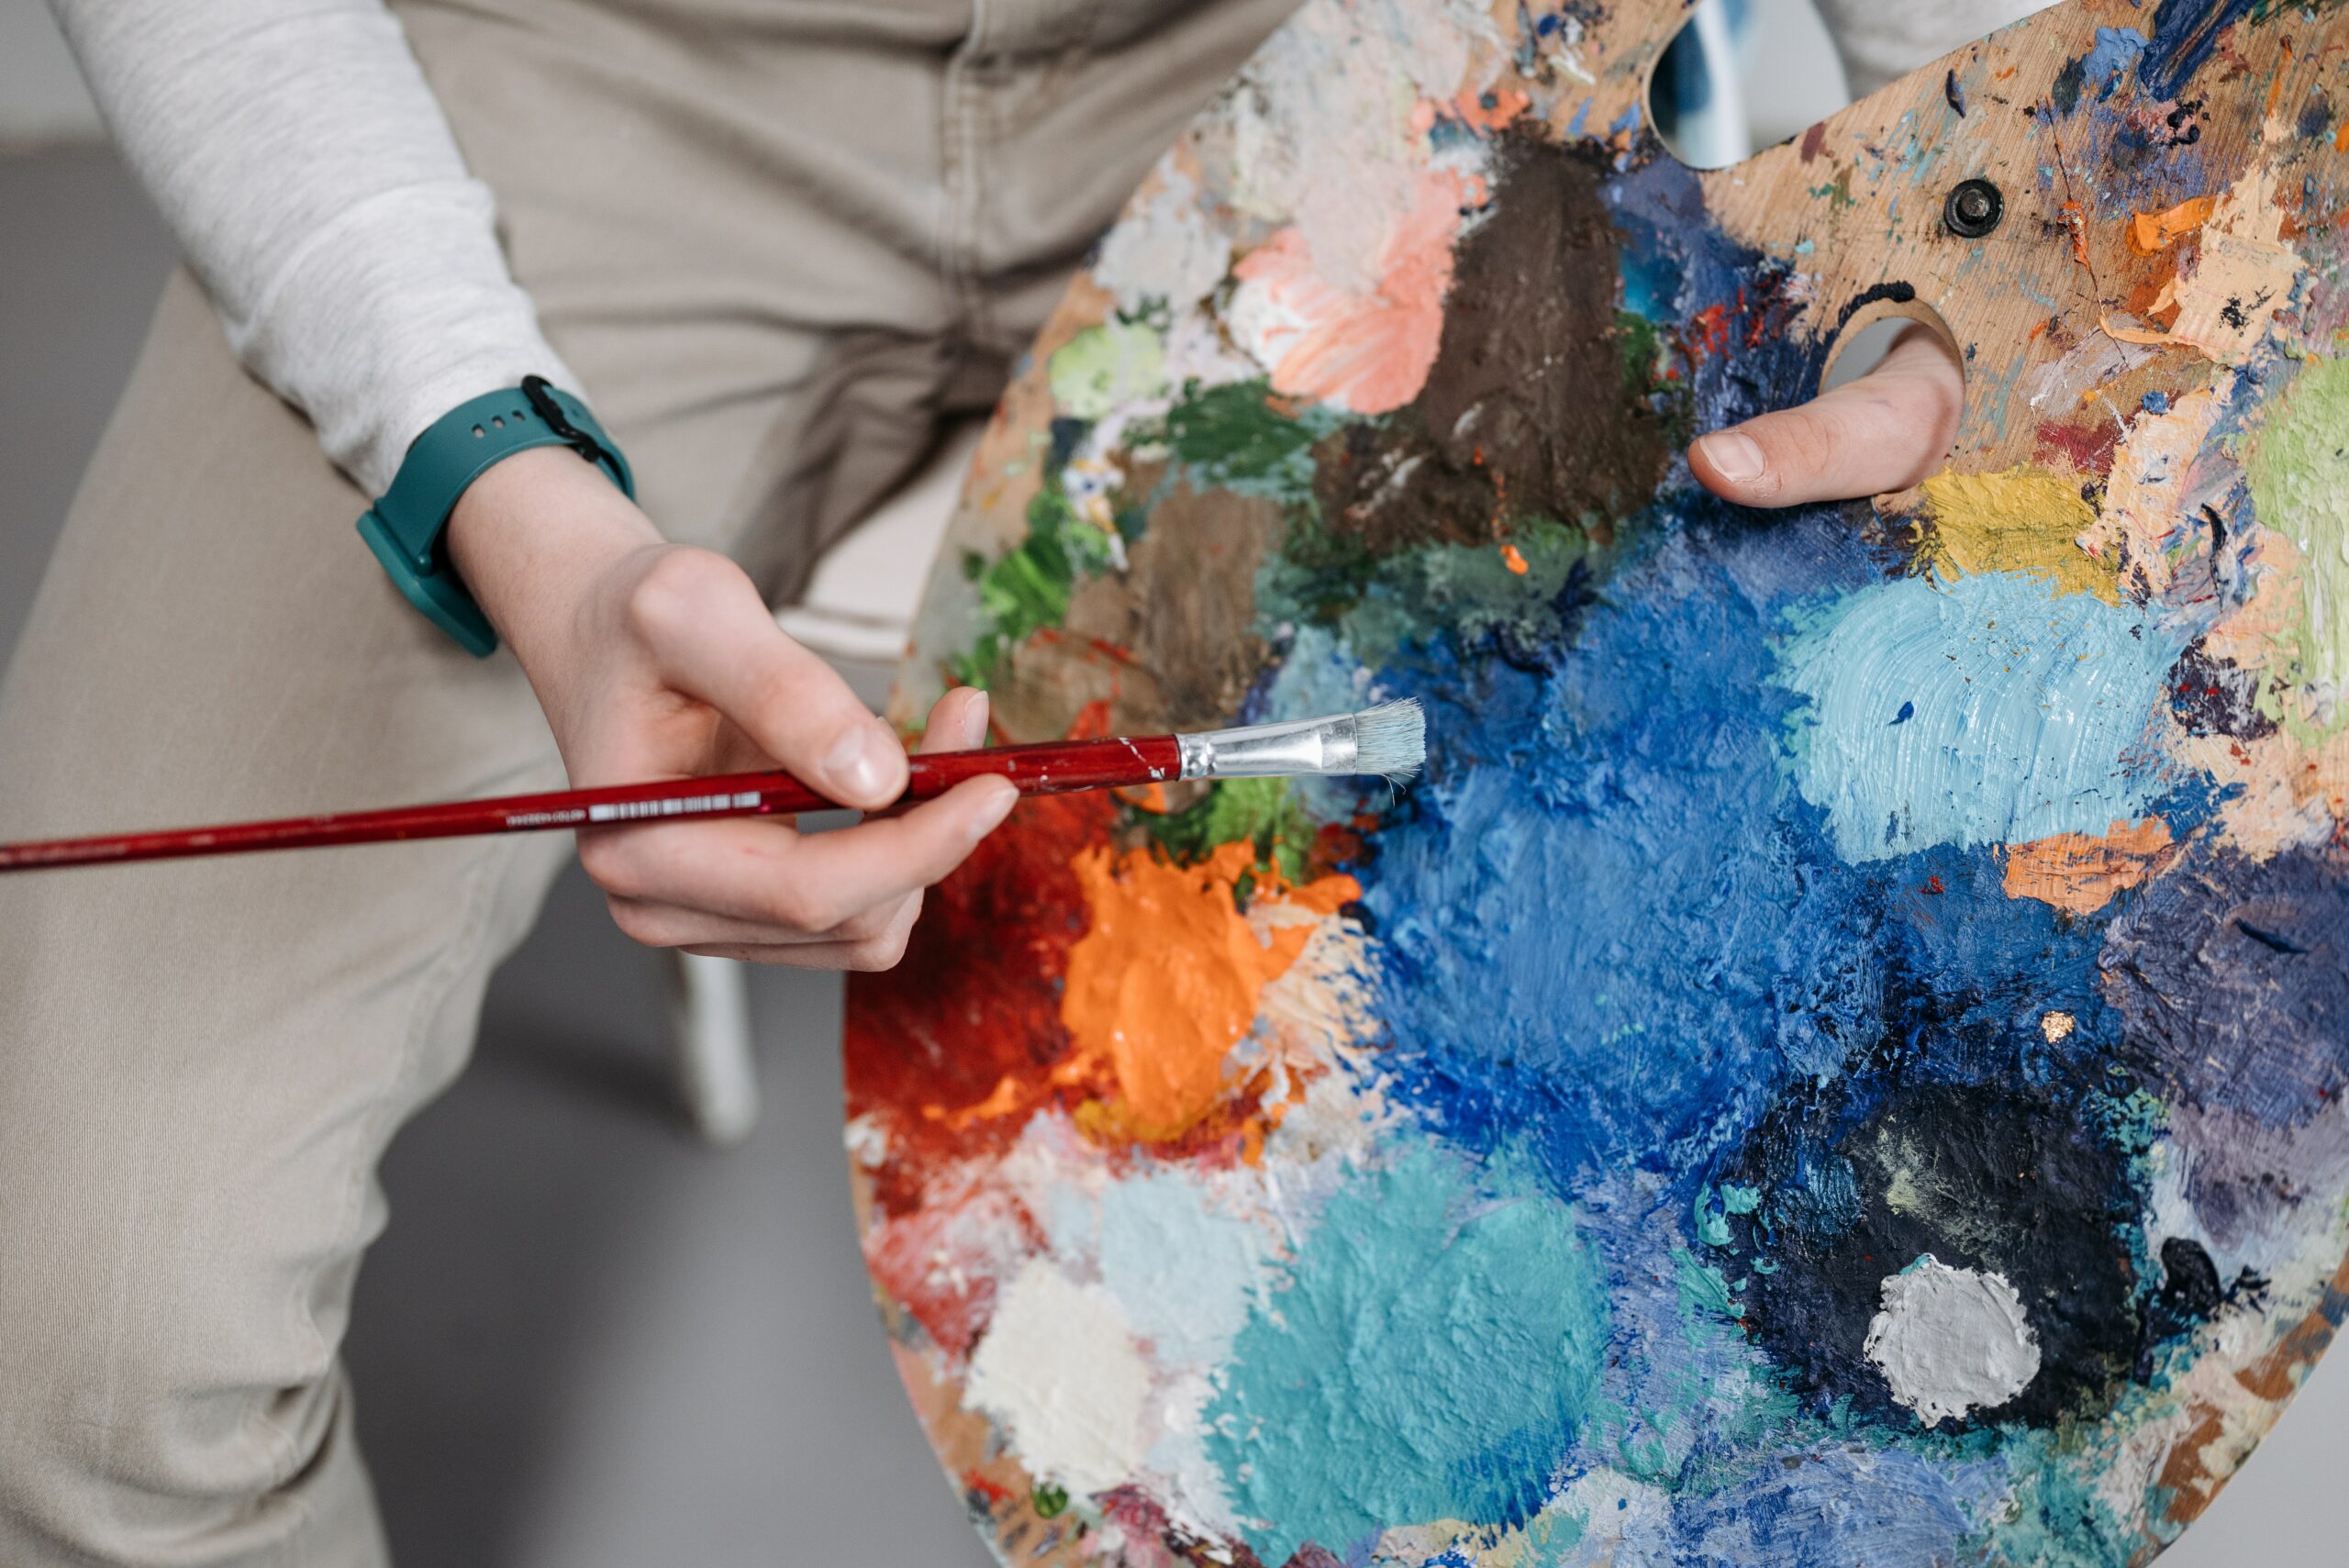
First, you'll need some materials. Grab yourself a ceramic mug and make sure it's clean and dry. You’ll also need special ceramic paints, which can be found at most craft stores or online. Then get brushes of various sizes— smaller ones for detailed work, larger ones for covering large areas quickly. Finally, pick up an acrylic sealant to protect your finished design.
Now that you've got all the supplies ready, let's move on to preparing the mug. Before painting, consider what type of look you want to achieve with your final product: glossy or matte finish. If you're going for a shiny effect, sand down any rough spots before starting so the paint will adhere better; if matte is more your style then feel free to skip this step.
Preparing The Mug
After gathering the necessary supplies, it's time to get started on your ceramic mug painting project. Before we begin adding paint and designs, there are a few steps you'll need to take to prepare the mug correctly:
- Cleaning
- Priming
- Sanding
- Wiping down with alcohol
- Applying painter’s tape (optional)
As an aspiring ceramic artist, these preparatory steps will help ensure that your finished product is of high quality. First, make sure your mug is clean of any dirt or debris. A simple rinse under warm water should do the trick! Afterward, use a primer specifically designed for ceramics before applying any paint. This will create a smooth surface for the paint to adhere to more effectively.
Use sandpaper if you notice any imperfections such as bumps, lumps, or scratches on your mug’s surface. Once everything looks good to go, wiping down the entire outside of the mug with rubbing alcohol can also help promote adhesion between surfaces. If desired, apply painter’s tape around areas you don't want to be painted.
With all this done, you're ready to move on to the next step - applying primer!
Applying Primer
Now that you have your materials ready, it's time to apply the primer. First of all, make sure you cover your workspace with a drop cloth or newspaper so you don't get any paint on anything else. I like to wear gloves when I'm working too. Now, take out the primer and spray it onto the mug in an even layer. You want to be careful not to overspray; if there are drips down the sides of the mug they can create bumps in the surface after painting. After spraying one side of your mug, let it dry for about 15 minutes before turning it over and doing the other side.
Once both sides are dry, inspect them closely; look at each area individually to make sure no spots were missed or that there aren’t any clumps from over-spraying. If everything looks good, then we're ready to move on to selecting and applying our paints!
Selecting And Applying Paint
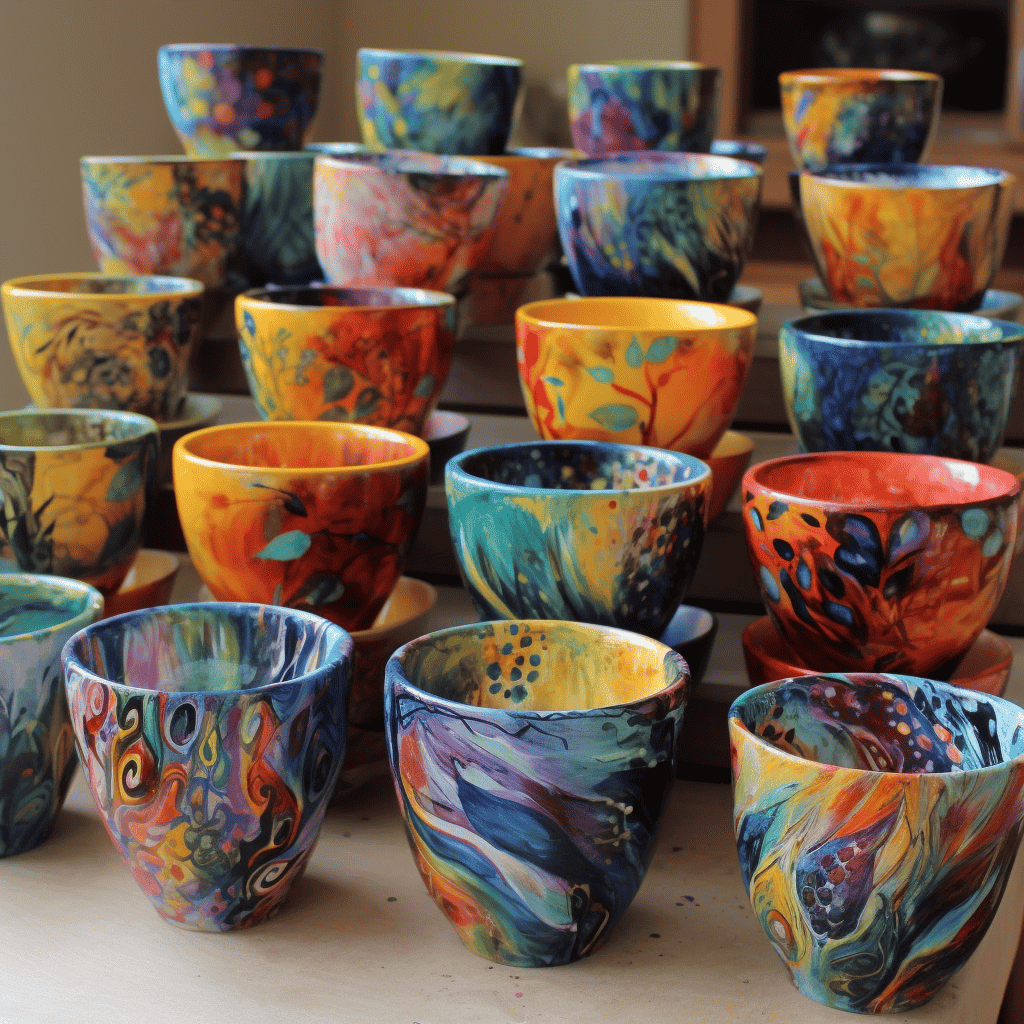
Like a painter of the canvas, when it comes to painting ceramic mugs, the colors you choose are up to your imagination. It's like an artist’s dream - the possibilities are endless! As with any great art piece, you must select and apply paint with care and precision.
To start on the right foot, you'll need some supplies – specifically, ceramic paint for ceramics that is lead-free and food safe upon completion. Then grab some brushes in different sizes or use sponges depending on what kind of look you're going for. To be sure, practice first by doing numerous test strokes on a separate piece of ceramic material before you embark on your mug masterpiece.
Once your design is ready and the surface is cleaned, prepare to start applying color! Be sure each coat is dry before continuing onto another layer of basecoat or glaze.
If needed use multiple coats so that the color stands out vibrantly against the white background but don't overdo it; two coats should do just fine. With patience and persistence, soon enough your mug will come alive with splashes of beautiful hues!
As we move forward into adding finishing touches to our creation, remember: every brush stroke counts!
Finishing Touches
Now that you have your design and paint on the surface of your mug, it's time to finish up. Finishing touches can make or break a ceramic piece – so don't skip this step! Here are some tips for making sure your mugs look perfect:
Step | Description | Result |
|---|---|---|
Glaze & Fire | Apply glaze according to the manufacturer’s instructions, then fire in the kiln at the recommended temperature (check with the local pottery supplier). This will give your pieces added strength and durability as well as beauty. | Stronger and more beautiful mug that is oven-safe. |
Clean Up Edges | Use an emery board or sandpaper to smooth out any jagged edges or imperfections around the rim of the cup before firing. This will ensure a safe drinking edge after firing. | Mug has cleaner edges that won't cut lips when sipped from. |
Carefully Pack Pieces For Firing | To prevent damage during transit, carefully pack each piece for shipping/firing separately in individual boxes surrounded by packing peanuts or bubble wrap. Not necessary if fire yourself locally but still helpful for storage purposes. Be careful not to knock pieces against each other while packing them away; chipping can occur easily even with gentle handling. | Mug arrives intact without chips or dings caused by transport issues. |
By taking these extra steps, you'll be able to create stunning ceramic mugs that anyone would be proud to use! Now let's move on to curing and handling the mugs once they've been fired.
Curing And Handling
Once the mugs are painted, you'll want to let them air dry for 24 hours. That way all of your hard work will be set into place and ready for curing. After this is done, it's time to move on to the next step:
- Curing :
- Place each mug in an oven that has been preheated to 350°F (177°C).
- Bake for 30 minutes at this temperature.
- Handling :
- Allow the mugs to cool down before touching them.
- Handle them with care as they may still be fragile after cooling down.
Now that you've cured your ceramic mugs, you can enjoy them or give them away! With some patience and practice, anyone can make a masterpiece out of these cups - just keep experimenting until you have something you're proud of!
Conclusion
In conclusion, painting ceramic mugs is a great way to express creativity and make truly unique gifts. Once you have the supplies ready, it's time to get creative! With just a few simple steps, you can transform an ordinary mug into something extraordinary.
Did you know that according to research from Statista, there were over 1 billion cups of coffee consumed in the United States in 2020? That’s why I think it’s so important for true coffee connoisseurs to have a personalized cup. Painting your custom mug allows you to showcase your personality every morning as you sip your favorite brew.
So don't be afraid - give painting your ceramic mug a try today! It will surprise and delight anyone who receives one as a gift or sees yours on display at home. Plus, with the proper preparation and care, these mugs should last for years of enjoyment.

