How To Paint Sand With Acrylics
Hey there, fellow acrylic painters! I'm so excited to share with you my tips and tricks for painting sand. I know how difficult it can be to make your project look realistic and professional-grade. But don't worry, because after reading this article, you'll have the skills and knowledge needed to create a beautiful piece of art featuring sandy shores!
Painting sand is a unique challenge that requires an understanding of color theory and texture techniques. It's also important to understand how light affects different elements on the canvas to bring out its vibrancy. In this article, we’ll dive into all of these topics as well as discuss what types of paints are best suited for creating a stunning beach scene.
Let’s get started by talking about why it's important to pay attention to subtle details when painting sand. In addition to helping you master the basics, doing such will enable you to add depth and nuance that will truly make your piece shine. So grab your supplies and let’s begin our journey together toward mastering the art of painting sand!
Tool And Materials Needed
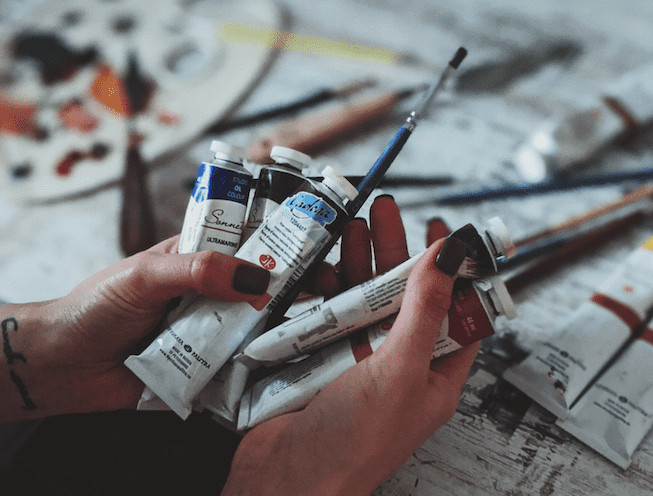
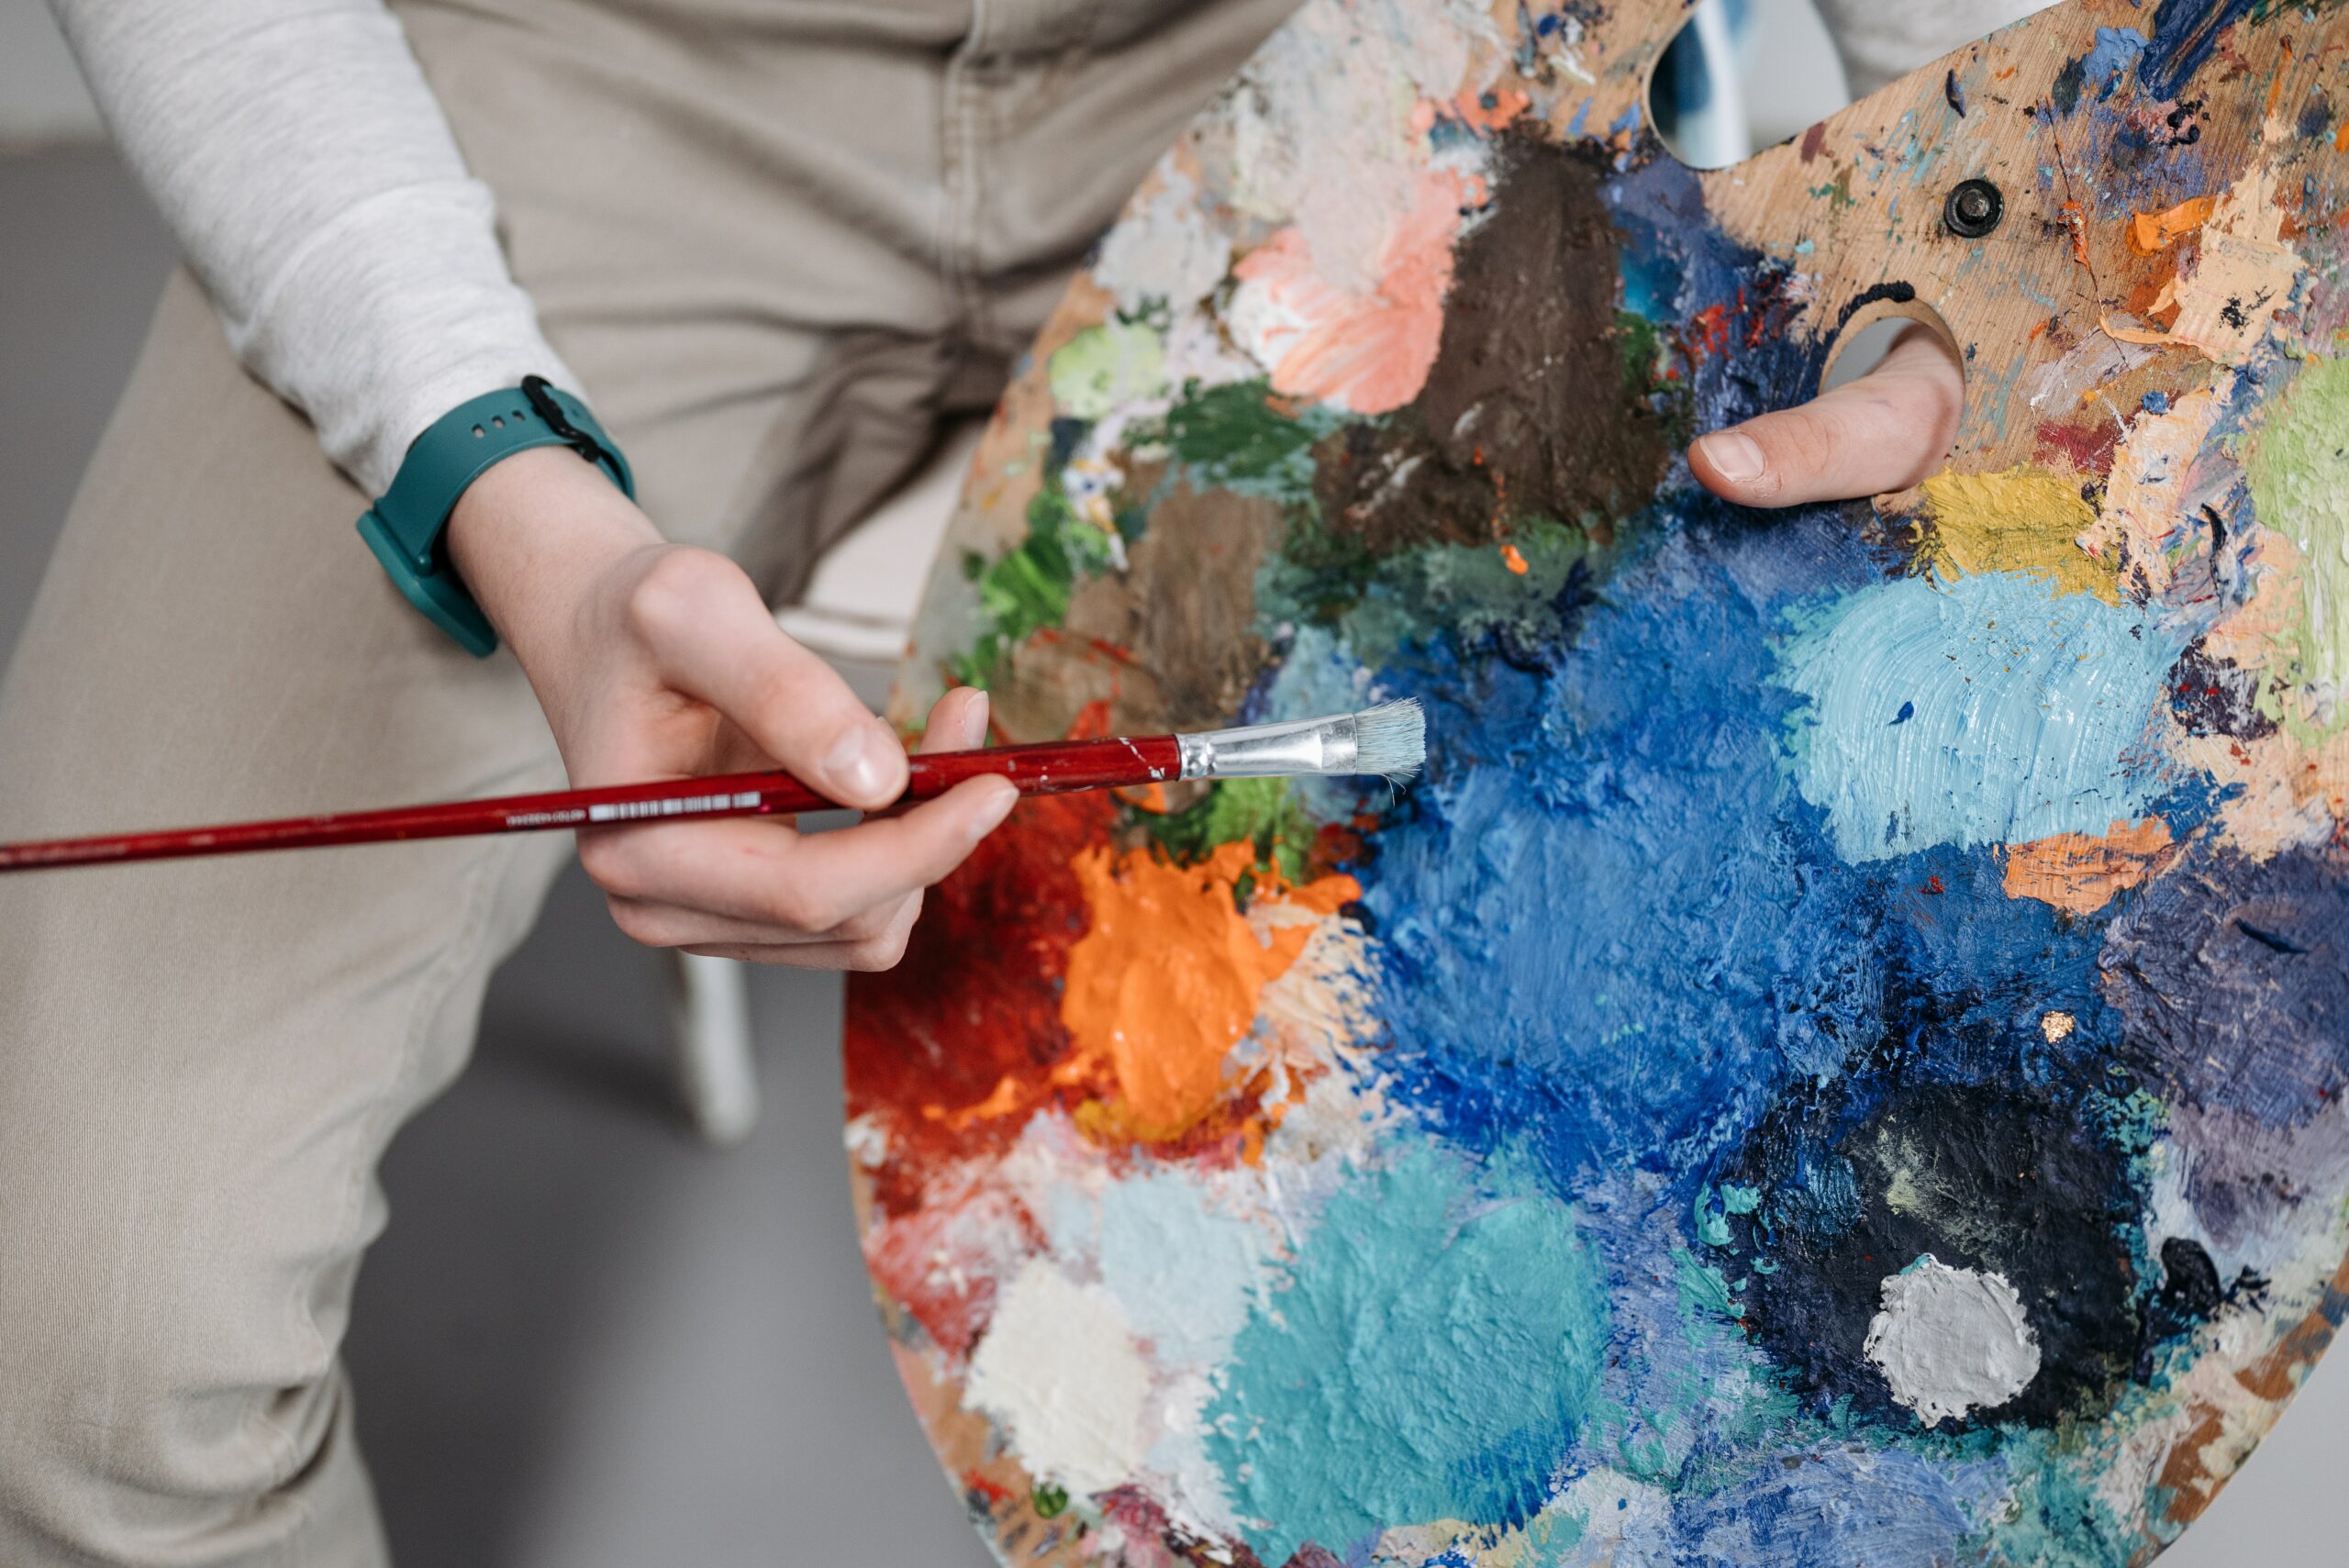
Painting sand with acrylics is a fun and rewarding experience that anyone can enjoy. As an artist, I'm going to take you through the steps of creating this unique piece of art. To get started, you'll need some basic supplies like acrylic paints, canvas board, paintbrushes, palette knives, and acrylic mediums.
Acrylic paints come in many different colors so choose ones that will help make your painting stand out on the canvas board. Paintbrushes are essential for applying the paint to the canvas and they should be chosen carefully based on what kind of effect you're trying to create. A palette knife helps mix paint while an acrylic medium gives it more texture and depth once applied to the canvas.
Having all these tools at hand makes it easier for you to create whatever masterpiece your imagination desires! Now let's move onto preparing the canvas for our sand painting project.
Preparing The Canvas
You might be tempted to jump right into painting with sand, but preparing the canvas is an important step. Not only will it help you create a better piece of art, but it also ensures your work lasts longer. Here's how to get started:
- Start by applying gesso or acrylic primer to the surface of the stretched canvas. This helps ensure that the paint and sand stick to it properly.
- It's important to make sure that there are no bumps or imperfections on the surface before continuing. If necessary, use fine-grit sandpaper to smooth out any irregularities in the canvas.
- To give your artwork some texture, try adding a layer of sand over the top of the primed canvas before painting with acrylics. You can either sprinkle dry sand directly onto the canvas or mix it with glue and spread it evenly across the surface using a plastic card or brush.
Let your prepped canvas sit for at least 24 hours so that all layers have had time to set and cure properly before moving forward with creating your sand painting masterpiece!
Now that you've got your canvas ready for some creativity, let's move on to mixing up those colors for our unique design!
Mixing The Paint
When working with acrylics, the first step to painting sand is mixing the paint. Creating an effective color combination for your canvas surface requires some thought and experimentation. There are many different techniques you can use when mixing paints to achieve desired results. Here's a look at some of them:
Mixing Techniques | Benefits | Challenges |
|---|---|---|
Underpainting | Provides depth and texture to the piece | Can be difficult to cover up mistakes easily due to lack of opacity in acrylics |
Glazing | Creates luminosity by adding thin layers of transparent paint over existing coats | Requires patience due to long drying time between each layer applied |
Dry Brushing | Adds highlights that create dimensionality and interest on canvas surface | Difficult technique since it relies heavily on finding just the right amount of pressure for brush strokes |
Splattering | Great way to add visual texture without obscuring underlying colors too much | Drips are tricky |
Experimentation is key when combining different acrylic paints as there is no one-size-fits-all approach here. Once you have mixed your chosen colors, it’s time to move onto creating interesting textures!
Creating Textures
Have you ever wondered how to create beautiful sand textures with acrylics? You can make a stunning painting that looks like it was taken straight from the beach! Here are five techniques for creating textured paintings using acrylics and sand:
- Mix in Sand Directly: To start, mix some fine or medium-grain sand into your paint palette. Then take a brush, dip it into the mixture, and apply it directly onto your canvas. This will give you an interesting texture with subtle variations of color depending on what type of sand you use.
- Add Texture With Paste: Another way to add texture is by applying a paste made out of glue and sand right onto the canvas. It's best to use small pieces of sand when making this paste so they don't clump together and ruin the effect. Once dry, the paste will be hard and have a sandy feel to it - perfect for creating exquisite beach scenes!
- Draw Patterns in The Sand: If you want to get more creative, try drawing patterns in the wet paint before adding any extra materials such as sand. By doing this, you'll be able to manipulate where the texture goes without having to worry about getting too much or too little on different parts of the painting.
- Layer Acrylic Paint Over Dry Sand: You can also layer acrylic paints over dry sand for an even more unique look. Simply spread some coarse grain sand over an area where you'd like to see the added texture, then carefully dab layers of paint over the top until you're happy with the result.
- Create Salt Textures: Finally, salt crystals can be used to create gorgeous ocean waves and other seascapes very easily! Just sprinkle some table salt onto damp paint while it's still wet and watch as natural shapes begin forming around each crystal - no need for further manipulation here!
These five methods should get you started on creating amazing textured paintings with acrylics and sand! Now let’s move on to blending colors.
Blending Colors
When it comes to painting and acrylics, blending colors is a key element in creating realistic and interesting textures. To create the perfect blend of hues, you need to understand the basics of mixing pigments with your brush technique. In this section, I'll walk you through how to produce different variations when combining colors on your canvas.
Color combination | resultant hue | brush technique |
|---|---|---|
White + Brown | Light Tan (Ideal for sandy beach scenes) | Use two brushes simultaneously |
Blue + Yellow | Bright Green (Create shadows around rocks or plants) | Mix color directly on the canvas |
Black + Red | Reddish Brown (Add depth to various elements) | Create gradual layers |
With any combination of paint colors, success depends upon getting the ratio just right.
If you use too much yellow on white paint, then you will get more green than tan. That's why learning about color theory and practicing with your brush strokes can help make sure that every time you mix paints, you get the desired hue variation.
By experimenting with different combinations of browns and whites for lighter tans and reds and blacks for darker shades, you can easily achieve those unique looks when painting sand with acrylics!
Finishing Touches
After you've gotten the hang of blending colors, it's time to start finishing your sand painting. Finishing touches are what make a good painting great! Here are some tips for making this happen:
- Highlighting details: Adding details will help bring out certain elements in your work and create depth. You can use lighter shades or different colors to add extra features that weren't there before.
- Adding shadows: Casting shadows on your painting is an important part of creating dimension. Shadows give objects form and let us know where one element ends and another begins.
- Adding highlights: Highlights will draw attention to specific areas of your painting and give it texture and interest. Use white paint to highlight parts of the subject matter as well as edges around them for added visual impact.
- Creating depth: When adding layers to your work, think about how each layer affects the overall composition. Allowing enough space between layers gives more definition while too many layers make everything look blurry or smudged together.
- Creating layers: Layering is key when working with acrylics! It allows you to build up color slowly over time, giving you more control over the outcome than if you used just one color at once. Experiment with various techniques such as glazing, scumbling, and impasto for interesting effects!
Now that you have all these tips under your belt, it's time to show off your masterpiece! With proper care, this artwork should last for years to come - so don't forget about caring for your artwork properly!

Caring For Your Artwork
Once you have completed your acrylic painting project, it's important to take the necessary steps to protect and preserve your artwork. Taking care of a piece of art requires some maintenance, but it doesn't need to be hard or time-consuming. Here are my top tips for preserving your artwork:
- Keep away from direct sunlight - Sunlight can cause fading and discoloration over time, so keep your artwork out of direct sunlight to maintain its vibrancy.
- Hang with caution - Make sure that nails used for hanging are not too long as they may damage the canvas or paper if they protrude through the backside.
Try displaying paintings at eye level in areas where there are minimal humidity and temperature fluctuations. This will help protect the pigments in your artwork from deteriorating due to exposure to extreme temperatures and moisture levels.
By following these simple art care tips, you'll be able to enjoy your painted sand masterpiece for years to come!
Conclusion
Painting sand with acrylics is a rewarding experience that can help you create beautiful works of art. With the right tools, preparation, and techniques, it's easy to get amazing results! When you're finished painting your masterpiece, make sure to take care of your artwork properly so that it lasts as long as possible.
Taking time to combine colors and experiment with different textures will bring out the best in your work. Once you've achieved the desired look for your piece, don't be afraid to step back and admire it - after all, this is what makes creating art so special! Have you ever painted something using acrylics before? What was your favorite part about it?
No matter how skilled or experienced you may be, there's always something new to learn when it comes to painting with acrylics. By taking some time to explore different color combinations and brushstrokes, you'll find yourself able to express yourself more freely through art than ever before!

