How To Paint Water With Watercolor
Welcome to the wonderful world of watercolor painting! Nothing quite compares to the beauty and vibrancy of a well-executed piece. In this article, I'll be teaching you how to paint water with your very own watercolors. Through my step-by-step guidance, you'll learn all about creating beautiful bodies of liquid, from small ponds to vast oceans. With practice and patience, you'll soon have artwork that looks just like it was done by a master painter! So let's get started - grab those paints and brushes and join me on this journey into painting water with watercolors.
Materials Needed
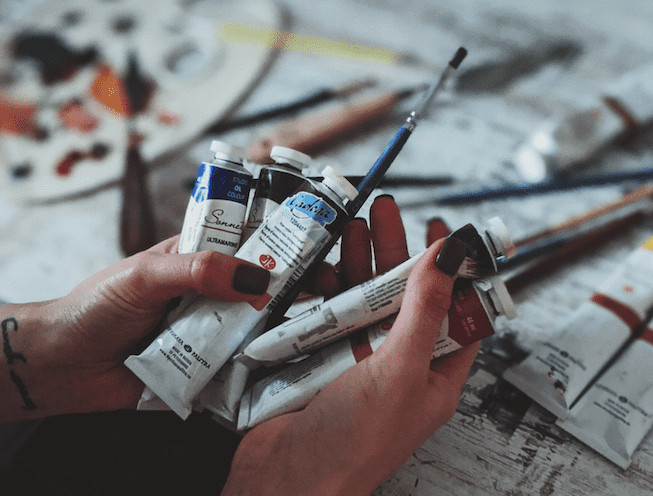
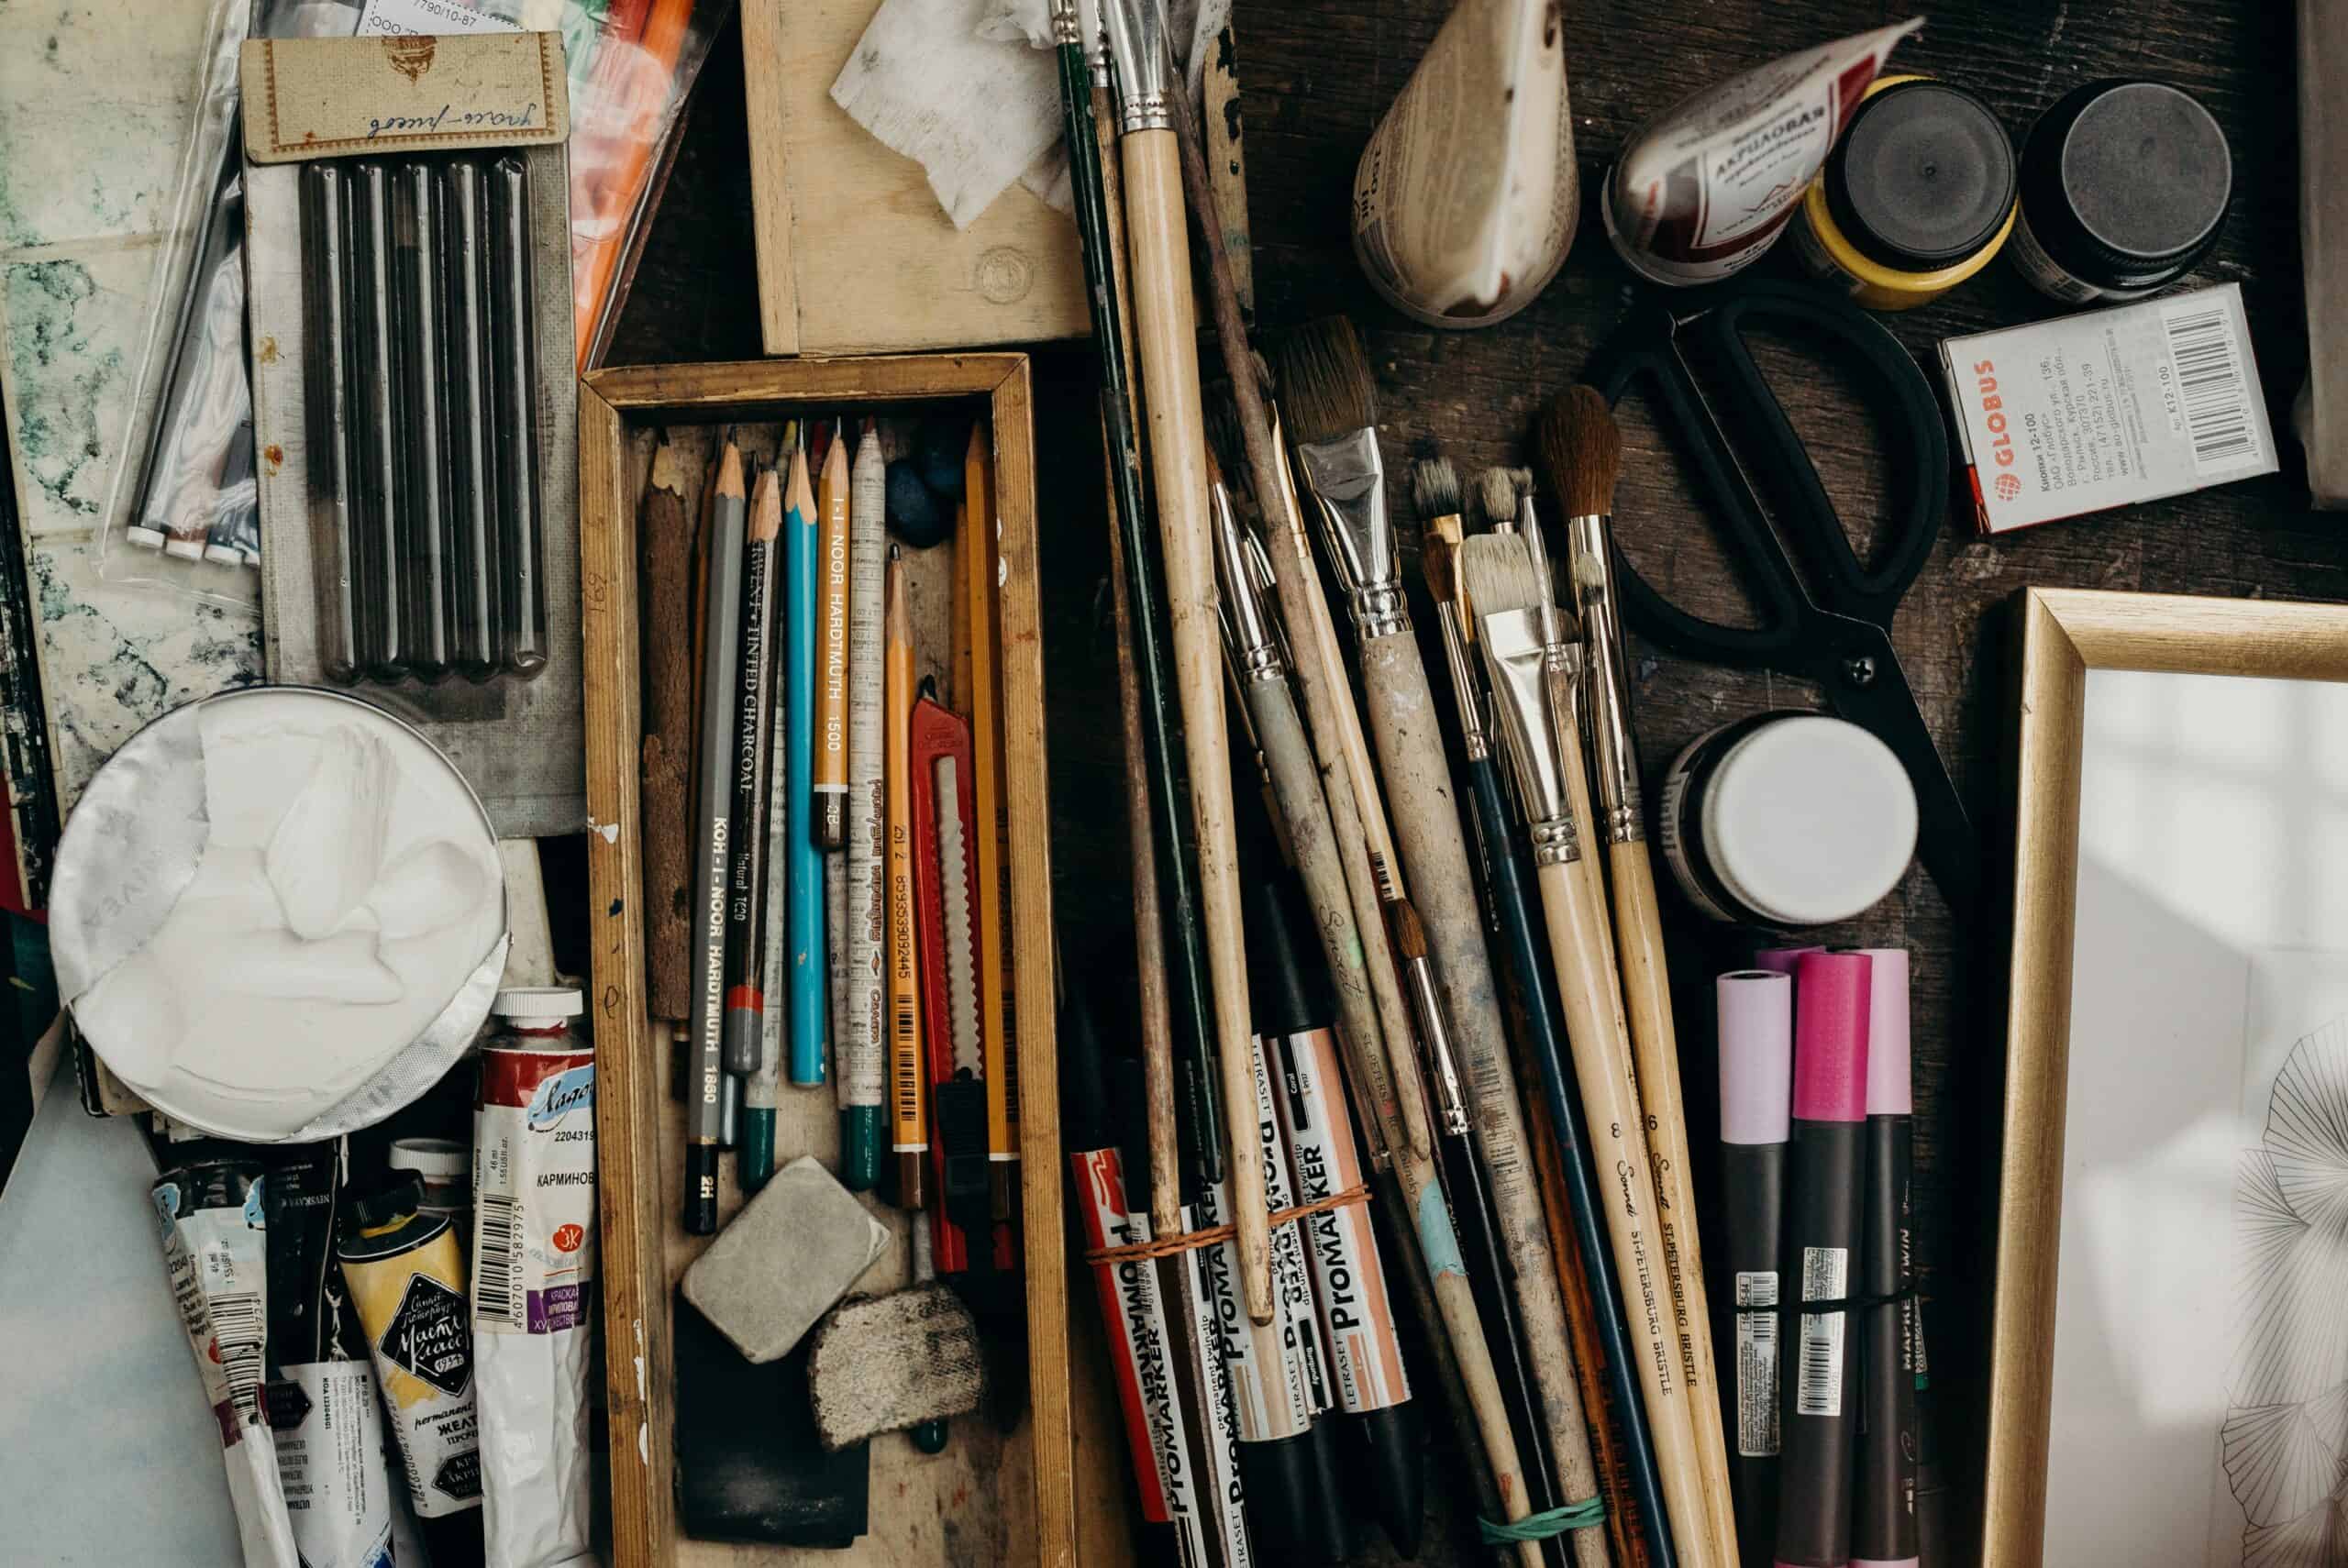
If you want to create beautiful, vibrant watercolor paintings, then you need the right materials! When it comes to this art form, nothing is more important than having the proper supplies. As an aspiring watercolor painter, I'm here to tell you that there's no better way to make your artwork look stunningly professional than by using quality tools and supplies.
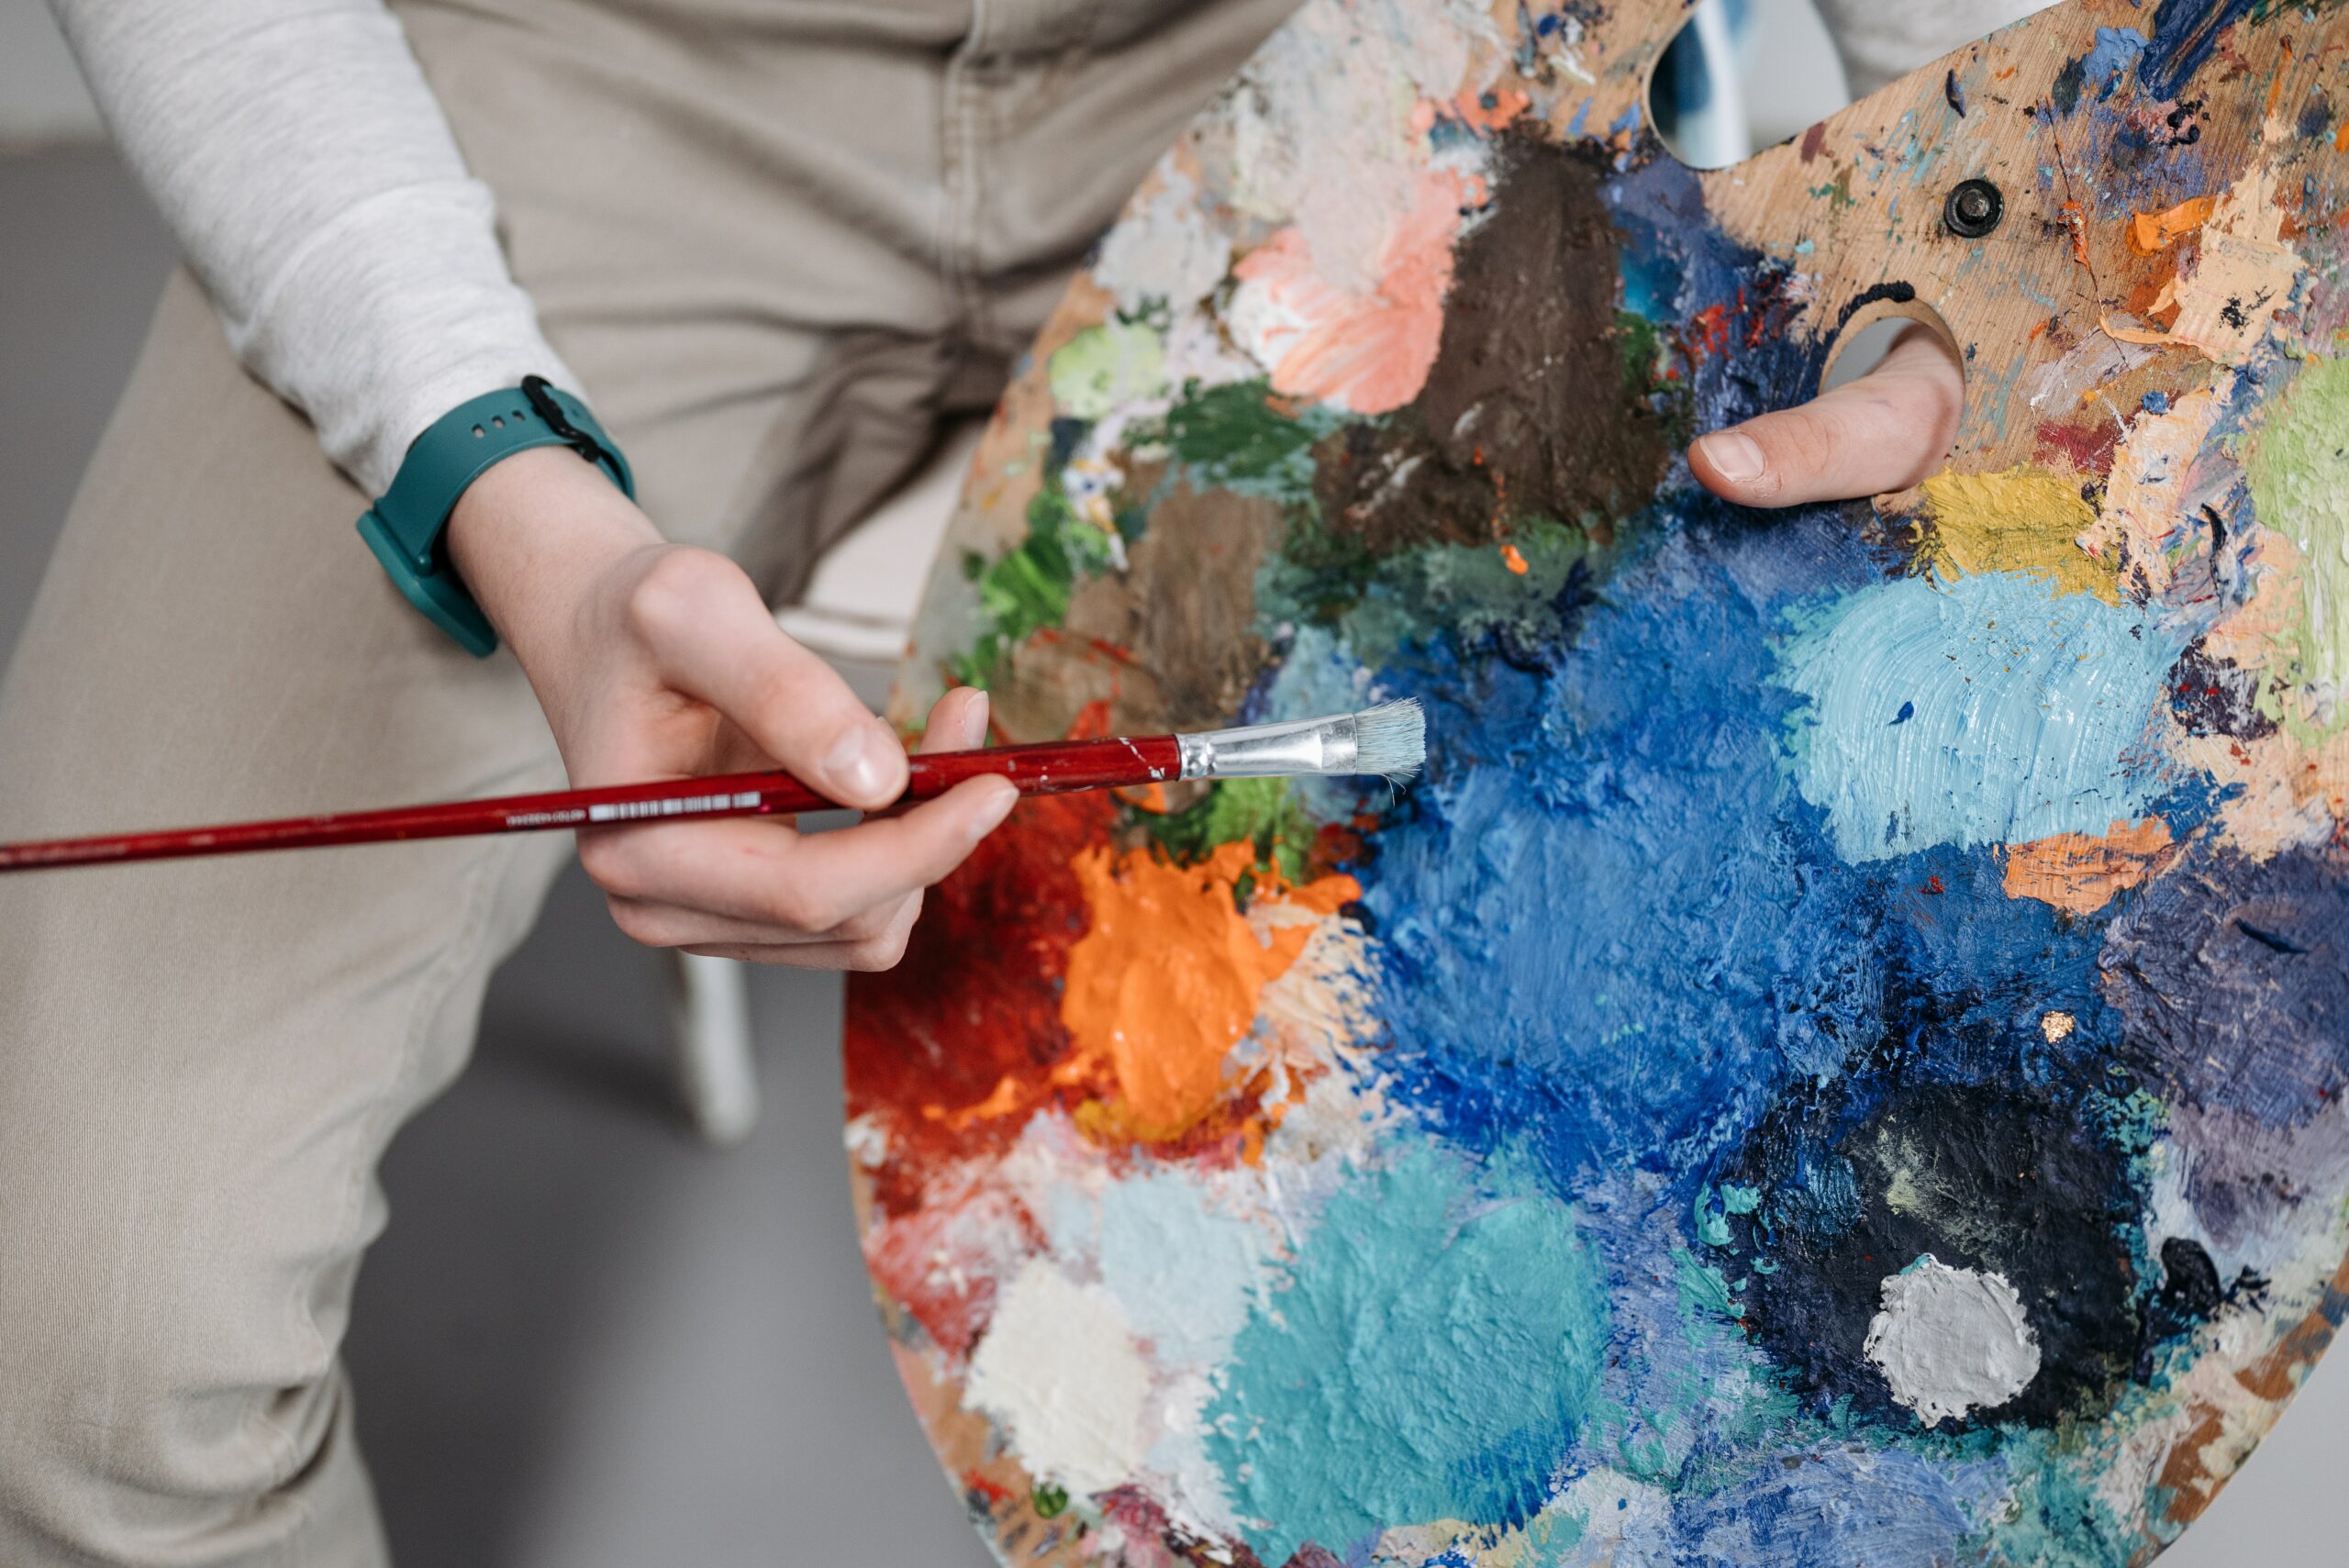
First off, let's talk about brushes. You'll want a range of sizes - from the fine tip for detail work to larger ones for covering larger areas quickly. They should also be made from natural bristles like sable or hog hair so they can hold their shape when wet. Additionally, a good set of paint colors is essential; get some basic hues plus some metallic shades if you're feeling adventurous! Lastly, don't forget paper: heavyweight watercolor paper works best because it won't buckle or warp when painted on.
With these items in hand, you're ready to start creating! Next up we'll discuss preparing your canvas...
Preparing The Canvas
Now that we have all of our materials, it's time to get started. Preparing the canvas is a crucial part of watercolor painting and it will help ensure your artwork looks its best!
Here are some tips for prepping the canvas:
- Use high-quality watercolor paper or canvas - this ensures good color absorption and prevents buckling when wet.
- Ensure your surface is clean and free from dust before you start painting.
- If using an already primed canvas, lightly sand the surface to create a better texture for the paint.
- Prime any unprimed surfaces with a gesso primer or acrylic paint - this helps protect the surface from moisture damage while also creating a smooth foundation.
- To prevent warping in your work, tape down each side of the paper with masking tape before beginning.
Once your canvas is ready to go, you can move on to color theory for water painting! Before adding colors to your palette, take some time to understand how different hues interact with one another. That way you can explore various techniques and make informed decisions about which colors will look best together in your artwork.
Color Theory For Water Painting
Now that we have our supplies, let's talk about color theory for water painting. Color theory is an integral part of creating beautiful works of art and understanding the basics will help you get off to a great start!
Primary Colors | Secondary Colors |
|---|---|
Red | Orange |
Blue | Green |
Yellow | Purple |
The primary colors are red, blue, and yellow. These three colors cannot be mixed or created from any other color. All other colors can be derived by combining two or more primary colors in different proportions. This produces secondary colors such as orange (red + yellow), green (blue + yellow), and purple (blue + red). Keep this color wheel in mind when mixing your paints so you'll create just the right hue every time!
It's also important to remember that watercolor paints dry lighter than they appear when wet on the paper. You may need to apply multiple layers of paint for darker tones so it’s always best, to begin with, a light wash.
Then gradually increase the intensity until you achieve your desired look. Practicing these simple techniques will help take your artwork from basic to brilliant in no time at all! Now let's explore some techniques for applying watercolor paints...
Techniques For Applying Watercolor Paints
Did you know that watercolor painting is one of the oldest forms of pigment-based art? It has been around for centuries and its popularity continues to grow today. As a watercolor painting instructor, I want to share some tips on how to apply your paints properly so you can achieve beautiful results.
The first thing to consider when applying your paint is whether or not it's wet enough. Using too much water will make the colors run together, while using too little could lead to an uneven application. The ideal consistency should be somewhere in between; slightly thick but still liquid enough for easy blending. To help achieve this, try adding a few drops of glycerin or gum arabic solution into your mixture.
Another important aspect is layering which allows you to create more depth and texture within your piece. Start by sketching out the basic shapes with thin washes and then gradually build up layers as needed. Don’t forget that transparent pigments are best used at the beginning stages since they take longer to dry and tend to become darker over time. On the other hand, opaque hues are better added towards the end as they won't mix well with existing color mixtures already applied to the paper.
So now that we've discussed techniques on how to apply our watercolors let's move on to exploring ways of blending colors on the canvas!
Blending Colors On The Canvas
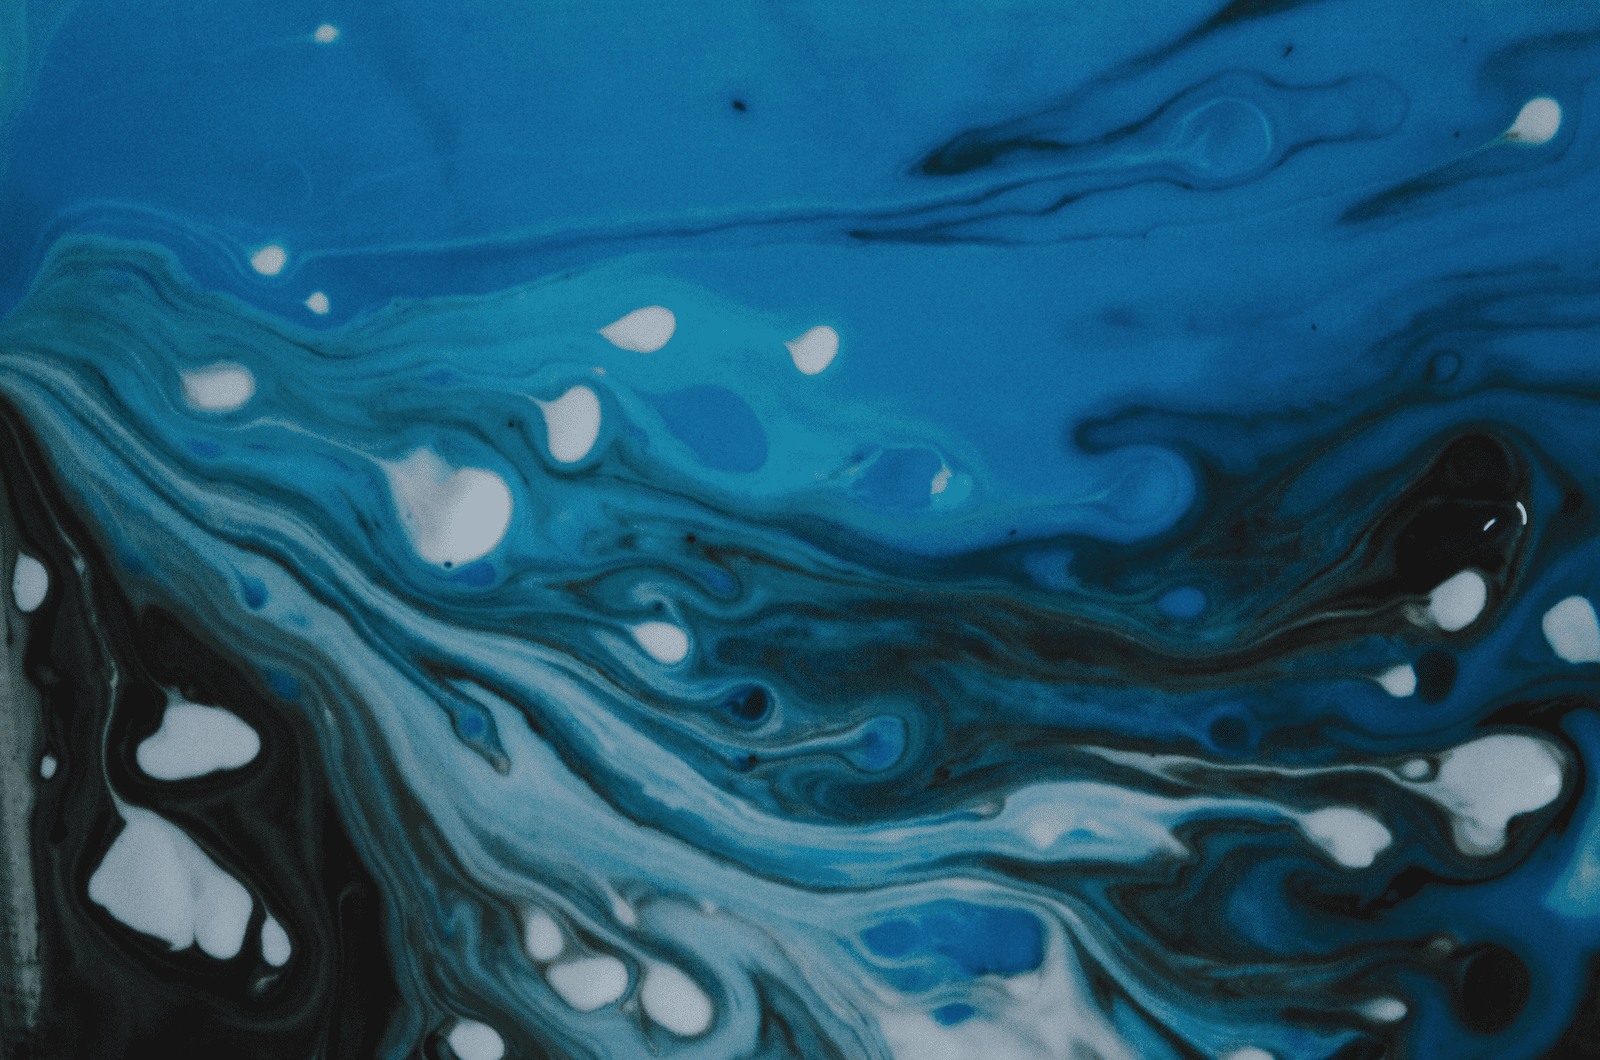
When painting with watercolors, blending colors can be a great way to give your artwork depth and create interesting textures. When it comes to blending, there are three main techniques you should know about: wet-on-dry, wet-on-wet, and dry brushing.
- Wet-on-Dry: This is the most basic technique for blending watercolor paints. To do this, apply paint onto paper that has already dried completely. Then use a clean brush loaded with clean water to soften the edges of the paint.
- Wet-on-Wet: This involves applying two layers of different colors on top of each other while both are still wet. The trick here is timing—you need to wait until just before the first layer dries to add more color without mixing them too much.
- Dry Brushing: For this method, load a dry brush with paint then dab it across the canvas so only a little bit of color shows up at once. You can also use a palette knife or even a cotton swab instead of a brush if desired! With this technique, you'll be able to blend colors subtly and easily create interesting texture effects.
These three methods will help you get started when it comes time to blend colors on your canvas. Now let's move on to the finishing touches...
Finishing Touches
Now that you've gone through the basics of watercolor painting, it's time to think about some finishing touches. The sky is the limit here - you can use other materials, like pastels or colored pencils, to add texture and depth to your creation. You could also try experimenting with different brush techniques, such as stippling or dry-brush strokes, for a unique look.
Adding highlights and shadows will help bring out certain elements in your work. You don't have to be an expert at this right away; just take your time and experiment until you find what looks best for each piece.
If you're not sure how to start adding these effects, practice on scrap paper before attempting it on your finished painting.
To make sure everything comes together nicely when you're done, remember not to overwork any areas. Keep things light and delicate - too much detail may ruin the whole effect! Be careful not to go overboard with paint either; if there are too many layers, they might end up looking muddy instead of vibrant. With patience and practice, you'll soon become a master of watercolor painting!
Conclusion
It's time to put your brush to the canvas and create a masterpiece of watercolor painting! Watercolors are an amazing way to express yourself on paper and bring vibrancy to any image. With practice, patience, and creativity you can create beautiful works of art that will dazzle even the most experienced artist.
When using watercolors take it slow; remember "Rome wasn't built in a day". You may get frustrated when starting out but if you stay patient with yourself and keep practicing you will be amazed at what you can achieve. Experimenting with different colors, techniques, and styles is also key to mastering this form of art.
With these tips in mind, I'm confident that you'll have no problem creating stunning pieces of artwork with your watercolors! Now all there's left to do is pick up your brush and let the paint flow from your imagination onto the canvas - just make sure not to forget the importance of having fun while doing so!
