Tips and Tricks for Painting Ceramic Figurines Like a Pro
Hey there, ceramic figurine painting enthusiast! Are you looking to add a bit of flair and personality to your favorite pieces? Look no further – I'm here to show you how it's done. With my expert guidance, we'll explore the basics of painting ceramics so that your figurines can have a unique look all their own.
Painting ceramics is an art form that takes some practice to perfect but don't worry - with a few tips and tricks up your sleeve, you'll be able to create beautiful designs on any ceramic figurine in no time. From prepping the surface for the paint to finishing off the piece with a protective sealant, this article will provide everything you need to know about painting ceramic figurines like a pro.
Now let's get started! Together we'll learn exactly what it takes for successful ceramic painting every single time. So grab those brushes and prepare yourself for an exciting journey into the world of ceramic decorating!
Materials Needed
Let's face it: painting ceramic figurines is an art form, a challenge for even the most experienced artists. You can't just jump in and start slapping paint on your beloved trinkets! No, no - you'll need some essential materials before starting any project with these little figures.
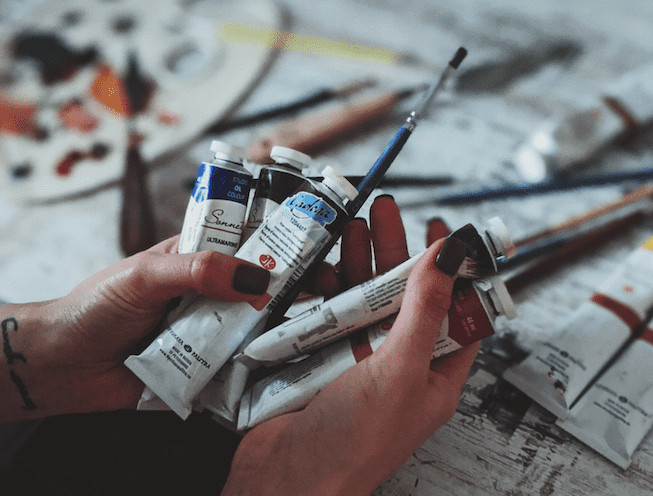
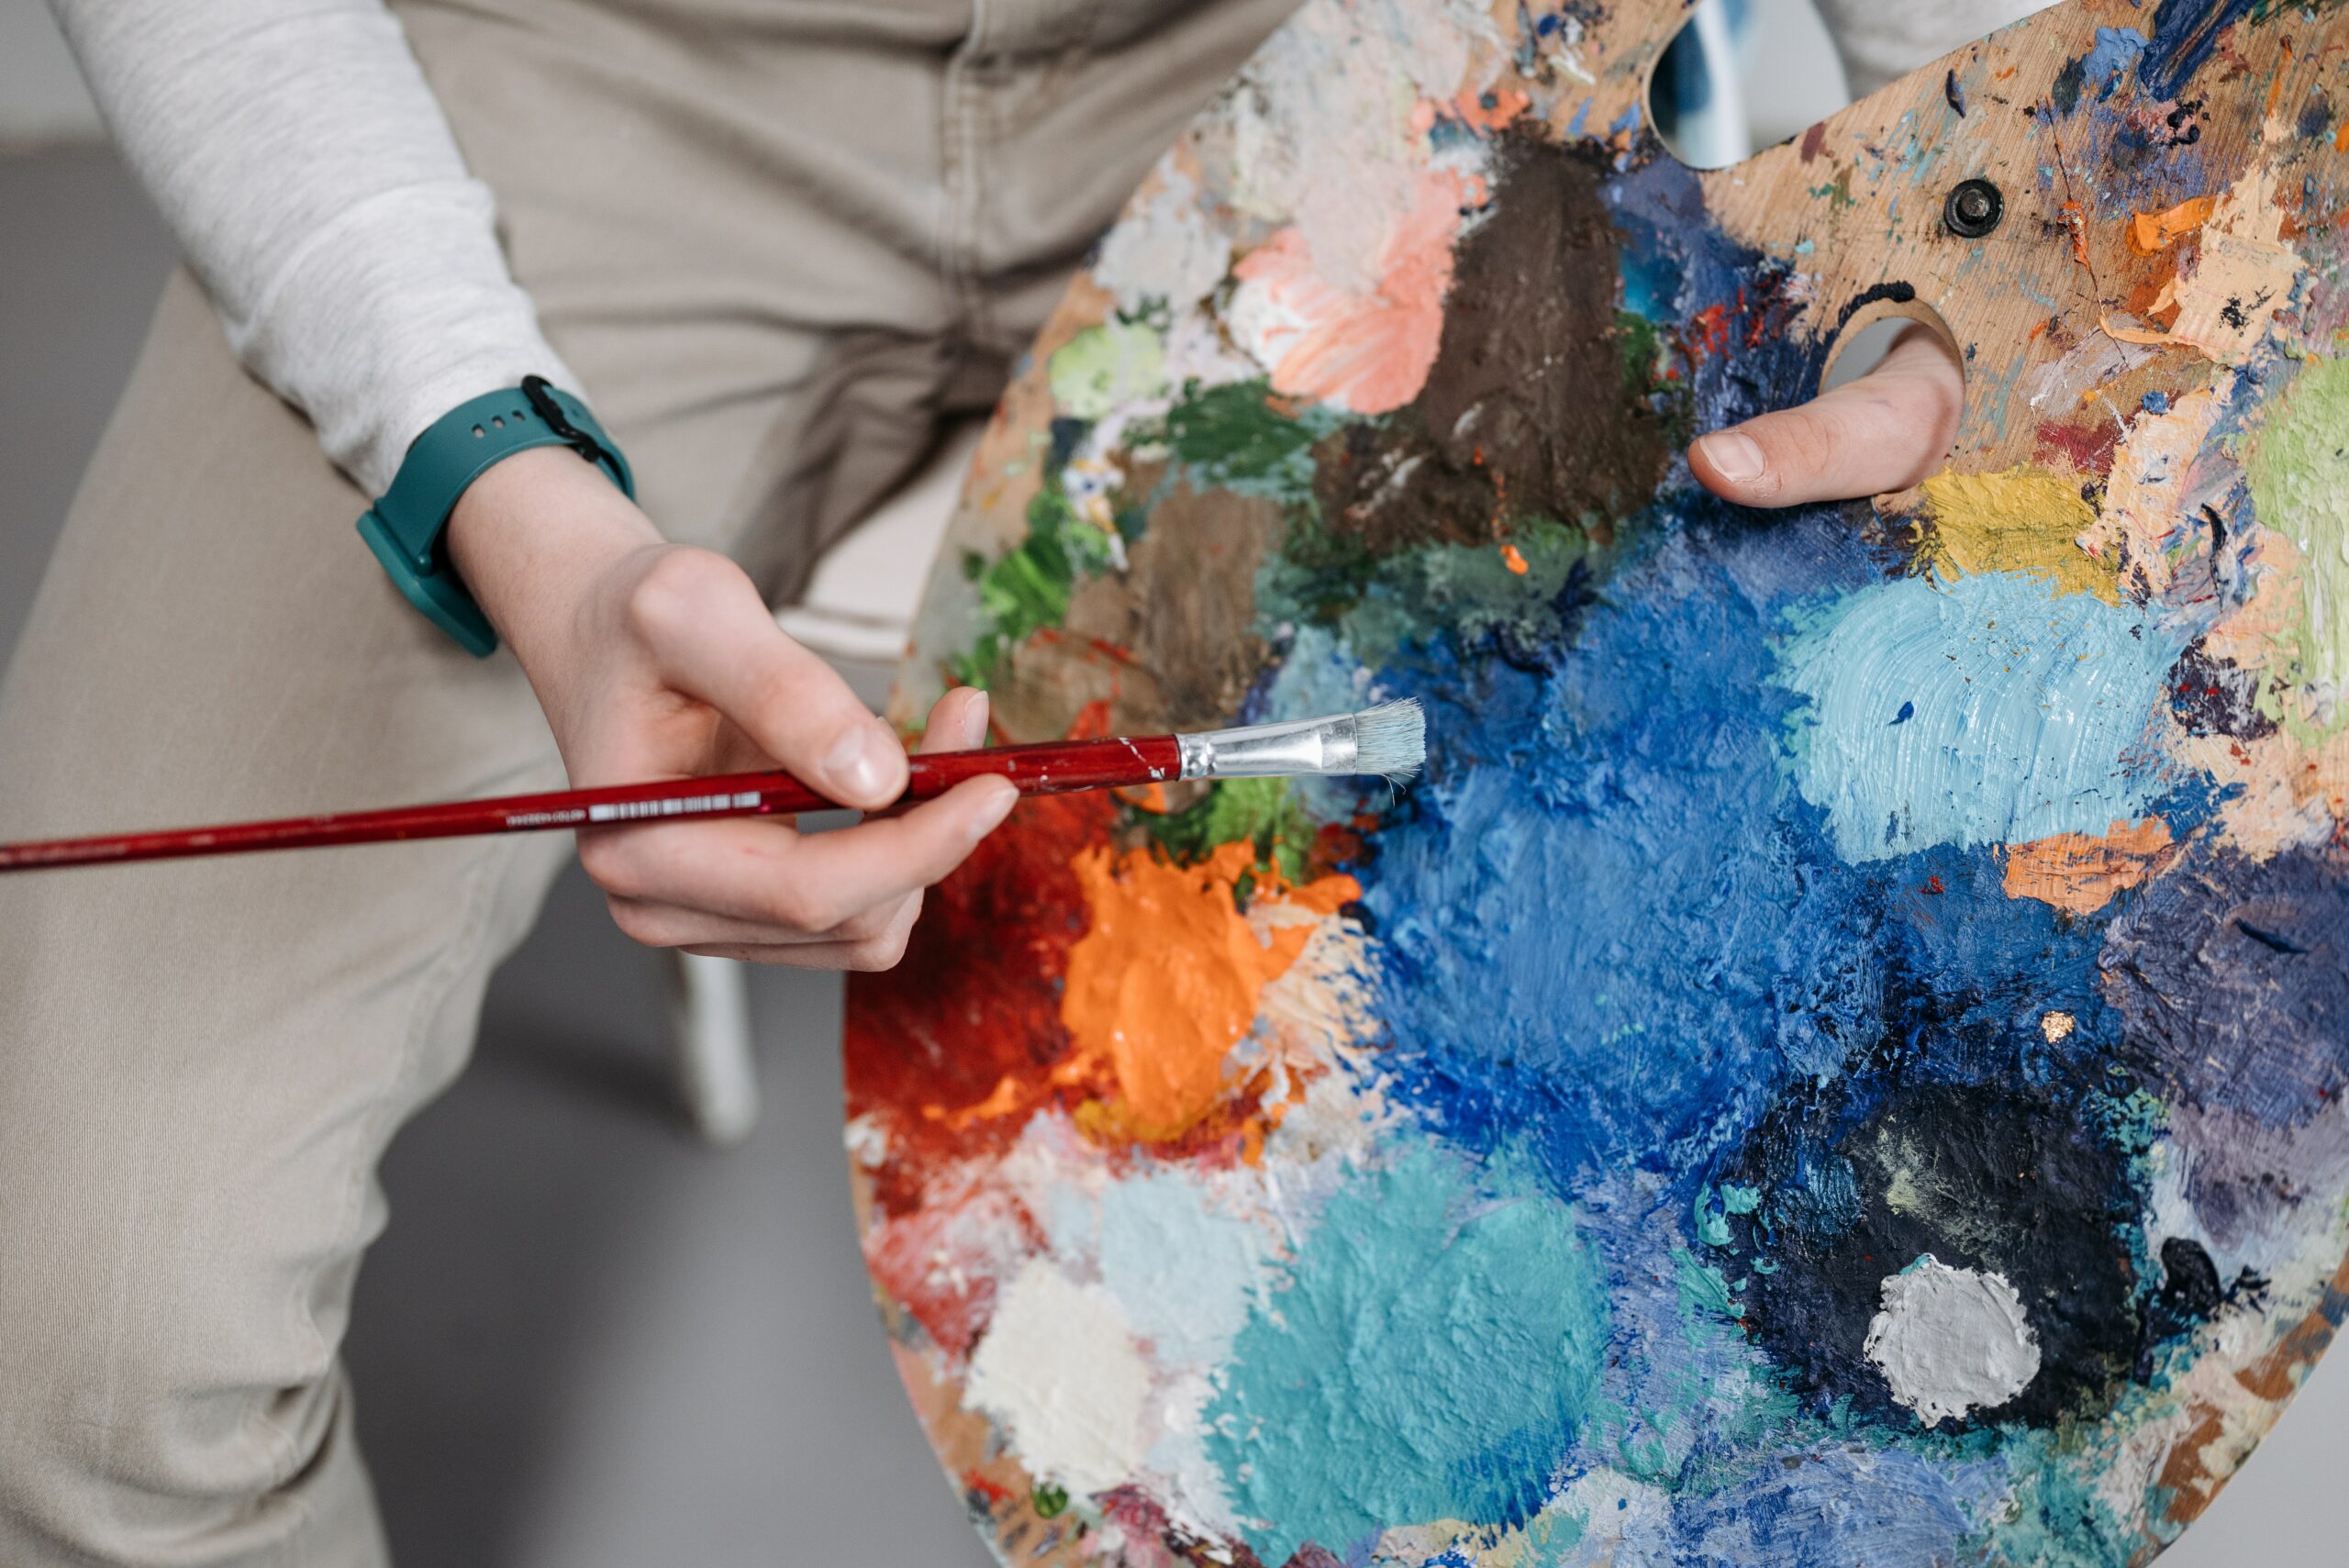
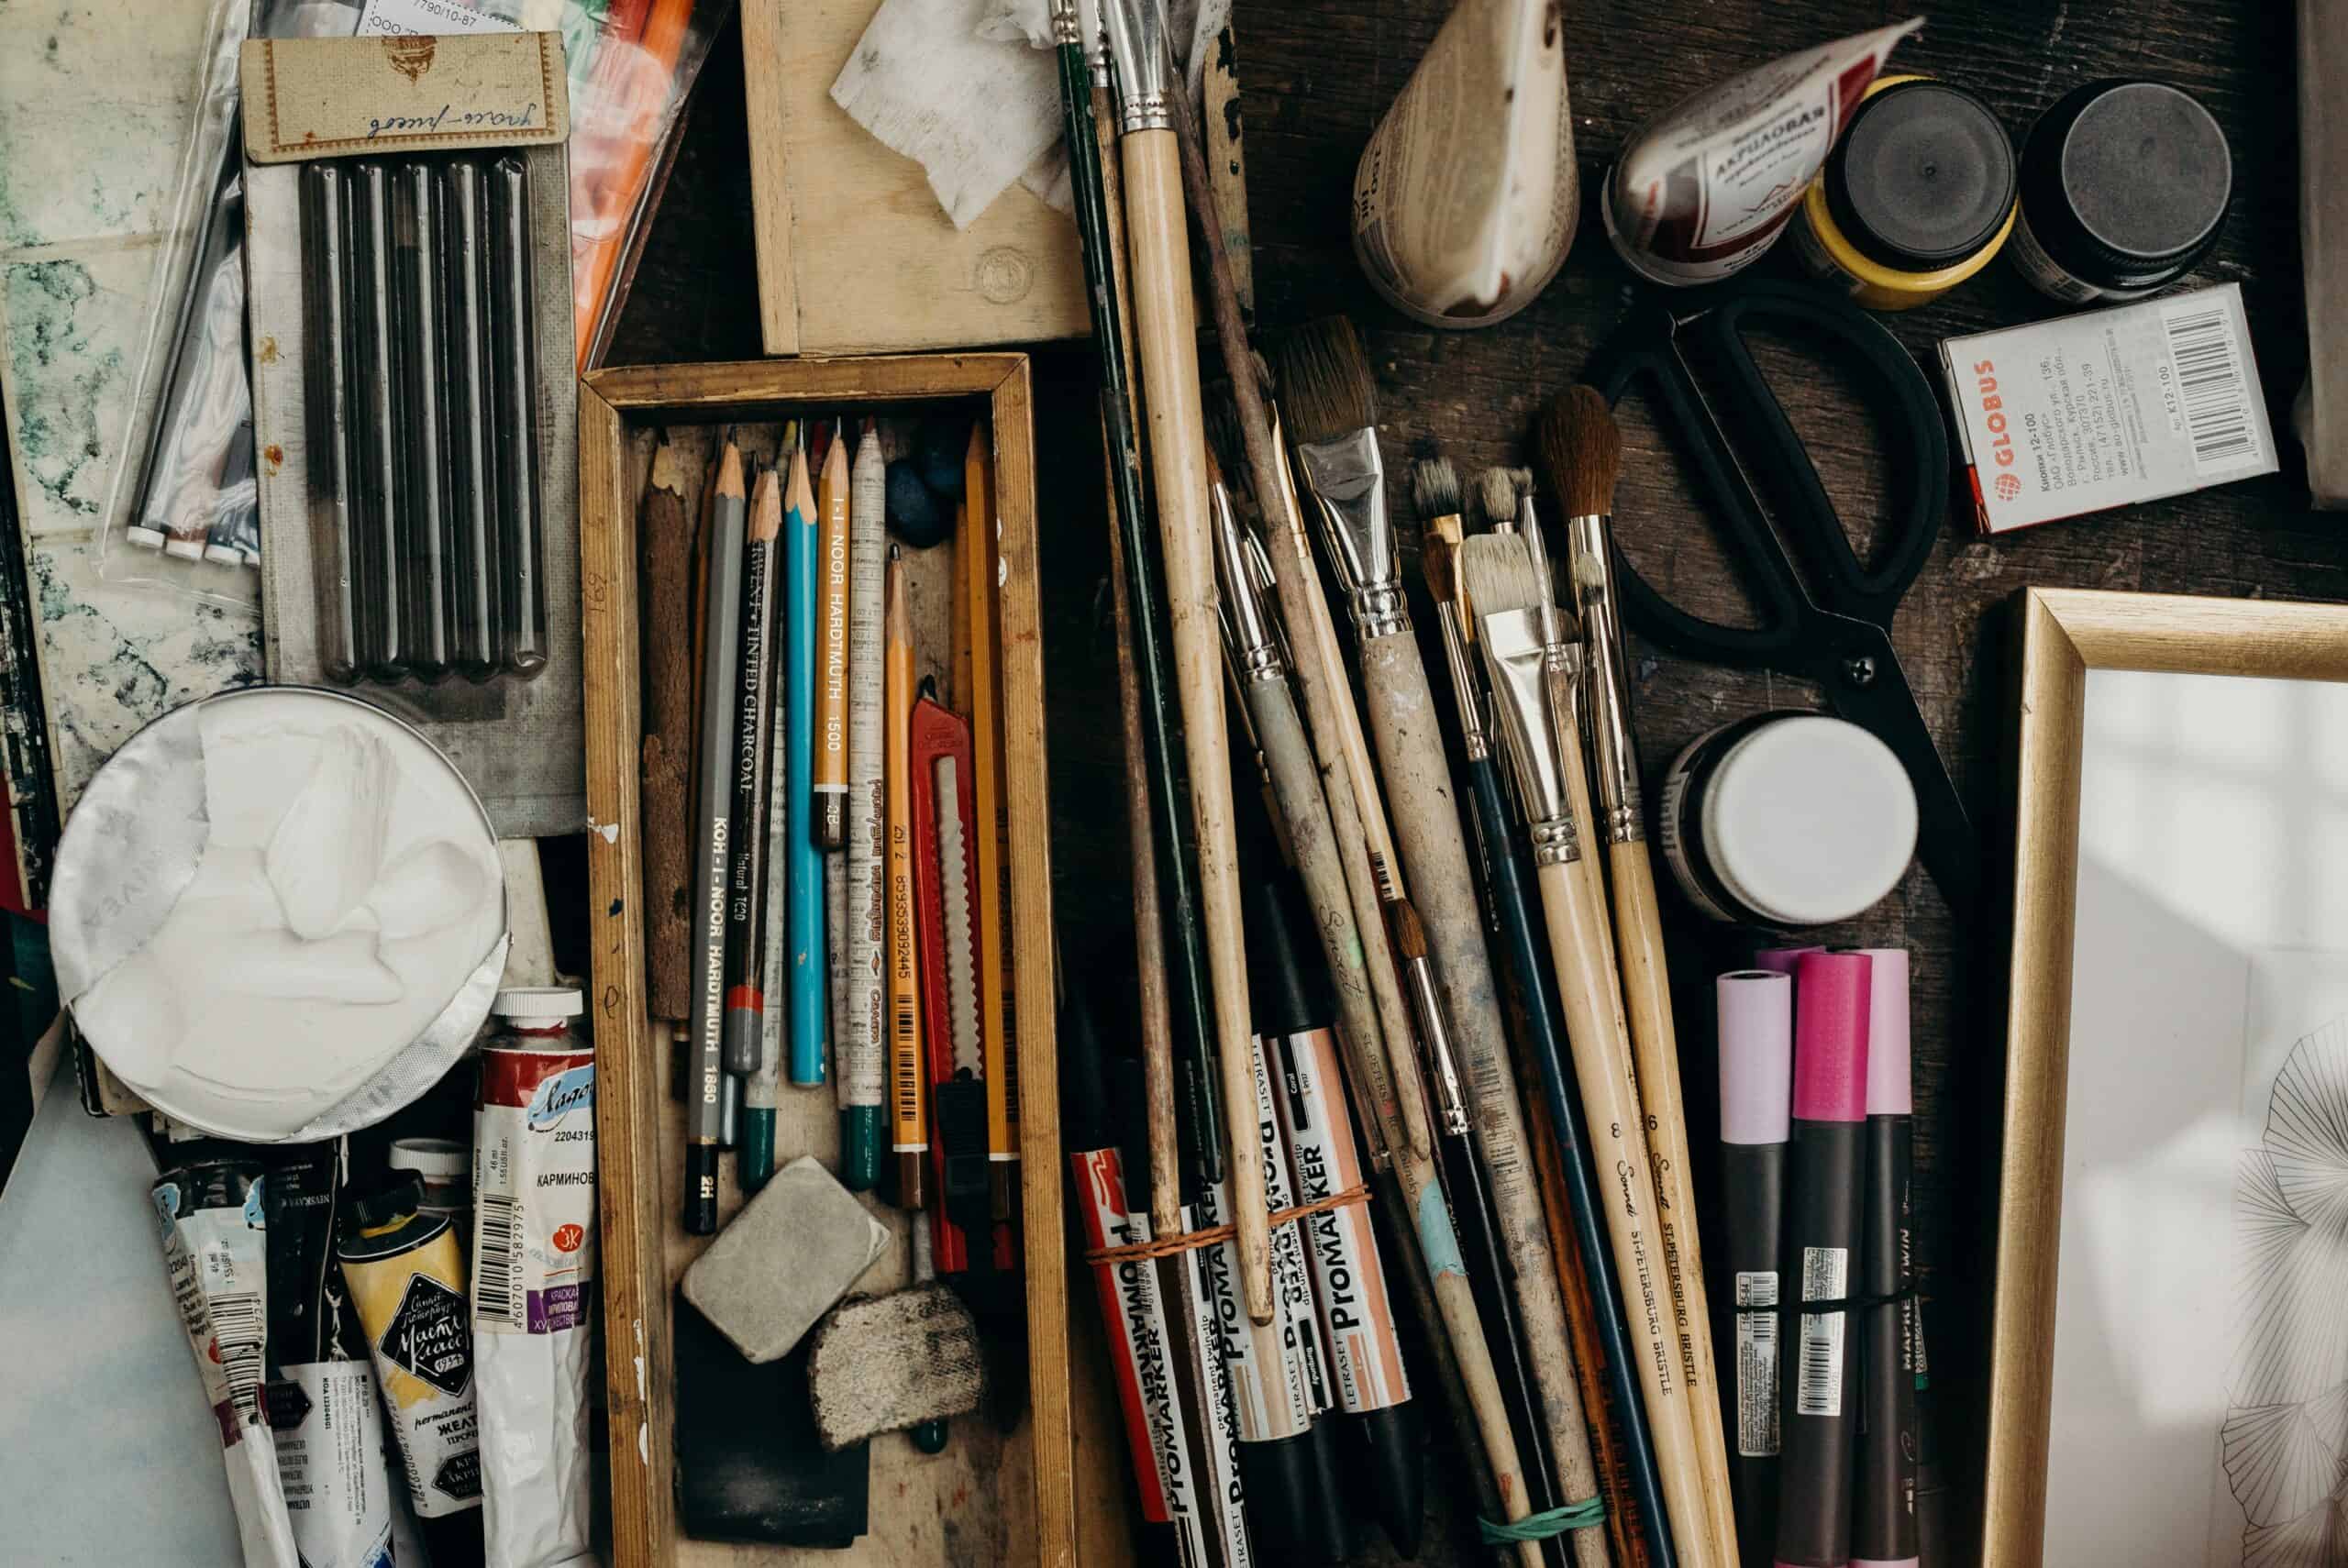
Of course, you'll need to start with...ceramic figurines! It goes without saying. But what else should be in your creative arsenal? Paintbrushes are essential; select from smaller round brushes for details or larger flat brushes if broader strokes are needed. Craft paints come in many colors, so pick which ones will work best with your vision of the finished piece. Sealant glaze helps protect the surface of the figurine once painted and gives a glossy finish. Finally, sandpaper comes in handy whenever minor sculpting needs to be done to remove imperfections or create texture.
Now that all materials have been gathered together, let's move on to preparing the figurine...
Preparing The Figurine
Preparing a ceramic figurine is an essential part of the painting process. Before applying any paint, it's important to take the necessary steps to prepare the surface for a successful outcome. The first step in this process is cleaning and removing all dirt from the ceramic piece. This can be done with warm water and dish soap, using a soft cloth or sponge. Afterward, you'll want to sand the entire area lightly so that you have a smooth base for priming later on. Sandpaper works best for this job; however, if there are intricate details that require more attention, consider using an emery board instead.
Once your ceramic figure has been cleaned and sanded down, it's time to prime it before painting. Primer helps create an even base coat which allows your colors to stick better while also providing extra protection against damage or fading over time. When choosing a primer, make sure it's compatible with ceramics and not just wood or metal surfaces - otherwise, you may end up damaging your figurine!
To apply primer properly, use a brush or foam roller depending on how large the surface area is that needs covering.
After allowing proper drying time between coats (check manufacturer instructions), you're now ready to start applying color!
Applying Base Coat
Now that you've prepped your ceramic figurine for painting, let's take the next step in giving it life: applying a base coat. After all, no masterpiece is complete without its canvas! When selecting paint to use on your ceramic figurine project, it’s important to remember that not all paints are created equal. Acrylic and enamel paint work best when priming the surface of a ceramic figurine- they provide great coverage and vibrant colors.
Once you have chosen the appropriate paint for your project, you can begin by using basic brushstrokes or swipes with even pressure across the entire surface. Before you start painting, be sure to practice some basic painting techniques such as dry brushing and feathering so that you can achieve a consistent look from start to finish. Also keep in mind that if any imperfections appear during this process, simply apply another layer of primer over them before moving onto the base coats.
The base coat will form the foundation for further decoration down the road - whether it’s blending and shading techniques or decorative glazes - so make sure you pay attention to detail when applying it. The right amount of effort put into this stage will ensure a beautiful finished product at the end!
Blending And Shading Techniques
Blending and shading techniques are key when painting ceramic figurines. These elements help make your creation come alive! One of the most important aspects to pay attention to is blending colors correctly. This process can be achieved by using a variety of brushes, sponges, or even just your fingers for certain paint types.
Shading enables you to bring out various details in the figurine that would otherwise not stand out as much.
You'll want to use different shades of color for this step so that the piece has some depth and dimensionality. Finally, take time to consider the type of paints used on the ceramic material; look into acrylics if you'd like an easy-to-use option with vibrant pigments and good coverage. With these tips in mind, you're ready to add those finishing touches!
Finishing Touches
The subtle beauty of ceramic figurines lies in the finishing touches. After blending and shading, it's time to add those customizing details that will truly make your work come alive.
Here are four essential steps for completing a beautiful piece:
- Enhance Your Design with Metallic Accents - Adding metallic accents to highlight features or create interesting patterns can transform an ordinary-looking piece into something extraordinary.
- Create Textured Effects - Use sponges and other tools to create texture on the surface of the figurine. You can also use stencils or stamps to imprint designs onto the clay before baking it in the oven.
- Customizing Details - Add sparkly jewels, ribbons, feathers, beads, buttons, and any other embellishments you desire to give your figurine character and charm.
- Creating Details - Paint intricate details such as eyes, hair, and clothing using fine brushes and quality paints specifically designed for ceramics.
Now that you've perfected your design with all these finishing touches, it's time to seal and glaze your masterpiece!
Sealing And Glazing
Once you've finished painting your ceramic figurine, the next step is to seal and glaze it. This process will help protect the paint from chipping or fading. There are several different types of sealants available for use when sealing and glazing a ceramic piece. Depending on what type of effect you want, there may be certain sealants that work better than others. You can also try out various techniques concerning how you apply the sealant, as this will alter the result greatly.
When deciding which type of sealant to use, take into consideration how long-lasting it should be and if it needs to be waterproof or heat resistant. Once you have chosen a suitable sealant, make sure that all areas are thoroughly covered in an even coat - pay particular attention to any crevices or raised sections where cracking could occur after firing! When applying the glaze, follow instructions carefully as some forms contain chemicals that require special handling procedures such as ventilation and safety precautions.
Lastly, once sealed and glazed, allow your ceramic figurine enough time to dry before displaying it. With proper care, it should last many years without discoloration or damage caused by wear and tear!
Displaying The Finished Piece
Once you've finished painting your ceramic figurine, it's time to find a way to show it off. There are lots of ways you can creatively display ceramic figurines, so let's look at some ideas.
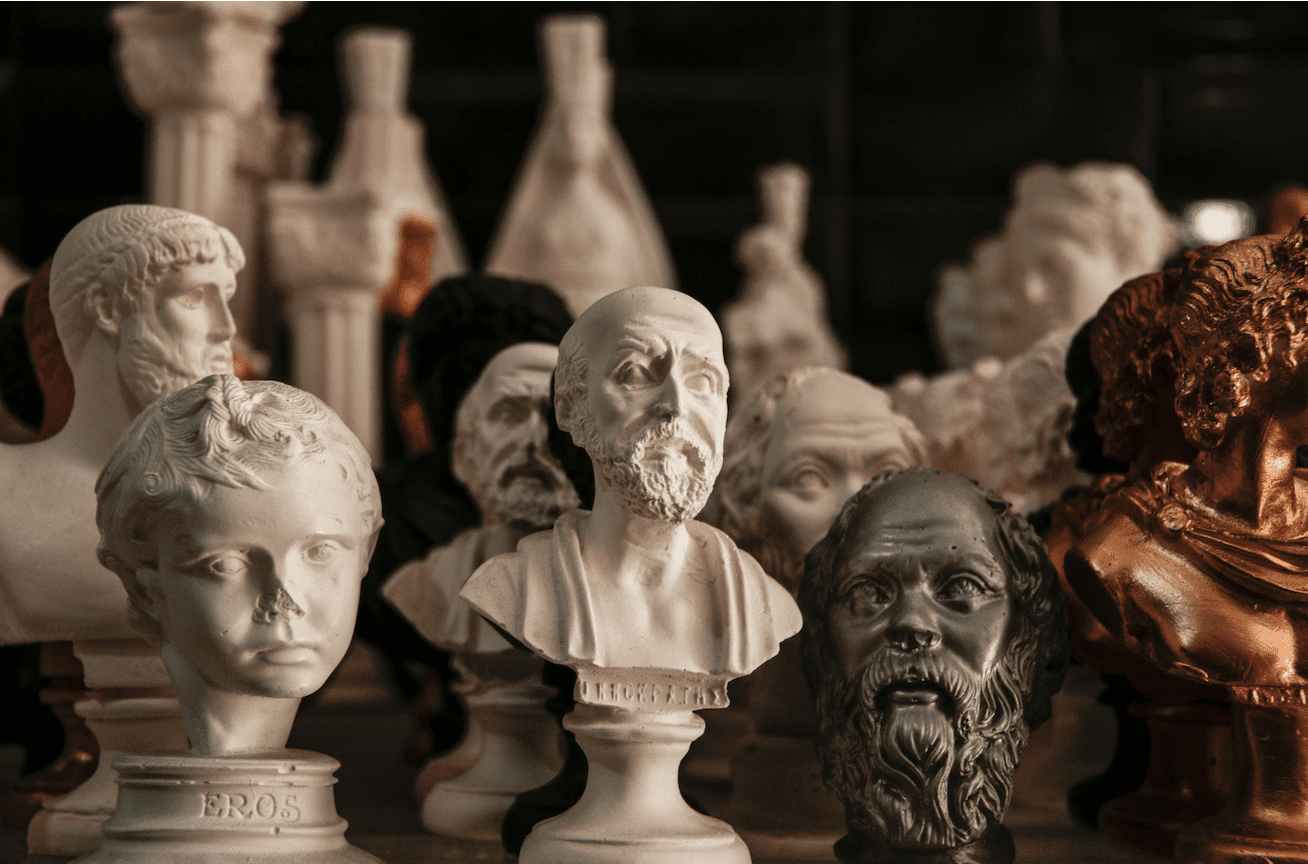
Firstly, if you want an eye-catching ceramic figurines display, consider putting them on shelves or in glass cases with spotlights pointed directly at the figures. This will create an amazing effect and allow everyone who visits your home to admire your work. You could also get creative by framing each figure or combining multiple pieces into one art piece that hangs from the wall.
Secondly, another great way to make sure your masterpiece is seen is by displaying it in a prominent place like the mantelpiece or windowsill where visitors will be drawn to its beauty immediately when they enter the room. It's also nice to add more visual elements around the figure such as plants or other decor items that bring out its colors and textures even more. Finally, why not give your friends and family members a memento of their own? Gift small versions of your creations for others to enjoy - this is a great way of showing off your talent!
Conclusion
Painting ceramic figurines is an incredibly rewarding experience. Not only do you get to create a unique piece of art, but the process helps relieve stress and can be a great source of relaxation and joy. After completing your project, there's also the satisfaction of looking back at what you accomplished with your own hands!
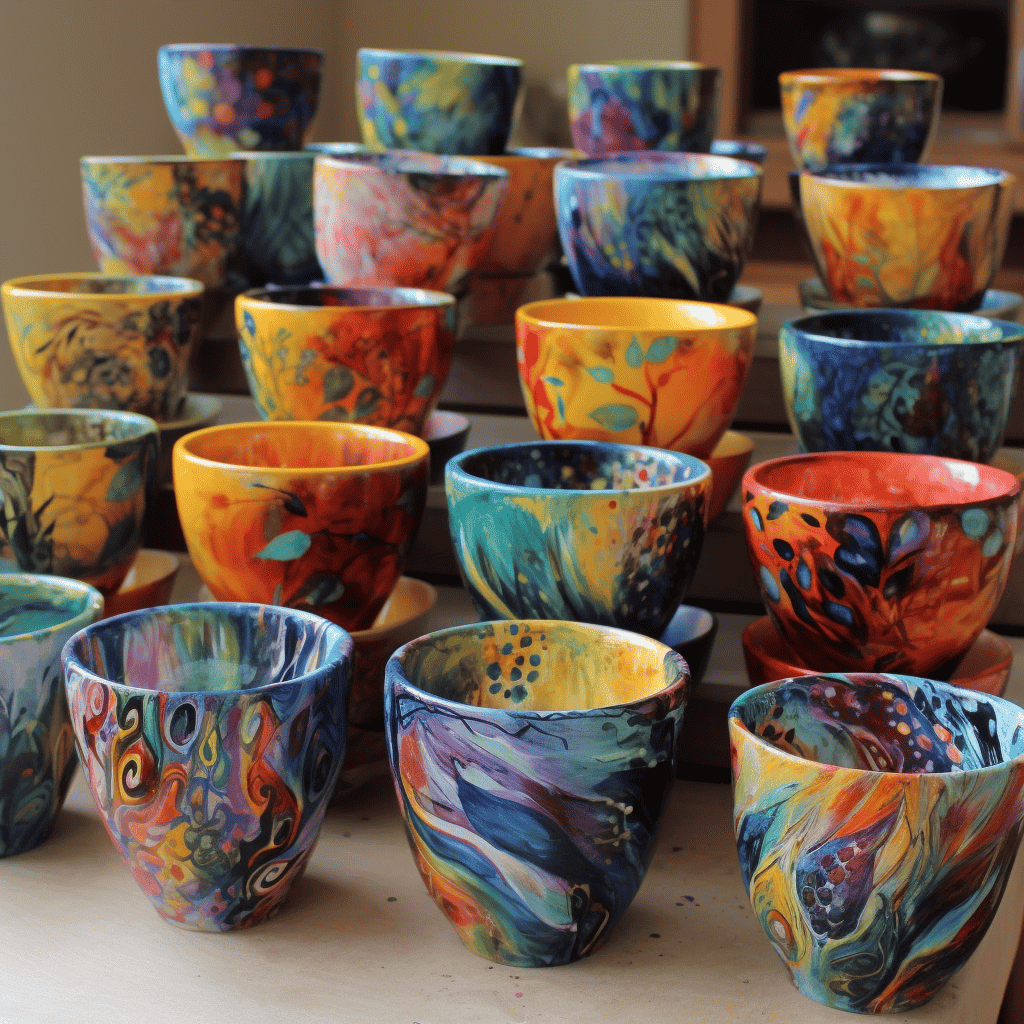
It’s estimated that up to 90% of first-time painters are so pleased with their results that they decide to begin collecting and painting more pieces. The sky’s the limit when it comes to creating stunning works of art out of these little figurines - from bold color combinations to intricate details, your imagination is all you need to make something truly special.
So don't hesitate any longer - pick up some supplies today and start painting! With just a few simple steps, you too can enjoy the therapeutic benefits of ceramic figurine painting as well as take pride in having created something beautiful for yourself or someone else.

