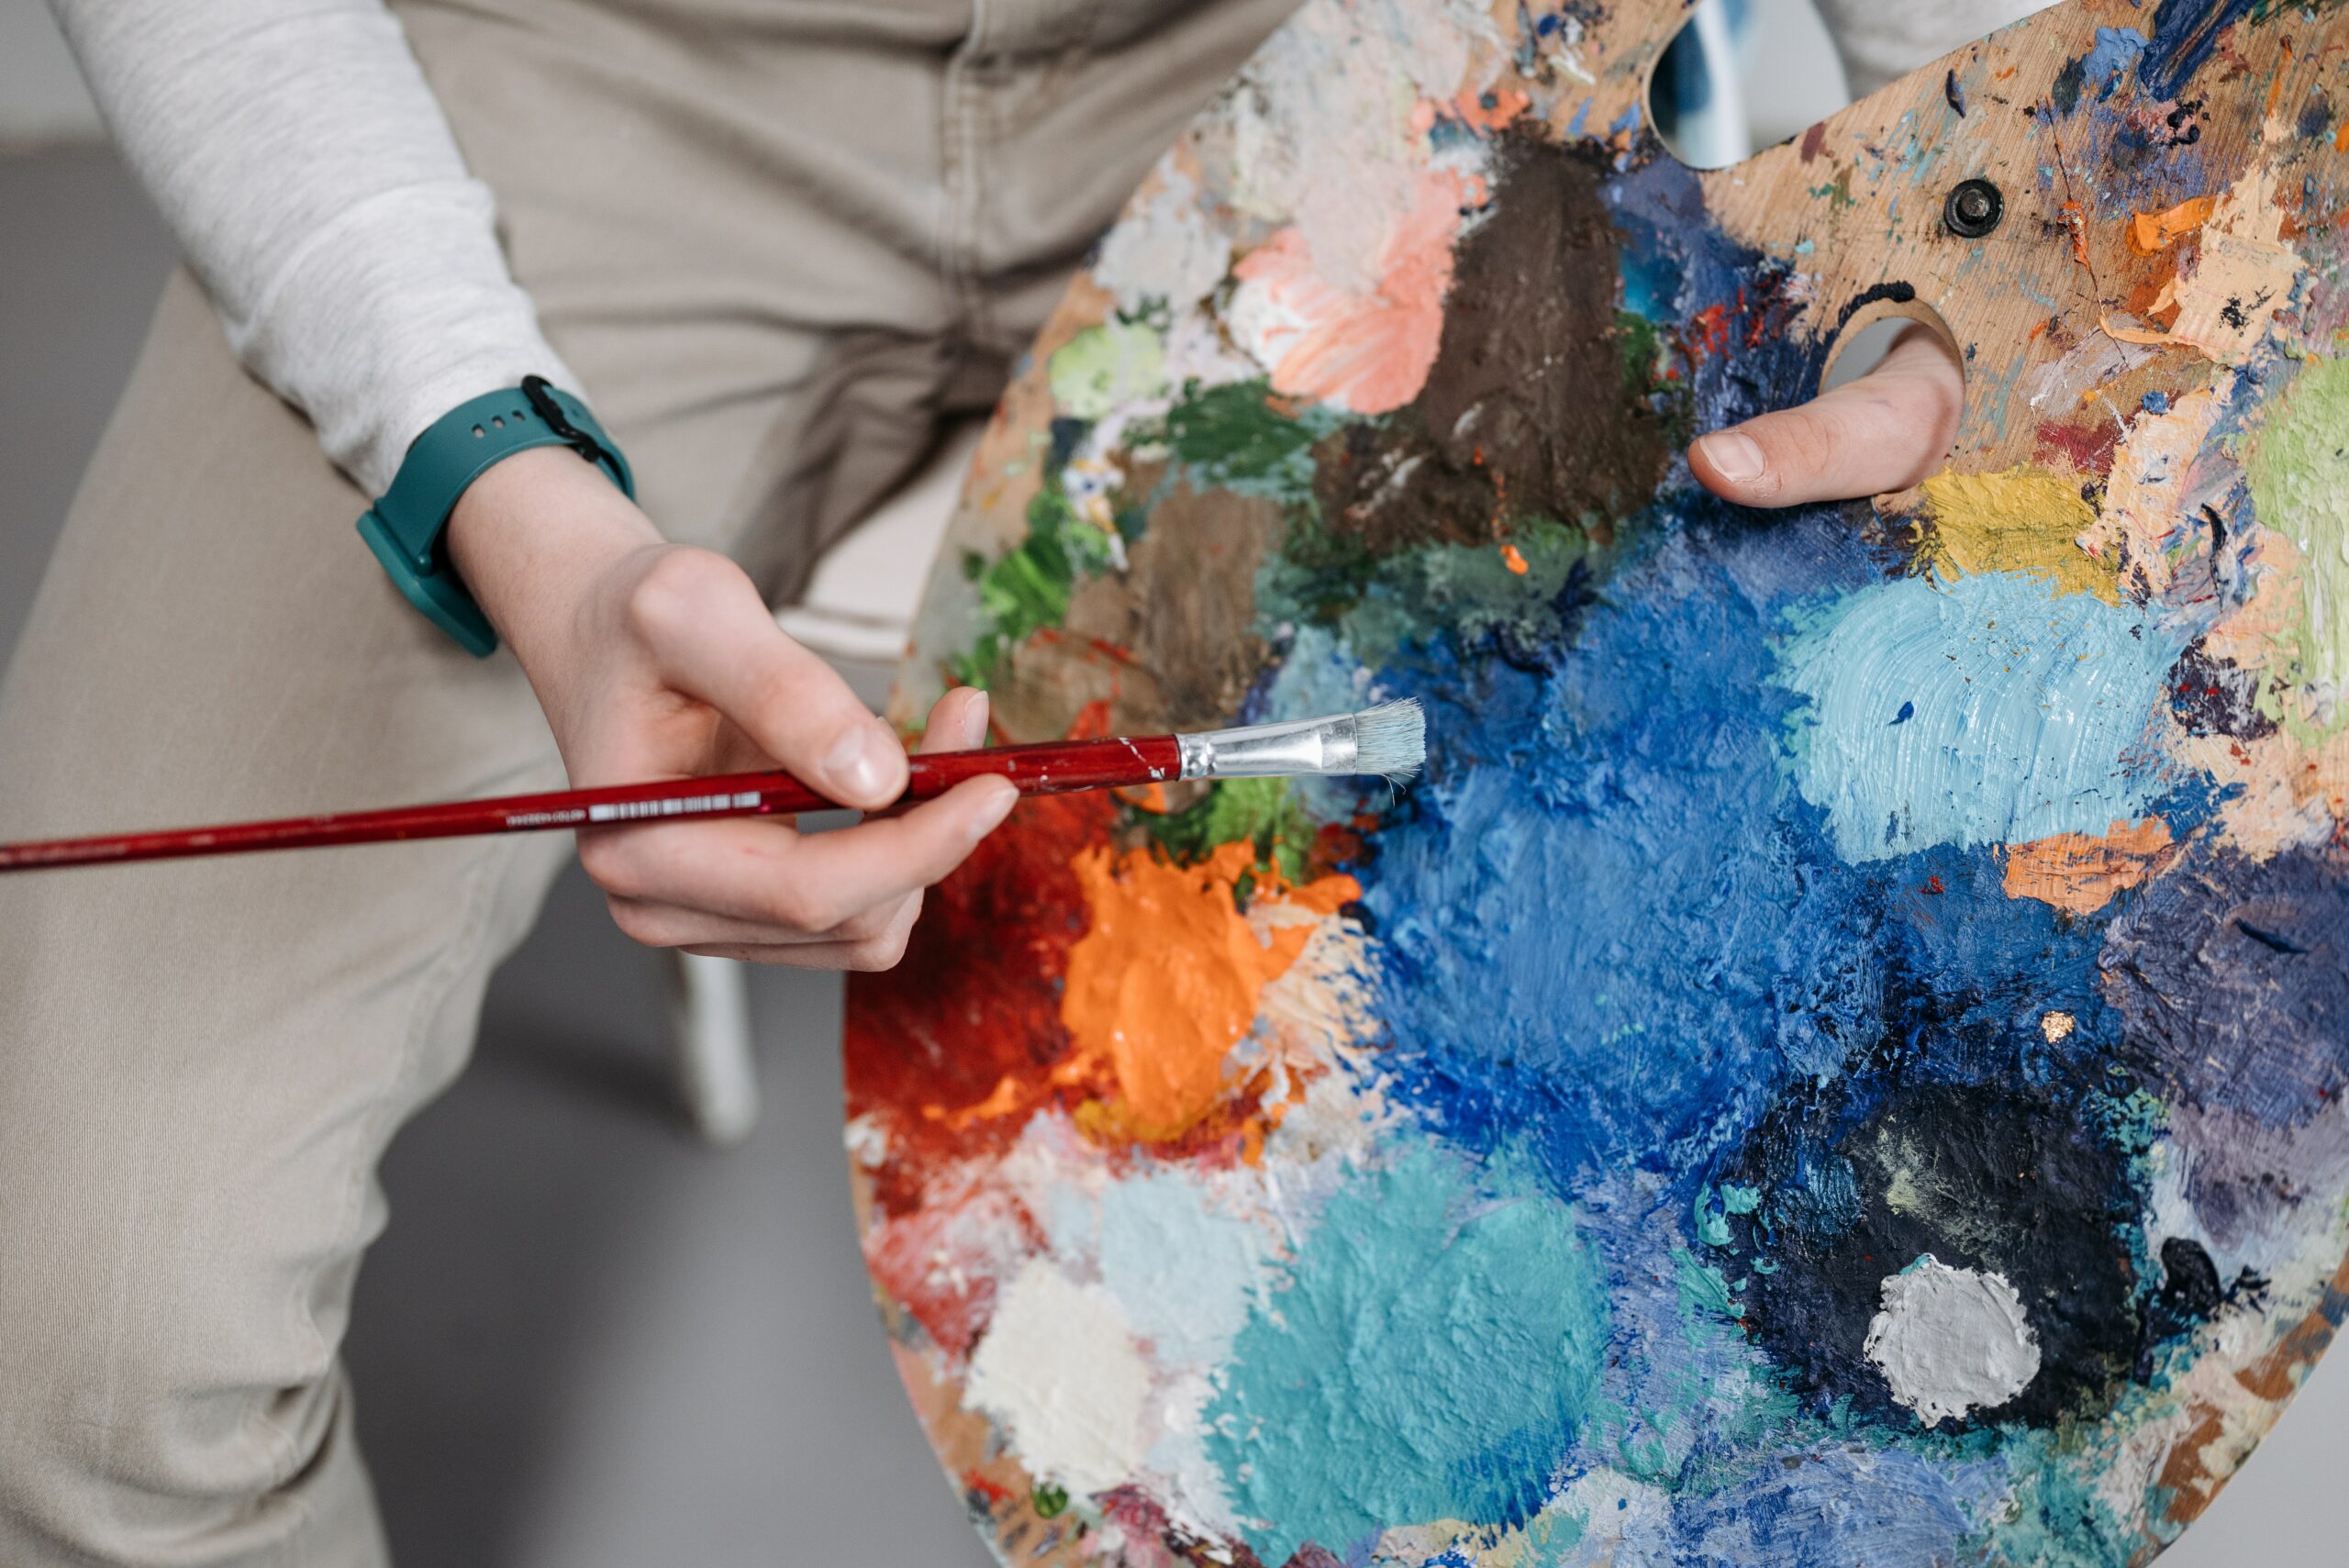
Tips and Tricks for Mixing Acrylic Paint for Airbrushing
Are you an artist looking to take your art to the next level? Are you ready to learn how to mix acrylic paint for airbrush use? If so, then this article is just what you need! As a specialist in acrylic mixing techniques, I'm here to help guide you along the way. Let's get started and explore the fascinating world of airbrushing with acrylic paints.
The process of mixing acrylics for airbrush work can be both fun and challenging. It takes practice and patience as well as knowledge of these materials before achieving desirable results. But don't worry, I'll break down all the steps so that anyone can master this skill quickly and easily. From choosing the right colors and proportions, prepping supplies, and getting familiarized with the equipment - we’ll cover it all!
So if you're up for the challenge of taking your artistry one step further, let's dive into all there is to know about properly preparing acrylic paint for airbrush use. With some tips from yours truly, you'll soon be on your way to creating stunning artwork using this exciting medium!
Understanding The Basics
Mixing acrylic paint for airbrush painting is an art form. It requires a good understanding of the basics such as color theory, mixing techniques, and materials needed to get started. As an acrylic paint specialist, I'm here to provide you with the necessary information so that you can create beautiful works of art!
When it comes to mixing acrylic paint for your airbrush painting projects, there are several key components to take into consideration. You'll need to understand color theory to mix colors properly and come up with combinations that will look great on canvas or other surfaces. Additionally, you'll want to familiarize yourself with various techniques used for combining different paints - such as wet-on-wet or dry brushing - to achieve desired effects. Finally, make sure you have all the materials required before starting your project: quality paints, appropriate mediums (such as glazing liquid), brushes, and an airbrush machine fit for spraying fine mists of pigment onto a surface.
Now that we've gone over some important painting basics and covered what supplies you'll need when mixing acrylic paint for airbrushing purposes, let's move on to preparing your supplies.
Preparing Your Supplies
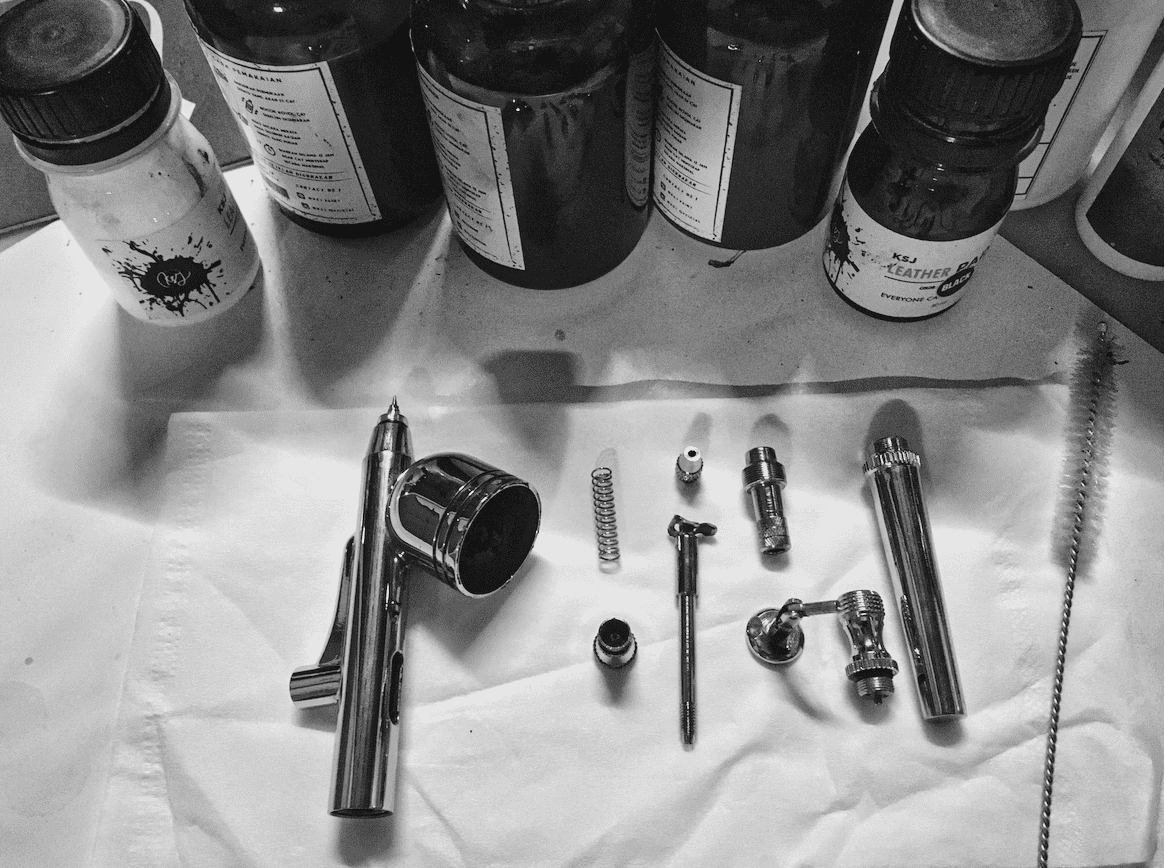
Once you understand the basics of airbrush painting, it’s time to prepare your supplies. Acrylic paint is a great choice for airbrushing because of its versatility and quick drying capabilities. When mixing acrylic paint for use in an airbrush, you will need the right tools and techniques.
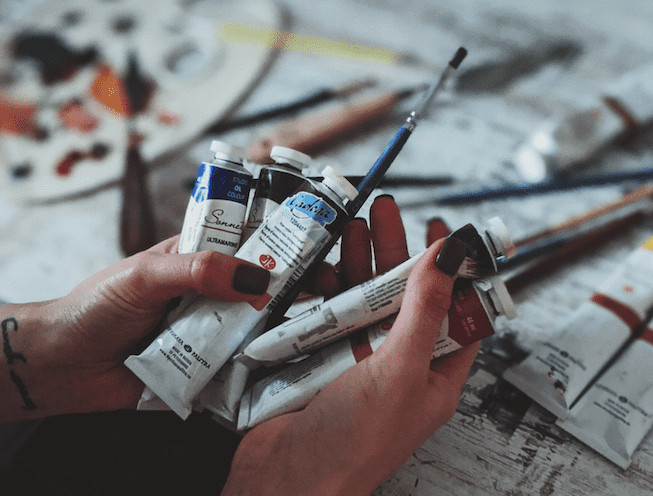
The first step in preparing acrylic paint for airbrushing is to ensure that you have all the necessary supplies on hand. You'll need to purchase both the acrylic paints and accessories such as an airbrush, cups or jars for mixing, pressure regulators, compressor hose adapters, stirring sticks, and other items needed for proper preparation. It's important to choose quality products so that your mixes are consistent each time.
Mixing acrylic paint correctly can be tricky but with practice, you’ll be able to achieve perfect consistency every time. Make sure that your ratios are accurate when combining colors as too much or too little pigment can affect how well the color covers your canvas or surface area once sprayed through an airbrush.
Once everything has been properly mixed, test out different thicknesses by adjusting the amount of thinner added until you reach desired results.
This should give you better control over how well coverage is achieved during application stages with any project involving an airbrush-applied finish.
Now that we've discussed preparation techniques let's move on to choosing colors and textures that best suit your needs!
Choosing Colors And Textures
It may sound silly, but choosing the right colors and textures for your airbrush painting project can be a bit intimidating. After all, you don’t want to ruin a potentially great piece by selecting the wrong acrylic paint combination! But fear not - with my expert tips, you’ll have no trouble finding the best hues and textures for any given situation.
To start, peruse through an expansive acrylic color palette until something catches your eye or speaks to you. You might find yourself drawn towards certain combinations of colors that will create interesting airbrush effects when combined and sprayed onto canvas. If in doubt, it never hurts to consult other experienced painters and see if they have any advice about what works well together!
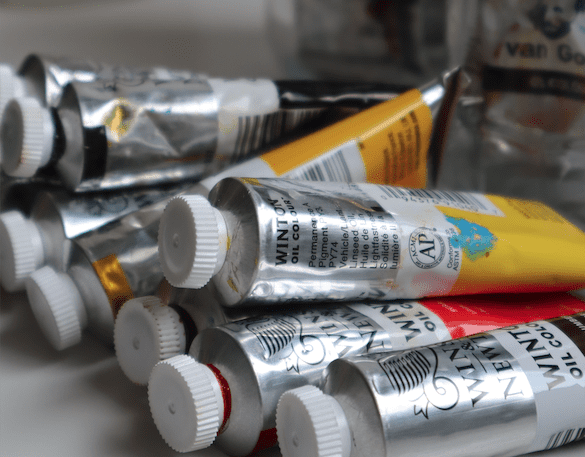
Once you’ve identified the colors that work well together, it's time to think about how to mix them properly so they'll flow smoothly out of your airbrush gun. This is where having some basic paint mixing tips comes in handy – like always starting with lighter shades first and then adding darker ones on top as needed. Not only will this ensure even coverage across your artwork, but also provides subtle gradients between different tones that really make each composition shine.
Thinning The Paint
When it comes to thinning acrylic paint for airbrushes, some tips should be kept in mind. First and foremost, the thinner used must be specifically designed for use with acrylic paints. It is best to start with a 1:1 ratio of acrylic paint to thinner, then adjust as necessary depending on the desired consistency. If the paint is too thick after mixing, add thinner until the correct viscosity is achieved. The key here is to not get carried away; adding too much thinner will cause the color intensity to fade significantly.
It's important to remember that different types of paints require different amounts of thinning. For instance, if you're using gloss or semi-gloss finishes, they usually need less thinning than matte products do.
Additionally, when working with metallic paints or other specialty formulas, make sure to double-check how much thinner should be added before beginning your project.
Testing the consistency of your mixture once it has been blended can help ensure that everything has been mixed correctly. To test the mixture, dip a brush into it and draw a line onto a piece of paper; this will allow you to see how well it flows from the brush and determine whether any additional adjustments are needed before using it in an airbrush gun.
Testing The Consistency
Some might think that testing the consistency of acrylic paint for an airbrush is a complicated process, but it's quite simple. First and foremost, you'll need to mix your own custom-made acrylic paint; this can be done by combining base colors with airbrush mediums as well as other additives like flow improvers or retarders to get the desired effect. With all of these components mixed, you can then test the consistency of your acrylic paint before using it with an airbrush.
The most important aspect of testing the consistency is determining if the solution is too thick or thin for use in an airbrush. To do this, simply grab a clean stirrer and dip it into your mixture - if it comes out dripping from the end, then your mixture is too thin and needs more pigment added; on the other hand, if there isn't enough fluid running off from the stirrer after being dipped into the mixture, then it's too thick and requires additional amounts of thinner or flow improver. Once you've achieved a good balance between thickness and thinness (which should look somewhat similar to heavy whipping cream), your acrylic paint will be ready for use!
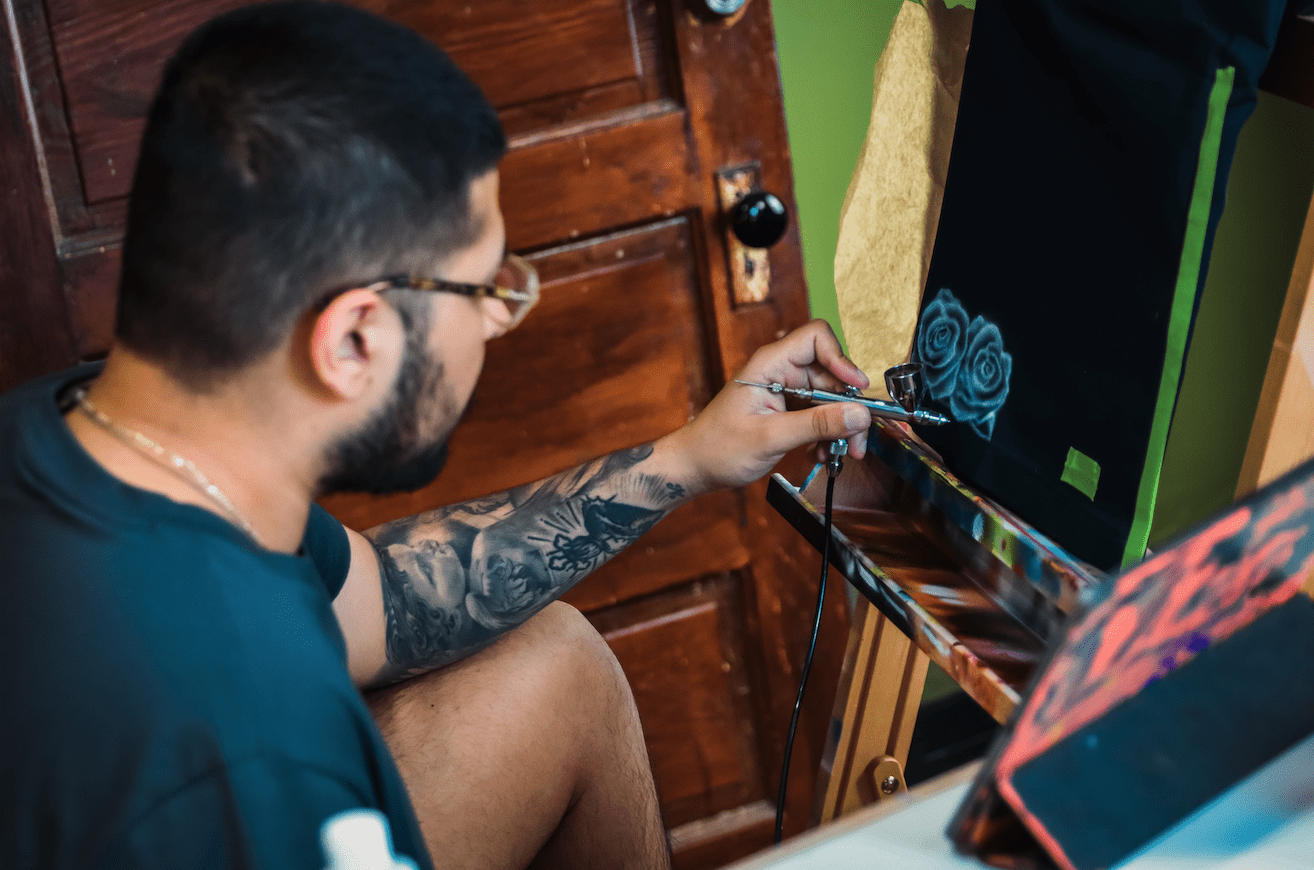
Now that we have our perfect blend of ingredients with just the right amount of thickness/thinness, we're one step closer to filling up our airbrush chamber so we can start painting.
Filling The Airbrush Chamber
Now that you have tested the consistency of your acrylic paint, it is time to fill up the airbrush chamber. First and foremost, make sure to use high-quality acrylic paint for this process - anything else will not work as well with an airbrush! When adding the paint into the chamber, be mindful of how much you are pouring in - too much can cause clogging or inconsistent spraying.
The ideal ratio for filling an airbrush should be about one part paint and two parts thinning solution. This combination allows for smooth coverage when sprayed onto your project surface.
It is also important to remember that you may need to adjust this ratio depending on the type of painting technique you are using. Lastly, if any excess paint remains inside the chamber after every use, make sure to clean out the nozzle thoroughly with water before storing away your airbrush. Proper maintenance and cleaning of your equipment ensure optimal performance throughout its lifespan!
Cleaning Your Airbrush
I'm an acrylic paint mixing specialist and I want to share some tips on cleaning your airbrush. Cleaning your airbrush regularly is essential for achieving the best results from your artwork, whether it's painting a model car or creating beautiful abstract art. Here are 4 basic steps you need to take to properly clean your airbrush:
- Gather necessary supplies - For proper airbrush cleaning, you'll need specialized tools such as special cleaners made specifically for airbrushes, compressed air cans, cotton swabs, paper towels, and toothpicks.
- Preparation - Before beginning any cleaning procedure with your airbrush make sure that you empty out all of the residual paint still inside by using compressed air or flushing solvent through the brush head multiple times until no more residue comes out.
- Deep Cleaning - Use cotton swabs dipped in the cleaner solution to thoroughly scrub every nook and cranny of the nozzle area inside of the gun body and then use a fine-toothed pick to get rid of dried paint buildup within these same areas if needed (be careful not to damage any parts). You can also soak removable components overnight in a cleaner solution before reassembling them back onto the tool itself afterward.
- Final Touches - To finish off, blow away any remaining debris left behind with compressed air or running water over a strainer followed by wiping down the entire unit with damp cloths so that it’s free from smudges or fingerprints before storing away safely when finished being used.
Taking care of your equipment isn't only important for making sure that everything works correctly but also helps preserve its value over time while allowing us artists to create our best work possible!
Conclusion
Mixing acrylic paint for an airbrush is not a complicated task, but it does require some knowledge and practice. With the right supplies and tools on hand, you can master this technique quickly and easily. The most important part of mixing your acrylic paint for an airbrush is understanding the basics: choosing colors and textures that will work together; thinning the paint to the correct consistency; testing to make sure it’s just right; filling up the chamber in your airbrush and finally cleaning everything afterward.
It is like building a house from scratch—you must have all of the pieces in place before starting construction. In much the same way, if you want an amazing painting with beautiful color combinations done through an airbrush machine, having properly mixed paints is essential. Once mastered, this skill can open up many exciting opportunities for creating stunning works of art!
