How To Paint Mountains In Oil Paint
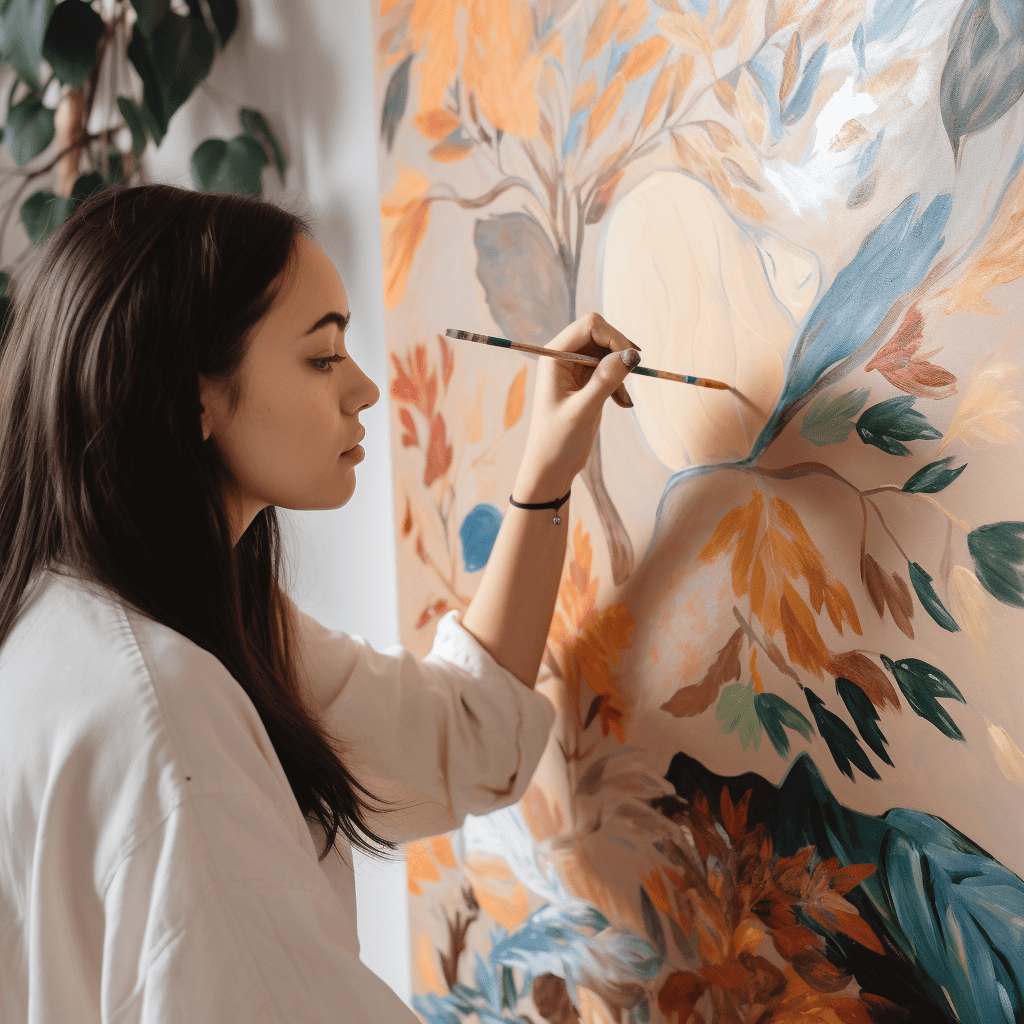
Painting mountains in oil paint is a great way to express your creativity and explore the beauty of nature. As an artist, I find it to be one of the most rewarding painting experiences that you can have. In this article, I'm going to share my tips on how to paint stunning mountain scenes with oils, so you can create something truly special.
From mixing colors for texture and depth, to blending hues and values - there's lots of techniques you'll need to master if you want to capture the majesty of these natural wonders. But don't worry - achieving beautiful results isn't as difficult as it may seem! With practice and patience, anyone can learn how to paint realistic mountain landscapes in oil.
So let's get started! Together we'll discover all the secrets behind creating amazing mountain paintings using oil paints - from choosing the right materials and preparing your canvas, through mastering various painting techniques like glazing and scumbling. Before long, you'll be well on your way to becoming an expert in capturing majestic mountain views in oil!
Preparing The Canvas
Preparing a canvas for painting mountains in oil requires careful consideration. Firstly, I recommend choosing a good quality pre-stretched canvas so you don't have to worry about stretching it yourself. To ensure the longevity of your work, use a thick cotton or linen blend that has been primed with multiple layers of gesso – this will give you an ideal surface for layering colors and achieving optimal blending effects. Secondly, sketching out your desired composition beforehand is essential; this gives you an idea of what colors and techniques to use while creating the piece. Lastly, think carefully about how much detail you want to include in your painting – this can help determine the size of canvas needed. Once all these steps are taken care of, we can move on to selecting our color palette.
Choosing The Color Palette
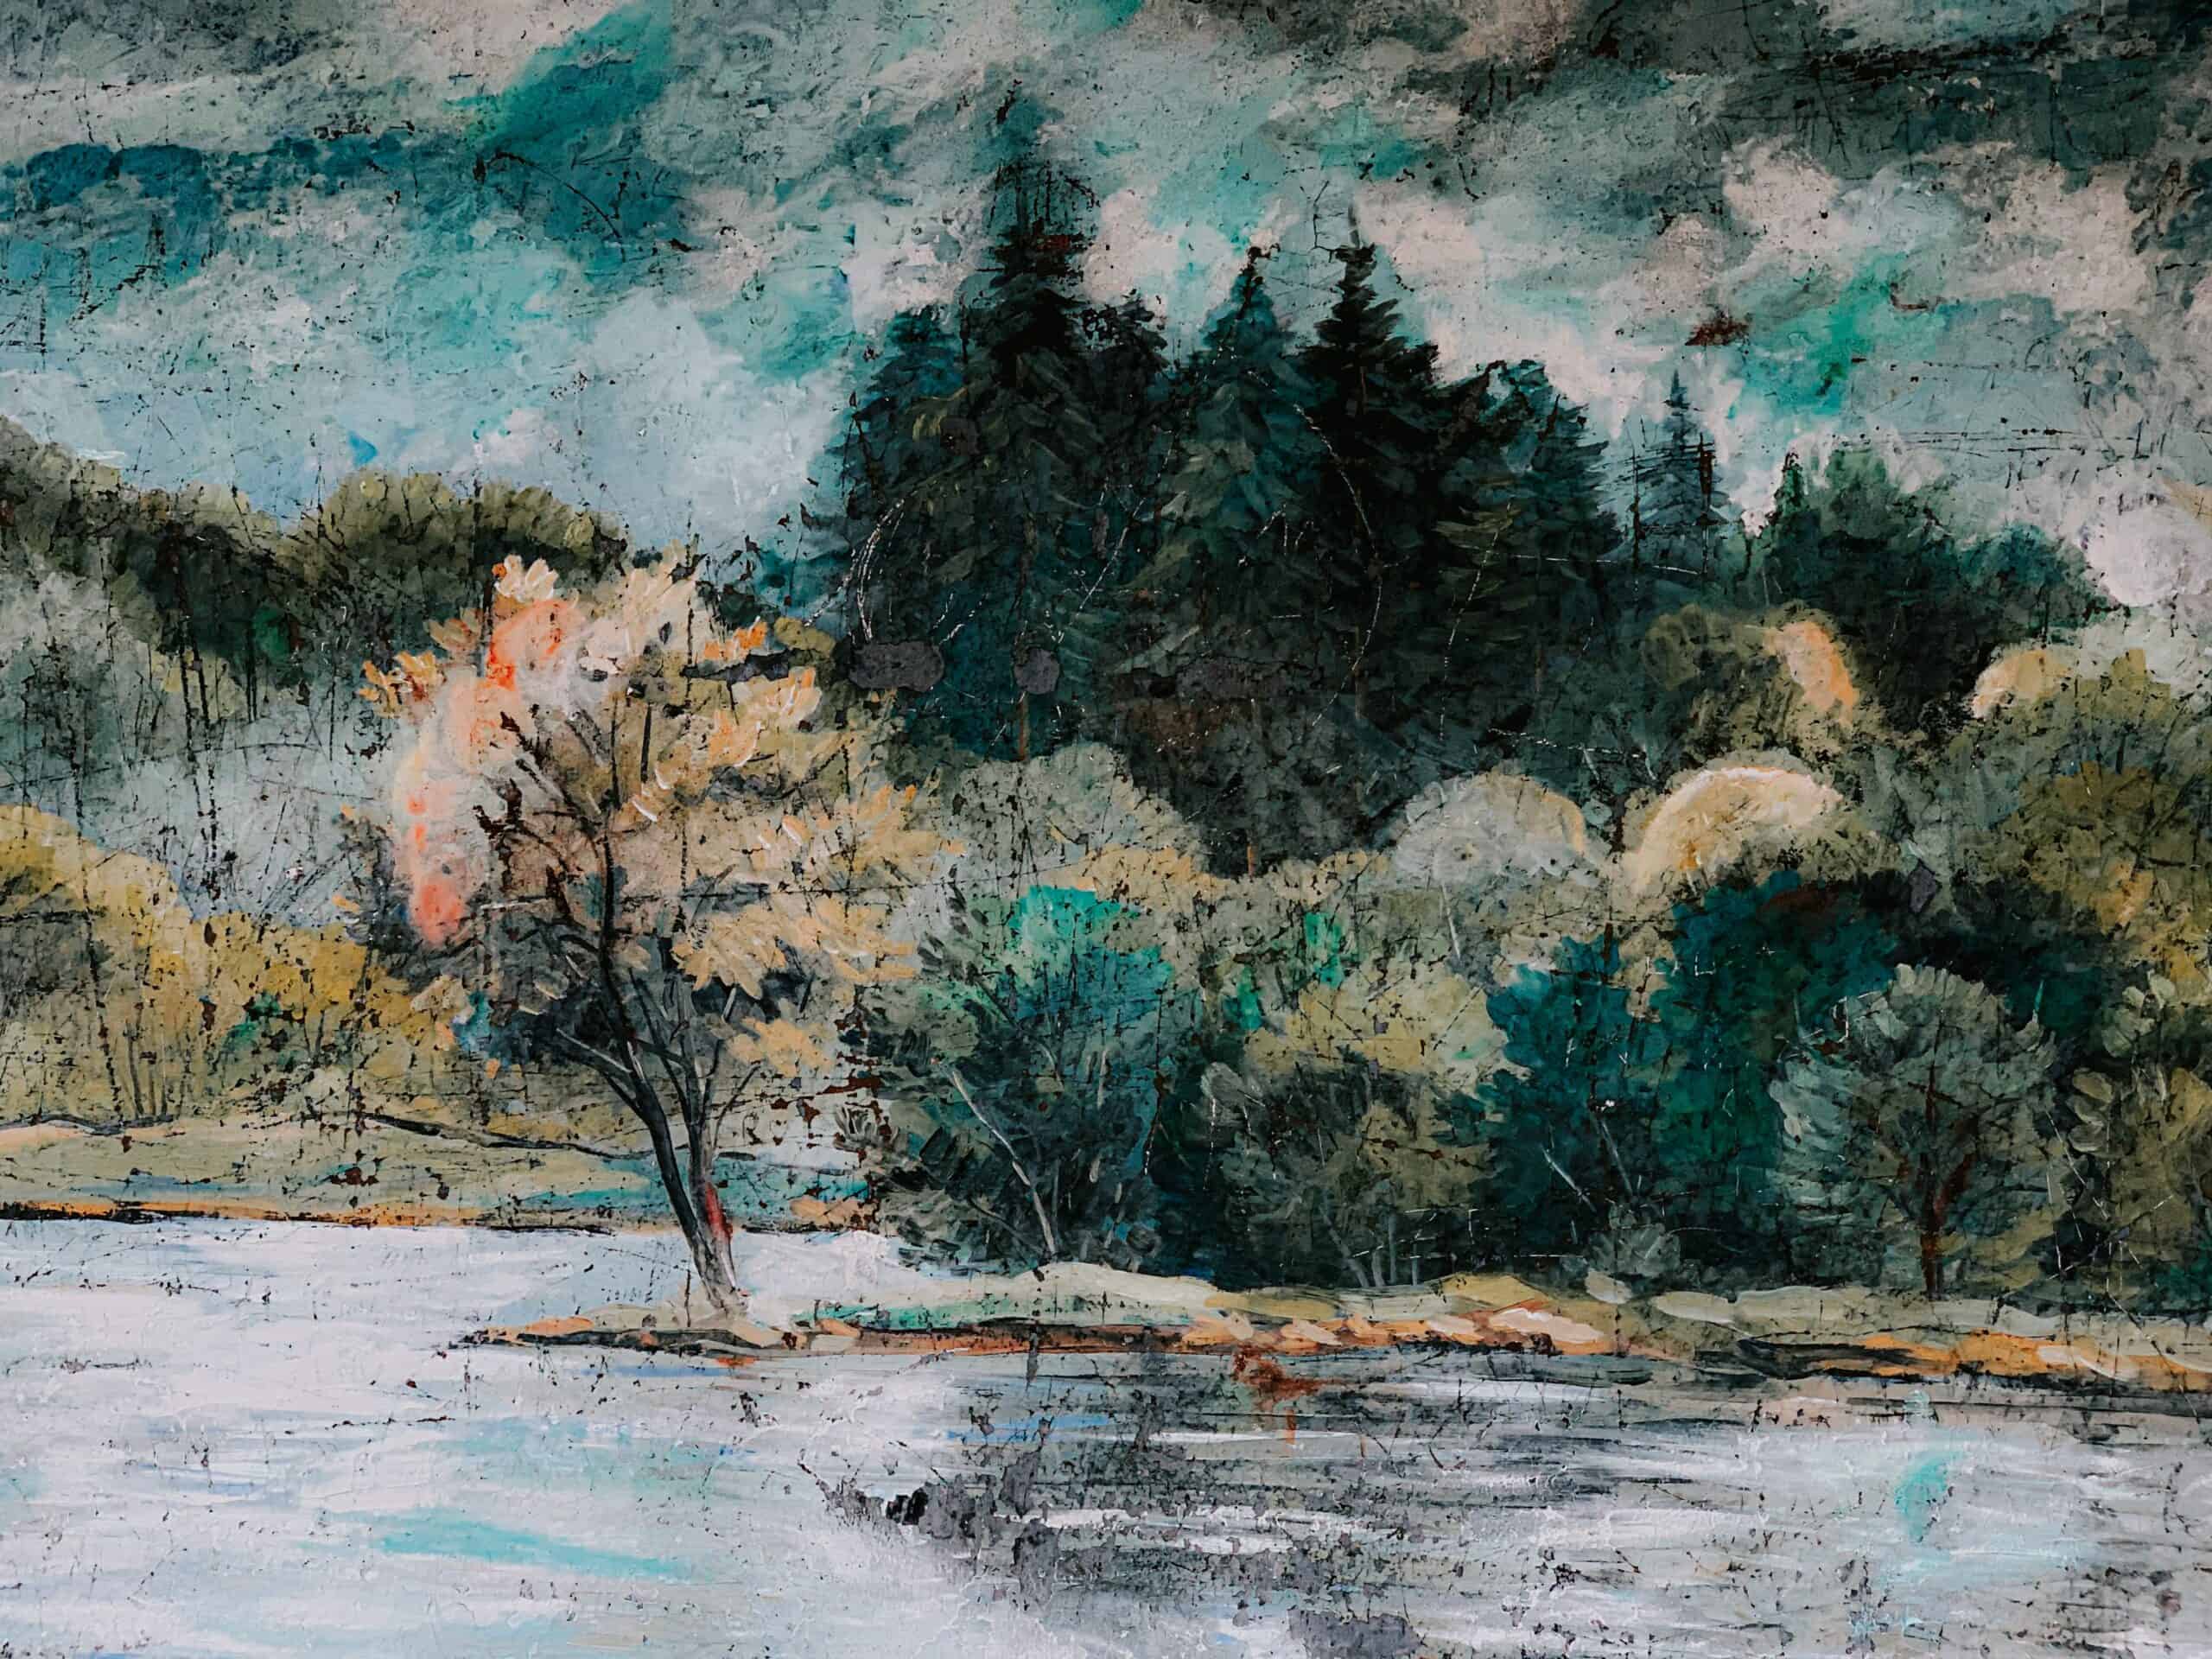
Now that the canvas is prepared, it's time to choose a color palette for our mountain painting. Just as a painter would carefully select their paints and brushes before starting a new work of art, so too must we choose colors deliberately when painting mountains. The key to success in this step is finding harmony between warm and cool tones; creating an image with both depth and balance.
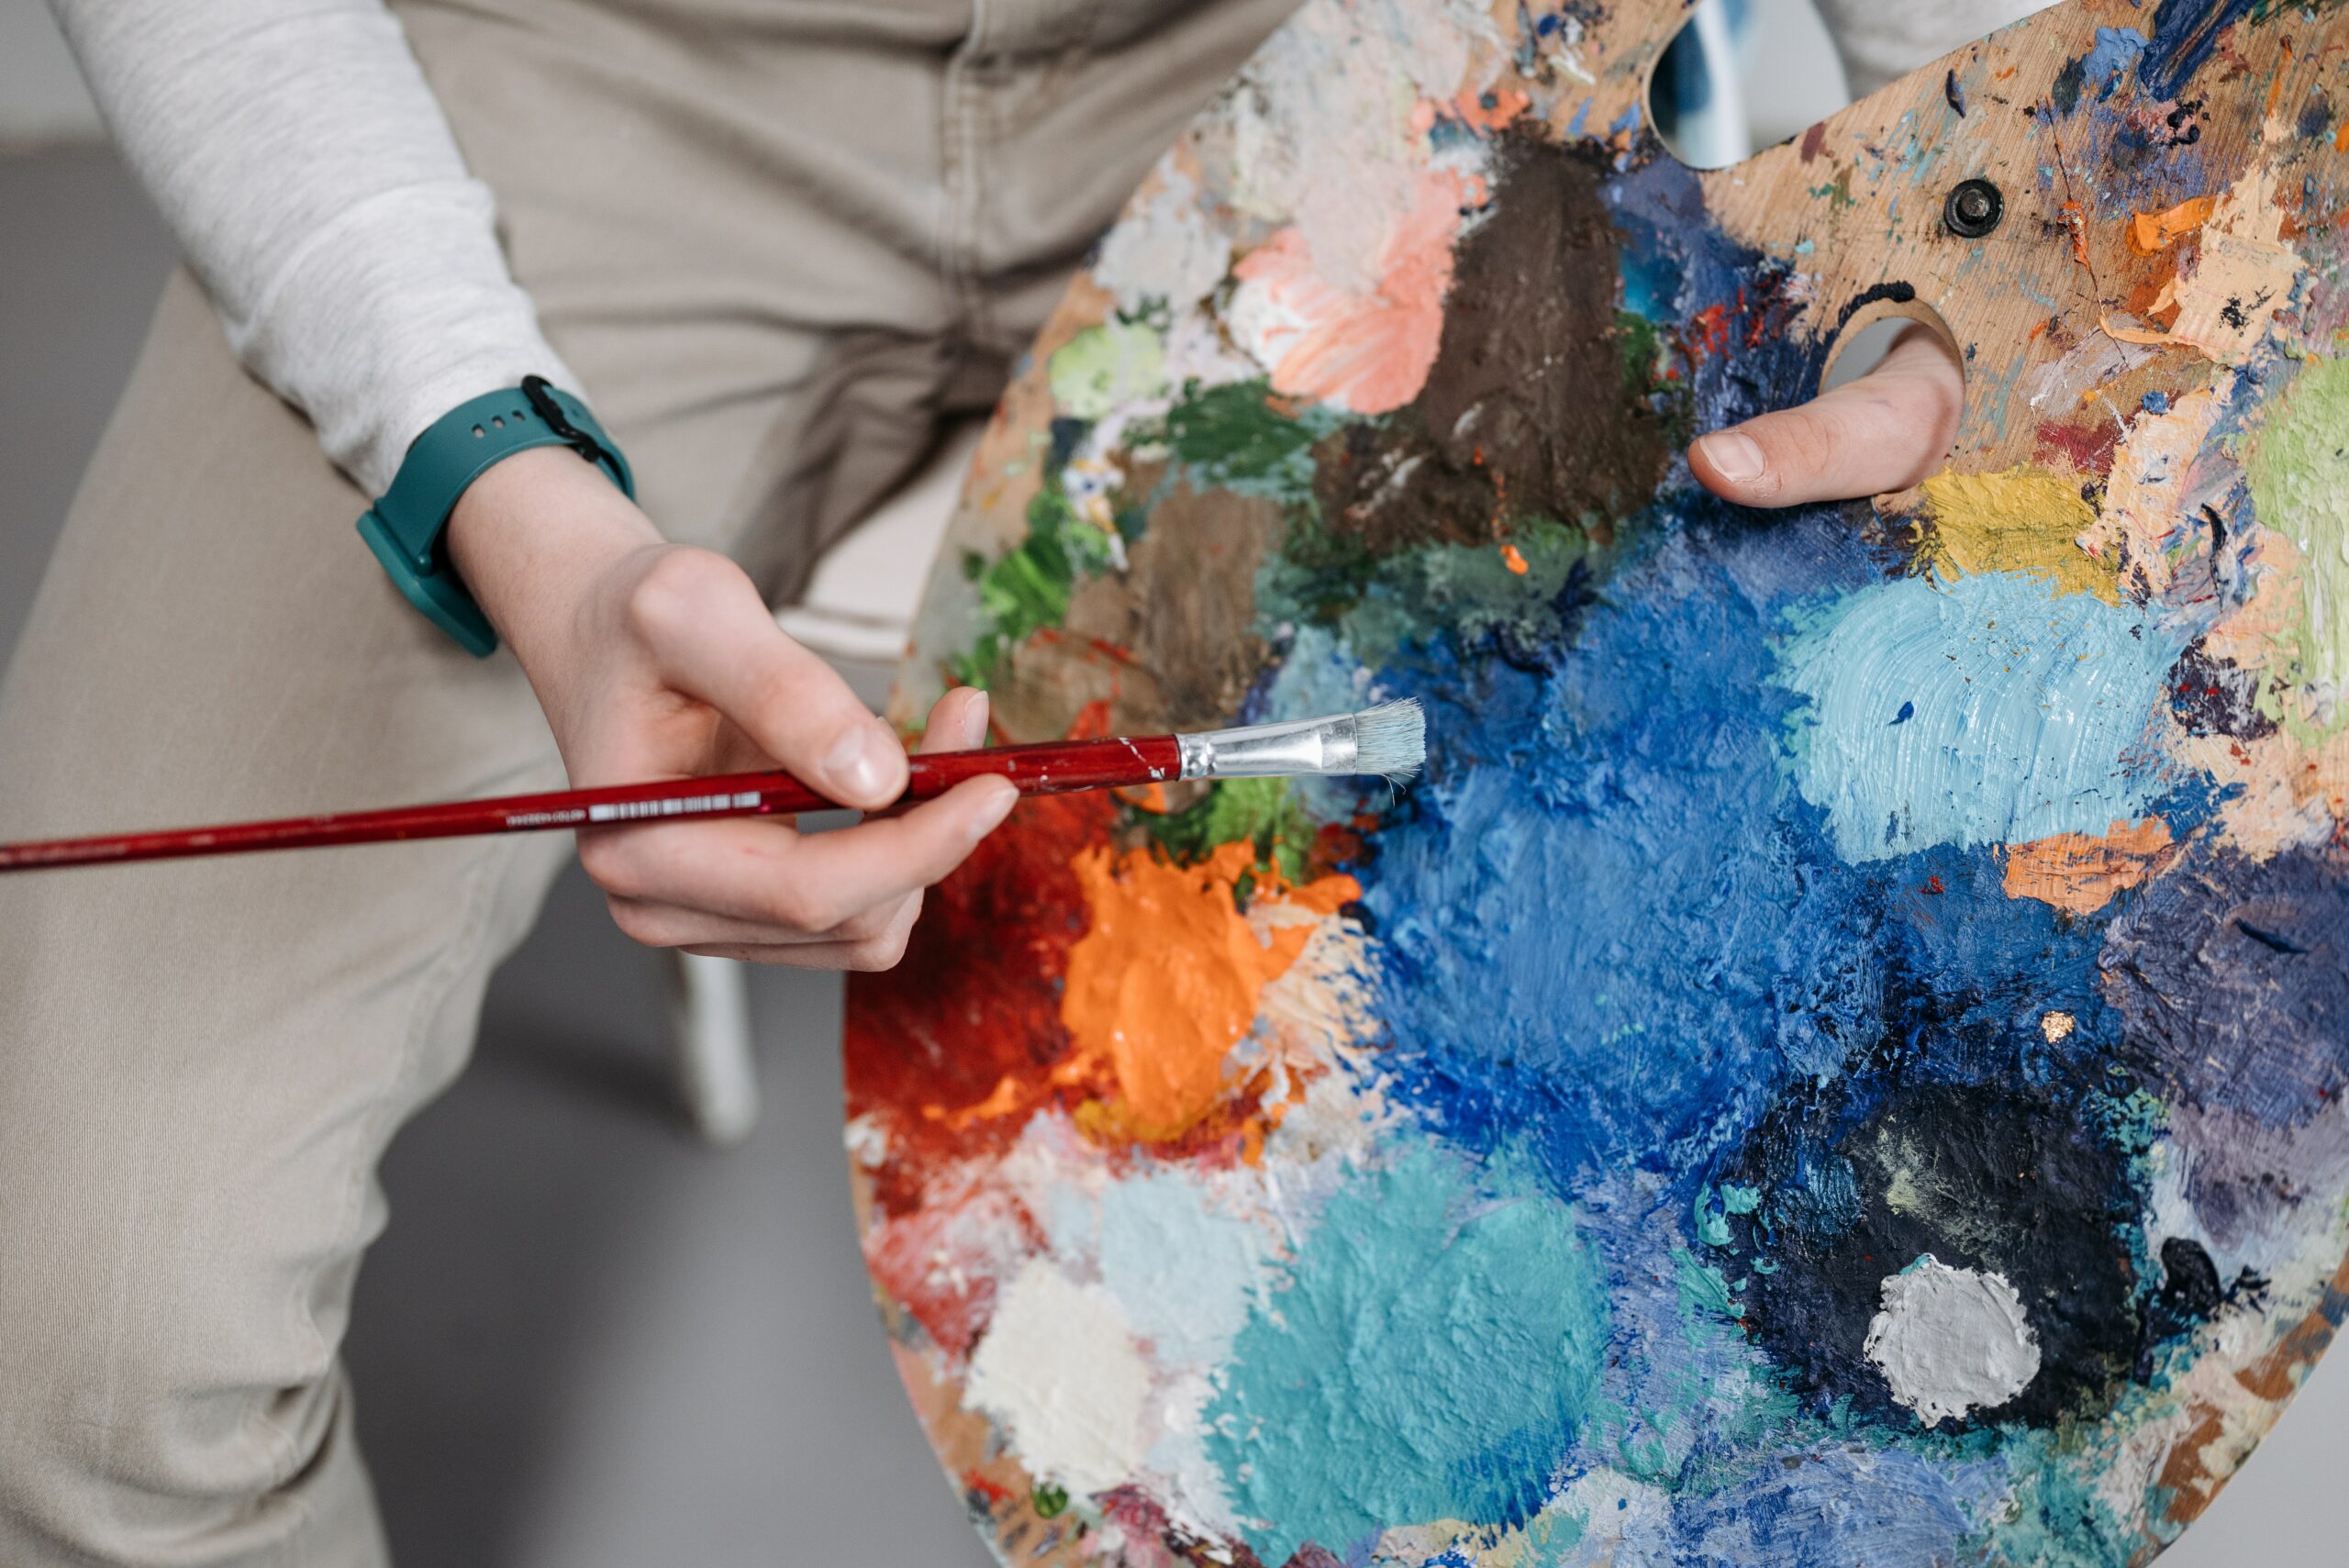
For starters, consider using earthy hues such as burnt sienna, raw umber or yellow ochre – all excellent choices for creating subtle gradients throughout the composition. To add further contrast, opt for cooler blues and greens like turquoise blue or sap green to simulate shadows on the peaks. Finally, whites can be used sparingly around edges to create highlights and define shapes within the landscape. By combining these elements together, even novice painters can produce stunning results that evoke feelings of tranquility and awe!
With an appropriate palette chosen, it’s now time to begin blocking in the form of our mountains - bringing us one step closer towards completing our masterpiece!
Blocking In The Mountains
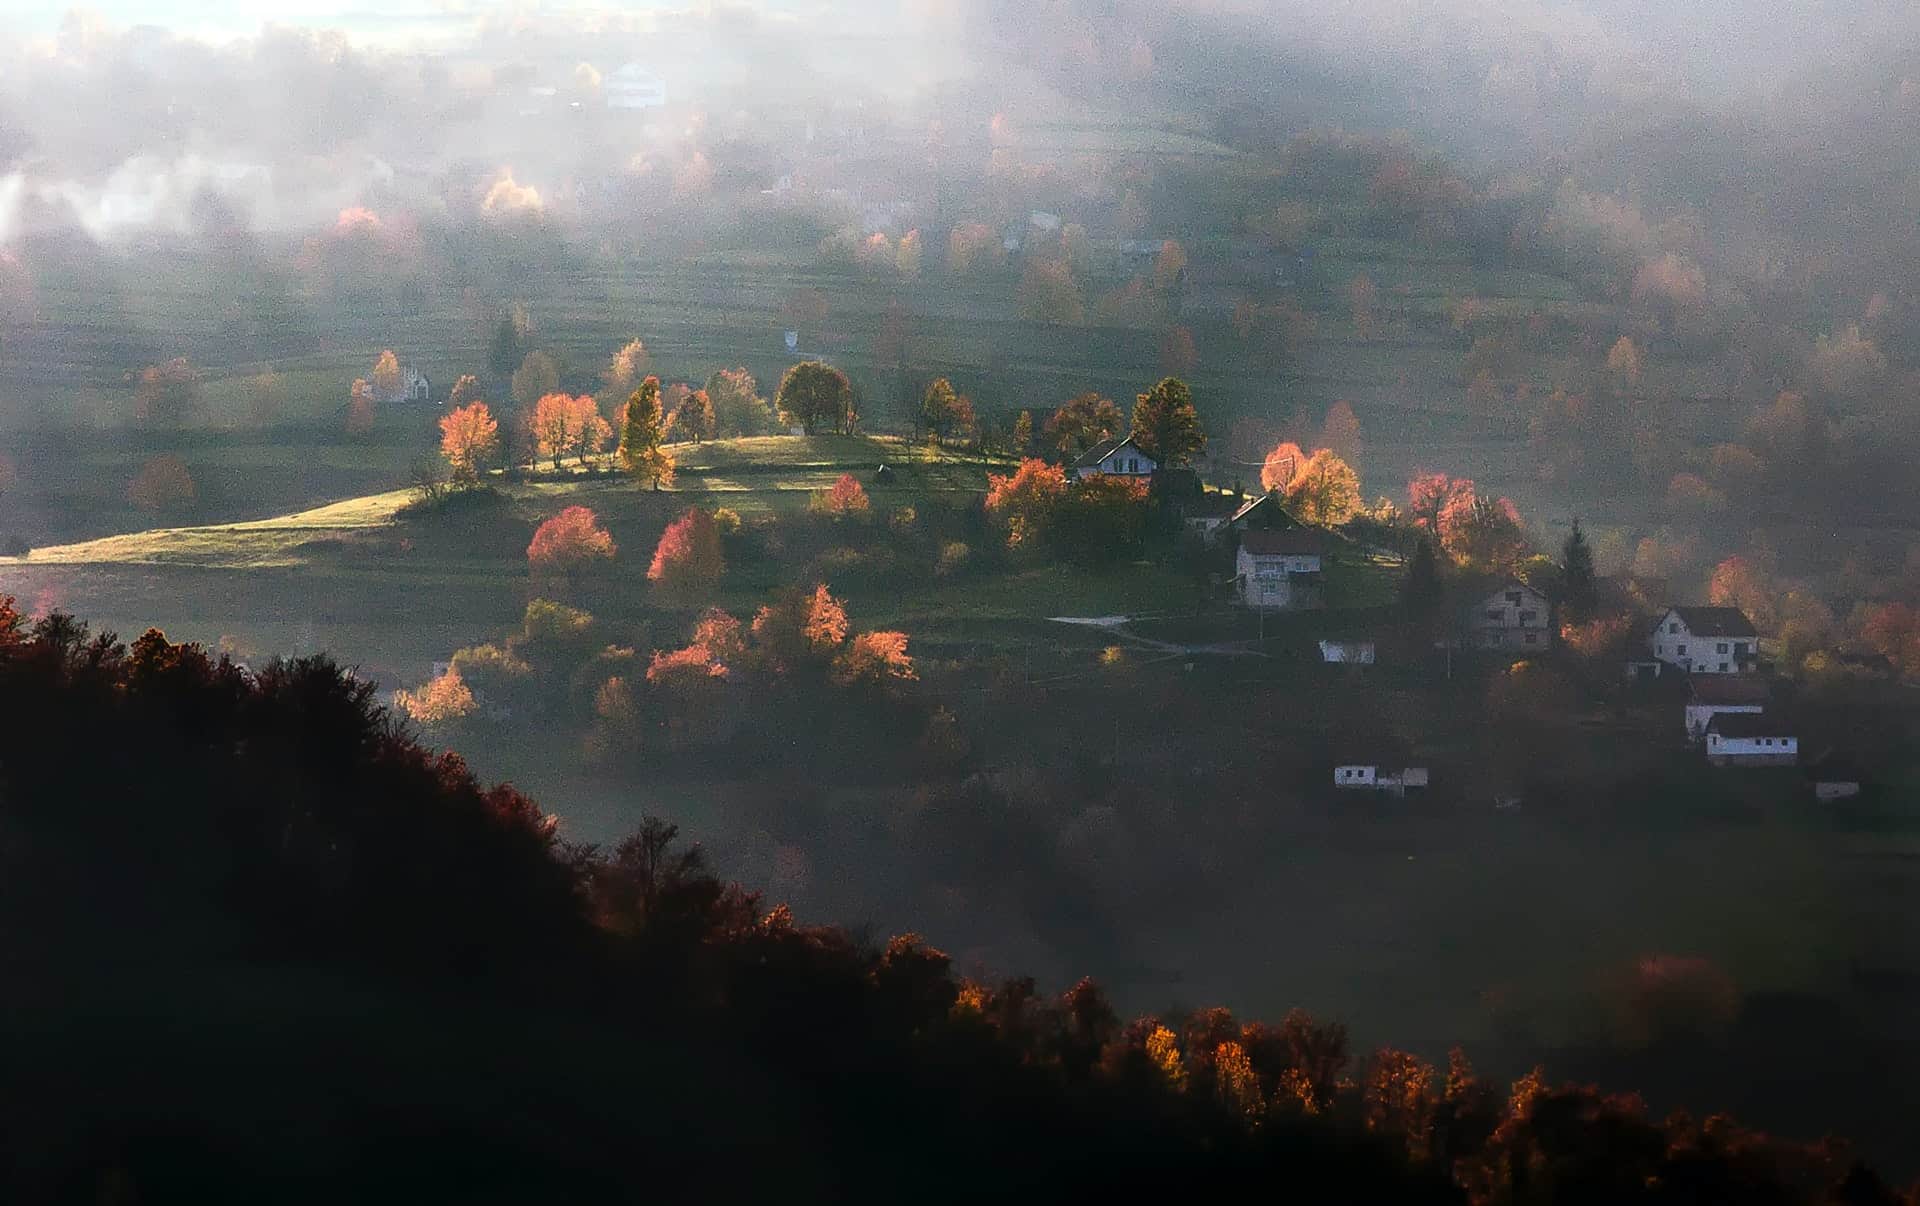
Now that our canvas is prepared, it's time to start blocking in the mountains. I always begin by sketching out my shapes and value masses with a thinned oil wash, usually burnt sienna or raw umber. This will act as an underpainting for your finished piece, while also providing you with a base layer of color and texture.
Next, I use thicker paint to build up each mountain’s form. Start by painting in general shapes like ovals or rectangles, then refine them into more natural forms using slightly darker values and shadows. To create depth within the painting, try layering on multiple shades of light blues and purples over top of your existing colors. This creates a beautiful range of shadowed hues which can be used to define further details later on.
Finally, don't forget to add variation between the different peaks! By blending together complementary warm and cool tones — such as oranges mixed with greens — you'll give your landscape a richer look overall. With this groundwork laid down, we're now ready to move onto adding some texture and detail into our work...
Adding Texture And Detail
The next step in painting mountains in oil is to add texture and detail. To do this, we can use a variety of techniques. We could start by adding different shades of color for the sky and ground to give depth and dimension to our painting. This will also help us create more realistic looking clouds or trees if we choose to include them. Furthermore, it's important to vary the pressure on your brush as you paint so that each area has unique strokes which add further depth and life-like textures.
In addition, we can incorporate various elements into our work such as rocks, snow banks, grassy patches etc… These details are not only aesthetically pleasing but also provide an opportunity for us to express ourselves creatively.
As artists, we must take advantage of every chance available to make our artwork truly one-of-a-kind!
Now that all the essential components have been added, let’s move onto making those finishing touches that really bring out the beauty of our mountain scene!
Finishing Touches
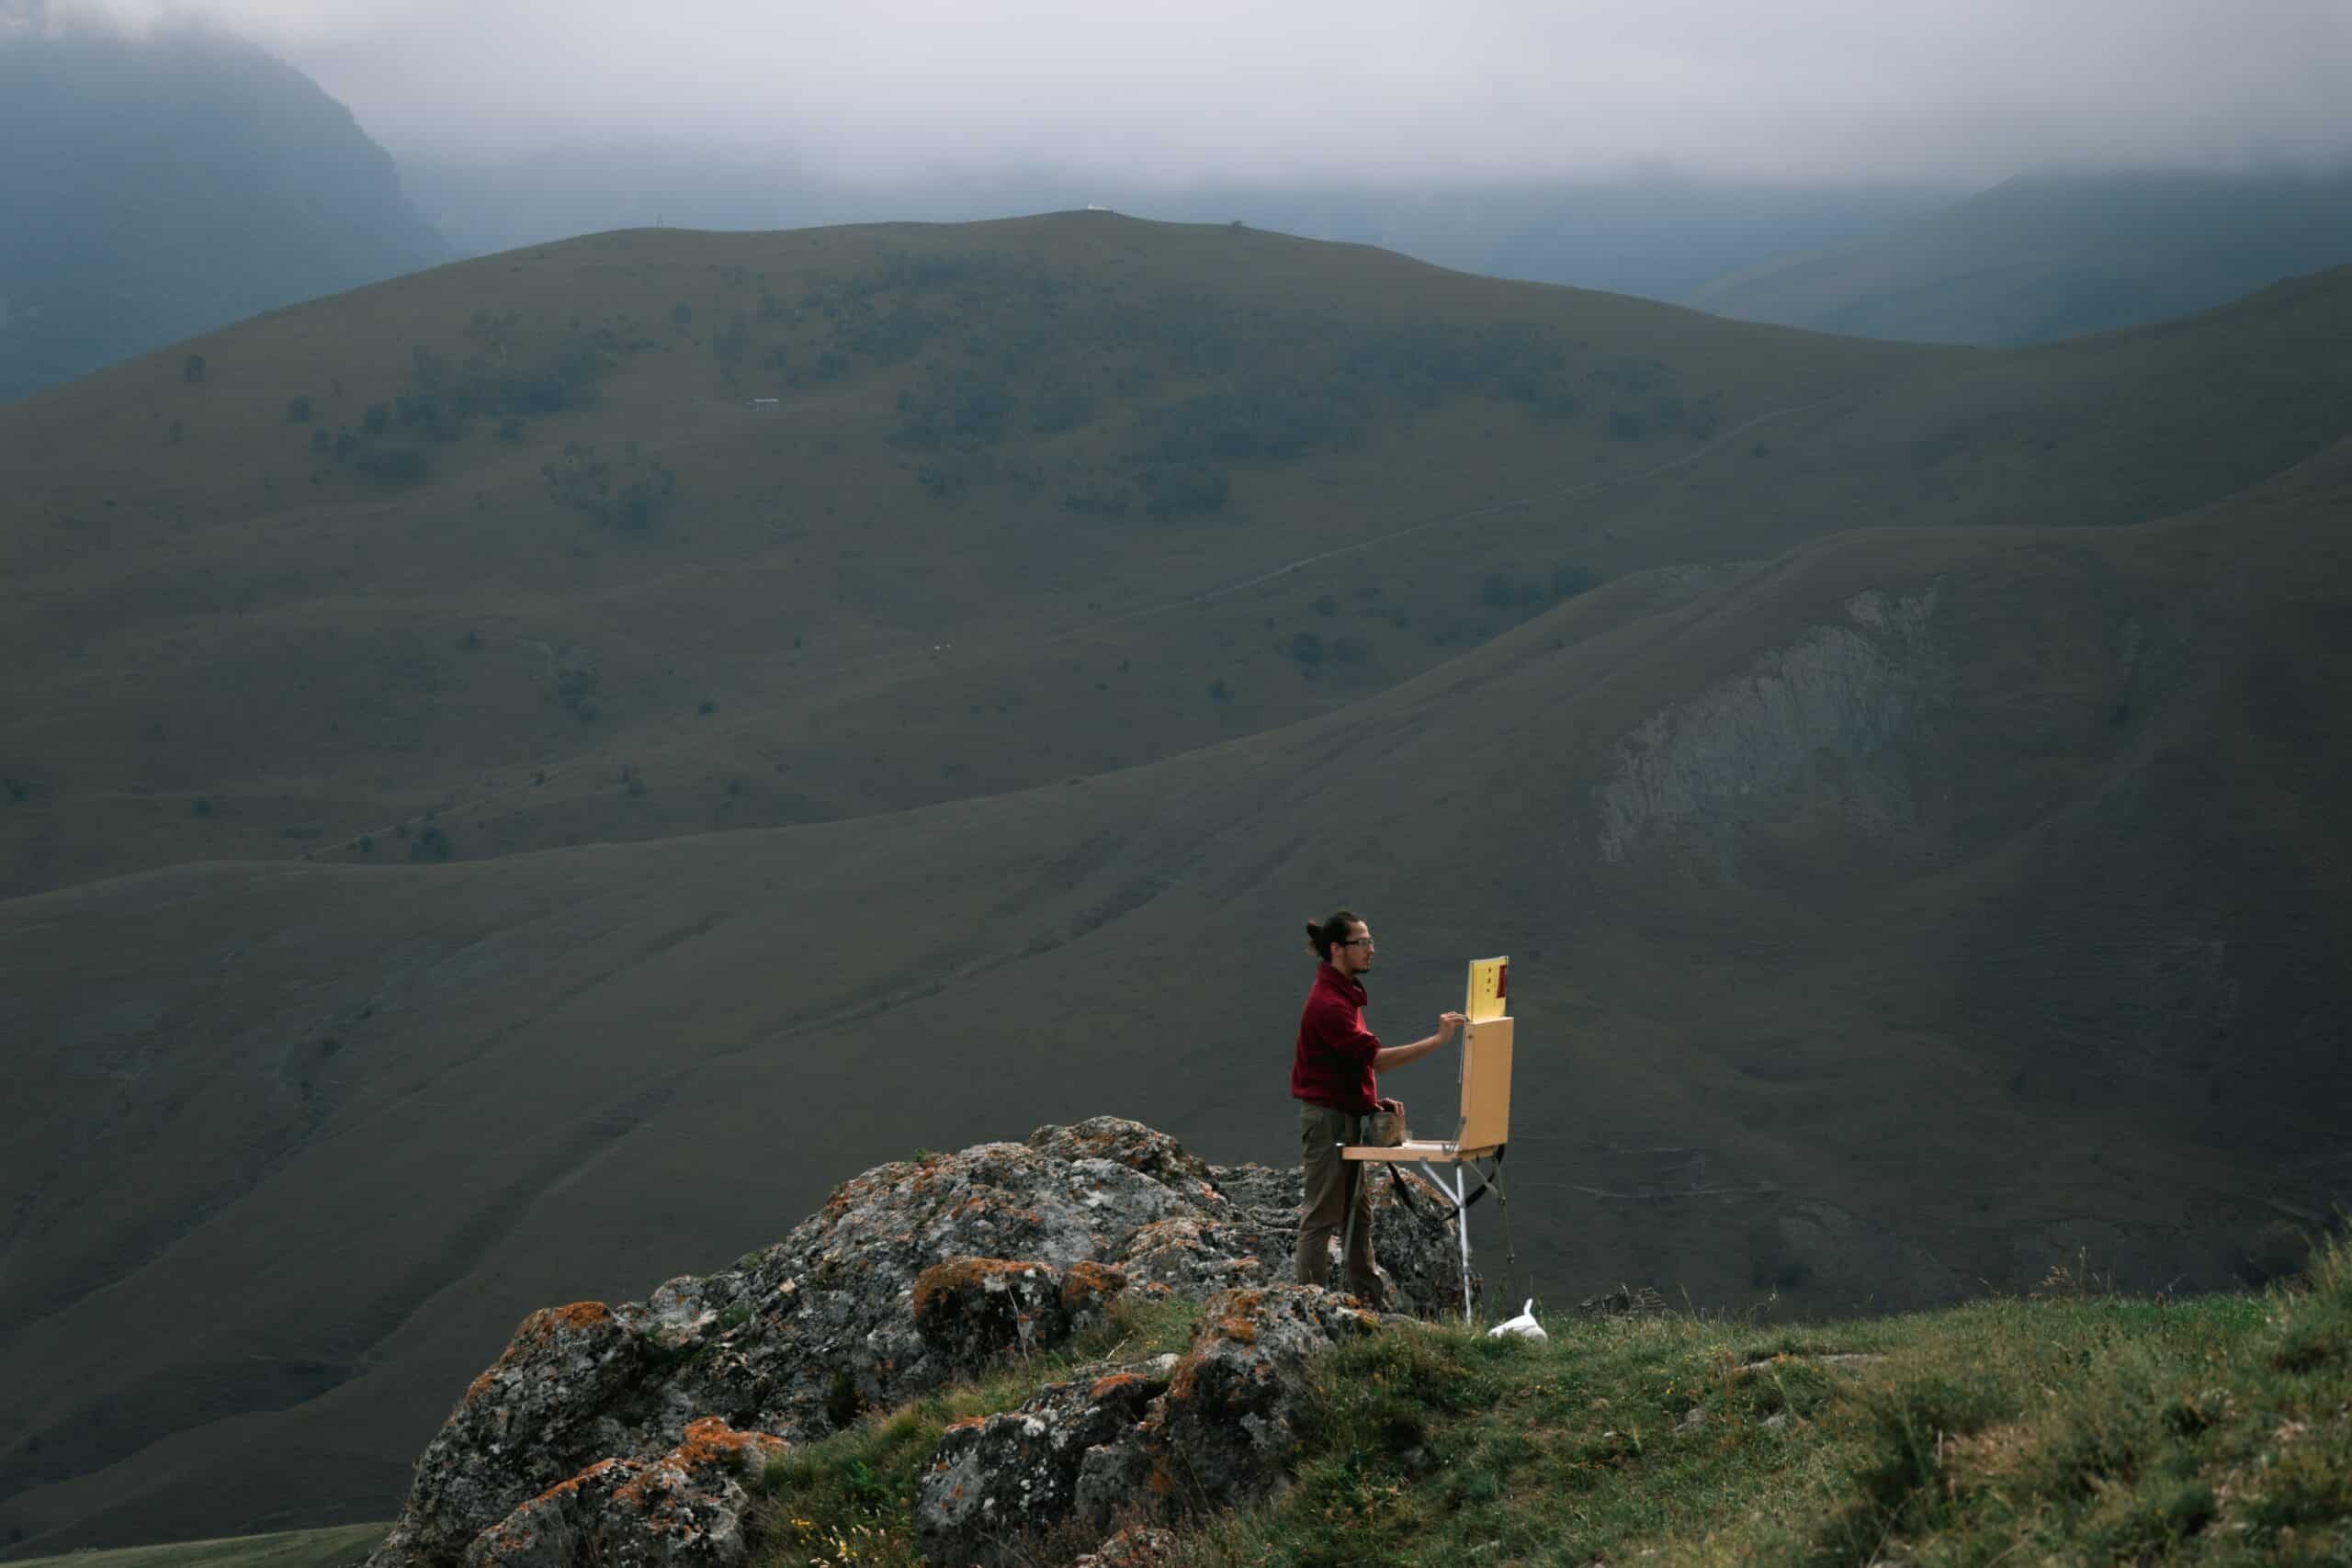
Once I've finished the painting, there are a few finishing touches that can really make it stand out. The first thing to do is put in any extra details. This could be as simple as adding shadows or highlights with thin washes of paint. It's important to take my time and not rush this step; even tiny changes can have a big impact on the overall look of the mountain range.
The second step is varnishing. Varnish will add depth and protect the colors from fading over time. After applying two coats of varnish evenly, let it dry for 24 hours before doing anything else with it. Finally, framing is always an option. There are lots of different frames available depending on what kind of style you're going for - traditional wood or modern metal? Whichever one you choose, just remember to pick something that complements your painting without overpowering it.
With these steps complete, my mountain painting is finally ready to hang! Now all I need is a spot where my artwork can truly shine – somewhere people admire its beauty every day.
Varnishing And Framing
Once the painting is complete, it's time to varnish and frame. Varnishing adds a layer of protection that helps keep pigments pure and prevents dirt from adhering to the surface. Here are three steps for varnishing an oil painting:
- Clean the painting with a soft rag dusted with talcum powder.
- Apply two-three coats of retouch varnish using wide strokes in one direction only.
- Make sure each coat dries completely before applying the next one.
- Finally, let the painting dry for at least 24 hours after the last coat of varnish has been applied.
Framing your mountain landscape completes its look and increases its longevity as well as protecting it from environmental damage such as sunlight or moisture. First measure your artwork so you can find out what size frame you need to buy. When selecting a frame style, consider both traditional and modern options - pick something that complements your color palette or enhances certain elements found within the painting itself. Lastly, make sure all four corners of the canvas fit snugly into place when inserting into its new frame home! With these tips in mind, you'll soon have a beautiful framed piece ready to hang proudly on any wall.
Conclusion
As an oil painting artist, I find that the art of capturing a mountain scene on canvas can be incredibly rewarding. After finalizing my composition and blocking in the mountains with color, it is time to add texture, detail and atmosphere. With careful brushwork, I build up layers of paint to create depth and realism to bring the painting alive. By adding highlights, shadows and subtle hues, I am able to capture the beauty of nature with remarkable accuracy.
Finally, before displaying or presenting my masterpiece as a gift for someone special, I varnish the piece to protect it from fading over time. The process may take several days but in those moments where everything comes together perfectly and you are left amazed by your own creation – that feeling is truly priceless!
Painting landscapes on canvas allows me to express my creative vision while celebrating the wonders of nature around us. Whether you’re just starting out or have years of experience under your belt–the magic of using oils to capture breathtaking scenes never ceases to captivate me!

