Unleashing Your Creativity: Mastering Bisque Ceramic Painting Techniques
Hey there, ceramic painting enthusiasts! If you're looking to learn more about ceramic bisque painting techniques, then you've come to the right place. In this article, I'm going to be sharing with you my top tips and tricks for creating stunning works of art on your ceramic pieces. From how to best prepare your bisque pieces before beginning work, to a few unique ways of adding texture and detail - I'm here to help make sure that all your projects look their absolute best. So let's dive in and start exploring these amazing methods for transforming ordinary ceramics into extraordinary masterpieces!
Overview Of Ceramic Painting
Have you ever wondered about the art of ceramic painting? It's a craft that has been practiced for centuries, and it can be incredibly rewarding. As a ceramic painting techniques expert, I'm here to give you an overview of all things related to this fascinating world. In this article, we'll discuss topics such as what is bisque, glazing basics, firing methods, and painting basics - everything you need to get started with your creative projects!
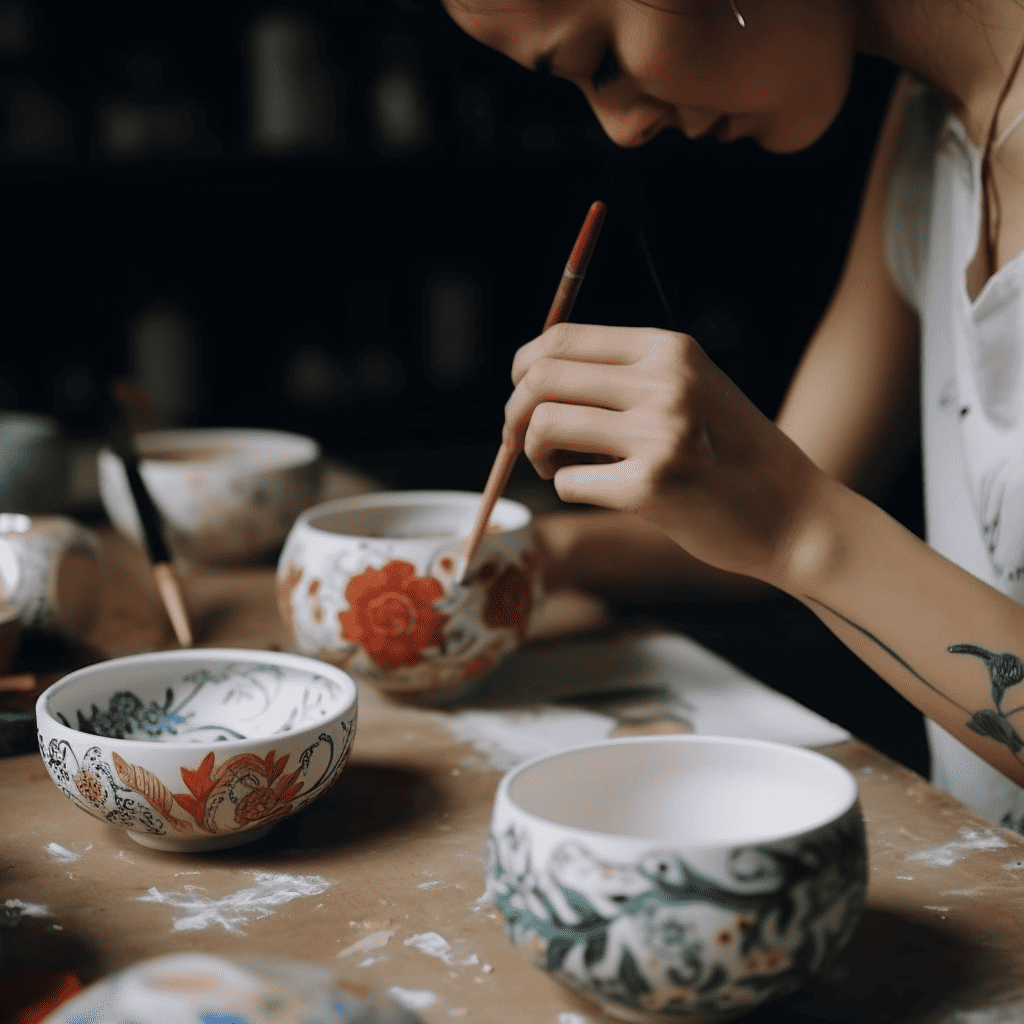
Ceramic painting requires patience and skill but is well worth the effort once you learn how to do it right. Bisque plays a crucial role in the process; it's the clay-like material used as the base before any details are added. The type of bisque chosen will depend on the desired outcome or aesthetic quality of the finished piece. Once the basic shape and texture have been formed, glazes are applied to create vibrant colors and design elements. Before these pieces can be fired in a kiln or oven, however, they must first be painted with underglaze which helps retain color during high temperatures. Firing is essential for setting both paint strokes and glazes into place so that each piece looks its best when finished.
These are just some basic steps involved in creating beautiful works of art from ceramics. From blending paints to achieving rich textures through various finishes, there’s plenty more to explore! Now let’s take a closer look at what exactly bisque entails and why it’s such an important part of this process.
What Is Bisque?
Bisque is a type of ceramic material that has been fired once. It's usually made from white clay, and it can range in color from light gray to off-white. Bisque ceramics are ready for painting or glazing after the initial firing process. They don't require as much time or energy to prepare compared to other types of pottery like greenware, which needs two firings before being ready for decoration.
When it comes to creating bisque pottery, there are several different methods available including slip casting, press molding, hand building, and wheel throwing. Each one has its benefits and drawbacks depending on what kind of design you're looking for. For instance, slip casting allows you to create complex shapes with intricate details while press molding offers more control over the overall shape of your piece. Wheel throwing gives you more freedom when designing but requires more skill.
No matter which method you choose, all bisque ceramics must be fired at least once before they can be decorated or glazed. This firing sets the form and texture as well as any underglaze colors applied before the first firing process known as “bisque ware” or “ceramic bisque”. Firing also helps make pieces durable so they will last longer and hold up better during use and handling. With proper care and maintenance, these unique creations in ceramic bisque will remain beautiful works of art for years to come!
Design Considerations
Now that we know what bisque is, let's explore the design considerations when creating ceramic painting techniques. There are several elements to keep in mind before beginning a project:
- Ceramic Painting Design: This can be done with paints, glazes, or under-glazes which require different techniques for application and firing.
- Bisque Design Elements: Consider the shape of your piece, along with any edges or textures you want to create on it.
- Firing Techniques Design: Choose a firing technique - the electric kiln, gas kiln, or raku - based on the type of clay used and how durable you need the finished product to be.
- Color Schemes Ceramics: Selecting appropriate colors for your project will help bring out its unique features and make it shine!
When designing ceramics there is an endless array of possibilities, but with careful planning and consideration, these pieces can become works of art worthy of display.
From choosing complementary color schemes to finding creative ways to combine shapes and textures, each step taken brings us closer to our desired result–a beautiful finished product! Now that we have discussed design considerations let's move on to exploring the steps involved in the glazing and firing process.
Glazing And Firing Process
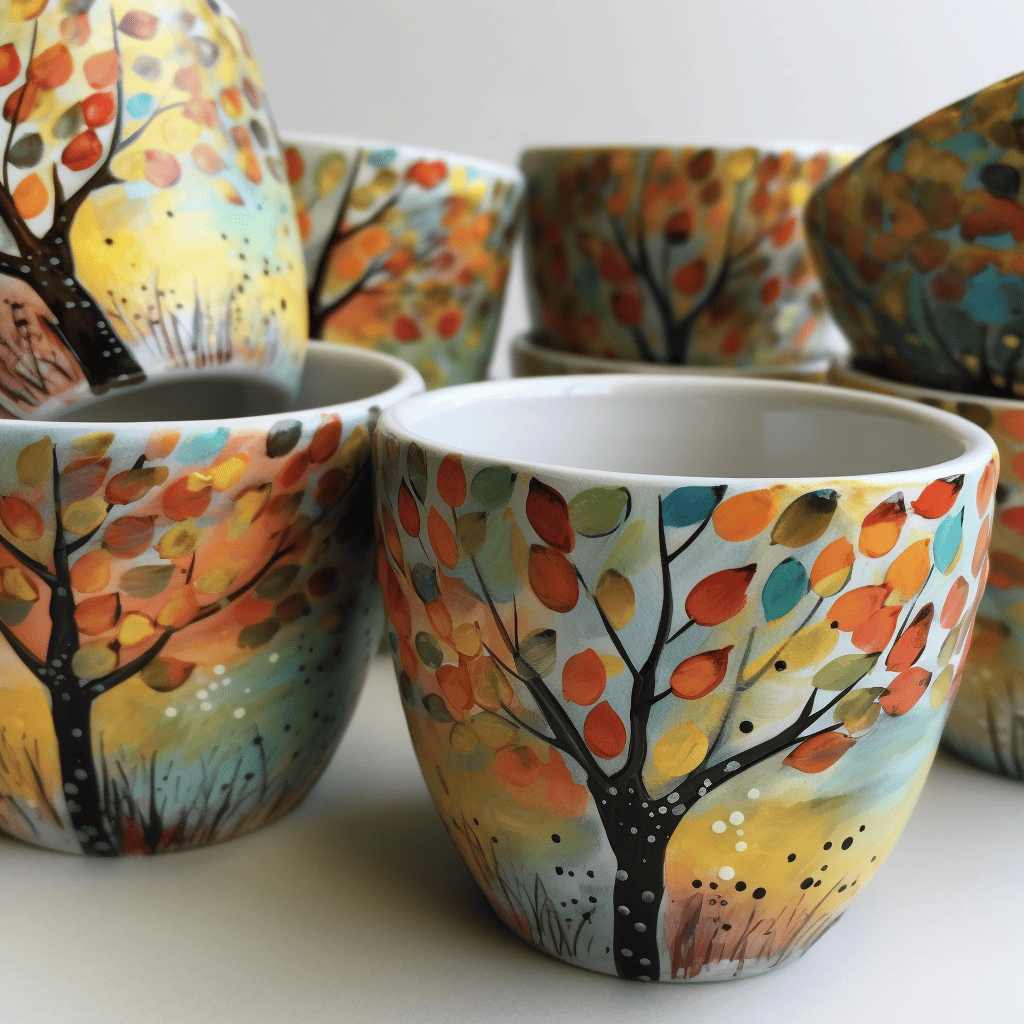
I'm sure you've heard of glazing and firing when it comes to ceramic painting techniques. That's because these two processes are essential in creating beautiful pieces of art with your bisque. Glazing is the process where a glassy layer is applied to the piece, which helps protect it from outside elements that may damage the surface over time. Firing is then done in an oven or kiln at high temperatures for several hours - depending on the size and type of ceramic being painted. This step also hardens the glaze onto the piece, making it ready for display.
Next up we'll be talking about basic painting techniques such as brush strokes, color combinations, and design ideas that will help enhance your work even further! Stay tuned...
Basic Painting Techniques
Now that you have completed the glazing and firing process, you can start to explore basic painting techniques for your ceramic bisque. Painting ceramic bisque is a great way to add color and texture to your pieces. Here are some of the basics:
Technique | Description | Supplies Needed |
|---|---|---|
Brushwork | Use brushes/sponges | Paintbrushes |
Wax Resist | Create designs with wax | Wax |
Stenciling | Cut out shapes w/stencils | Stencils |
Transfer Printing | Apply images from paper transfers | Paper Transfers |
Brushwork involves using various types of paintbrushes or sponges to apply colors directly onto the surface of your piece. You can create different textures by changing up brush sizes, angles, and strokes. When creating more intricate patterns, it helps to use a variety of tools such as combs, forks, toothpicks, etc., in addition to traditional brushes.
Wax resistance is another popular technique used when painting ceramics. Using this method involves applying melted wax directly onto your piece before adding any color. This creates a protective barrier between the paint and the glaze so that no two areas will blend once fired. You may also want to experiment with different colored waxes for additional effects!
Stenciling allows you to cut out shapes from stencils and then press them into wet clay or glazed surfaces for added detail and design elements. Once applied, these shapes will be permanently ingrained into the surface after firing. Alternatively, transfer printing enables you to easily apply images from paper transfers onto ceramic pieces without having to worry about intricate detailing or precise cutting. To complete this look, simply burnish down the image until it has adhered securely onto your workpiece.
These four techniques provide an excellent starting point for anyone looking to begin experimenting with basic ceramic painting techniques on their bisque projects! The possibilities are virtually endless when combining these methods – let your creativity run wild! With practice and experimentation, soon enough you’ll be able to confidently move on toward advanced painting techniques for even greater results!
Advanced Painting Techniques
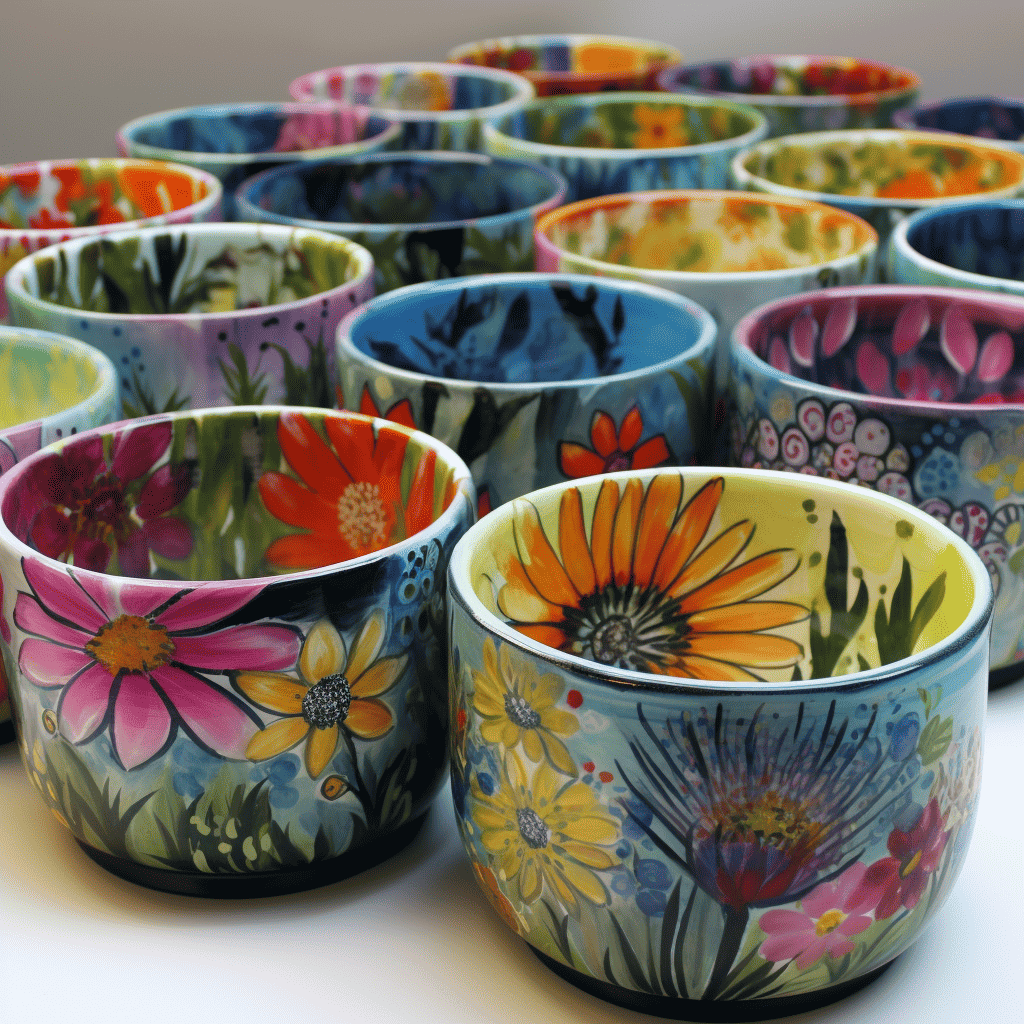
Once you’ve got the basics of ceramic painting down, it's time to explore some more advanced techniques. Marbling is a great option for adding texture and interest to your bisque pieces. To achieve this effect, dip a clean brush in two colors that have been mixed on the palette and then paint onto your piece. Color layering is another great way to add depth and complexity to your painted bisque.
Start by applying one color as an even base layer before adding further layers with additional colors and blending them as you go along. Sponging can be used either as a background technique or combined with other methods like stenciling or dotting for added detail.
Dip a sponge into different glazes and dab gently all over the surface of the piece until you've achieved the desired look. Dotting is perfect for creating patterns and intricate designs - use small dots of various colors to create beautiful effects similar to mosaics or stained glass window images.
Finally, stenciling lets you easily transfer intricate shapes from paper templates onto ceramics – just make sure any excess glaze is wiped away around the edges for neat results! With so many options available, there are endless possibilities when it comes to decorating your next ceramic project!
Frequently Asked Questions
Have you ever wondered how long it takes for a ceramic painting to dry? It can be quite an extensive process if not done right. Research shows that the drying time of a ceramic painting can range anywhere from 24 hours up to several months! This makes understanding the proper drying technique essential to any aspiring ceramic artist.
When beginning the drying process, there are some key things to keep in mind:
1. Understand your paint and glaze type – depending on what kind of paints and glazes you use, this will affect the drying time.
2. Make sure your workspace is well-ventilated – this helps with air circulation so that moisture does not get trapped in the artwork during its drying period.
3. Do not over-fire – firing temperature plays an important role in the speed at which a piece dries out; too high of heat may cause cracking or bubbling of your artwork due to uneven curing times.
4. Be mindful of humidity levels – higher humidity levels can lead to longer drying times as water molecules become more difficult for paint solvents to evaporate away from surfaces quickly.
All these considerations should come into play when determining the optimal amount of time needed for a ceramic painting to dry properly. The usual rule of thumb is that pieces will take around 24-48 hours before they reach their final hardness according to standard tests such as ASTM D3363 Pencil Hardness Test (PHBT). However, if certain factors like temperature and humidity have been taken into account correctly then this could extend up to 2 weeks or even beyond that depending on the complexity level of work being produced.
Ceramic paintings require patience and careful attention throughout their entire production cycle; however, following basic guidelines like those outlined above helps ensure successful results every time – something all artists strive for no matter their skill level!
When it comes to ceramic painting, understanding the difference between glazes and paints is critical. Glaze and paint are both types of ceramic finishes that can be used to create a variety of looks on your workpiece. However, there are several distinct differences between them:
- Texture: Paint has a thicker texture than a glaze, making it easier to apply with brushes or sponges for creating shapes or patterns on clay surfaces. On the other hand, glazes have a thinner consistency which allows them to spread more evenly over larger areas.
- Color: Paints tend to provide brighter colors while glazes offer softer hues which will often appear washed out after firing in high temperatures. You must consider this factor when deciding how much color depth you want in your finished piece.
- Durability: The type of finish you use also affects the durability of your workpiece. Painted pieces generally last longer because the pigments used are fired at higher temperatures than those found in glazes, resulting in greater resistance against wear and tear over time.
As an experienced ceramic painter, I highly recommend experimenting with different combinations of paints and glazes before committing to one particular finishing method so that you can get an idea of what works best for your project’s needs!
When it comes to ceramic painting, the best type of paint to use depends on your desired outcome. There are a variety of paints and glazes available, but each has its unique characteristics that can be used in different ways. In this article, we will discuss some of the most popular types of paints for ceramics, as well as techniques that you can use when working with them.
Ceramic glazes are generally considered one of the best paints to use when creating beautiful pieces. These glazes come in a wide range of colors and finishes, so they can be used to create just about any look imaginable. The downside is that they require firing at high temperatures and often take several applications before achieving the desired effect. When applying ceramic glazes, it’s important to work slowly and carefully for optimal results.
Bisque painting is another great option for those looking for a more permanent finish on their creations. This technique involves using specialized acrylic or oil-based paints that have been formulated specifically for bisque-fired ware. Bisque painting requires less time than glazing because there’s no need to fire the piece afterward — just let it air dry! However, these paints don’t offer quite as much versatility as other options do; they’re better suited to simpler designs like lettering or basic shapes and patterns.
No matter which type of ceramic paint you choose, practice makes perfect! It takes time and patience to master any medium; if you start small and gradually increase complexity as you become more comfortable with the materials, you’ll soon be able to achieve expert results with your projects. With enough dedication and experimentation, anyone can learn how to produce stunning works of art with ceramic paint techniques!
When it comes to ceramic painting, having a clean brush is essential for achieving the best results. It’s important to know the best way to clean your ceramic paint brushes so that you can keep them in top condition and use them again and again. There are several cleaning techniques available for keeping your ceramic paint brushes looking like new.
The first step in cleaning ceramic paintbrushes is to rinse them off with warm water after each use. This will help remove any excess paint from the bristles so that they don’t become clogged or damaged. After rinsing, use mild soap and water or a specialized cleaner designed specifically for ceramics such as Bisque Painting Cleaner. Work up a lather on the brush and then rinse thoroughly until all of the soap has been removed.
If there is still some residue left on the brush, try soaking it overnight in distilled white vinegar before washing it with mild soap and water. Vinegar is great at removing stubborn stains and residues from ceramic items, so this technique should do the trick! Once cleaned, allow your brush to air dry completely before storing away – never put wet ceramic brushes into storage as this may cause damage over time.
As an expert in ceramic painting techniques, I highly recommend taking these steps when cleaning your ceramic paint brushes – it’ll make sure they stay nice and clean for many years of successful projects!
Painting ceramics is a beautiful art form that brings joy and satisfaction to many. But with any type of painting, safety precautions must be taken to ensure the best experience. Whether it’s bisque painting or ceramic painting, these tips will help keep you safe and secure when creating your next masterpiece.
To start on the right foot, make sure you are wearing protective gear like an apron and gloves. This will keep your clothes from getting stained by paint and protect you from any potential hazards in the workspace. Additionally, use proper ventilation while working so no fumes build up in the area which can be hazardous to your health. Lastly, always follow manufacturer instructions for paints and glazes as they may contain chemicals that can cause adverse reactions if not used correctly.
Symbolically speaking, painting ceramics is like taking a journey into unknown territory where one needs to prepare beforehand for surprises ahead; oftentimes ones involving safety issues! There are certain steps you should take before beginning this adventure such as understanding all ceramic painting safety protocols including those related to using ceramic bisque and other materials safely; familiarizing yourself with different types of glazes and their properties; ensuring adequate ventilation when applying coatings or firing pieces; lastly making sure you have the necessary supplies needed for successful completion of a project.
The list goes on but suffices it to say we’ve only scratched the surface of what goes into being prepared for painting ceramics successfully – staying informed about new developments in tools, techniques, products, etc., creates more opportunities down the road for both experienced artists and beginners alike! Keeping abreast of changes in regulations surrounding toxic materials found in various paints/glazes/bisques helps avoid costly mistakes too! All-in-all it pays dividends to stay current concerning ceramic painting precautionary measures – ultimately leading to enjoyable projects that turn out just how you envisioned them!
Conclusion
Painting ceramics is a fun and creative way to express yourself. It can help you create beautiful pieces of artwork that will last forever. But it’s important to understand the best practices for ceramic painting, so your creations will look their best! First, choose the right type of paint: glazes and ceramic paints are two different types with very specific results. Glazes provide an even finish, while ceramic paints have more texture and opacity. Second, take special safety precautions when working with these materials – use gloves and protective eyewear at all times. Finally, cleanliness is key: make sure to keep your brushes clean to avoid any unwanted smudges or color contamination on future projects. At the end of the day, painting ceramics is all about having fun! So go forth and let your imagination run wild (metaphor). With careful preparation and practice, you'll be creating masterpieces in no time!

