Step By Step Canvas Painting
Welcome to the wonderful world of canvas painting! Every artist has their own unique style and approach, but there are some basic steps that all aspiring painters should know. As an experienced canvas painting instructor and expert, I'm going to take you through each step in detail so that you can create your masterpiece with confidence.
The first step is choosing a subject for your painting. This could be anything from a landscape scene or still life to something abstract. Depending on the complexity of your chosen subject, you may even want to sketch it out beforehand using pencil and paper. Once you’ve decided what to paint, it’s time to prep your canvas. That includes preparing the surface with primer if necessary as well as stretching it onto wooden bars if needed.
Finally, comes the fun part – adding color! From mixing paints and creating shades to picking brushes and experimenting with techniques - this is where imagination takes over and the real magic begins. So let's get started by exploring each step further!
Materials Needed
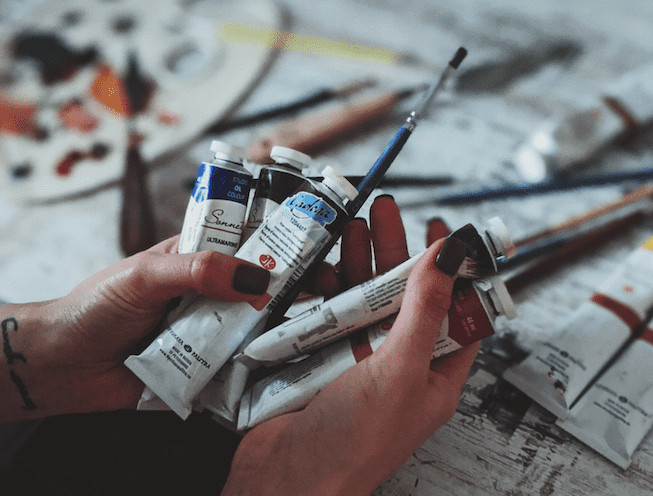
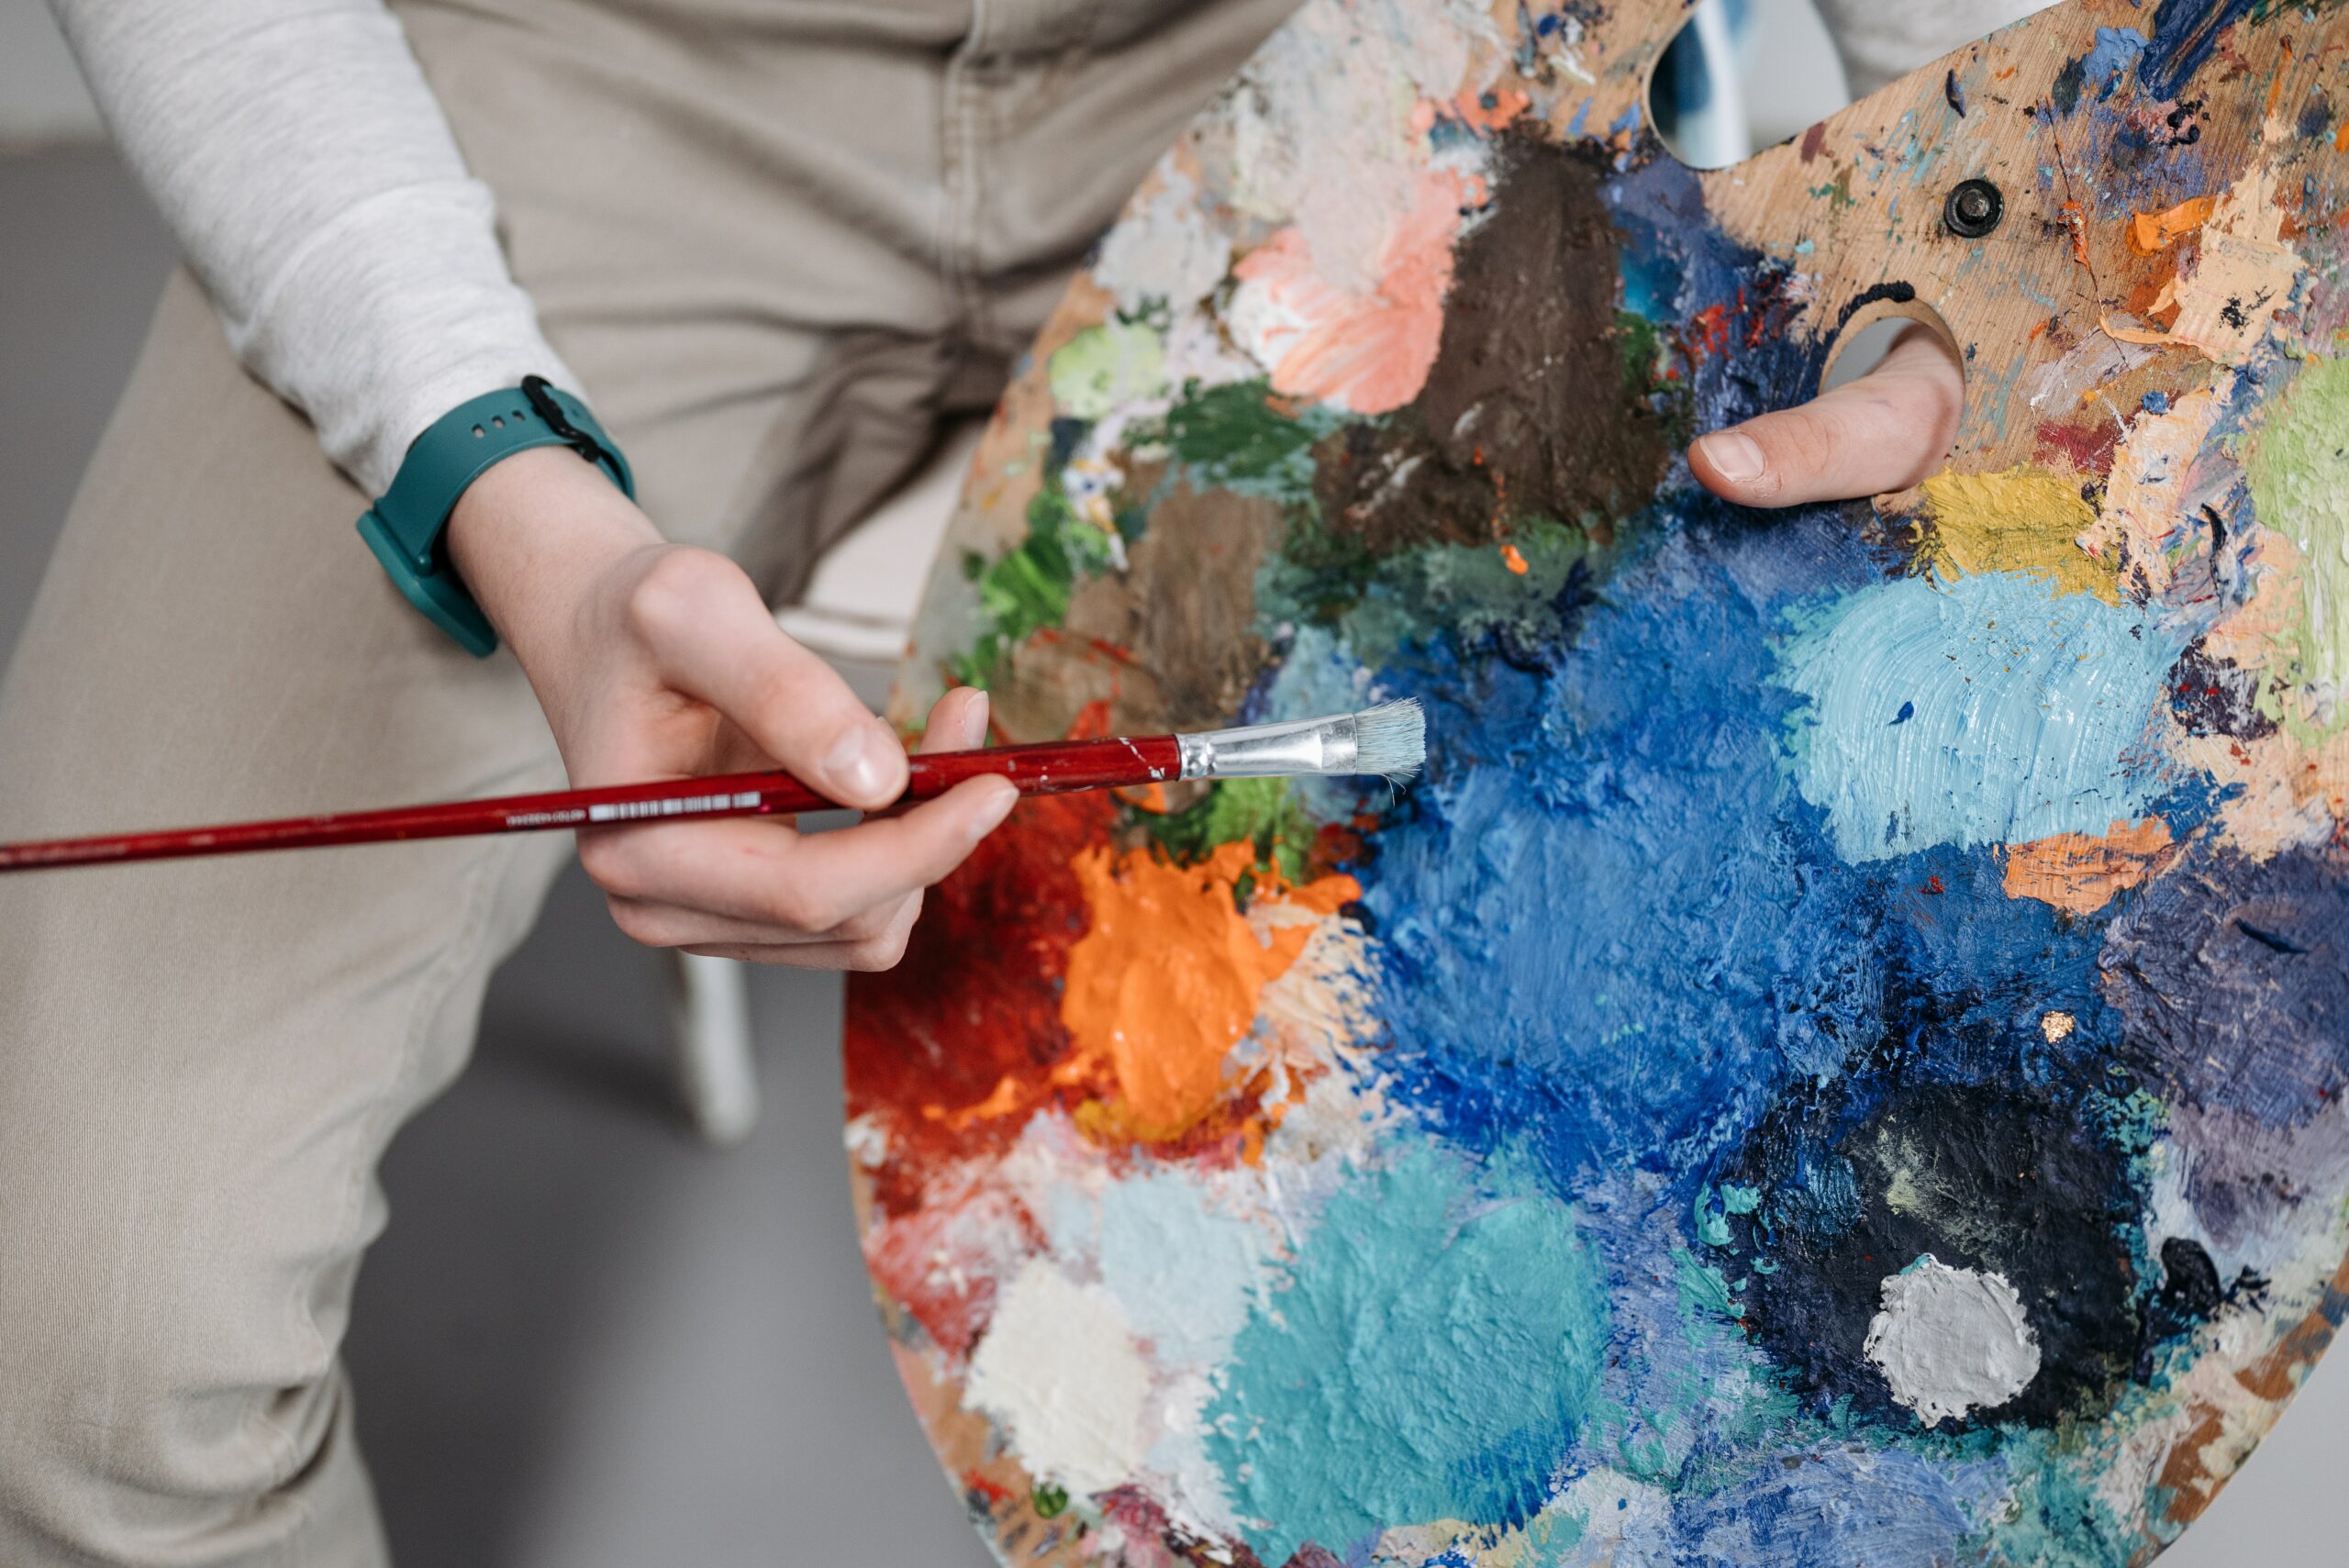
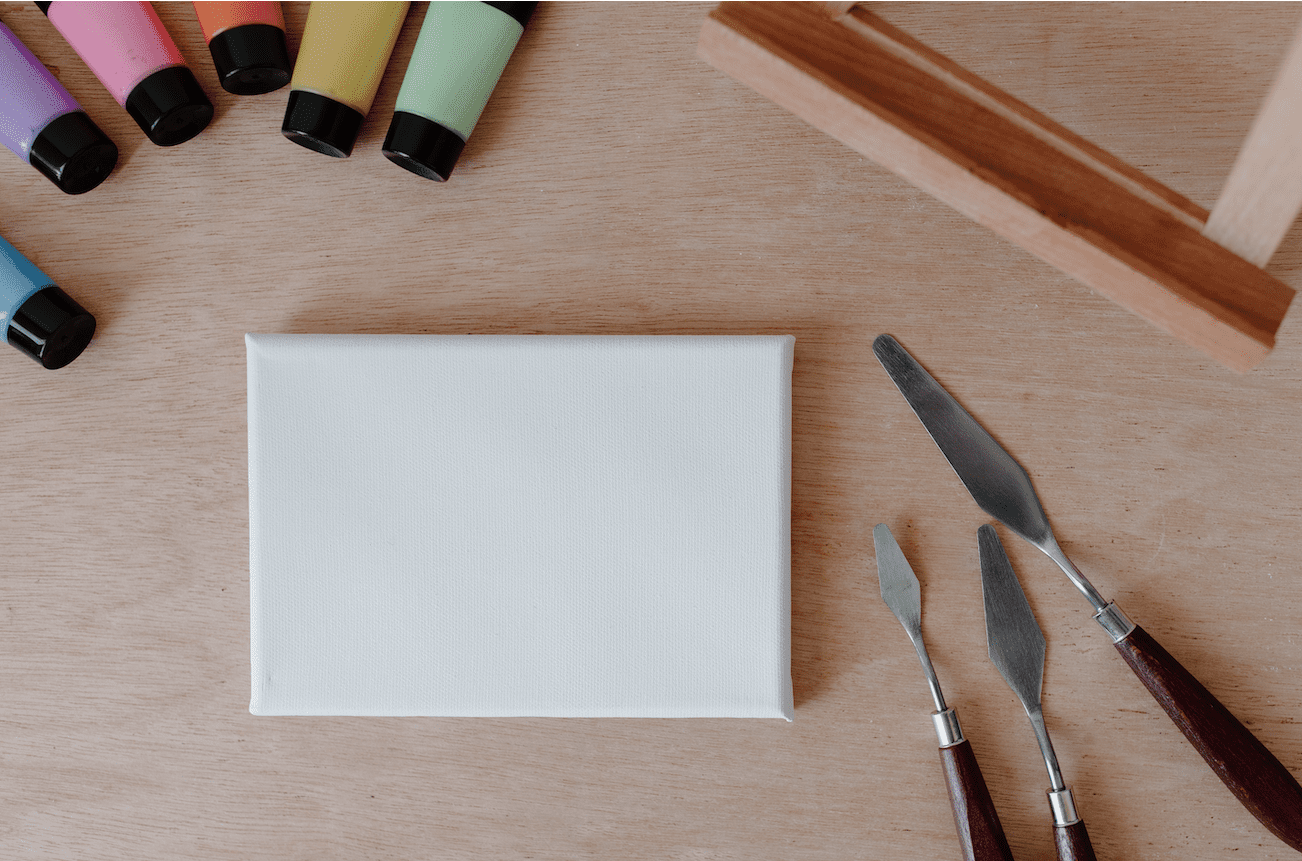
I'm so excited to share my knowledge of painting with you! To get started, let's go over the materials that you'll need. First up is a canvas. Canvas comes in many sizes and shapes, but I recommend starting off with an 11x14 inch canvas or larger. You'll also need some acrylic paints - they come in a range of vibrant colors and will last longer than other types of paint such as oil-based ones. And don't forget the brushes – these are essential for creating your masterpiece! Lastly, you'll need something to mix your paints on like a palette or paper plate.
Now it's time to prepare the canvas before we start painting!

Preparing The Canvas
Preparing the canvas is an important part of creating a beautiful painting. It's essential to make sure that you have all the necessary supplies, such as stretched and primed canvas, paintbrushes, paints, palette knives and other tools. Before I begin painting, I always check to make sure my surface is clean and dust-free.
Once everything is ready, it’s time to prepare the canvas for painting. If you're using a pre-stretched canvas, then there isn't much preparation needed - just wipe down your surface with a damp cloth or some rubbing alcohol to remove any dirt or oil residue which may be present. On the other hand, if you're stretching your own canvas from scratch then there are several steps involved in preparing it correctly.
You'll need to prime your raw canvas with gesso before beginning work on it; this will create an even texture across the entire surface so that paint adheres properly and colours stay true when applied later on.
To ensure that my artwork lasts for years to come without deteriorating over time due its exposure to moisture or humidity levels in the air, I also apply multiple coats of varnish once my painting is complete. This creates a protective barrier between my artwork and environmental factors like sunlight or heat exposure. With these simple steps taken care of, our canvas should now be ready for sketching and layout!
Sketching And Layout
Now that you have your canvas and all of the materials you need, it's time to get started! Before applying any paint, sketching out an idea or a plan is key. It can be as detailed or abstract as you like, but having some sort of visual reference will help guide your painting process.
Start by lightly drawing with a pencil on the canvas surface. Don't worry if something doesn’t look quite right at first – this is just part of the creative process and it helps to lay down some initial shapes before putting down color. Depending on what type of painting you are doing, playing around with composition and lighting can also be helpful during this stage.
When it comes to layout, think about where the focal point should go in order for viewers to best appreciate your work. Consider how each element fits into one another and create a sense of balance throughout the piece. Avoid symmetry since it can sometimes make things too predictable. Instead focus on creating contrast from dark-to-light values, colors, textures and more within your design so that there is interesting depth and movement across its surface.
Ready to move onto the next step? Applying paint will bring together all these elements you've been setting up - let's dive in!
Applying Paint
Painting on canvas can be a fun and rewarding experience. Now that you have your supplies ready, let's start applying paint!
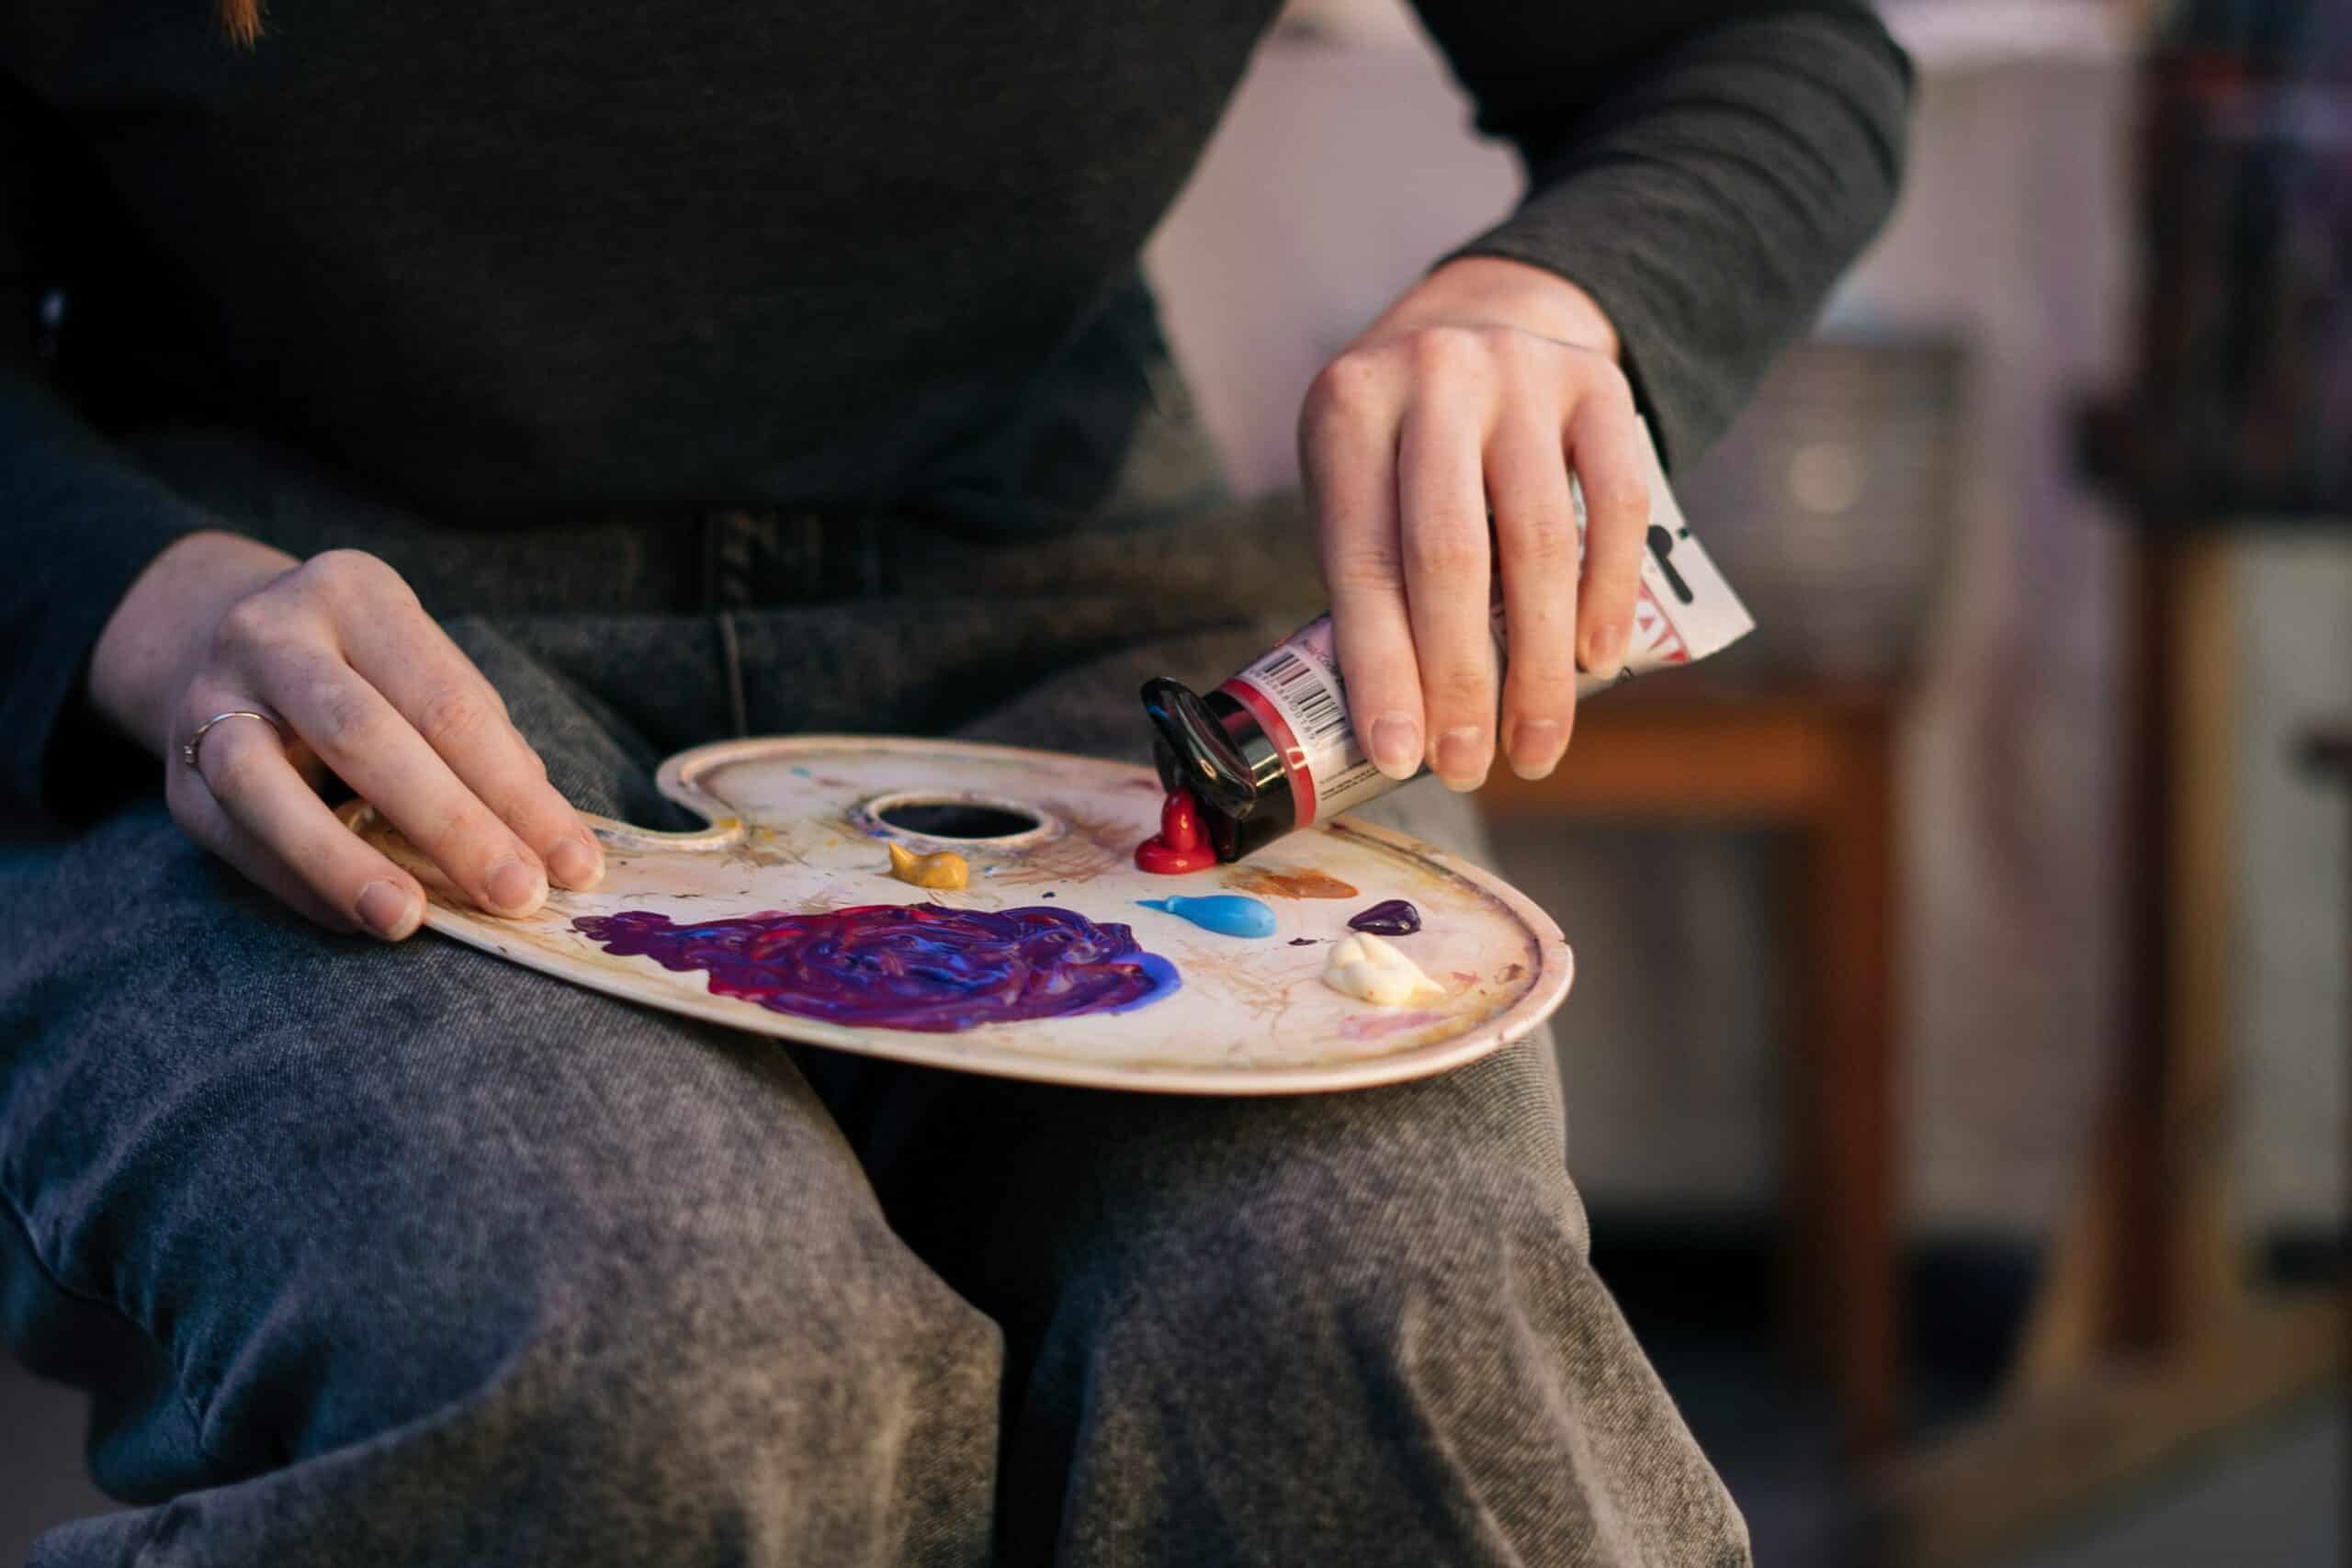
First, choose the colors of paint you want to use. Consider choosing three primary colors as your base and then adding two or more secondary colors to help add depth and complexity to the painting. For example, if you're working with acrylics, try red, blue and yellow plus some shades of green or purple for extra detail.
Next, decide how much paint coverage you need. Do not apply too much paint at once; it is better to build up layers gradually in order to get an even finish without any brushstrokes showing through later.
Additionally:
- Use a light touch when brushing so that all strokes are soft & subtle
- Make sure each layer has dried completely before applying another one
- Put aside time between coats for drying and blending additional color gradations
- Have patience — often the best works take longer than expected!
Now that we've covered painting techniques for canvases, let's talk about putting those finishing touches on our masterpiece...
Finishing Touches
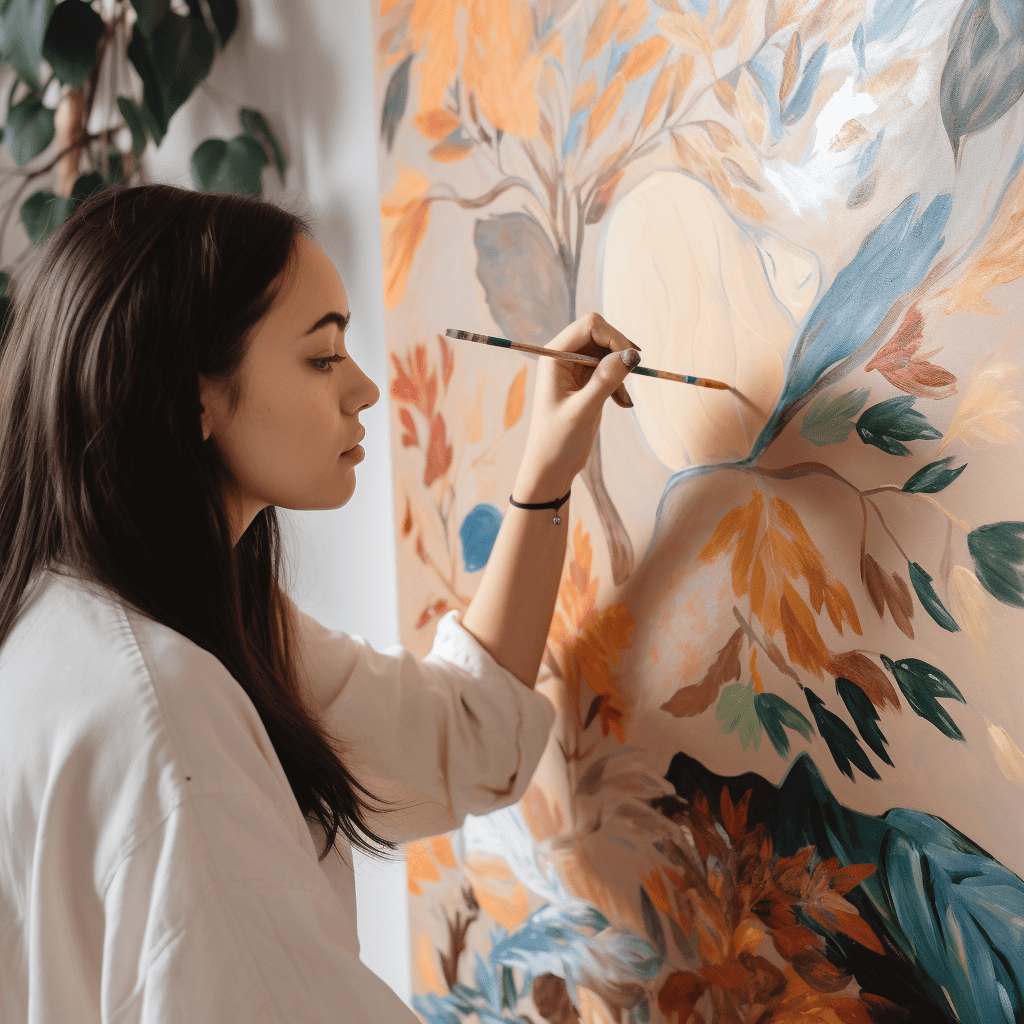
Now that the paint is applied, it's time to move onto finishing touches. These will bring out your artwork and make it truly unique. First of all, you may want to consider adding embellishments or textures to give a more three-dimensional feel. You can do this by using various brushes or sponges with different strokes and patterns. This adds an extra layer of complexity to any canvas painting and helps create texture that stands out in the piece.
Next, be sure to look at the composition carefully. Do certain elements stand out more than they should? Are there lines that could use some tweaking? Make small changes as needed so everything looks balanced and unified. Consider adding depth to your painting too by blending colors together in certain areas or adding shadows where appropriate. Doing these things will help take your artwork from good to great!
It's finally time for the unveiling - displaying your work proudly! Whether it’s hanging on a wall, sitting on an easel, or being showcased online, having a place for others (and yourself!) to admire what you've created is one of the most rewarding parts of completing a canvas painting project. Enjoy seeing how far you've come since starting this journey!
Displaying Your Work
Once you have completed your canvas painting, it's time to display your work! Showing off your masterpiece will give you a great sense of pride and accomplishment. It's also an opportunity to inspire others with your talent and creativity.
The best way to show off your artwork is by hanging it on the wall. Choose the right spot in your home or office that has enough light for viewers to appreciate its beauty. For example, if you painted a landscape painting, hang it somewhere where there is natural light coming through the windows; this will create a more dramatic effect.
Also be sure to consider how much space you need around the painting so that people can comfortably walk around and view it from different angles.
You could also choose to enter art competitions or exhibitions which offer monetary rewards as well as recognition for creative works of excellence. Not only does this provide additional motivation for creating new pieces but also gives artists greater exposure and chances to network with fellow creatives. Whatever path you take, make sure that whatever platform you use honors the integrity of your artwork and allows for maximum appreciation from those who see it.
Conclusion
When you complete a canvas painting, it is so rewarding to stand back and admire your work. There's nothing quite like the feeling of accomplishment when you've used your own two hands to create something beautiful. It's especially satisfying if you have followed all the necessary steps for creating a successful canvas painting.
Taking time to sketch out the design beforehand, taking care in applying the paint with even strokes, and adding those finishing touches that really make the artwork come alive are all important elements of making sure you can be proud of what you've created. As we often say here at our studio: 'a masterpiece takes patience'. That could not be truer than when working on a canvas painting; but with each step taken towards completion, there is also pride that grows within us as artists.
The end result will always be worth it - just remember this old adage I like to use: 'Rome was not built in a day'. So take it easy on yourself, don't rush through any part of process, and enjoy every moment along the way!

