How To Paint A Ceramic Lamp Base
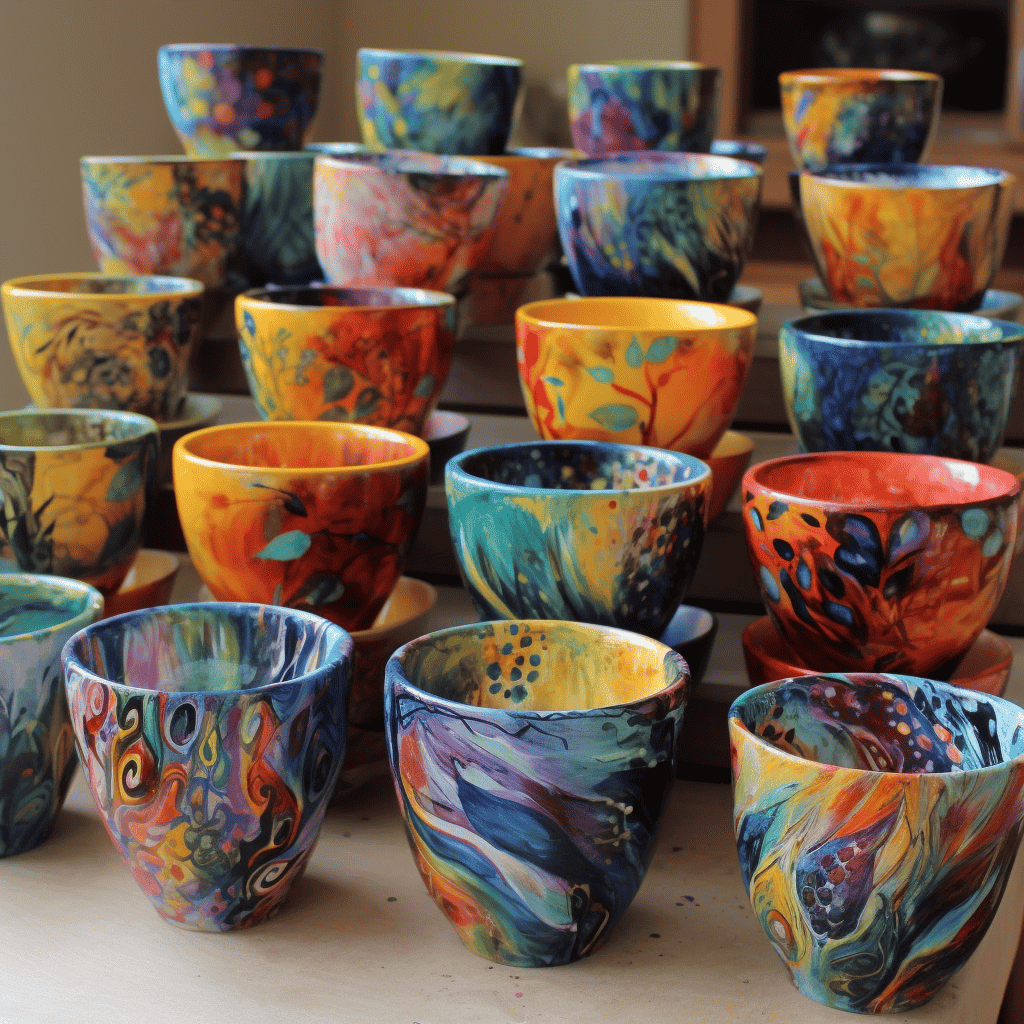
Are you looking to spruce up your home decor with a personalized touch? Look no further than the creative and rewarding activity of painting a ceramic lamp base! With some supplies, patience, and creativity, you can create something beautiful that will be the envy of all your friends. I'm here to show you how it's done step by step, so let's get started.
Painting ceramics is an easy and fun way to unleash your inner artist. Allowing yourself to play around with different colors, textures, and design elements allows for endless possibilities when it comes to creating something unique. Whether you're just starting or have years of experience under your belt, this craft is accessible to everyone willing to put in some effort.
Let me walk you through each step of the process and provide helpful tips along the way. By the end of this article, you'll have painted a stunning ceramic lamp base that will add character and warmth to any room in your house! So grab your supplies and let's dive right into learning how to paint a ceramic lamp base.
Choosing The Right Paint
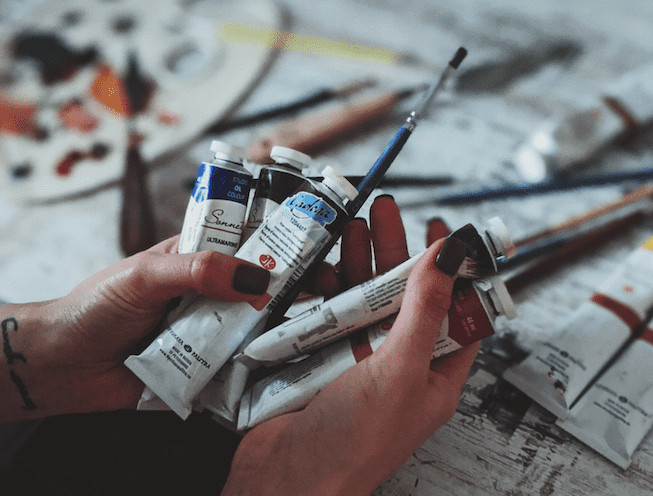
Painting a ceramic lamp base is an art that requires finesse and practice. Finding the perfect paint for your project can be daunting, but with some knowledge of the paints available and their properties, you will find it easier to make a selection.
Starting your search starts with researching acrylic paints as they are often used in pottery projects due to their durability and versatility. Acrylics come in a wide range of colors and finishes, so there’s something suitable for every need. Another option is oil-based enamel paint which offers more vibrant colors than acrylics; however, these paints take longer to dry since they contain solvents that evaporate slowly over time.
When making your selection, consider how much gloss or sheen you want on the finished product - this will help direct you towards either matte or glossy-based products. Additionally, look at what kind of surface you're planning to apply the paint to - some types may not adhere well to certain surfaces such as plastic or metal so it's important to check compatibility before purchasing any specific brand.
With these tips in mind, selecting the right paint should be much simpler! Now we move on to preparing the base.
Preparing The Base
Now that you've chosen the right paint for your ceramic lamp base, it's time to prepare the surface. Before getting started, make sure you have all of the materials you need from a local craft store: sandpaper, primer, and a brush or roller applicator. You'll also want some clean rags on hand for wiping up any excess residue after each step is complete.
To get ready for painting, begin by lightly sanding down the entire surface with a fine-grit sandpaper. This will help create an even texture so that when you apply the primer and paint, they stick better. Be sure to wipe away any dust particles with a damp cloth afterward and let the air dry completely before moving on to the next steps.
Once everything has been prepped and cleaned off, it's now time to start applying primer and paint to your ceramic lamp base!

Applying Primer And Paint
Painting a ceramic lamp base is an art form, not just a craft. To get the best results you have to pay attention to every detail and use quality materials throughout the process. The first step in transforming your project into something beautiful is applying primer and paint.
Start by prepping the surface of the ceramic with sandpaper or steel wool before priming it with two coats of oil-based primer.
Using a brush, apply thin layers of primer around all edges as well as any other areas that may be difficult to reach. You want to make sure the entire piece is covered evenly so there won’t be any visible flaws after painting. Let each layer dry completely before moving on to the next.
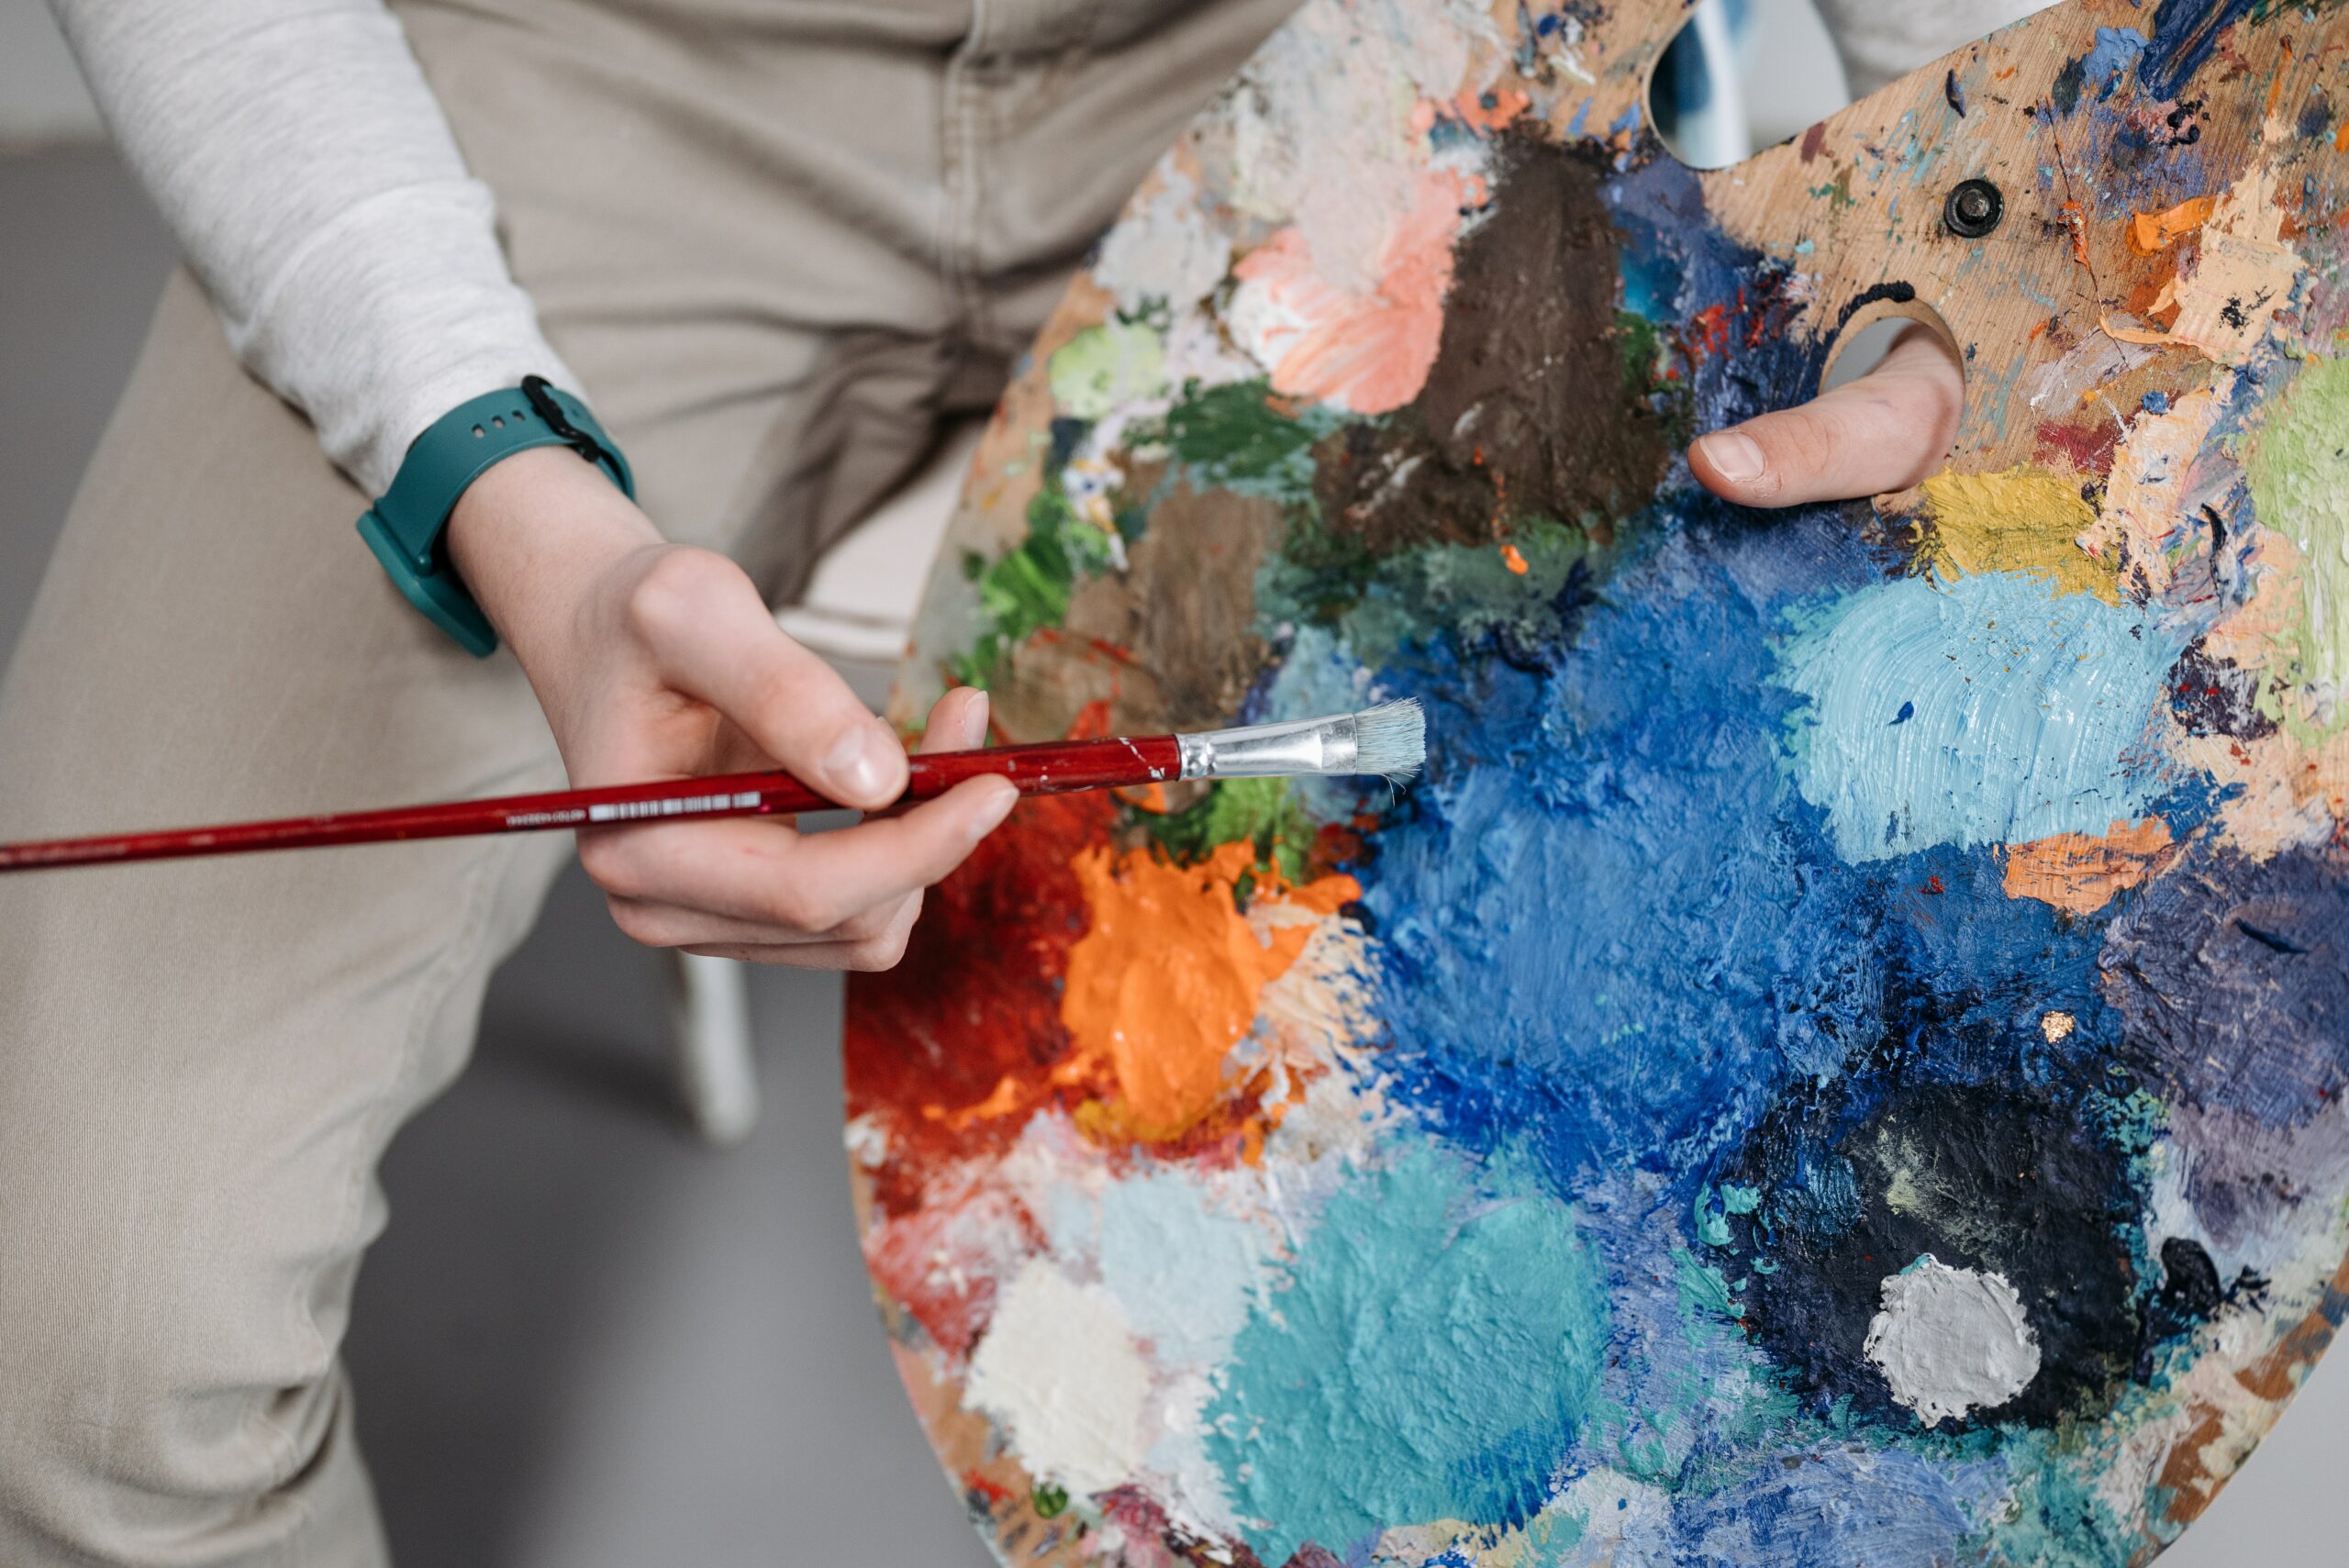
When both coats are finished drying, you can start adding color! Choose colors that will give your lamp base life and character - don't forget about blending multiple shades for added depth and dimension! Use acrylic paints designed specifically for ceramics because they're easier to work with when creating intricate details like lines and designs. With steady strokes, begin applying even coats of paint until your design takes shape. Make sure you let each coat fully dry before moving on to another one so your colors stay vibrant and true over time.
Now that our canvas has been primed and painted we can move on to those finishing touches!
Finishing Touches
Now that you've painted the lamp base, it's time for the finishing touches. I like to add a few coats of clear sealer or wax over my ceramic pieces so they're extra glossy and protected from wear and tear. Firstly, go over your piece one more time with fine sandpaper to make sure all your brushstrokes are smoothed out before applying the top coat. Then, dip a soft cloth in some sealer or wax and gently rub it onto the surface of your lamp base until every inch is covered. Make sure not to miss any spots!
Once you applied the final layer of protection, set aside your project for about 24 hours so that everything can dry properly. This will give you plenty of time to admire how beautiful your new lamp looks - It's always a great feeling when something turns out even better than expected! Now we're ready for the next step: Curing and sealing our lamp base so it lasts for years to come.
Curing And Sealing
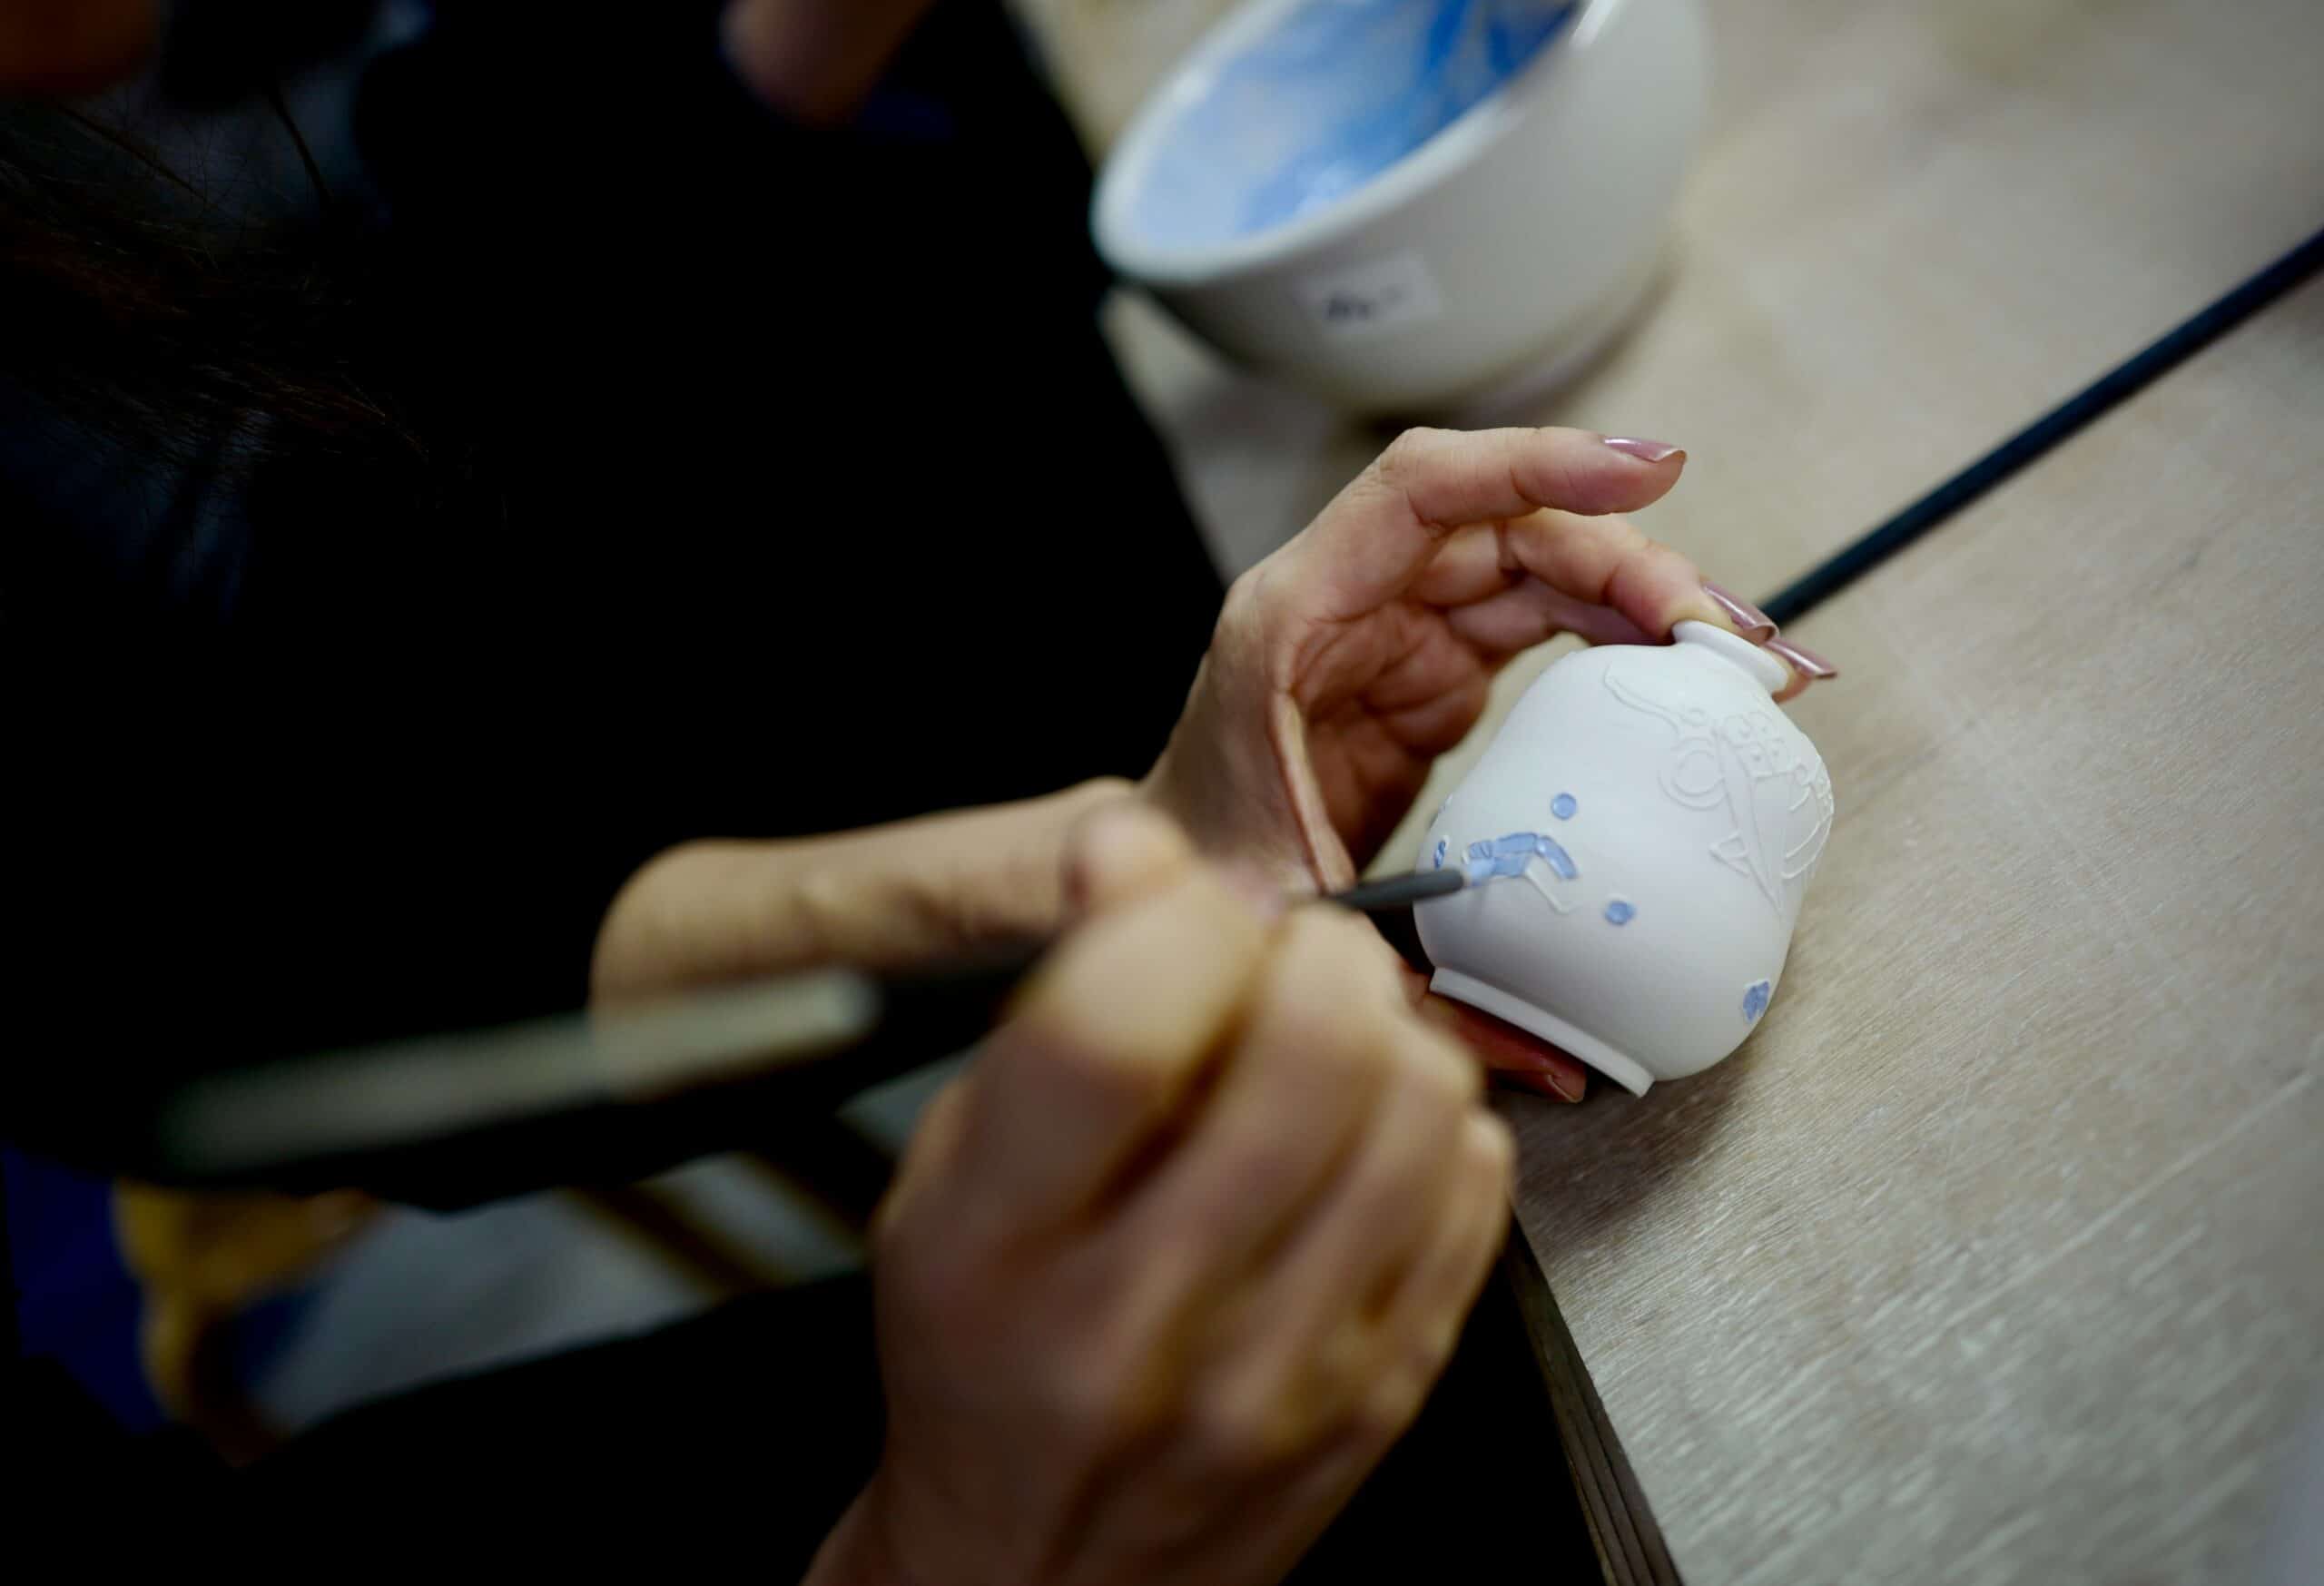
Once you've finished painting your ceramic lamp base, it's time to cure and seal the painted surface. This process is important to protect the paint job from chipping or fading over time. I always recommend using a water-based acrylic sealer for this step as they are easy to apply and have minimal fumes. Plus, they come in a variety of finishes so you can tailor them to your needs.
Start by lightly misting the sealed surface with aerosol sealer and then letting it dry completely before applying a second coat.
Make sure that each coat is applied evenly and thoroughly; if done correctly, two coats should be plenty! Once the final coat has dried, use fine sandpaper to gently buff any areas where there may be drips or bumps on the surface.
Now, just sit back and admire your handiwork – your lamp base is officially ready for display!
Troubleshooting Tips
Now that your ceramic lamp base is cured and sealed, it's time to move on to the fun part - painting! But just like any other artistic project, painting a ceramic lamp base may present its own set of challenges. Don't worry though, with some troubleshooting tips you can get through them quickly and easily.
First off, make sure you're using the right kind of paint for the job. Acrylic paints are best for ceramics since they won't chip or fade over time. If you want a deeper color or a more vibrant hue, try adding a bit of oil-based paint as well. Just be careful not to leave too much because this could cause cracking down the line.
Next up is choosing the right brush size for the area you're working on. Too big of a brush will result in sloppy lines and an uneven finish, while too small will take longer and might not give you enough coverage. The trick here is to use different sizes depending on where you are in the design - larger brushes for large flat areas and smaller ones for details and finer lines.
Finally, don't forget to practice on something else before applying your design to the actual lamp base surface. This way you'll have an idea of what works best without having to worry about ruining your masterpiece!

Conclusion
Now that you know how to paint a ceramic lamp base, it's time for you to make your masterpiece. If you follow the steps outlined in this guide and practice patience throughout the process, I guarantee you will quickly become an expert painter of any type of ceramic surface. Plus, after seeing the result – a one-of-a-kind lamp base with your creative touch – you'll be amazed at just how fantastic your piece looks!
Painting ceramics is a great way to express yourself and get crafty. With each brushstroke comes more confidence and skill until suddenly, painting beautiful pieces becomes second nature. The possibilities for creativity are truly endless; as long as you have access to some basic supplies and tools, nothing can stop you from creating art that’s bigger than life!
By now, I hope this article has inspired you to start painting ceramic surfaces with ease and enthusiasm. So go ahead: pick up those brushes and unleash your inner artist – there’s no limit when it comes to what you can create!


