Ceramic Painting Techniques For Beginners
Ceramic painting techniques for beginners can seem daunting, but with the right tools and a bit of patience, anyone can create beautiful artwork. As an expert in ceramic painting techniques, I'm here to show you that creating stunning pieces doesn't have to be intimidating. In this article, I'll provide helpful tips and tricks so you can start your journey into ceramic painting with confidence!
First off, let's talk about supplies. Before you even begin thinking about what design or colors you'd like to use on your piece of pottery, it's important to make sure you've got everything necessary for success. Investing in quality paintbrushes and other materials is essential; after all, having the right equipment will make life much easier when designing your masterpiece. Additionally, I suggest looking up some tutorials online as they're invaluable resources full of useful tips and advice from experienced painters who know exactly how to use specific brushes or paints.
Finally, don't forget about practice! Learning how to control the brush strokes takes some time — there are no shortcuts here. Once you feel comfortable using different types of brushes and blending colors together effectively, then you’ll be ready to tackle any project! So now that we've discussed the basics of getting started with ceramic painting - let's get creative!
Overview Of Painting On Ceramics
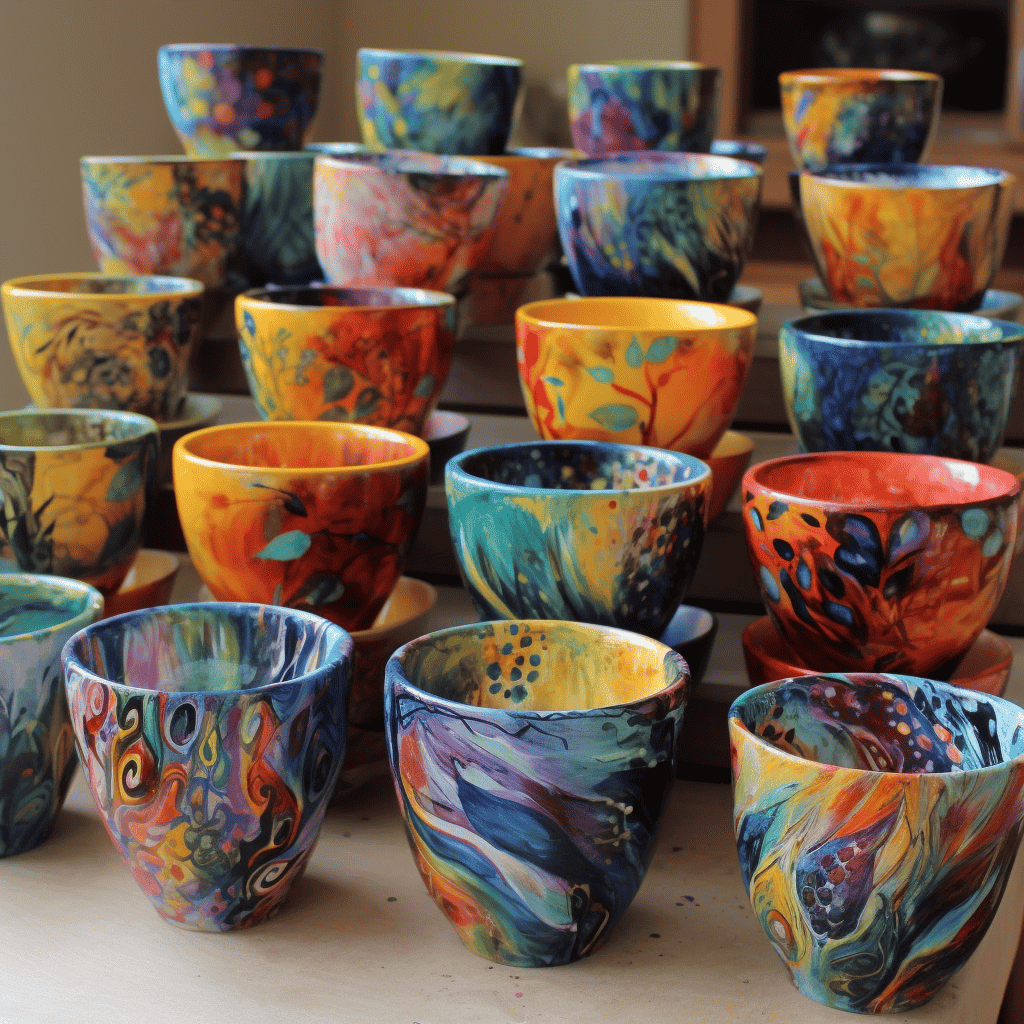
Painting on ceramics is a magical experience that can take your creativity to new heights! It’s simple yet complex, and the possibilities are truly endless. Those who want to learn the basics of this craft will be delighted by how easy it is to get started. With just a few tools and materials, you too can create beautiful ceramic pieces in no time at all.
To begin painting on ceramics, choose an item that's made from porcelain or stoneware clay. The type of paint used depends on the type of material chosen; water-based paints work best with glazed ceramics while oil-based paints are better suited for unglazed pieces. Be sure to use high-quality acrylics or enamel paints for a more lasting result. Brushes should also be selected carefully.
Soft brushes such as sable hairbrushes work well with delicate patterns and designs, while stiffer ones like hog bristle brushes are great for bold lines and solid surfaces.
Finally, before starting any project it's important to make sure the ceramic surface has been properly prepared so that paints adhere correctly and last longer. Cleaning the piece with warm water and soap is recommended in order to remove dust particles and dirt from its surface. This step will help ensure your masterpiece looks amazing when finished! Now that you have an overview of what painting on ceramics involves, let's discuss the necessary tools and materials needed...
Necessary Tools And Materials
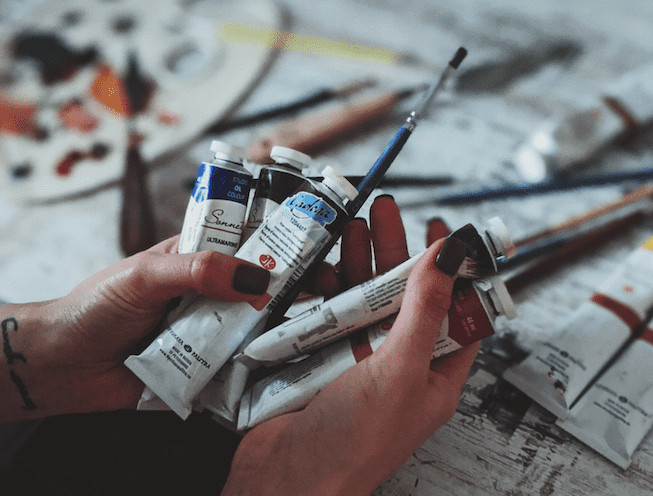
If you're a beginner at ceramic painting, the first thing you need to do is get all your tools and materials together. To make things easier for yourself, I recommend picking up an all-in-one ceramic painting kit which usually comes with everything you'll need. This might include paintbrushes of varying sizes, different colors of glazes or acrylic paints, sponges, sealers, and other items.
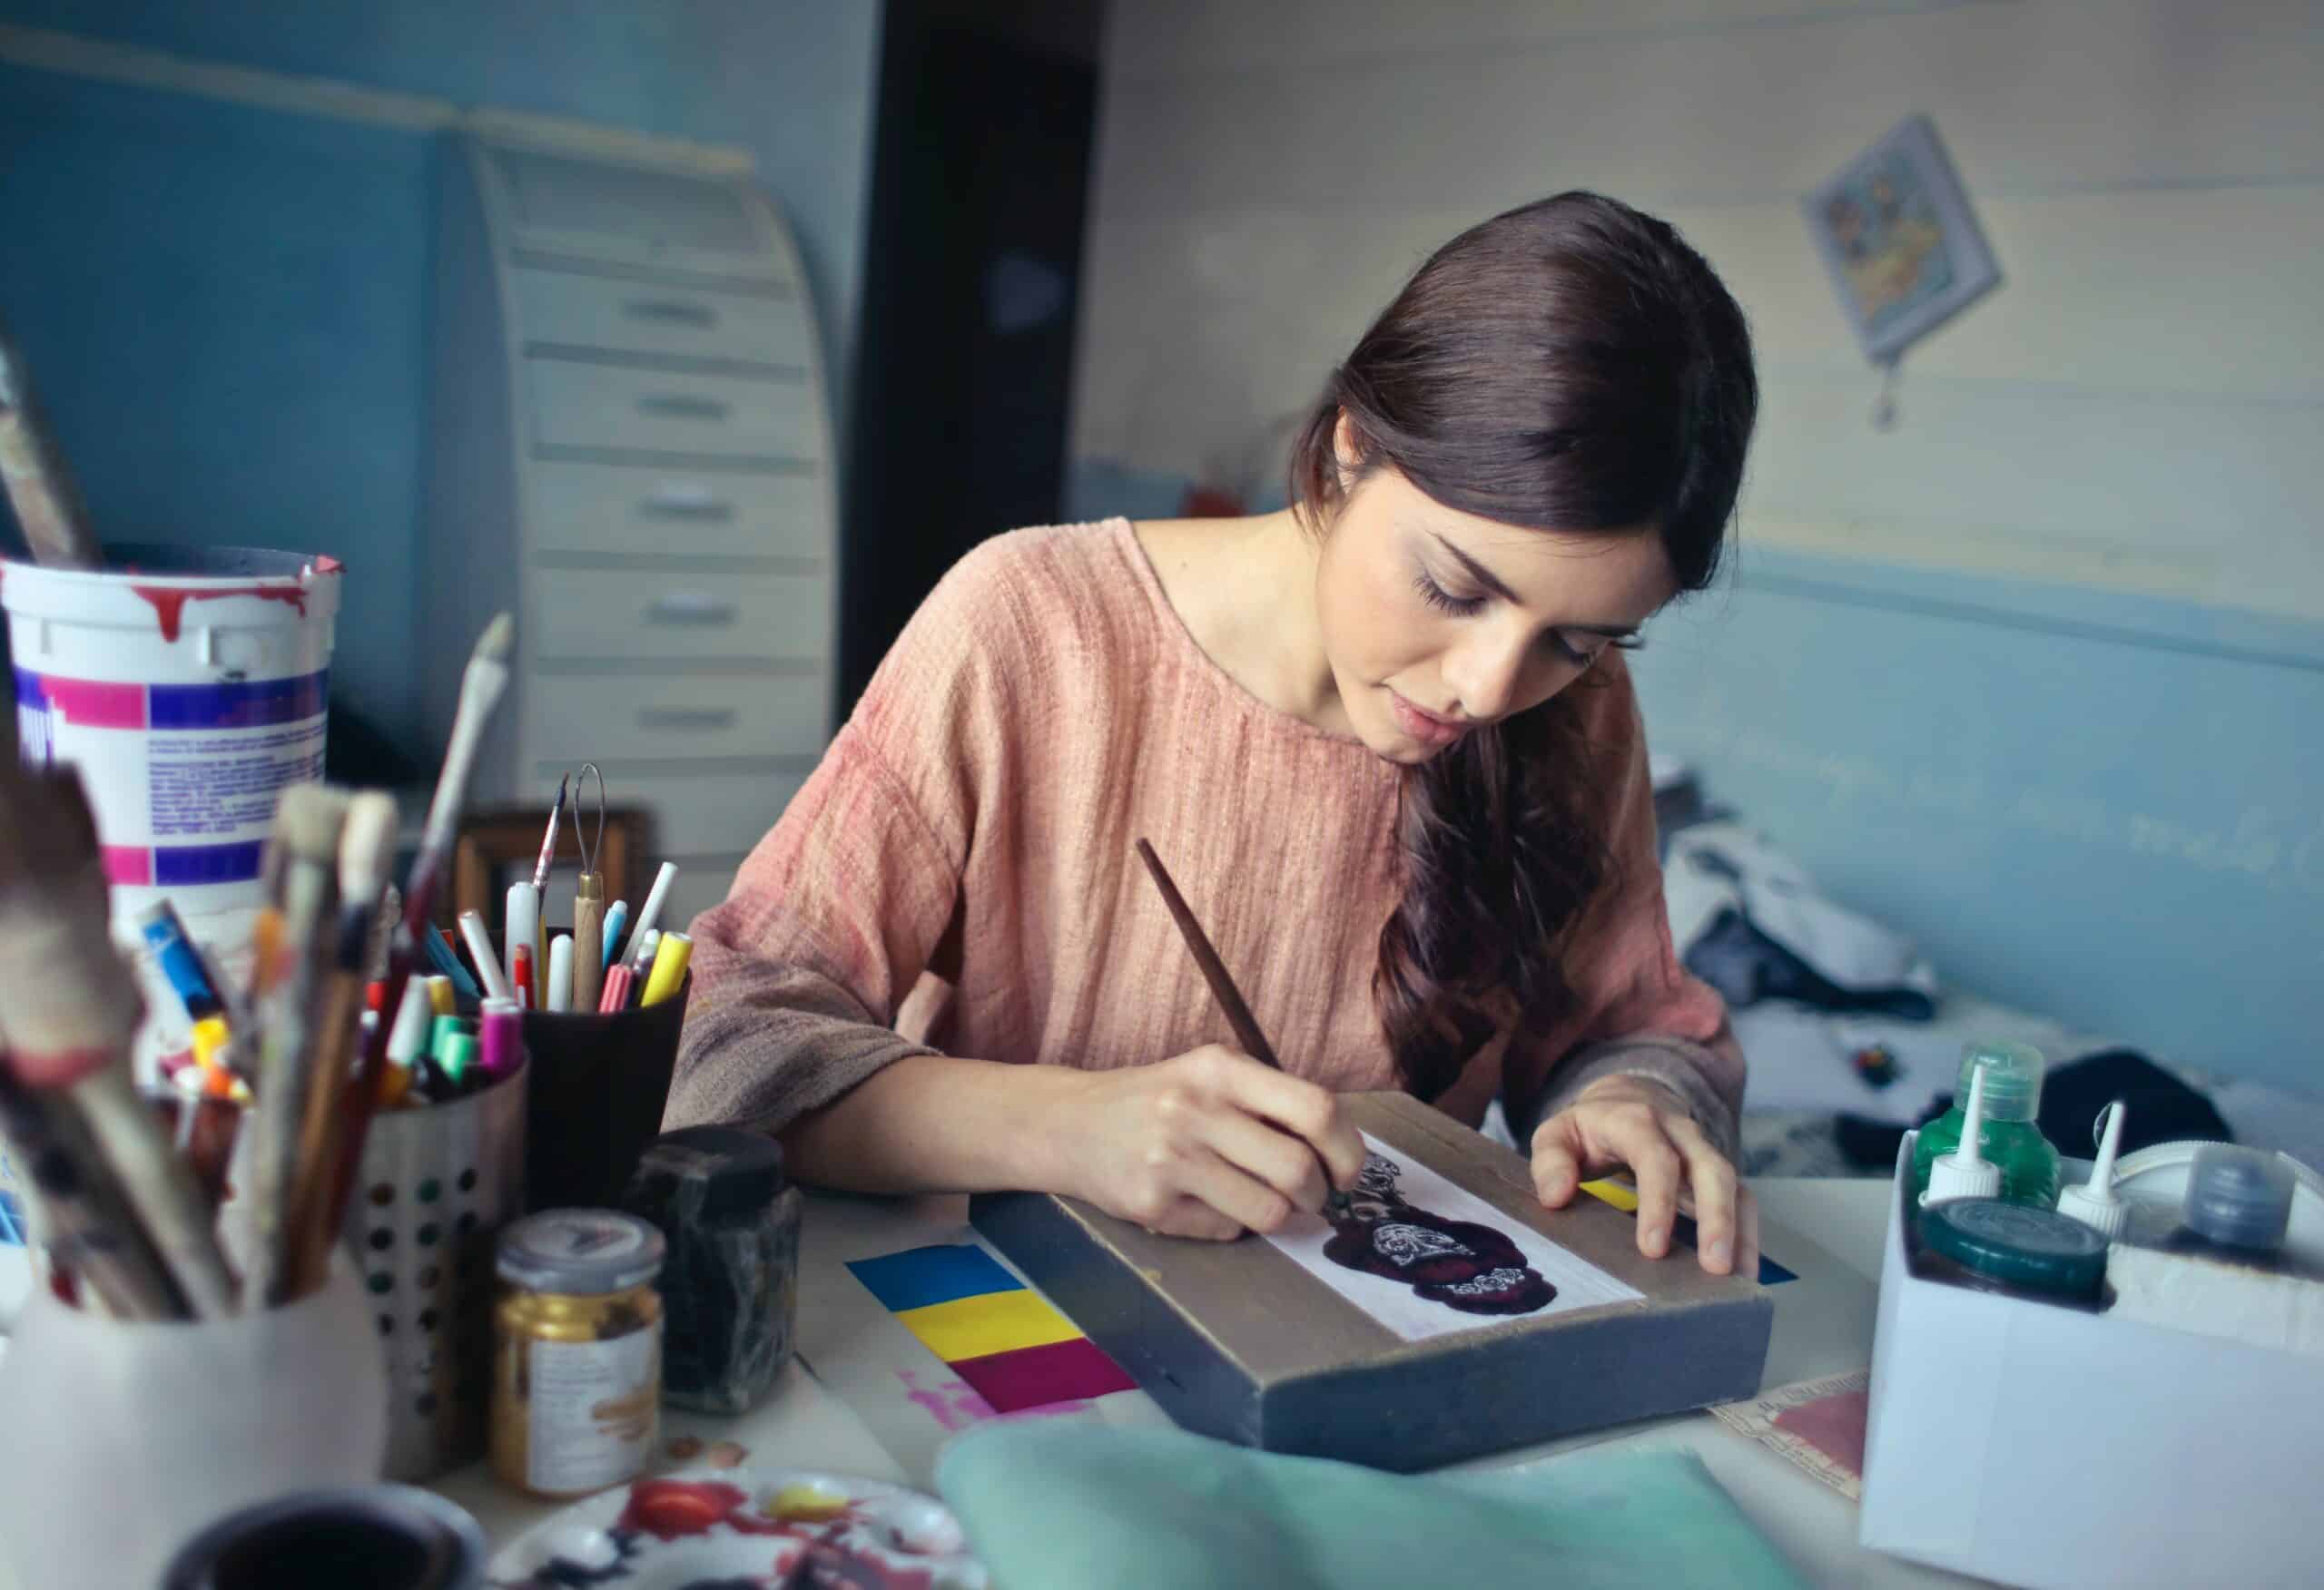
Aside from these basics, some additional supplies will come in handy while painting ceramics such as rubber gloves to protect your hands from any harsh chemicals contained in the glaze or sealer. A dust mask can also be helpful if you plan on sanding down parts of the ceramic piece before starting the decorating process. Additionally, a pair of safety goggles may be necessary when using certain types of glazes which contain toxic ingredients.
Once you have gathered all your tools and materials, it's time to move on to preparing the ceramic surface for painting!
Preparing The Ceramic Surface For Painting
Now that we have the tools and materials needed for ceramic painting, it's time to prepare the surface of our pottery. The preparation of your piece is vital as this will determine how successful your finished artwork looks. Here are a few steps you should take:
- Clean off any dust or debris from the ceramic surface with a damp cloth.
- Sand down any rough areas on the piece, if necessary.
- Apply two coats of acrylic primer, allowing each coat to dry before applying the next one.
- Once both coats are applied, buff them out using very fine sandpaper (up to 2000 grit) until smooth and even.
- Last but not least, wipe away all dust residue with a clean damp cloth once more.
By taking these simple measures you can ensure that your canvas is ready for painting. Now we’re able to start planning our masterpiece by selecting colors and blending different hues!
Applying And Blending Paint Colors
Applying and blending paint colors is an important part of the ceramic painting process. It's essential to get a feel for working with different pigments, hues, and shades before attempting any complex techniques. To begin, I recommend mixing your paints together on a palette or paper plate until you have achieved your desired color. This will allow you to create subtle gradations in hue that can be used in more intricate designs when you are ready.
When applying paint to ceramics, it's best to use a thin brush so that the bristles bend easily against the surface without leaving marks.
Try using small circles or zigzag motions - this helps make sure that each section has been properly covered by color without leaving obvious brush strokes behind.
Finally, don't forget to blend adjacent sections of paint together; just like on canvas, blending creates smoother transitions between colours which enhances the overall effect of your design! With these tips in mind, let’s move onto adding those final touches and sealing our work.
Finishing Touches And Sealing The Work
As the saying goes, "all's well that ends well" - and just like any other ceramic painting project, this one requires a few finishing touches to make sure it looks its best. Once you've applied and blended your paint caolors in the way that suits the design of your artwork, there are some essential steps for sealing and protecting it.
The first step is to use a varnish or sealant specifically designed for ceramics. This will help protect the piece from dust, moisture and staining. You should also consider using a spray-on clear coat lacquer after applying the varnish, as this can further protect against scratches and fading over time. Make sure to read all instructions on the can before applying either product - they're usually safe but may not be suitable for certain types of paints or surfaces.
Finally, inspect your work carefully once everything has dried completely. Look at each area closely to check if there are any defects such as cracks or smudges that need fixing up before you start troubleshooting common problems associated with ceramic painting projects.
Troubleshooting Common Problems
When it comes to ceramic painting, there are some common problems that can arise. But don't let them put you off; with a little bit of knowledge and practice, these issues can be easily resolved. In this section, I'll give you advice on how to troubleshoot the most common problems so that your work looks its best!
The first problem is dealing with streaks or unevenness in the glaze. This usually happens when too much water is used during application or if the brush isn’t properly loaded with paint. To fix this issue, make sure that you use just enough water and load up your brush completely before applying each layer of glaze. Additionally, take care not to rush through any parts of the process as this can cause mistakes down the line.
Another common issue is air bubbles appearing under the glaze once it's been fired in a kiln. These aren’t fun because they can ruin an otherwise great piece of art! To prevent this from happening, try using a low-temperature firing schedule that starts at a lower temperature and slowly increases over time instead of jumping straight into high temperatures quickly. Also, avoid shaking bottles of glazes before use as well as stirring them vigorously which can introduce unwanted bubbles into your mix.
These two tips should help get rid of those pesky imperfections and allow for beautiful pieces every time! So remember: stay vigilant about proper loading techniques and maintain slow firing schedules for optimal results. You got this!
Conclusion
As a ceramic painting techniques expert, it is my pleasure to share the knowledge I have gained over the years with beginners. Painting on ceramics can be an incredibly rewarding experience, and with the right tools and technique, you too can create beautiful works of art that will last forever! With practice and patience, even the most novice artist will soon become a master of this craft in no time.
Painting on ceramics is definitely not for everyone; however, if you are willing to put in some effort into learning these techniques, you’ll find yourself creating pieces that look as though they were painted by a professional – truly something worth bragging about! From preparing your surface correctly to achieving perfect blends of colors – there’s nothing more satisfying than seeing your hard work come to life before your eyes.
If you still feel overwhelmed at times when starting out with ceramic painting, don't worry - we all do from time-to-time! Just remember: start small and take one step at a time until you get comfortable enough to tackle larger projects. So go ahead and unleash your creative spirit – It’s quite literally impossible to make a wrong move here!

