A Splash of Sunshine: How to Paint a Sunflower in Watercolor
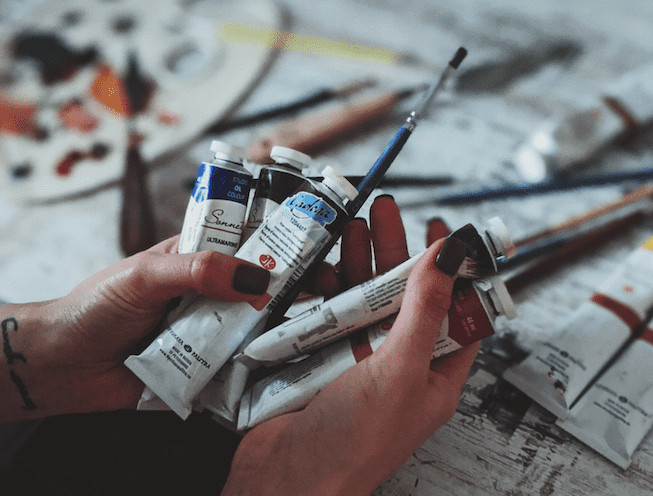
Painting a sunflower in watercolor is an enjoyable and rewarding experience. Creating beautiful art can be as easy as following some simple steps, and with this guide, you'll have your stunning masterpiece completed in no time! I'm here to show you how to paint a sunflower from start to finish. I've been painting for years now, so I know what it takes to create something special. Whether you're a beginner or experienced artist, these tips will help make the process easier and more fun. Let's get started by gathering all of our supplies: Watercolors, brushes, paper towels and water cups are essential components of any successful painting session. And don't forget those extra details - like fine-tipped brushes or sponges - that can really give your artwork that finishing touch! Now we're ready to begin – let's jump right into coloring our sunflower!
Color Palette Selection
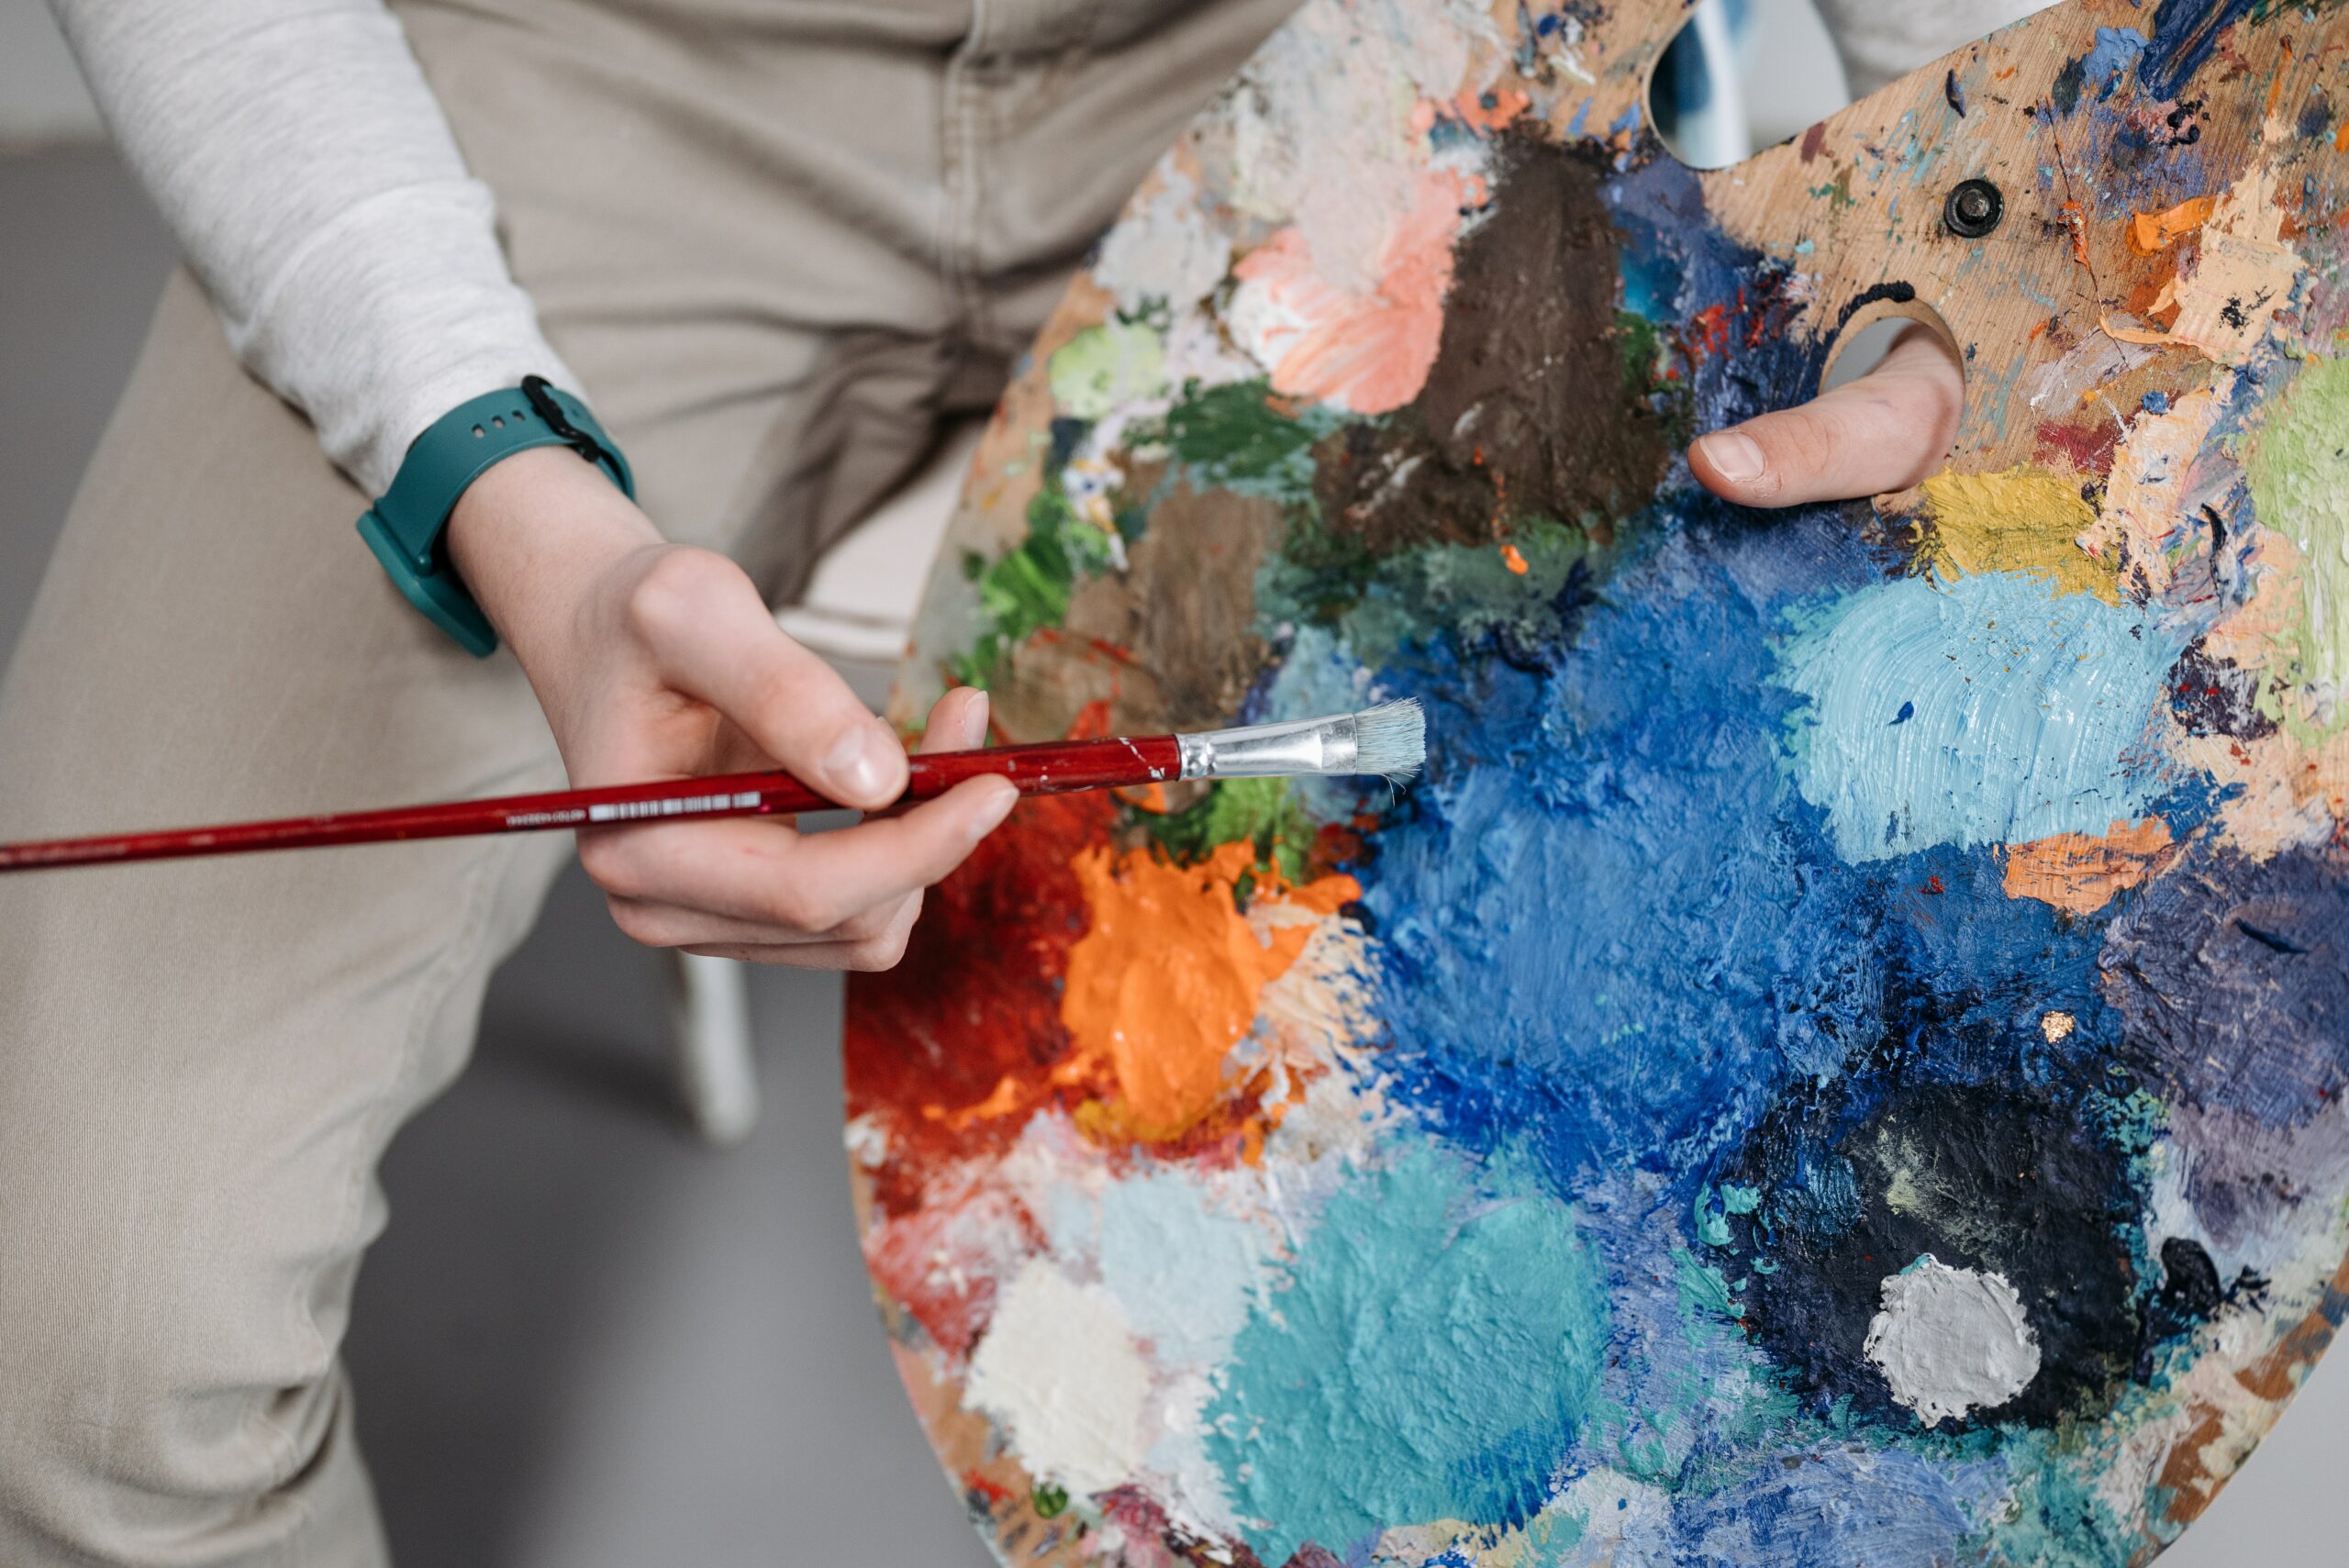
Did you know that there are over 70 different species of sunflowers? Each one is unique and features its own vibrant colors. As a watercolor artist, it's important to choose the right color palette when painting a sunflower. The key colors in a sunflower include yellow shades, orange hues, and brown tints. It's essential to select the correct tone for each shade so your final piece looks as realistic as possible. To get started, mix up some bright yellows like cadmium or lemon yellow with other warm tones such as red earth or dark cobalt blue. Add in some subtle oranges like burnt sienna or quinacridone gold for depth and texture. Finally, add small amounts of browns like raw umber and sepia to give your sunflower extra dimension and realism. You now have all the necessary colors to create an amazing watercolor painting of a sunflower! Now let’s move on to sketching out the design.
Sketching Out The Design
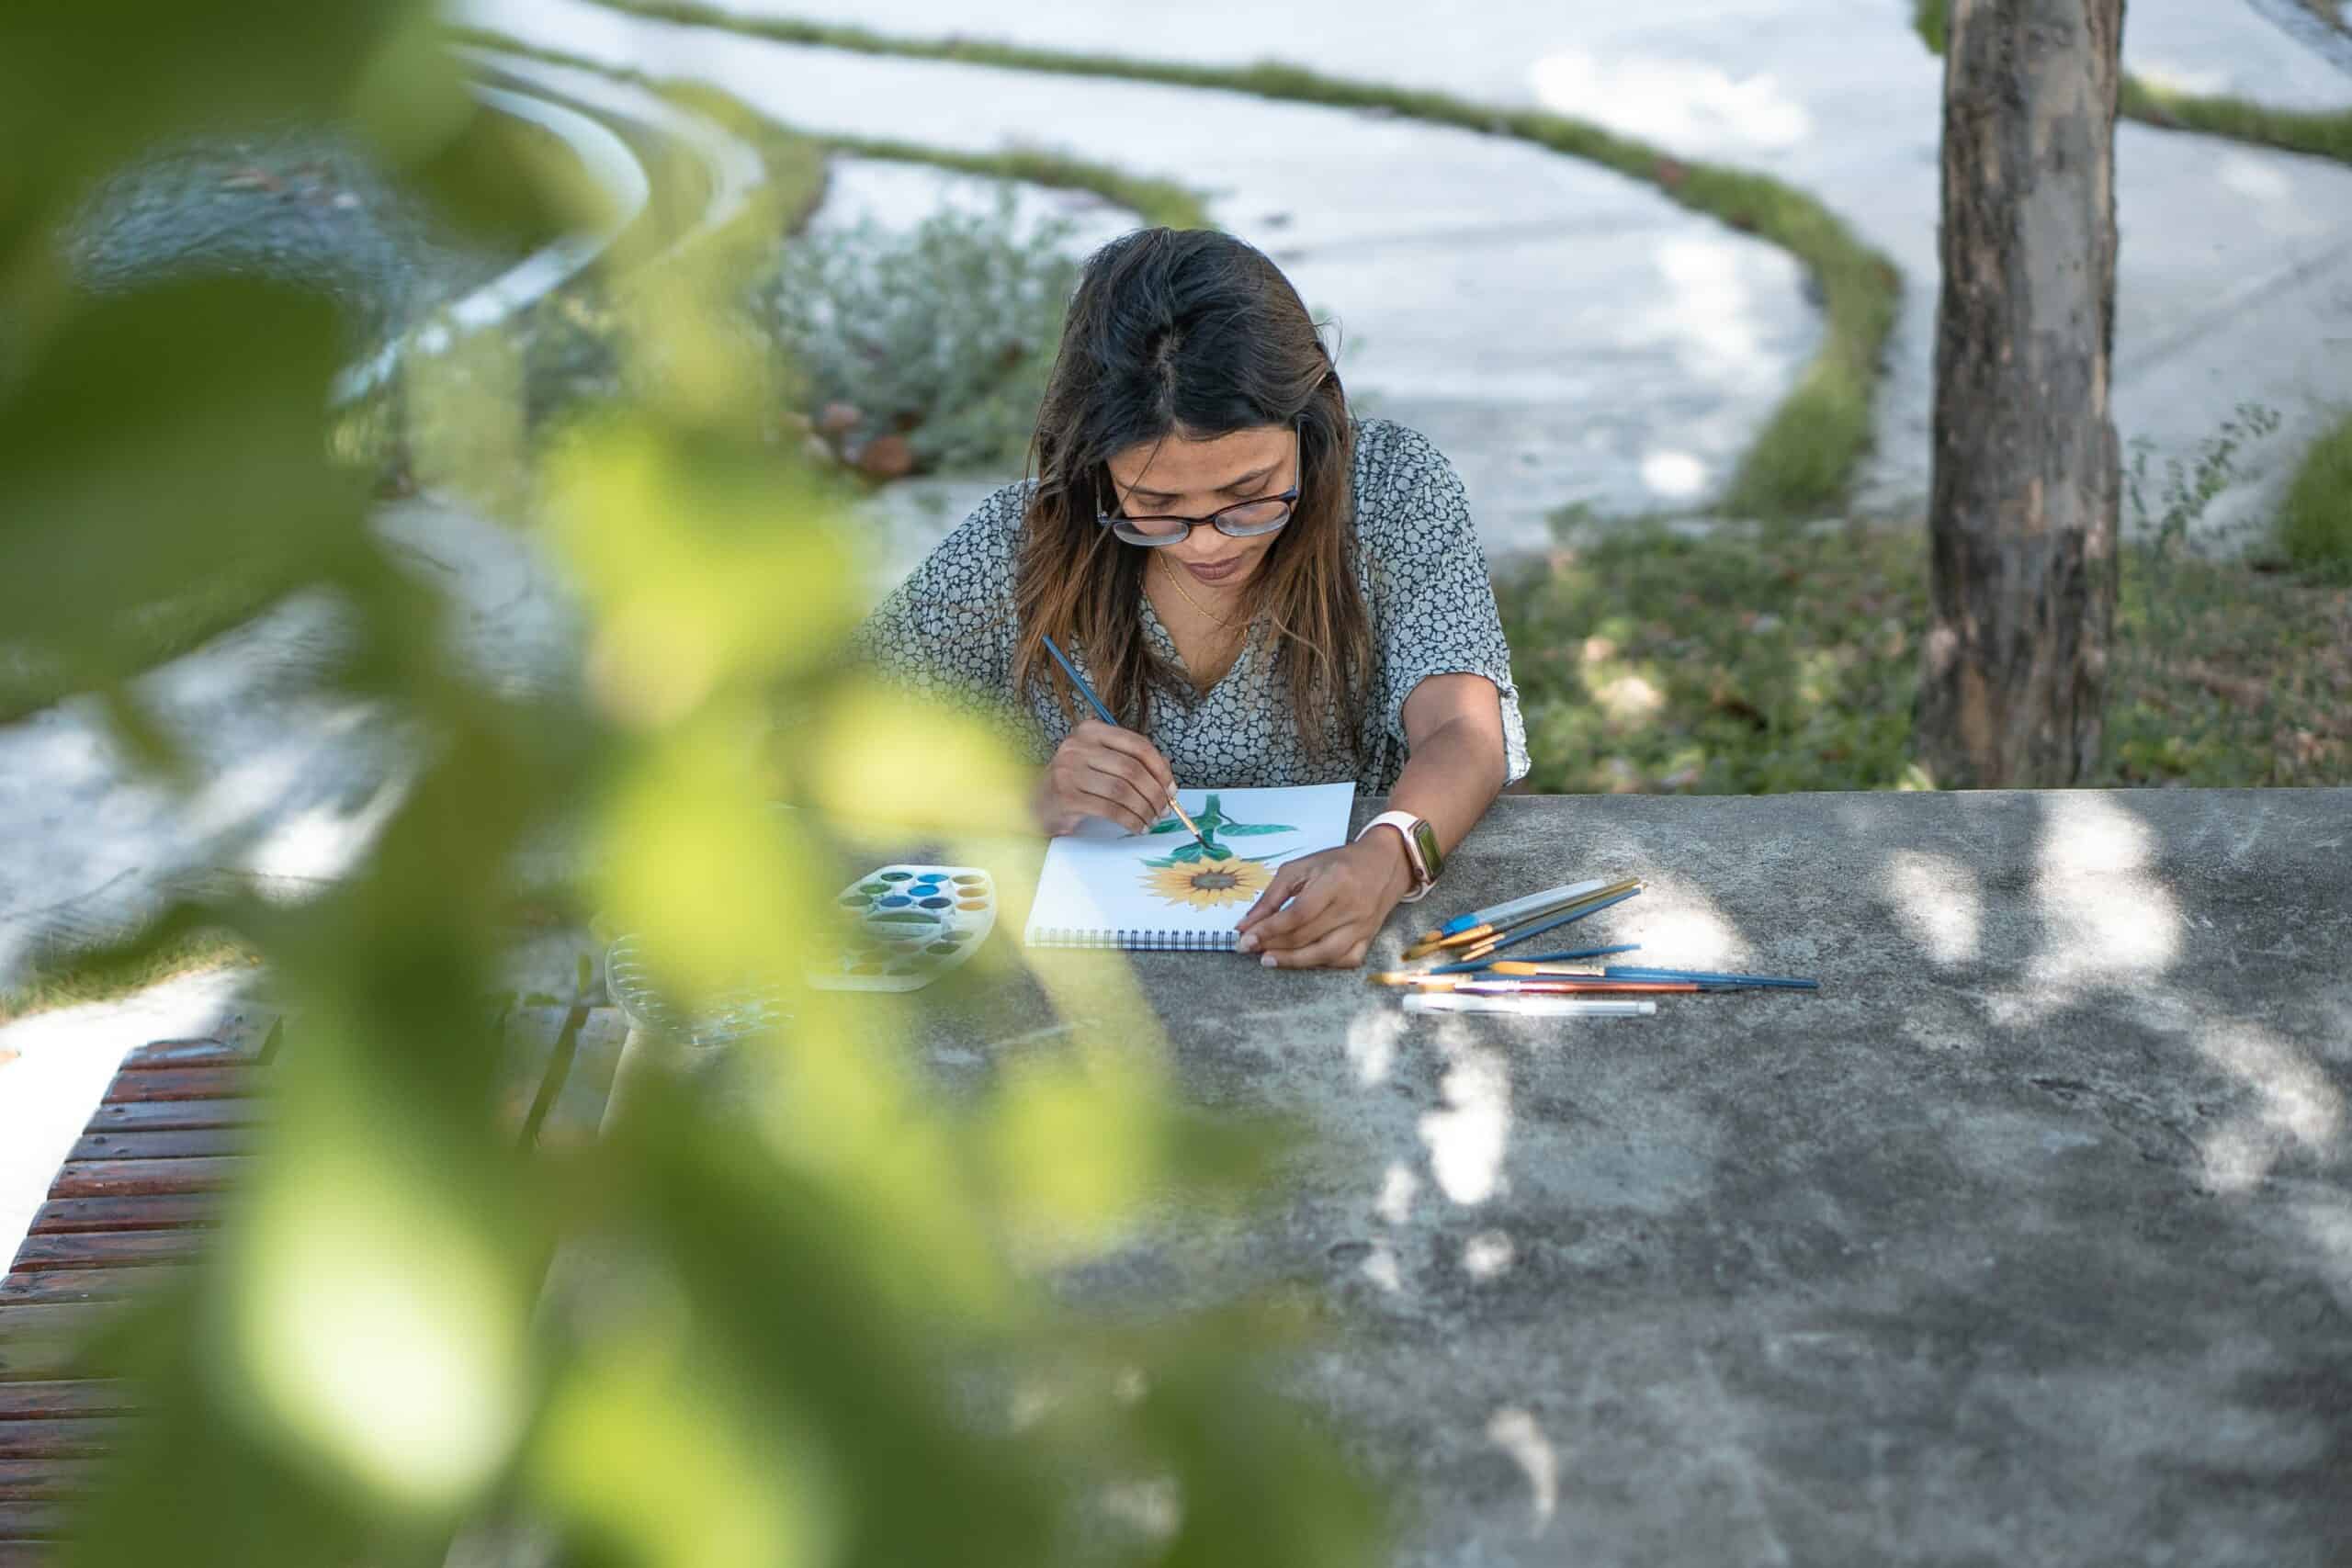
I'm going to show you how to sketch out a sunflower design in watercolor. First, let's begin with an outline sketch of the sunflower. On your paper or canvas, lightly draw two circles overlapping each other for the flower head. Then draw five petals radiating from that center point and complete it by adding a few leaves around the sides. This is a great way to start off your painting sketch!
Next, we can move on to developing our sunflower sketch further. To do this, I recommend drawing thin lines between opposing petal tips and then connecting them into shapes at their base. As you progress through your flower sketching process, add more details such as seed patterns within the petals and veins along the leaves. Don't forget to give dimensionality to everything by shading where appropriate!
Enhance your painting even more with texture-building techniques like stippling and hatching strokes. As you add these elements throughout your watercolor sketch, try experimenting with different brush sizes for variations in line thicknesses and tonalities. By doing this, you will be able create an engaging visual effect when viewed from afar!
With these steps completed, you are now ready for preparation of canvas or paper prior to beginning your final piece of artwork!
Preparation Of Canvas Or Paper
My mind is a white canvas ready to be filled with vibrant colors as I prepare for painting my sunflower in watercolor. To create the perfect painting surface, you must choose between two options – either paper or canvas preparation. If you are looking for something lightweight and easy to transport, then watercolor paper should be your go-to choice. It comes in a variety of sizes and textures that will make it an ideal painting surface. On the other hand, if you want something more durable and resistant to warping, then consider using a watercolor block instead.
When preparing your materials, take care to select high quality supplies so that your artwork looks professional when finished. Make sure all surfaces are smooth before starting by lightly sanding any rough edges with fine grain sandpaper. Then prime the area with gesso or acrylic primer to ensure even absorption of paint onto your chosen material later on.
By taking the time to properly prepare your canvas or paper beforehand, you can guarantee yourself optimal results once the blending of colors begins!
Blending Of Colors
The blending of colors is a crucial step in painting a sunflower in watercolor. Blending the right color combinations will result in smooth transitions and beautiful gradients within your artwork. To blend colors, you'll need to mix them together on the page. When deciding which colors to use, keep in mind that yellow provides an excellent foundation for developing oranges and reds - perfect for creating an accurate representation of this vibrant flower!
To begin, select two or more different shades of paint from your palette. Using a small brush, start mixing these colors together directly onto your paper until you achieve the desired effect.
Keep in mind that if you have too much water on your brush, it can cause the pigments to bleed; however adding more pigment will help create richer tones. Experiment with different techniques like layering and dry-brushing to get just the right look.
With practice and patience, you’ll soon be able to capture any color combination perfectly!
Now that we've discussed how to blend colors, let's move onto application of wet-on-wet technique.
Application Of Wet-On-Wet Technique
Ah, the wet-on-wet technique! It might just be the closest thing to a miracle for painting sunflowers in watercolor. Now, if you're anything like me, when it comes to painting with watercolors and creating beautiful artworks of nature's beauty, this technique is your go-to method. So let's get started on that sunflower masterpiece!
First off, use either a mop brush or round brush to apply water evenly over the parts of the paper where you want your petals and leaves to appear. This step will help ensure that those areas stay wet while you paint. Next, pick up some yellow pigment from your palette and start adding color to each petal by stroking outward from their centers. Then add more yellows and oranges as needed until all of the petals are filled in nicely with vibrant shades of both hues. Don't forget that shadows can also be added around certain edges if desired - they will help give your flower dimension and life!
Once all of the petals have been completed, take a small amount of dark green hue and begin sketching out stems and leaves using quick strokes. Remember not to press too hard; these elements should remain light so as not to overpower the other colors within the painting. Finally, finish off any details such as veins within the leaves or highlights along the tips of each petal with lighter greens or browns before moving onto finishing touches.
Finishing Touches
Now that the main part of your sunflower is complete, it's time to finish up with a few finishing touches. Here I'll show you how to enhance the details and add some texture effects for greater depth perception.
Start by using smaller brushes to further define petals, leaves and stems. Use only small brush strokes here - this will help create more detail in your painting. To make highlights on the petals and leaves, use very light horizontal or vertical lines of paint near their edges. Alternately, apply darker tones or shadows around the bottom edges of each leaf and petal with larger brushstrokes. This will give them more volume and three-dimensional quality.
Also experiment with other creative ways to add texture effects such as dry brushing or sponging techniques. Dry brushing involves lightly dragging a dry brush over an area while applying minimal pressure; this technique can be used to create subtle textural differences between petals and leaves.
Sponging requires dabbing areas with a damp sponge which will remove color from those places creating interesting contrasts when combined with lighter colors added later on top of it.
By experimenting with various brush sizes and textures effects, you can customize your sunflower painting even further giving it extra originality! Have fun exploring different possibilities until you find something that looks just right – then call it complete!
Frequently Asked Questions
When it comes to painting a sunflower in watercolor, using more than one color can really make the final product vibrant and eye-catching. It might seem intimidating to attempt such a multi-colored masterpiece but with some practice and patience, you’ll be able to create an amazing piece of art! Here are a few tips on how to paint a sunflower in multiple colors:
- Choose your type of watercolor paper carefully – this will affect the texture and durability of your painting.
- Select several shades of yellow, orange, brown, or green for your petals and leaves. You may also want to add some other accent colors like reds or blues.
- Practice creating different strokes and blending techniques before beginning your painting. This way you’ll have a better idea of how the various colors will interact when applied together onto the paper.
- Make sure that each layer is dry before adding another color – otherwise, they may mix together creating unwanted results.
- Experiment with different brush sizes for greater detail and depth in your work – small brushes are great for fine lines while larger ones work well for broader areas.
With these tips in mind, you should be ready to get started on producing an amazing multi-colored sunflower painting! Don’t forget to take breaks if needed as this kind of project requires time, focus, and concentration. And remember – practice makes perfect so don’t give up after just one try! With enough dedication, you’ll be able to create beautiful works of art featuring colorful sunflowers every time.
Painting a sunflower in watercolor can seem like an impossible task! It’s hard even for the most experienced of painters. But, if you have enough patience and dedication, it is possible to create a stunning masterpiece with just one color or many colors. So how long does it take to paint a sunflower?
Well, that depends on your level of experience with watercolors. For beginners it could take several hours – but don’t get discouraged – because with practice and skill comes speed! Experienced artists will find they can complete their painting much faster. A seasoned painter might be able to finish off their sunflower painting within an hour or two.
The key is to make sure you know what you’re doing before rushing into things. Take some time out beforehand to plan your composition, decide which colors you want to use, and think about any techniques that you would like to try. This way when it comes down to actually painting your sunflower, all that’s left is execution rather than experimentation – saving lots of valuable time!
So if you are looking for a speedy way of creating beautiful artwork then I suggest investing some time learning the basics of watercolor painting first – it’ll definitely help save precious minutes later on in the process!
It’s a no-brainer that when it comes to painting, sealants are a great way to protect your artwork. But is it necessary to use one after you paint a sunflower in watercolor? Let’s take a look and find out!
First off, it all depends on the type of paper you’re using for your sunflower painting. If you have some high-quality watercolor paper lying around, then chances are you won’t need any additional sealant. That said, if you’re working with ordinary copy paper or other thin pieces of material – then yes, a sealant may be required to ensure your work lasts over time.
When it comes down to application though, there are several different types of sealants available these days. Your best bet is to choose one specifically designed for use with watercolors and apply it according to the instructions listed on the container. It should go without saying (but I’m gonna say it anyway) that this process can get quite messy so make sure you cover up appropriately before getting started!
You’ll also want to take into consideration how often you plan on displaying your masterpiece; if frequently, opt for something more durable like an acrylic-based spray which will help keep its vibrant colors intact for years afterward. On the flip side, however, if storage for longer periods is what you seek then perhaps an archival solution would be better suited since those tend to last much longer than most temporary ones do. No matter what route you decide to go with sealing your sunflower painting in watercolor – just remember that taking proper precautions now can save loads of heartache later!
When it comes to painting sunflowers with watercolor, the right brush can make all the difference. Before you pick up your paints and get started, take a minute to consider what kind of brush will best suit your needs.
A round brush is typically used when applying larger washes of paint or creating broad strokes on the paper. If you’re looking for more control over where and how much paint goes down, try out a flat brush instead. With its stiffer bristles and sharper edges, this type of brush allows for greater precision in terms of detail work such as petal outlines or small details inside the flower’s center. A good quality watercolor brush should also be able to hold enough paint so that you don’t have to keep re-dipping it into your palette every few seconds.
No matter which type of brush you choose, practice with it beforehand on some scrap paper before taking it to your sunflower painting project! This will help ensure smoother transitions between colors and give you an idea of how much pressure is needed depending on the size and shape of the area being painted. When selecting your brushes for this task, remember that each one has its own unique strengths so experiment until you find one that fits your style and technique best!
When it comes to painting a sunflower in watercolor, the type of paper you use is important. Watercolor paper can make or break your painting project! It’s essential that you choose quality watercolor paper for the best results. There are several different materials and techniques available when selecting watercolor papers:
- Painting materials:
- Hot-pressed paper – This has a smooth surface and allows more control of paint flow than cold-pressed paper.
- Cold-pressed paper – This has a slightly textured surface which helps hold pigment better and gives an even wash of color.
- Rough paper – This is great for adding texture to paintings but may be difficult to work with if not used correctly.
- Painting techniques:
- Masking tape – This can help you keep your lines straight when creating borders or shapes on the canvas.
- Stippling – Using small dots of paint, this technique creates soft transitions between colors while still giving dimension to the painting.
- Wet into wet – Blending two or more colors together by applying one wet layer over another wet layer gives your artwork a softer look.
As an artist, I recommend using 300 gsm or higher-weight hot-pressed cotton rag paper as it will provide excellent absorbency and durability for your sunflower painting. Also, select acid-free brands such as Arches or Winsor & Newton so that your artwork won’t deteriorate over time due to exposure to air pollutants like ozone in the atmosphere. When purchasing paints, consider lightfastness ratings (the ability of pigments to resist fading) as well as opacity/transparency levels; these factors will determine how much coverage you get from each tube of paint. With all these considerations taken into account, you’ll have everything needed to create beautiful sunflower artwork!
Conclusion
The beauty of painting sunflowers is that you can make them your own. With a few simple tools, some patience and practice, anyone can create their very own watercolor sunflower masterpiece. Whether you want to use one color or several, the choice is yours!
No matter how long it takes to paint your sunflower – whether its an hour or a week - the end result will be worth it. You’ll have created something unique and beautiful that you can keep forever as a reminder of what you accomplished with just your brush and paints.
So go ahead! Give yourself time to experiment with different techniques, colors, textures and brushes. Remember: there’s no right or wrong way to do this - so let your creative spirit guide you while you explore the wonderful world of watercolor painting!
