Fluttering Colors: A Step-by-Step Guide to Painting Butterflies with Acrylics
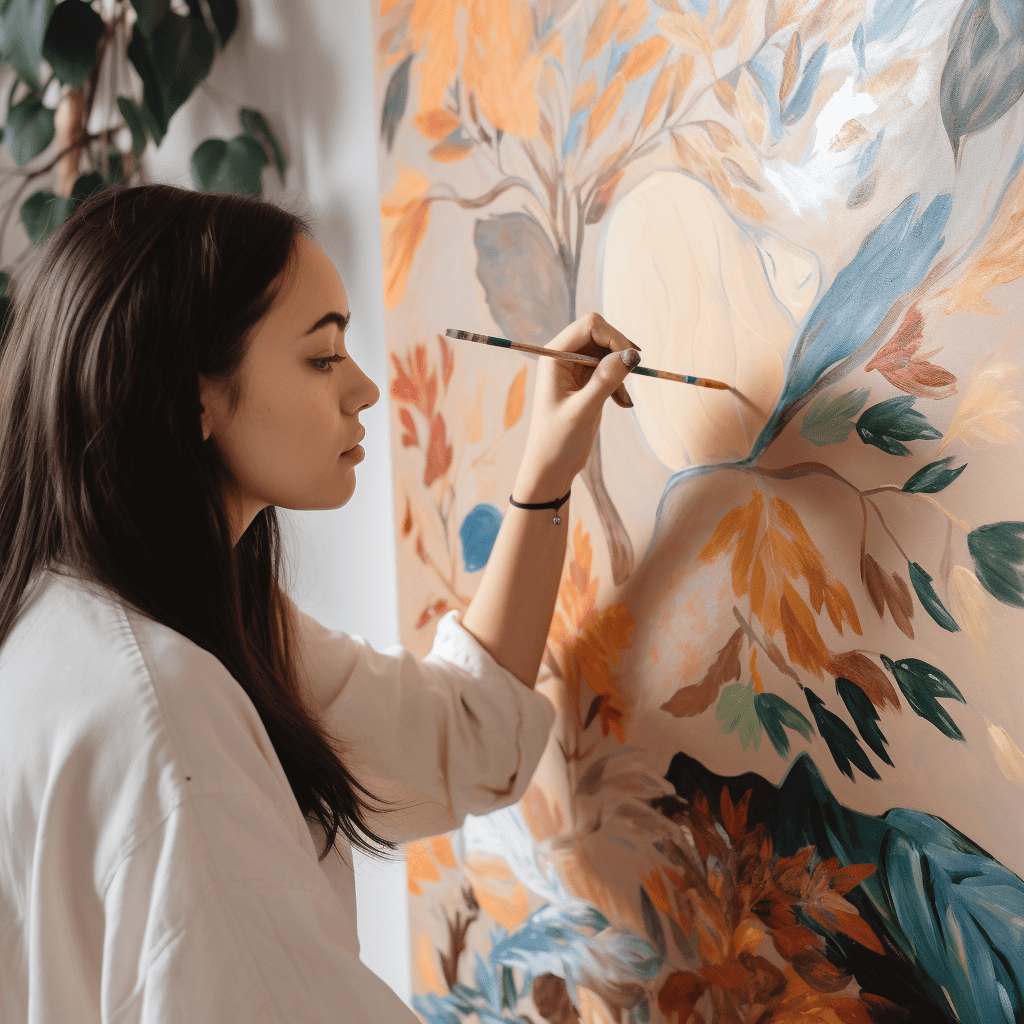
Hi there, fellow acrylic painters! Are you looking for a fun and creative project? Painting butterflies with acrylics is the perfect way to express yourself. It’s an easy technique that allows you to explore different colors and textures, as well as create beautiful art pieces. In this article, I will provide all the steps necessary to paint stunning butterflies using your unique style. So let's get started!
Painting with acrylics has always been one of my favorite ways to express myself creatively. This type of medium offers so much potential in terms of color combinations and texture variations – it’s like no other painting material out there. And when it comes to creating vibrant butterfly paintings, nothing beats working with these versatile paints. With just a few simple techniques, you too can use your creativity to bring life and movement into each piece.
In this guide, I’ll walk you through every step of the process; from choosing the right supplies and mixing colors to applying final touches such as adding glitter or metallic accents. With my help, you’ll be able to create stunning butterfly works of art that truly capture the beauty of nature in its most captivating form. Let’s begin our journey together!
Materials Needed
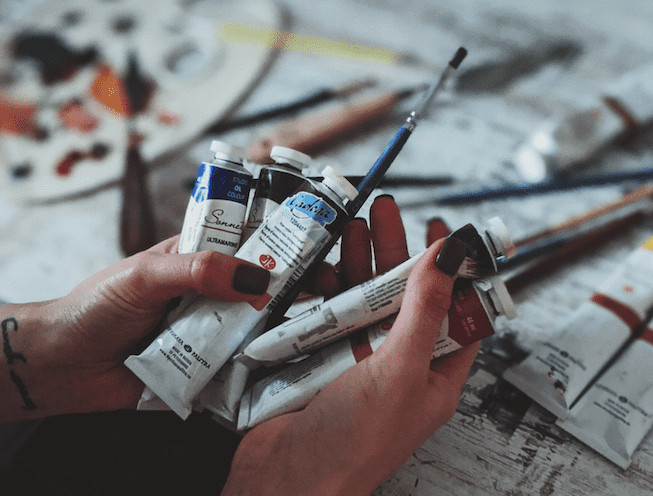
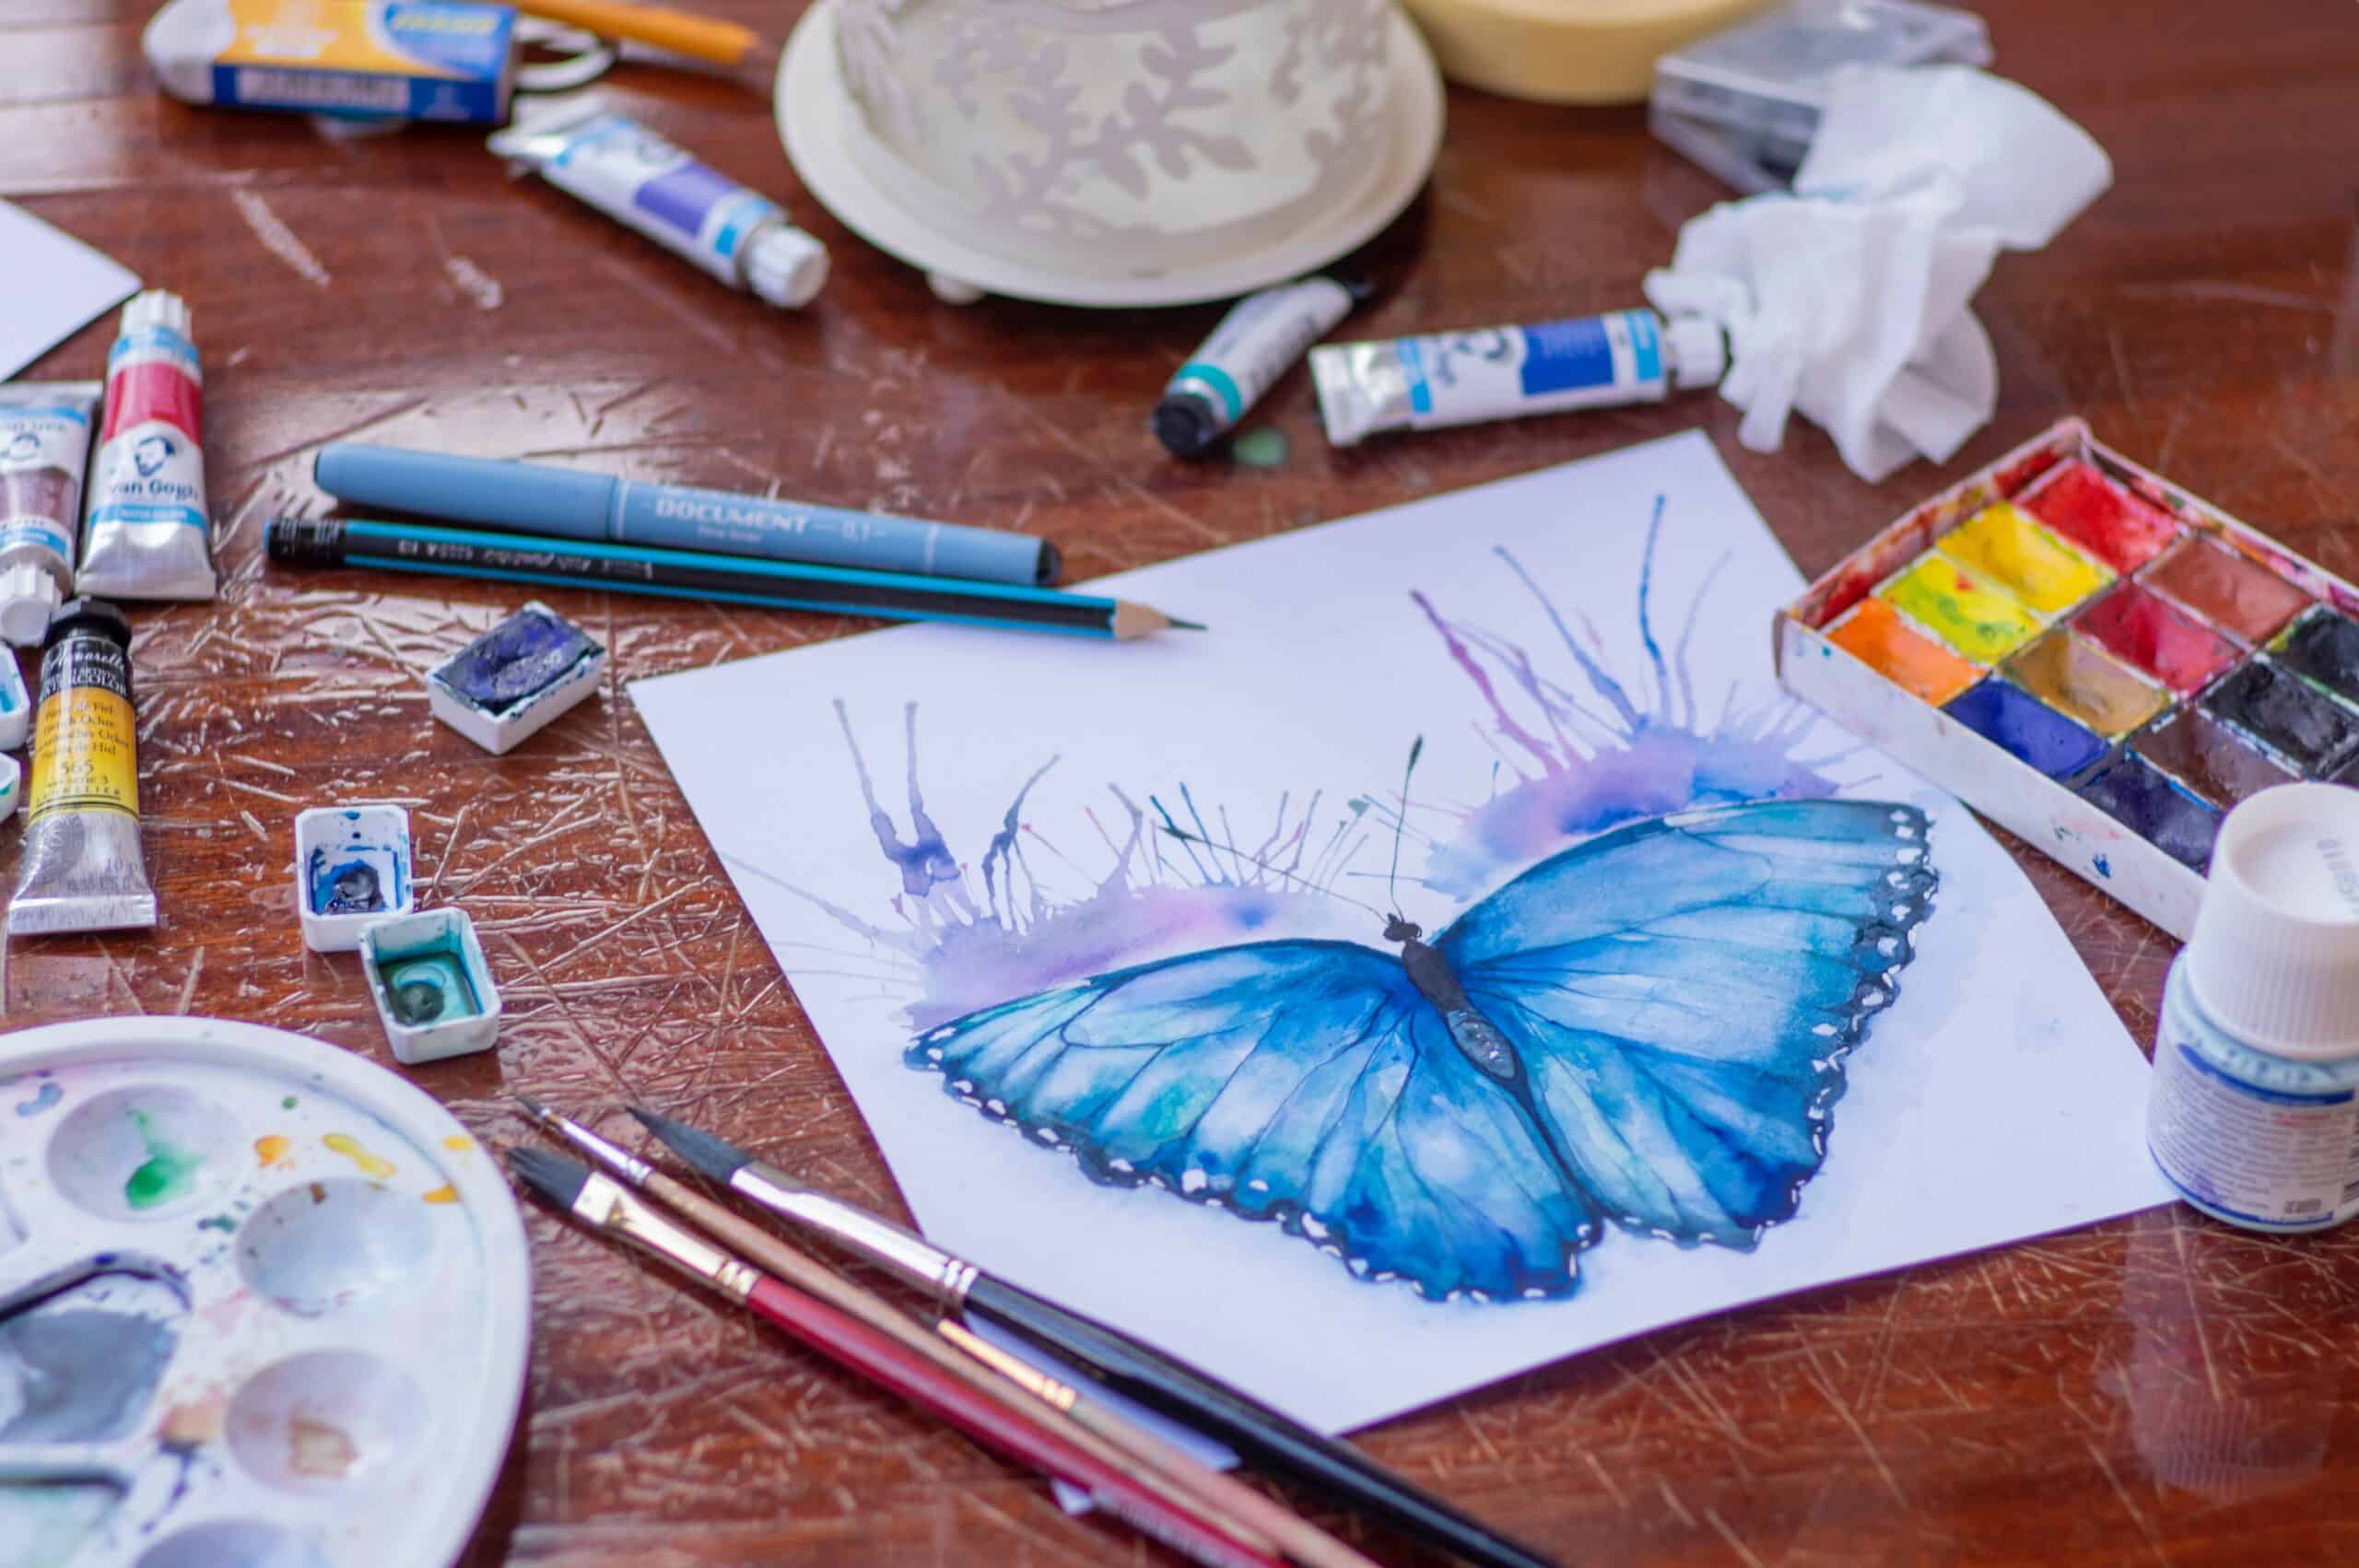
Painting butterflies with acrylics can be a relaxing and enjoyable activity. To get started, you will need to gather the necessary supplies. I recommend having on hand some good quality acrylic paints, paint brushes of various sizes, a canvas board or other painting surface, a water container for cleaning your brush, and a palette knife. All these items are very affordable and easy to find at any art supply store. Make sure that when you buy your supplies, they are appropriate for use with acrylics as there are different materials used for oil paintings. Now that we have all our materials ready, it's time to prepare our canvas and start letting our creative juices flow!
Preparing The Canvas
Now that we have all the materials ready to go, it's time to get our canvas prepped. Before you start painting your beautiful butterflies, you'll want to make sure your canvas is prepared for success!
First and foremost, decide on a size of canvas that best suits what you are trying to create. If you plan on making multiple small butterfly paintings then maybe opt for a smaller-sized canvas. Or if you're looking to do one large masterpiece with many details consider getting a larger-sized canvas. You also want to pick out the right texture of the surface depending on the look and feel you're going for. A smooth or glossy finish will give a more modern aesthetic while a textured surface will provide an interesting contrast between different color applications in your art piece.
Once you've chosen your perfect canvas it's time to apply some primer. Acrylic primer acts as the foundation layer onto which paint can grip better and last longer without peeling or cracking over time.
Make sure that when applying primer that each section of the canvas is covered evenly so there are no thinning-out or build-up areas across any portion of it. Once finished let it dry fully before moving on to choosing colors and brushes for your beautiful butterfly acrylic paints!
Choosing Colors And Brushes
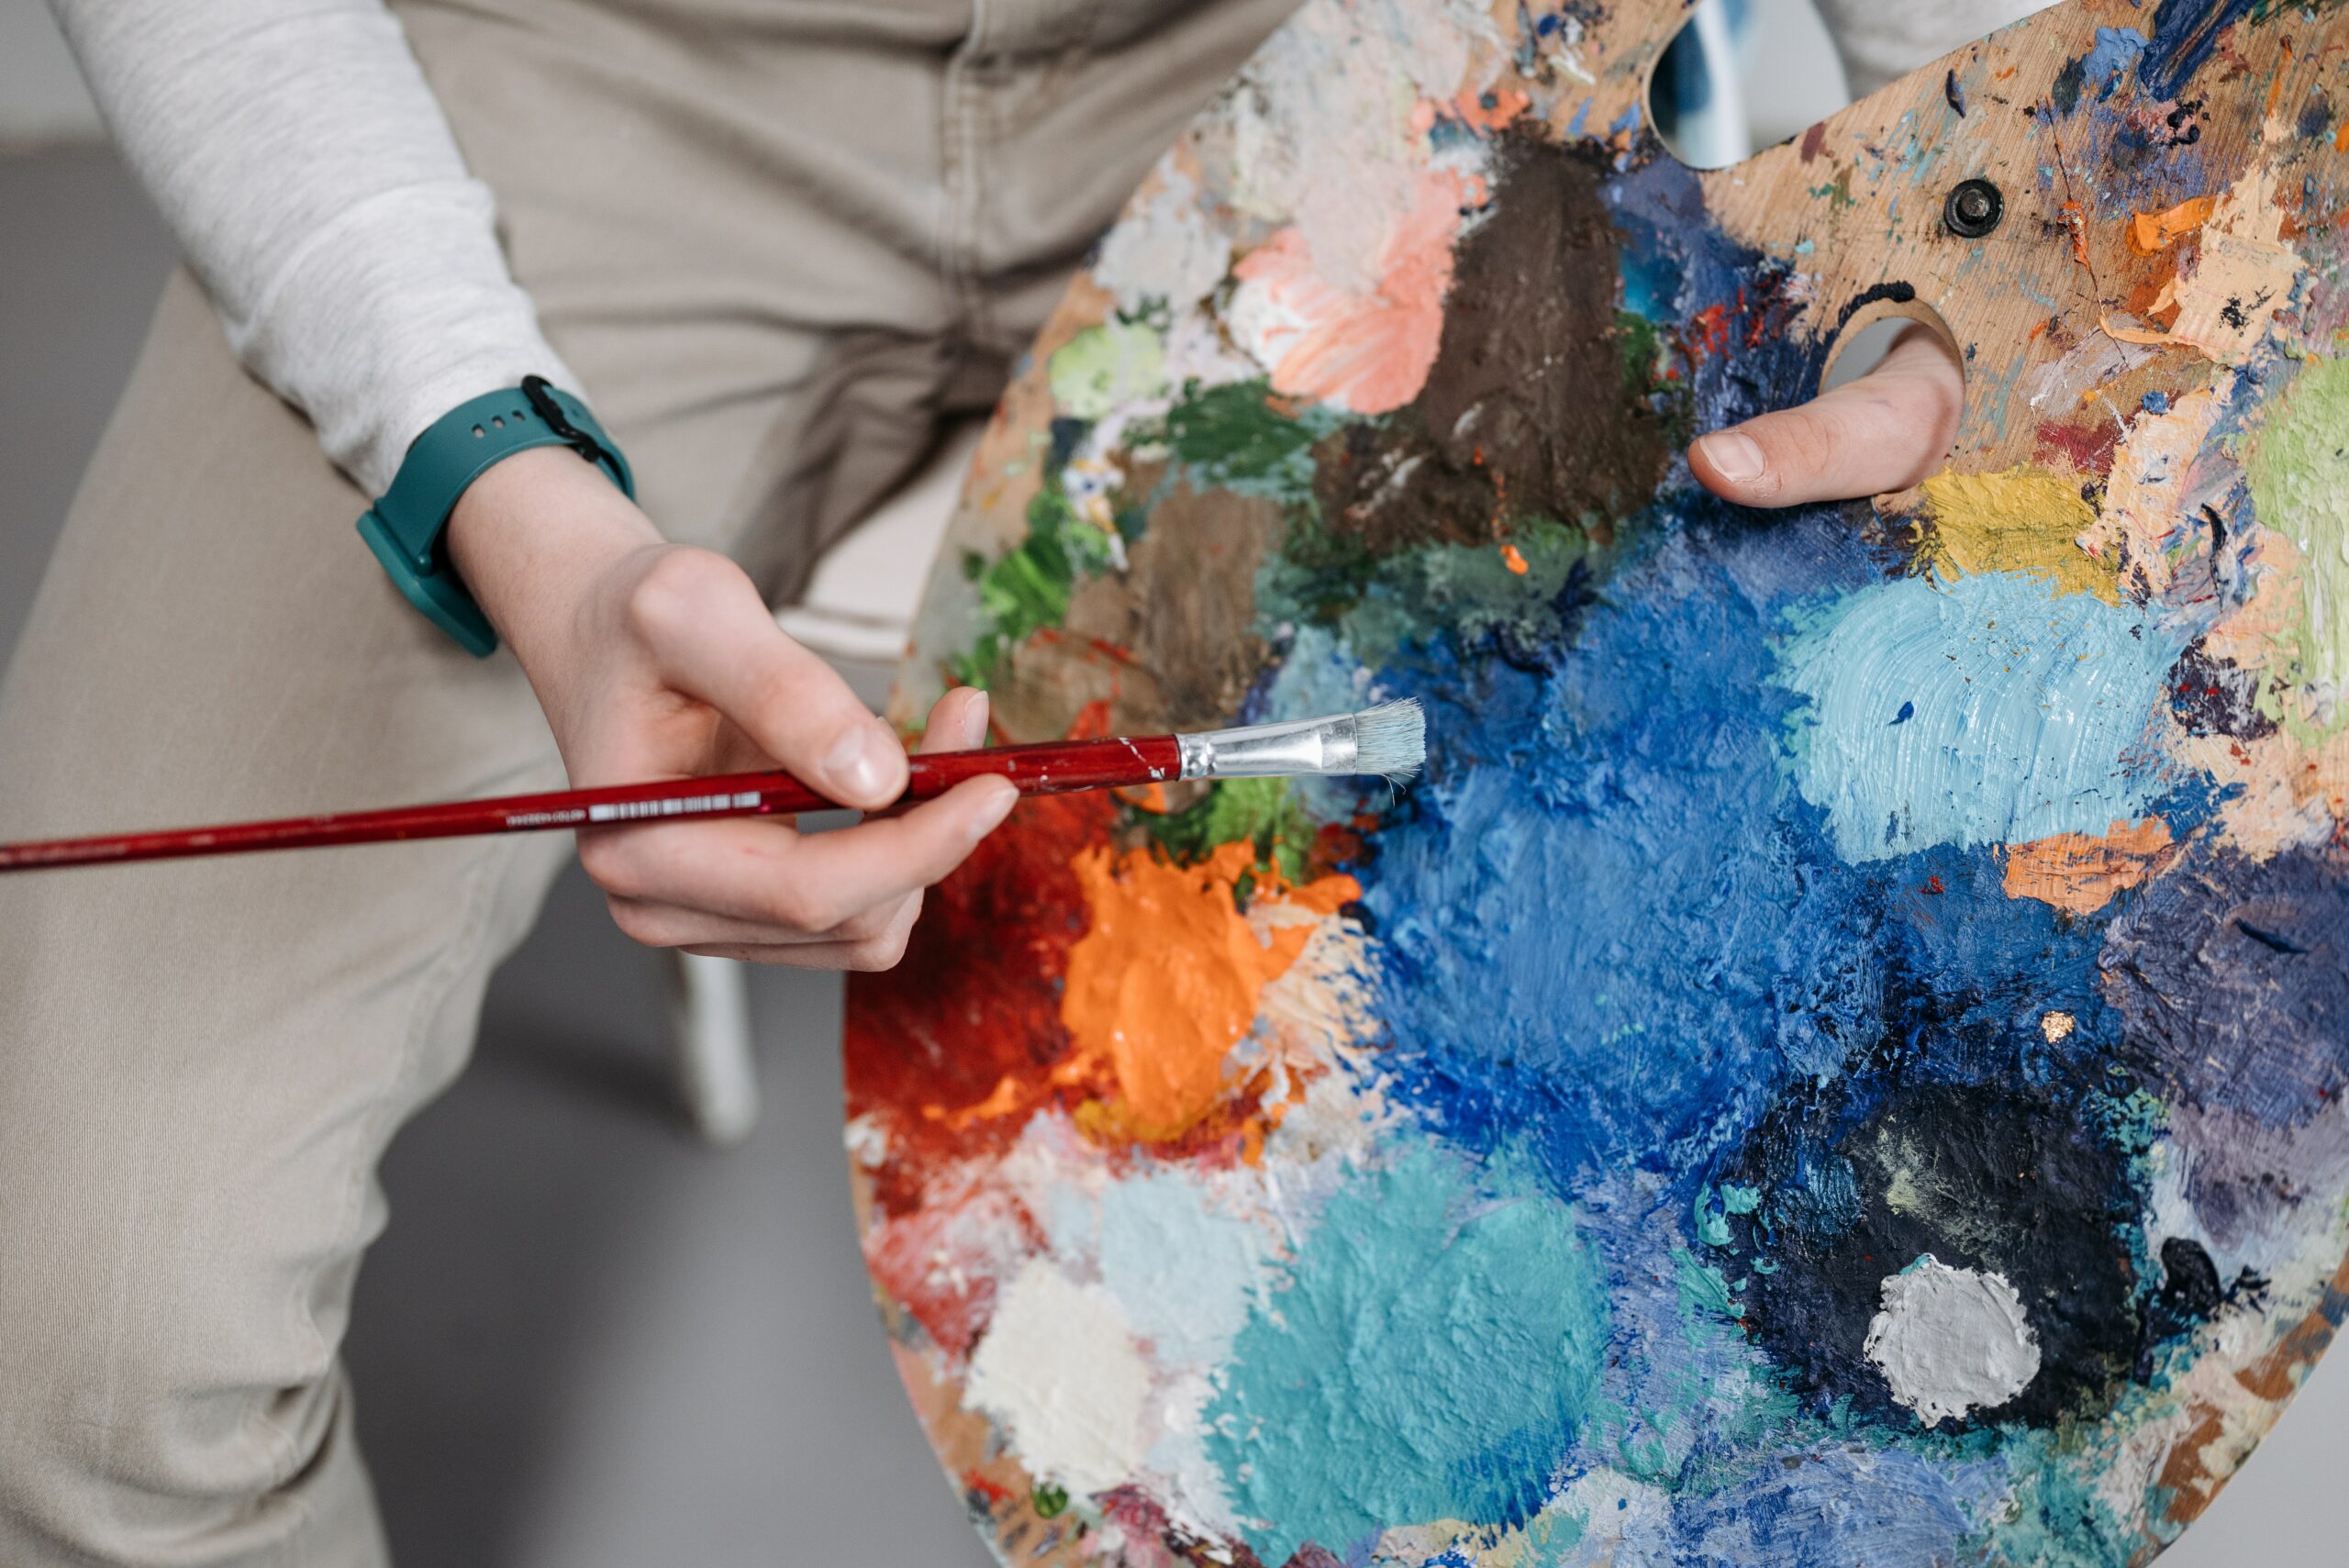
As an artist, choosing the right colors and brushes can be daunting. But it doesn't have to be! When working with acrylics, there are a few key tips that will help you create beautiful butterfly paintings:
- Choose bright and vibrant acrylic paints for your butterfly art.
- Use a range of different-sized paintbrushes to give shape and definition to your butterflies.
- Experiment with various color combinations until you're happy with how they look on the canvas.
- Make sure you use quality supplies so the painting lasts longer.
Finding the perfect combination of colors and tools is part of the creative process of creating a stunning butterfly painting. You'll quickly learn what works best for you as an artist when it comes to finding the ideal mix of hues, tints, shades, and tones that make up your masterpiece. With practice, patience, and some trial and error along the way, soon enough you'll feel like a pro when it comes to selecting just the right materials for your artwork. Ready? Let's move on to outlining our butterflies!
Drawing The Outline Of The Butterfly
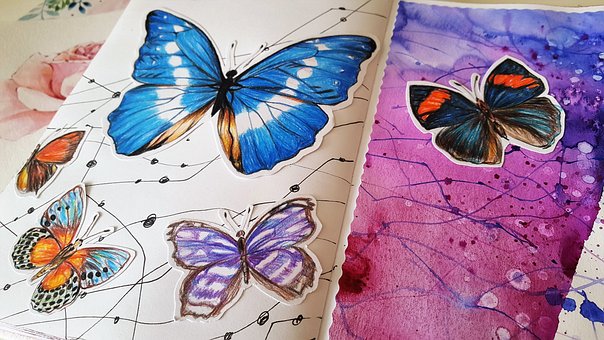
Now that you’ve chosen the colors and brushes for painting your butterflies, it's time to outline each butterfly on the canvas. To begin, take an acrylic brush and choose a thin line paint color – black or white usually work best for this step. Carefully sketch around the edges of each butterfly with light strokes until you have achieved a clear outline shape. Don't be afraid to erase any mistakes as you go along; just make sure not to press too hard when drawing so that you don't leave unwanted lines on the canvas.
Once you’re satisfied with the outlines of all your butterflies, take out some thicker acrylic paints and start filling them in! Start by layering thin coats of paint over one another until they are completely covered. You can use slightly different shades of each color to add more dimension and detail if desired.
When finished, let your masterpiece dry before adding background details to complete your painting of beautiful butterflies!
Adding Background Details
Now it's time to add some background details to the butterfly painting. To create a more engaging design, I like to use acrylic colors and mediums that complement the color palette of my butterflies. Depending on what kind of look you're after, there are many options for creating interesting backgrounds with acrylic paints. For example, you can mix different shades of paint or use a variety of tools such as sponges, brushes, combs, and other items to create an abstract effect. It all depends on your creativity and experimentation!
In addition to using acrylic colors in your background designs, don't forget about adding other elements such as lines, shapes, or textured surfaces. These elements will bring contrast and depth to your artwork while also helping tie everything together visually. When designing a background for your butterfly painting, take into account how it will interact with the subject matter itself – this way you'll be sure to get the most out of your work.
To ensure success when adding background details to your butterfly painting make sure that you always keep the focus on the main subject: the butterfly itself. Doing so allows viewers' eyes quickly find where they need to go within your composition and keeps them engaged until they reach its endpoint. With these helpful tips in mind let's move on to applying color to our butterflies!
Applying Color To The Butterfly
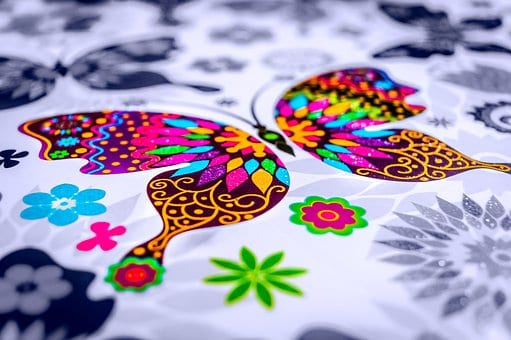
Ah, the moment we've all been waiting for - applying color to your butterfly painting! It's time to pick up that brush and start bringing life to your canvas. Before you begin adding color, though, there are a few things you need to do first:
Canvas preparation | brush selection | color application |
|---|---|---|
Primer Coat | Natural bristle | Lightest colors |
Surface texture | Synthetic | Darkest colors |
Gesso | Size | Blend Hues |
At the very least, your canvas should be prepped with at least one coat of gesso or primer before any paint is applied. This will create a smooth surface and make sure your pigments don't sink in too much. You'll also want to consider what kind of textural elements you'd like on your canvas; this can easily be done using different types of brushes. Natural bristles work well for creating fur-like textures while synthetics create more crisp lines if desired. Once those decisions have been made it's time to select your acrylic paints.
When working with butterflies I recommend starting with the lightest colors and then gradually going darker as needed until you're happy with the look achieved. Remember to use blending techniques when layering hues so everything looks uniform once completed.
Now that all the necessary steps are out of the way let's get started on making our masterpiece come alive!
Finishing Touches
Once I have my butterfly's base colors down, it's time to add the finishing touches. Glazing techniques are a great way to blend colors and create subtle shadows without making them too bold. Adding texture to certain areas, such as the wings or body of the butterfly can bring out its beauty and give it an extra dimension.
Using lighter shades of paint, I like to highlight details on my butterflies by adding bright yellow accents or white highlights that make them stand out even more. Glossy finishes also help with this, giving the painting a polished look. This is where creativity comes into play – experiment with different types of glazes, textures, and color combinations until you find one that works for your painting!
These finishing touches are what will truly bring my butterfly paintings alive and make them unique from any others. It takes patience and practice but when done correctly, these techniques create beautiful pieces of art everyone can enjoy.
Conclusion
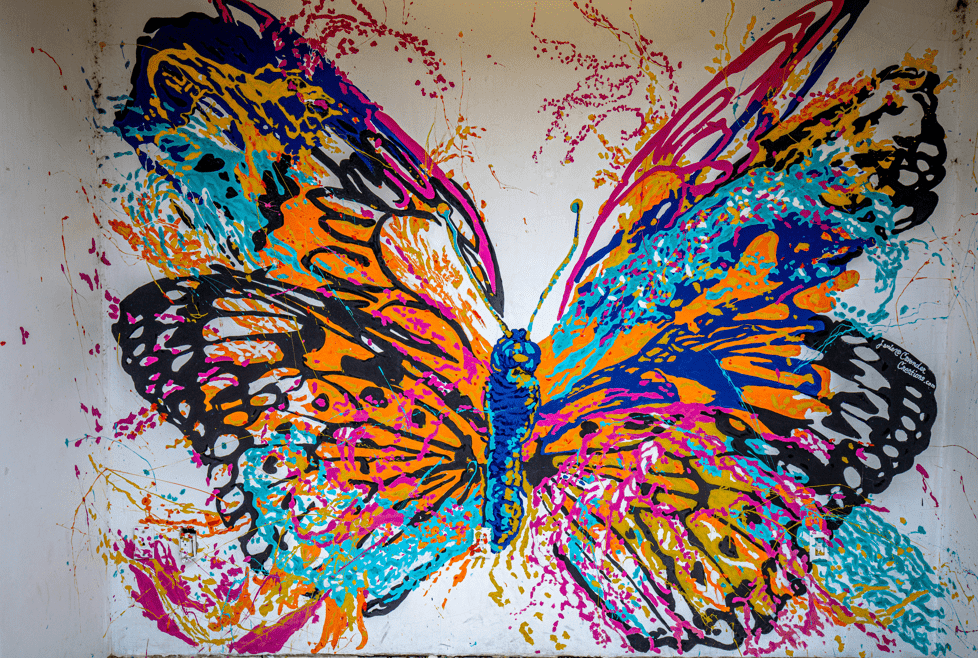
As an acrylic painting artist, I'm always amazed by the beauty of butterflies and how they can be captured in art. Painting butterflies with acrylics is a skill that takes practice but it's worth it! With patience, dedication, and some guidance you'll soon find yourself creating stunning butterfly paintings.
The process may seem intimidating at first, but when you break it down into steps—from preparing your canvas to adding finishing touches—you'll see how easy it is to paint these delicate creatures. By taking the time to learn about color theory and brush techniques, you'll be able to enhance your understanding of how light interacts with a form to create a beautiful piece of art.
I hope my tips for painting butterflies have inspired you to give this technique a try for yourself! There's no better way to express creativity than by immersing oneself in the act of making something unique and special on canvas. So don't hesitate - to pick up those brushes and get started on creating your masterpiece today!

