From Can to Canvas: How to Spray Paint with Acrylics
Hey there! Are you looking to spruce up your art project or home décor with a custom paint job? Well, you've come to the right place. I'm an acrylic paint spray specialist and today I'm going to show you how to achieve professional results with just a few simple steps.
Spraying acrylic paints can be a great way to get beautiful coverage on large surfaces quickly and easily. It's important to use the right materials, however, in order for the finished product to look its best. In this article, I'll walk you through everything from selecting the correct type of nozzle for your airbrush gun to cleaning it afterwards so that it’ll last longer.
By the end of this guide, you should have all the knowledge necessary for getting perfect results every time – no matter what kind of surface or design you're aiming for! So grab your supplies and let's get started!
Choosing The Right Supplies
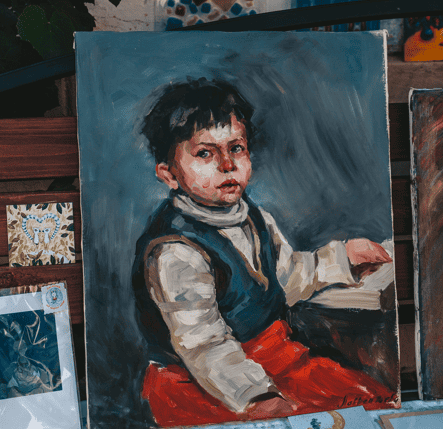
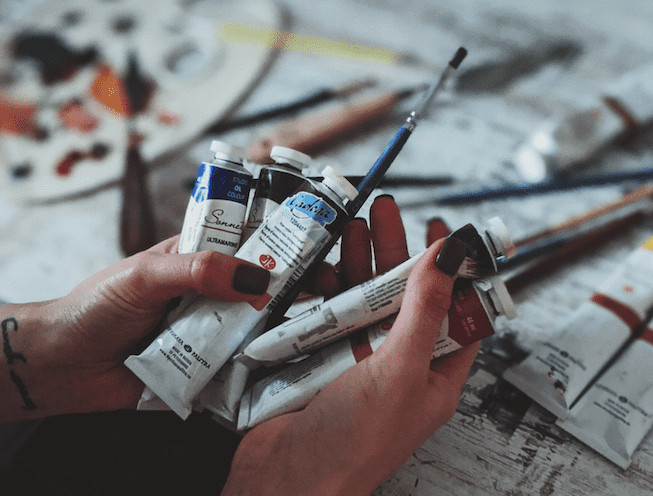
When it comes to spray painting with acrylics, having the right supplies is key. Take, for example, my client who wanted to paint a realistic portrait of their pet on canvas board. To do this successfully, I had to make sure that all the necessary tools were in place: quality acrylic paints and brush types suitable for canvas boards; plus enough space, good lighting and proper ventilation.
The selection of an appropriate type of paint is essential when designing artwork. Acrylic paints come in various forms such as gels and mediums which create different textures on the canvas board. The most important thing to consider when selecting these materials is whether they are compatible with the surface being painted upon. For instance, you don't want to use water-based paints on oil-primed canvases or vice versa.
Choosing the right tools can also be crucial. If a project requires intricate detail work then smaller brushes are needed while larger ones can be used if covering large areas quickly is desired. Additionally, one must ensure that there's no dust or debris present before starting any painting session otherwise it could cause smudging on your finished product! With the correct supplies in hand and taking into account the nature of your project, you'll be able to better prepare yourself for successful painting results – next step: preparing the surface!
Preparing The Surface
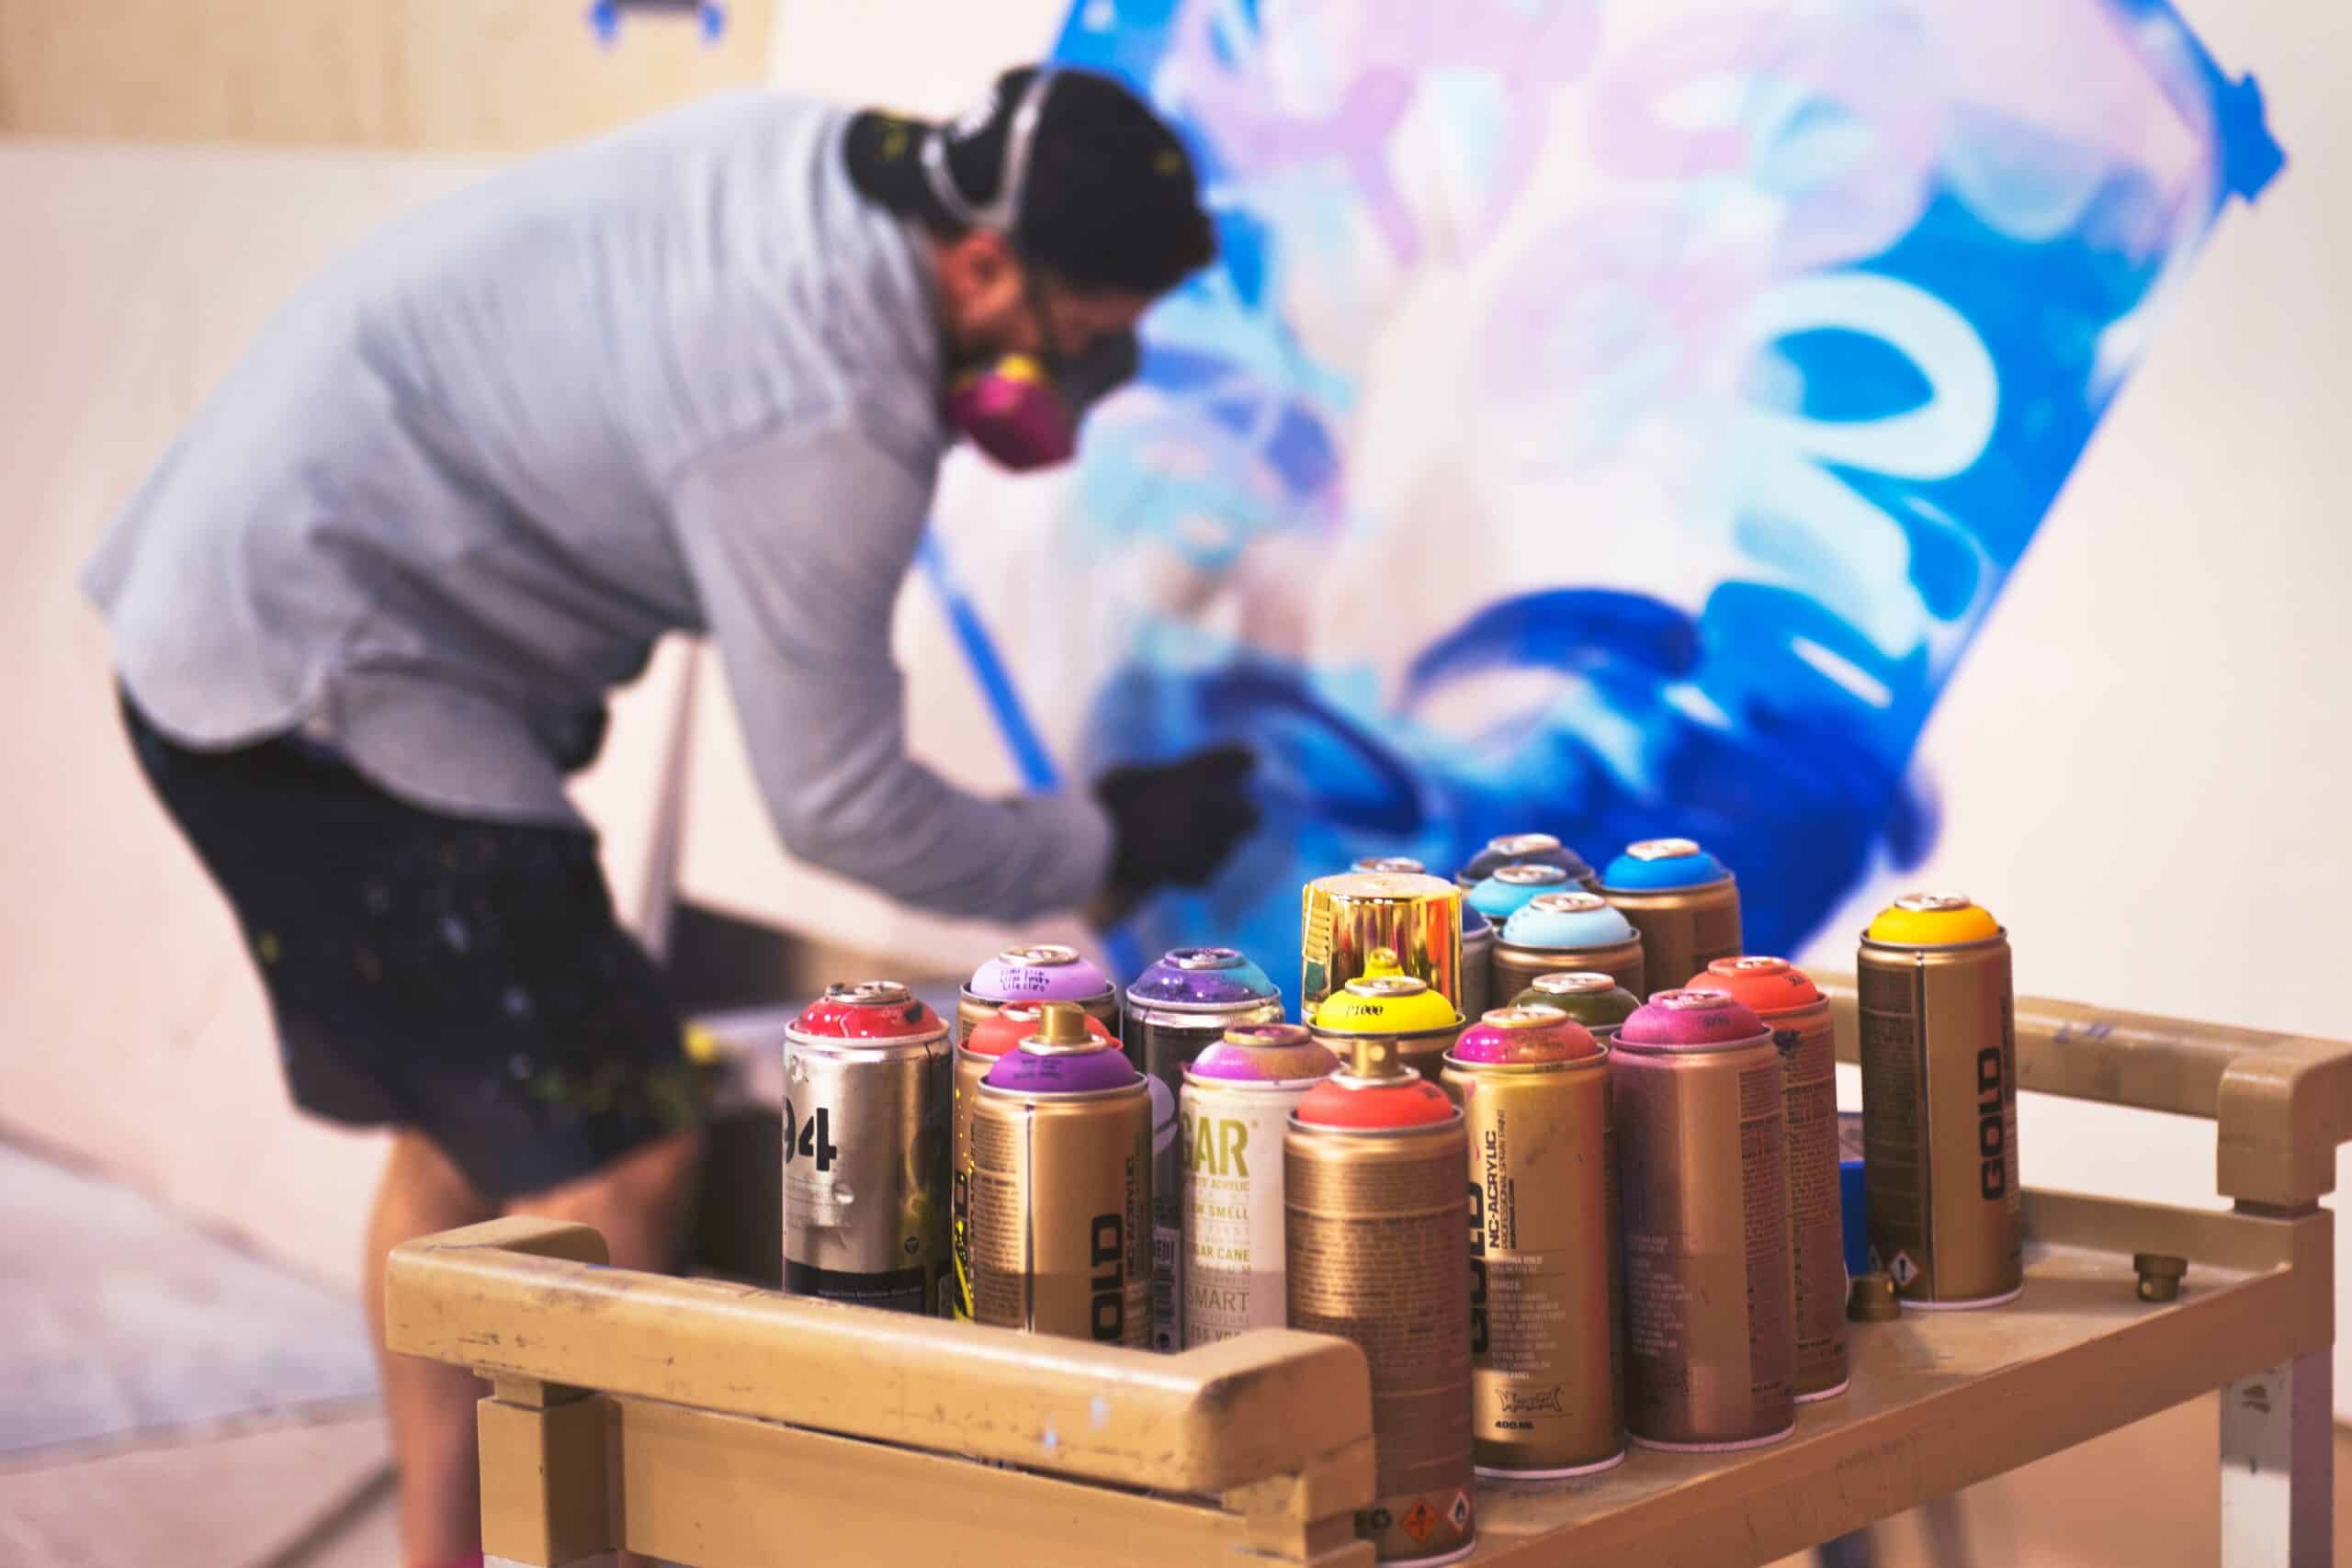
Now that you've got the right supplies, it's time to get your surface ready. With acrylic paint sprayers, proper prep is key for a successful project. As with any painting job, preparation of the surface is essential.
First and foremost, make sure the surface is clean and free from debris. If there are any nicks or scratches in the area being painted, fill them in beforehand with wood filler if necessary. It's also important to prime the surface before spraying on the paint for better adhesion. This can be done using a primer specifically designed for outdoor use.
Once everything has been sanded down smooth and primed, it's time to start applying the paint itself! Be sure to cover any areas not meant to be sprayed with plastic sheeting or newspaper before starting so as not to make a mess. After setting up your workspace properly, you should now have an even canvas ready for painting!
Using some light pressure and a back-and-forth motion while keeping a consistent distance between you and the wall will ensure an even coat of paint without having too many runs or drips. You may need multiple coats depending on what color you're going for but remember: patience is key when using an acrylic paint sprayer!
Mixing And Applying The Paint
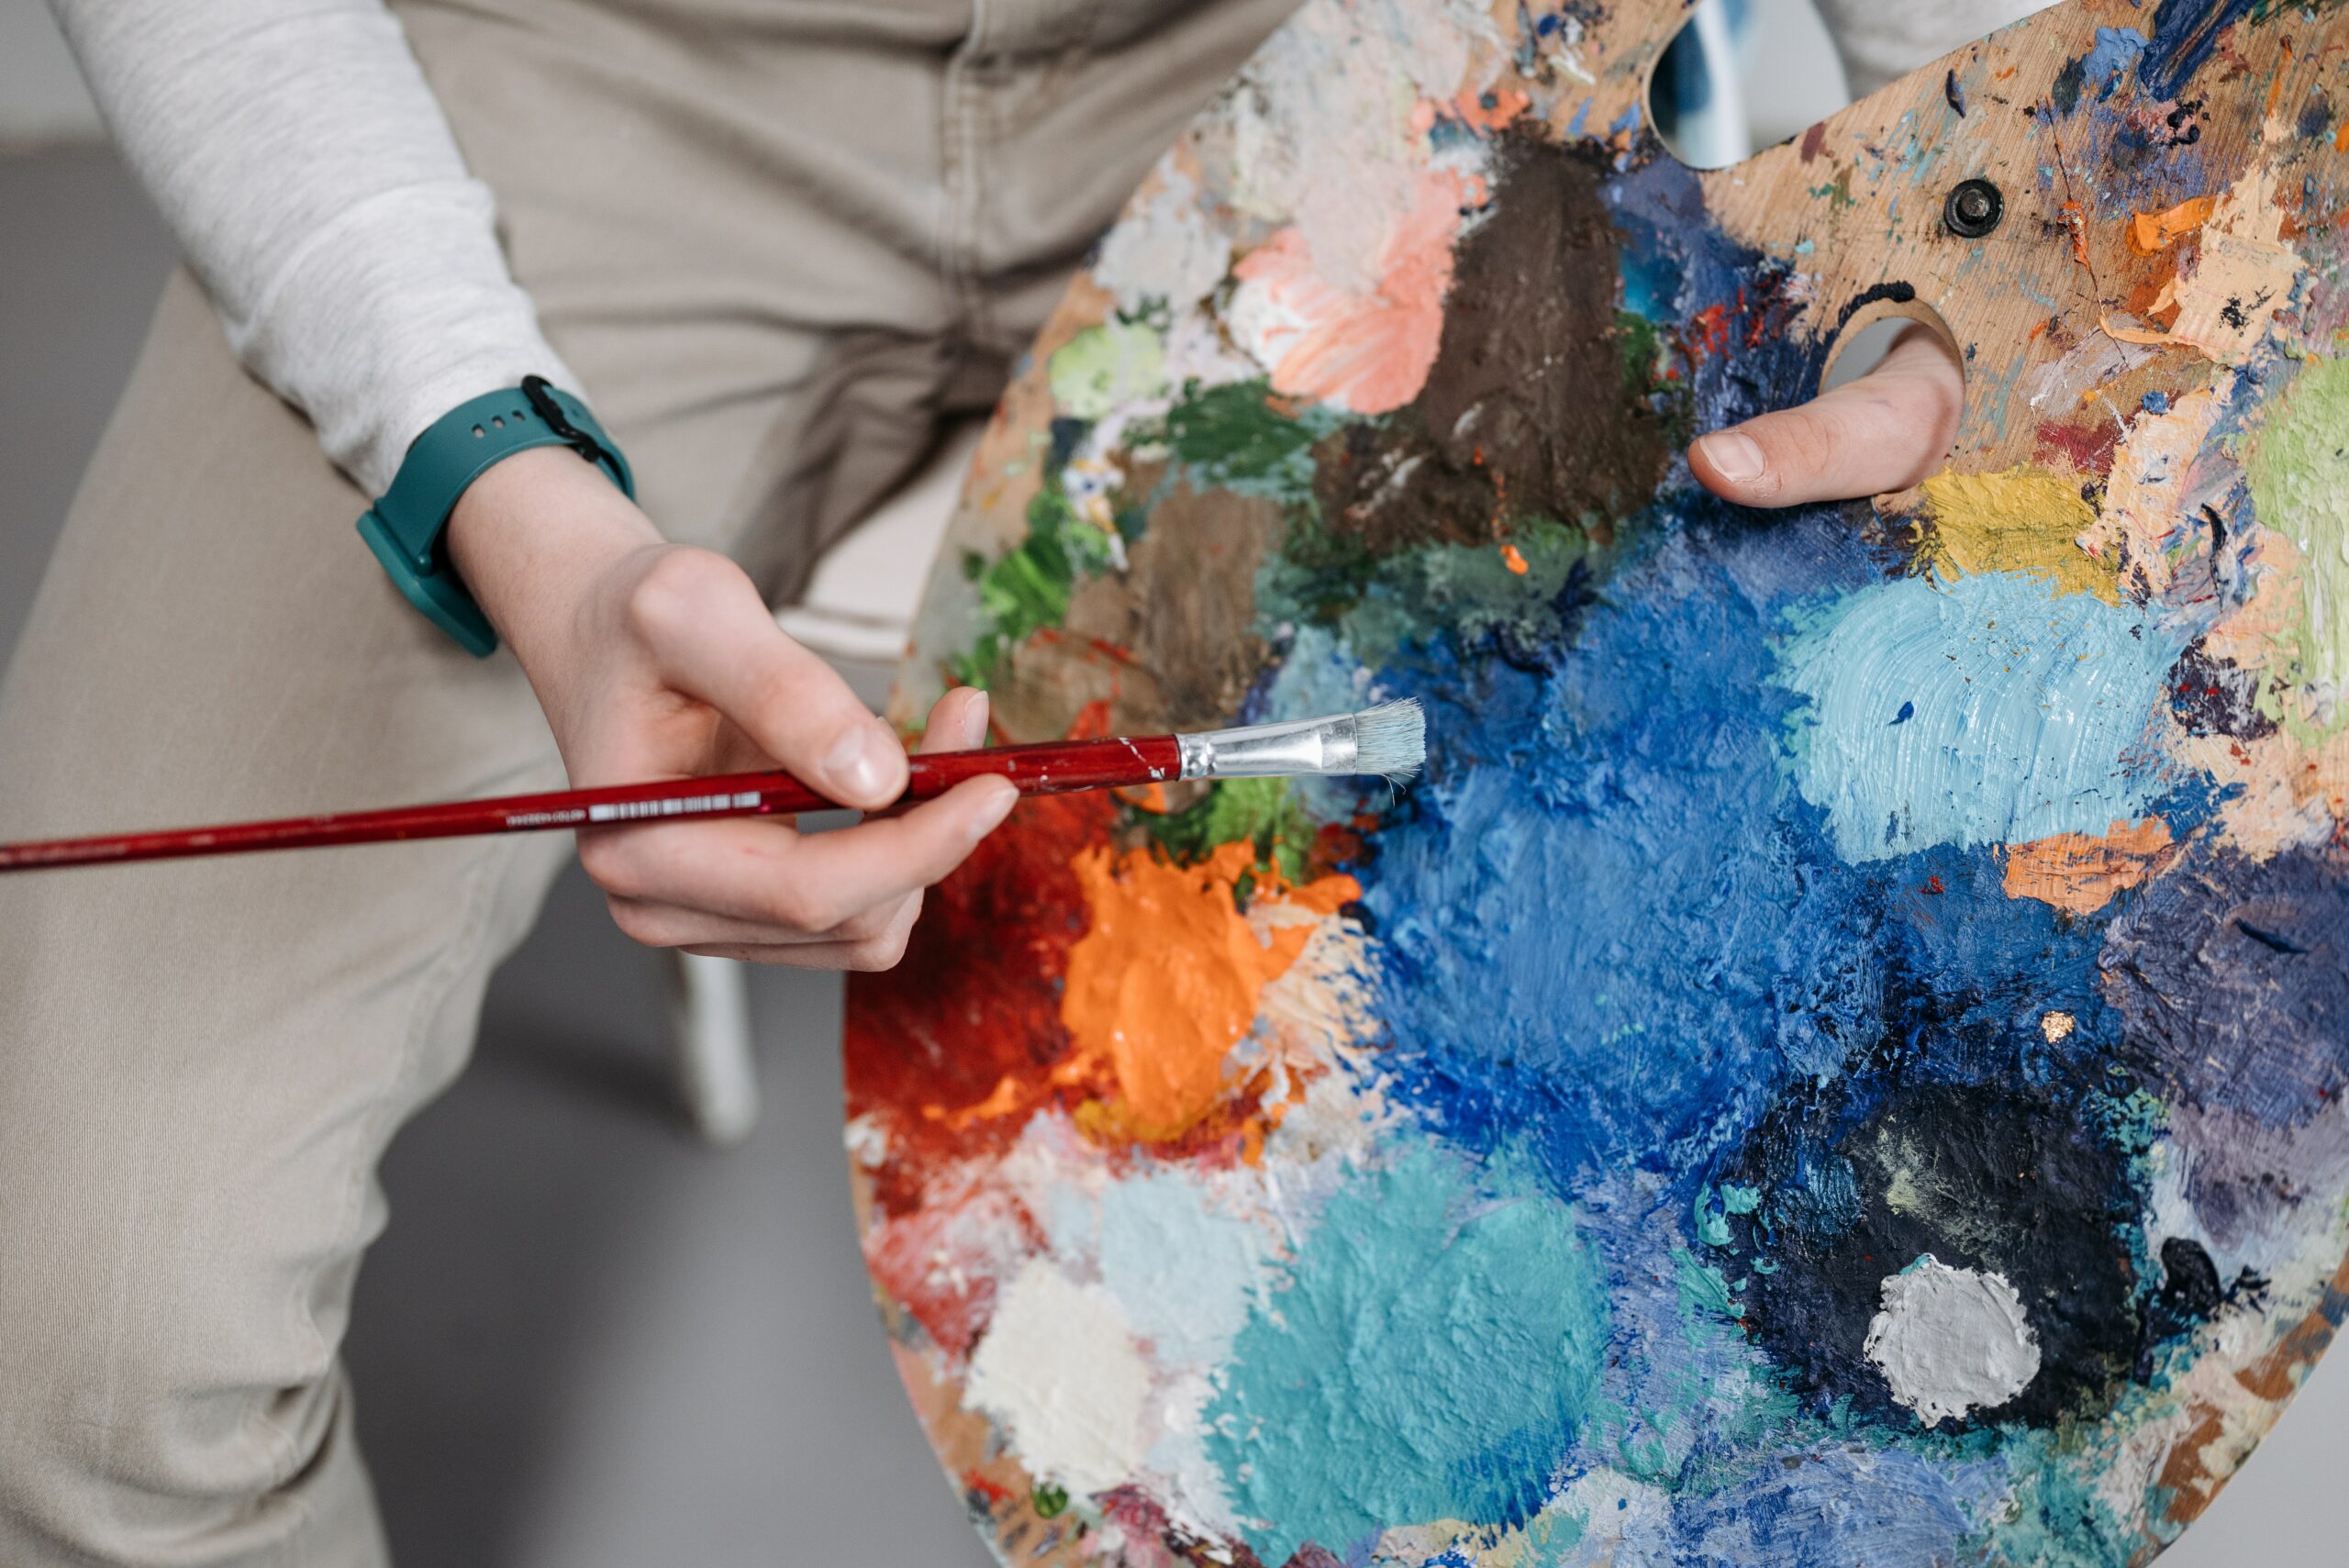
Mixing acrylic paint is an important part of the painting process. The right combination of paints and mediums can help me create my desired effect. I start by mixing a thinner, more fluid consistency with a higher ratio of water or acrylic medium to pigment. This allows for easier application when I'm using a spray technique on larger surfaces. If I am working on details with a brush, then a thicker mixture of paint is better suited for the job.
Applying acrylic paint requires skill and practice to get it just right. When spraying, I need to hold the nozzle at least 6-8 inches away from the surface in order to prevent any runs or drips and achieve even coverage. For brush techniques, pressure must be applied evenly as well so that no streaks are left behind. Also, if I want to build up layers of color without creating texture, varying amounts of thinning agent should be added between each layer.
Using these methods gives me control over how much color will show through in my artwork. With careful preparation and patience, anyone can become proficient in applying acrylics!
Building Layers Of Color
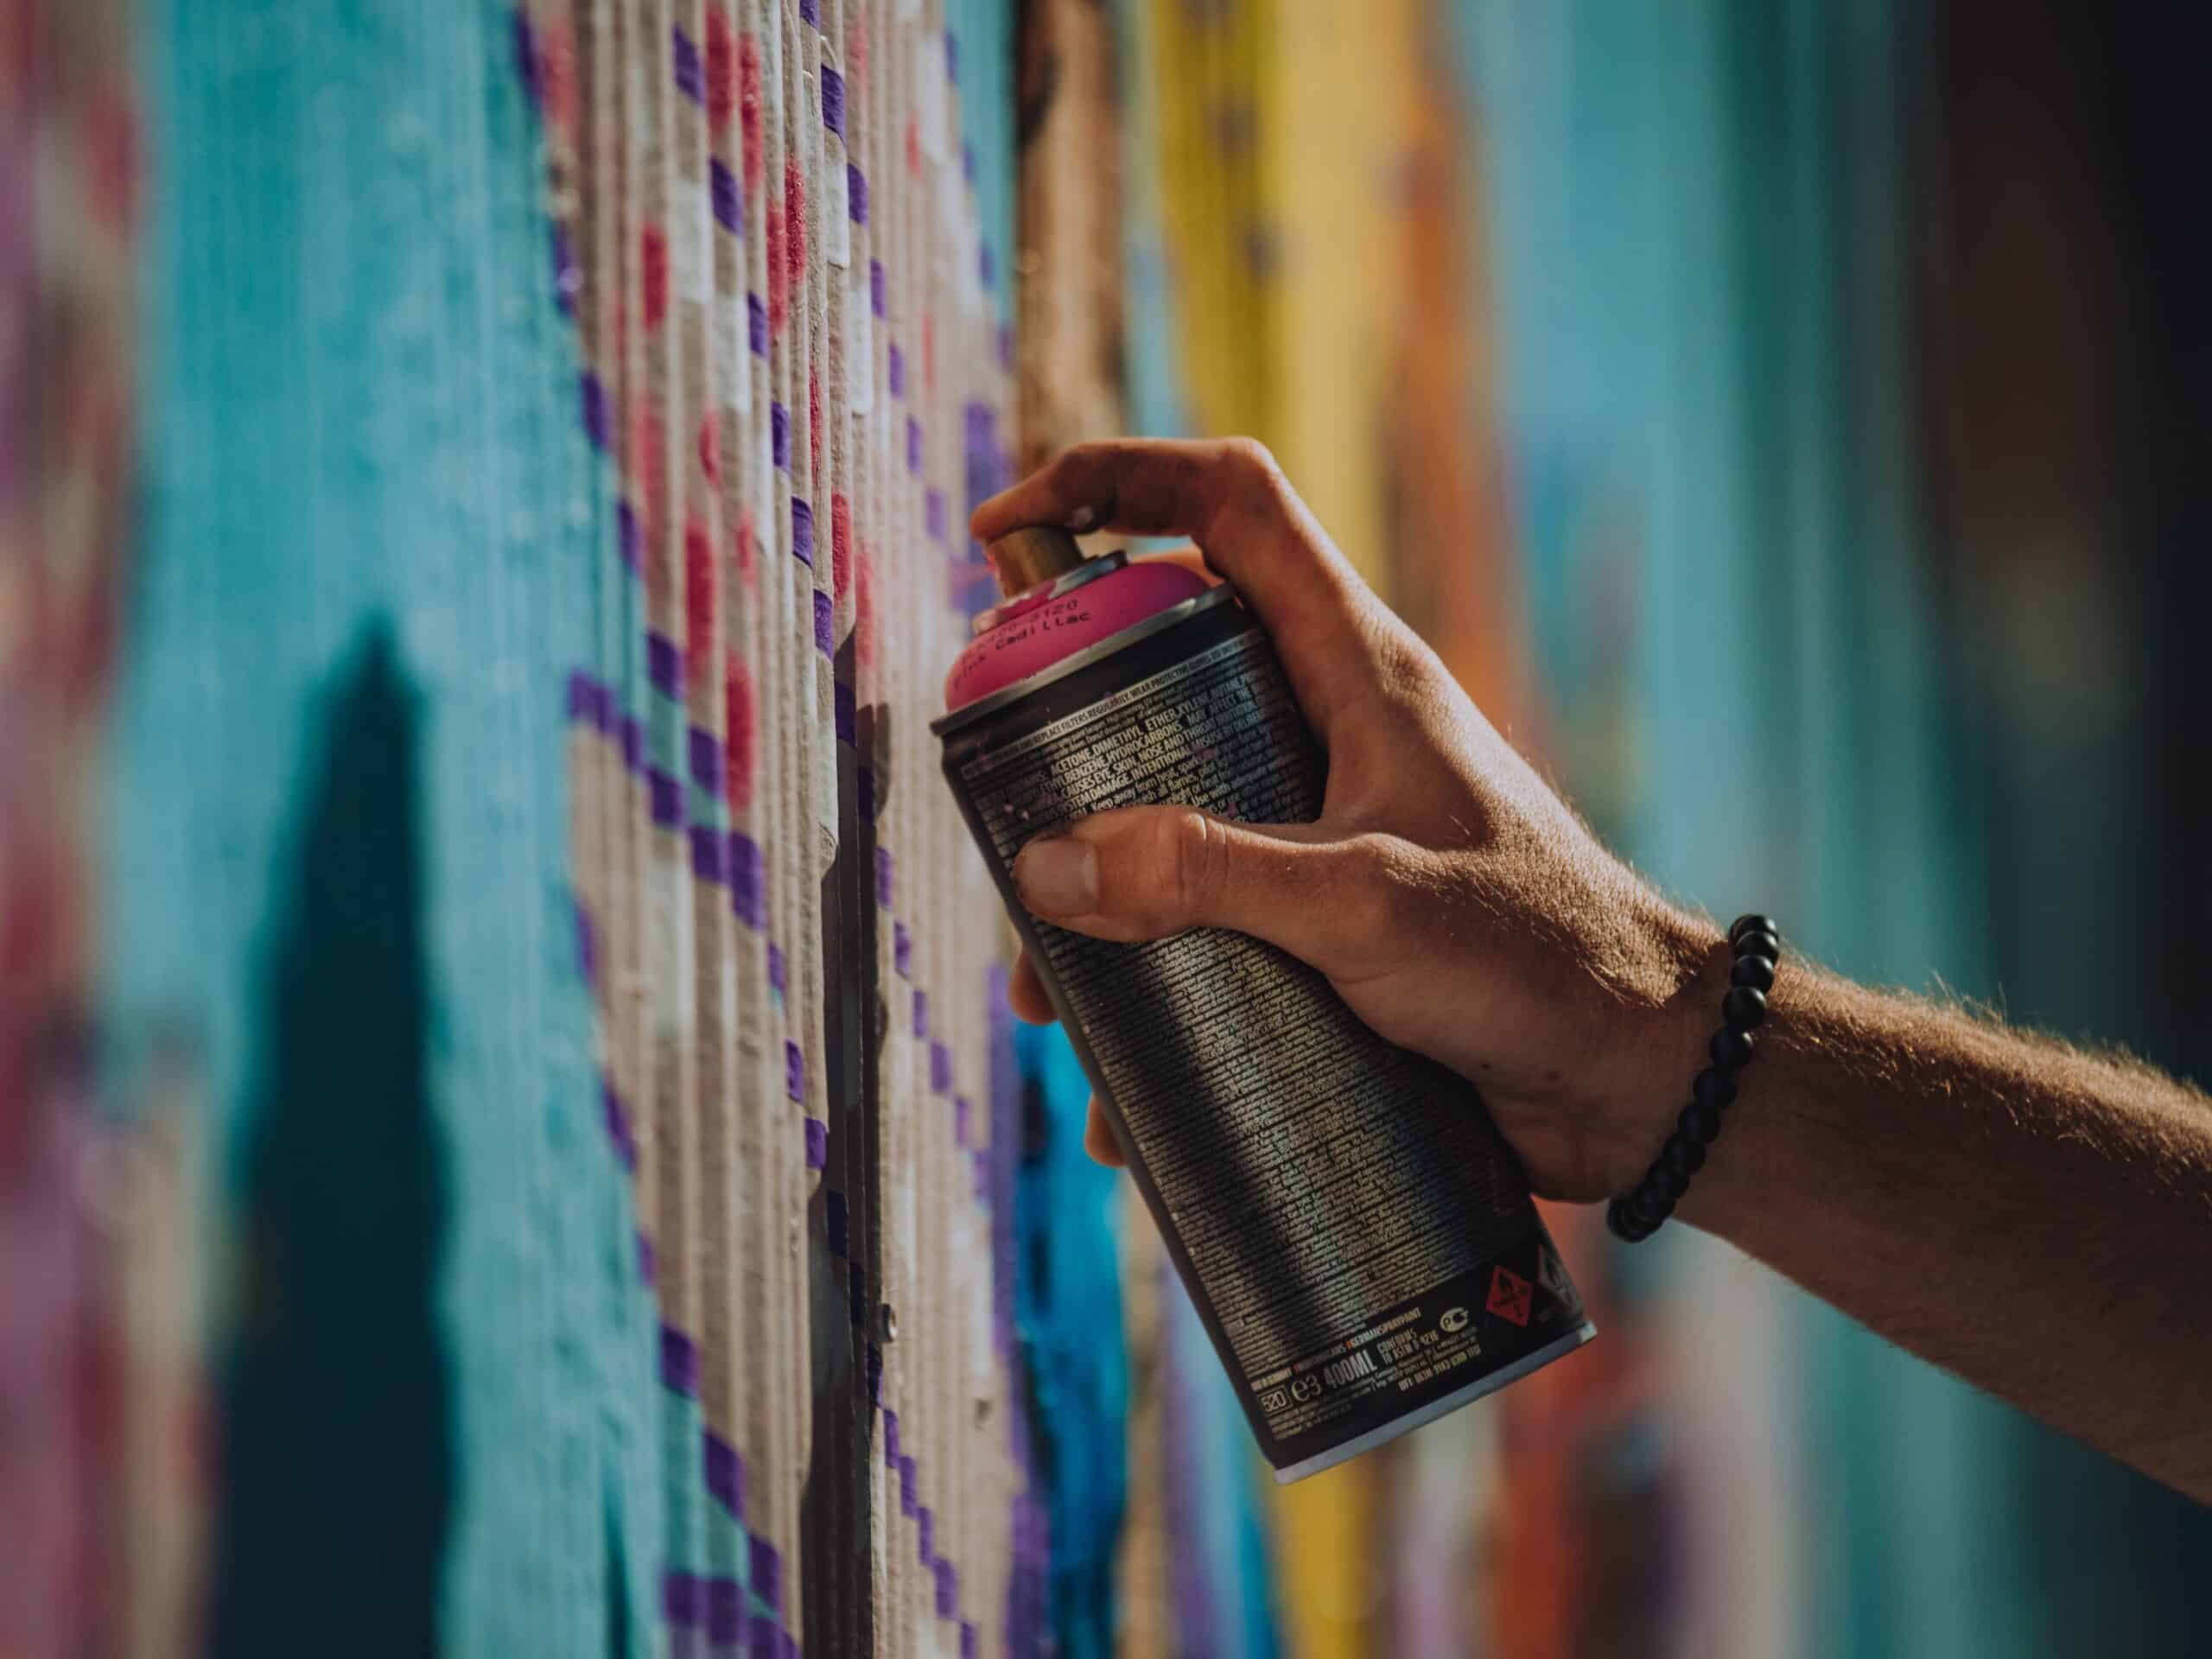
Spraying acrylic paint is a great way to build up layers of color and create beautiful effects. It's important to remember some key points when building these layers:
- Understand the properties of your particular brand of spray paint
- Practice control with each layer, as it will be essential for achieving desired results
- Create opaque colors by overlapping transparent colors in multiple passes
- Spray at an even distance from surface for more consistent results
When you have built up several layers of color, take time to consider how they work together. This can mean blending hues or intensifying existing shades; either way, patience here will pay off. In addition, make sure that you are using quality materials so that your painting can last longer and look vibrant!
Protecting Your Work
Once you've finished building your layers of color, it's time to protect your artwork. A good acrylic-sealant or paint-varnish can act as a protective coating for the surface and help prevent any further damage from occurring. You want to use finishing coats that are specifically designed for use with acrylic paints; otherwise, your artwork may not be adequately protected. Applying several thin layers of sealant over the work is an effective way of preserving it for years to come.
To get the best results when applying the sealing coat, you should make sure all prior layers have completely dried before beginning. It's also important to apply each coat evenly across the entire surface in order to ensure adequate coverage and protection. If possible, allow 24 hours between each application so that everything has enough time to dry properly.
When you're done protecting your painting, take some time to clean up after yourself by disposing of used rags, paper towels and other materials that were used during the process appropriately. Keeping your workspace tidy will help you stay organized while creating beautiful pieces of art!
Cleaning Up After Painting
Cleaning up after painting is like a dance with acrylic paint – it takes two to make the magic happen. It's time consuming, but necessary if you want your project to look and feel its best. After all, like they say, the devil's in the details! That includes post-painting care; here’s what you need to know:
steps | supplies needed | notes |
|---|---|---|
Cleaning Painting Surface | Sponges/Rags & Scrubbing Brush | Use warm soapy water for stubborn residue or oil paints. |
Paint Residue Removal | Denatured Alcohol/Mineral Spirits | For cleaning dried paint from brushes use mineral spirits. Do not mix these chemicals together! |
Cleaning Painting Supplies | Soap & Water | Rinse until there is no more soap left on brush bristles. Dry with paper towel or rag. Repeat as needed until clean. |
Post-painting care involves making sure everything from your workspace to your supplies are cleaned properly before putting them away for another day of artistry. If you don't take the time now, you'll regret it later when you go back to work on a new project and find yourself dealing with dried paint everywhere! Start by wiping down surfaces that have been exposed to wet paint using sponges and rags dampened with warm soapy water (for stubborn residues) or alcohol/mineral spirits (for oil paints). Next, rinse off any remaining residue using soap and lukewarm water before drying with a cloth or paper towel - repeat this process if necessary until completely clean. Finally, be sure to thoroughly wash all painting supplies such as brushes and palettes before storing them away - this will keep them usable for future projects without wasting precious resources!
Troubleshooting Common Issues
When spray painting with acrylics, it's important to know how to troubleshoot common issues. If you're having trouble getting your paint job right, here's some advice on what to do.
First of all, if you’re noticing too much dripping and running of the paint, check that the nozzle is set correctly for the type of project you are working on. To reduce drips further, try slowing down your movements or using a finer particle size in your mix. Also make sure that any surfaces being painted onto have been prepped adequately beforehand - this will help prevent uneven application or runs in the finish.
Another issue could be flaking when drying. This can happen if there isn't enough binder in the mixture, so adding more should help fix this problem. It can also arise from overworking an area before it has dried properly; allowing each layer time to dry before applying another helps avoid this issue altogether!
Bubbles can form if air gets trapped while spraying – they should disappear as soon as they hit the surface and evaporate though, but if not then gently tapping them away may help.
No matter what kind of mistake you might run into while spray painting with acrylics, don’t worry - with careful practice and troubleshooting it’s possible to get great results every time!
Conclusion
Spraying acrylic paint is an art form that takes practice and patience to master. It doesn't have to be intimidating or overwhelming, though; with the right supplies and preparation, you can create beautiful works of art in no time at all. Knowing how to mix your colors and build up layers of color will give you a better understanding of the medium, while troubleshooting any issues along the way will help you gain confidence as an artist. With these tips, painting with spray acrylics can become one of your favorite hobbies.
When it comes down to it, spraying acrylic paint is all about enjoying yourself and having fun! Take your time learning the techniques so that each piece becomes more and more special over time. Don’t forget to protect your work by using sealants when necessary, and always make sure to clean up after yourself. Before long, you’ll be creating vibrant works of art like a true professional!
So what are you waiting for? Go ahead and pick up some supplies – there's never been a better time than now to get started on becoming a certified spray acrylic paint expert!

