How To Avoid Brush Strokes When Painting With Acrylics
Painting with acrylics can be a great way to express yourself and create beautiful works of art. However, if you don’t know how to use the paints properly, it’s easy to end up with brush strokes that ruin your masterpiece. As an acrylic painting expert, I'm here to show you how to avoid those dreaded brush strokes when painting with acrylics.
The most important factor in avoiding brushstrokes is preparation: make sure all of your surfaces are clean and free from dust or debris before beginning any project. Additionally, ensure that your brushes are well-maintained; replace them as soon as they start showing signs of wear and tear. Finally, mix your colors thoroughly – this will help prevent uneven results and visible brush marks on the canvas.
Keeping these tips in mind will help you achieve smooth, even results every single time! With just a little bit of practice and patience, anyone can become a master at avoiding brush strokes while painting with acrylics. In this article I'll share more detailed advice on mastering this skill quickly and easily - so let's get started!
Choosing The Right Paint
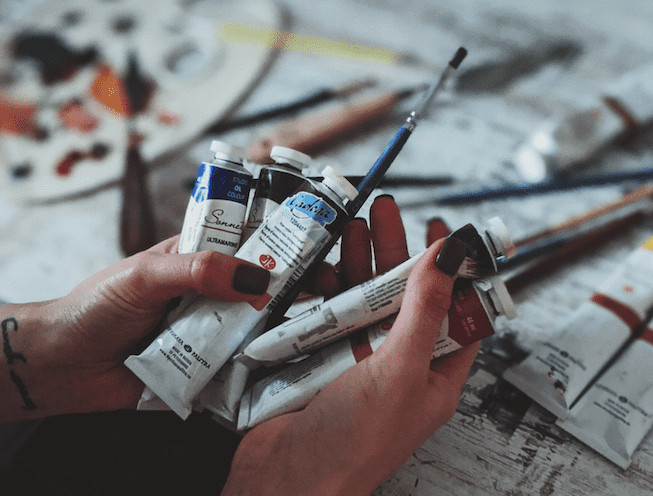
Choosing the right paint is key when it comes to avoiding brush strokes. I mean, let's be honest - why even bother painting if you don't want that perfect finish? When selecting your acrylics, make sure they are labeled as 'high flow' or 'low viscosity'. These types of paints will help ensure a smooth finish on whatever surface you're working with. There have been times where I've gone for the cheaper option and ended up having to scrape off my whole canvas only because I didn't buy high quality paint! Trust me, it's worth every penny in the end.

Now, for those who prefer something more textured or matte-like, there are plenty of options out there too. The trick is finding one that still has enough body so that once dry, the brush marks won't show through. As always, experiment until you find what works best for you and your project. Transitioning into our next section: Preparing the Surface...
Preparing The Surface
Now that you've chosen the right acrylic paint, it's time to prepare the surface. This is an important step in ensuring your painting doesn't end up with brush strokes.
Here are four tips on how to get a smooth finish:
- Start by cleaning your canvas or paper. Make sure all dust and debris has been removed for best results.
- Use a primer coat of gesso before applying your paint, this will help create an even base layer for your painting.
- When painting, use smoother brushstrokes rather than pushing too hard against the canvas/paper – this can cause ridges which won’t give you a smooth effect.
- If necessary, lightly sand between coats of paint to remove any bumps or irregularities that could lead to brush marks showing through later on.
Following these steps should ensure a professional-looking result when you're done! Now let's move on to another key factor in successful painting - temperature and humidity levels...
Temperature And Humidity
When it comes to successful acrylic painting, temperature and humidity levels make a significant difference. In order for the paint to glide smoothly onto your surface, you need the air around you to be comfortable enough - neither too hot nor too cold. Humidity also plays an important role as high moisture in the air can cause your paints to become tacky leading to issues with brushstrokes.
The best way of creating a perfect environment is by making sure that you have adequate heating or cooling depending on the season and by using dehumidifiers when needed.
This will help keep those unwanted brush strokes away while allowing you to focus solely on the creative aspects of acrylic painting. Additionally, if possible try keeping a window open slightly which will ensure an optimum level of ventilation while painting indoors.
These simple steps may seem insignificant but they are essential for achieving great results with every project! Now we move on to applying our carefully chosen colours...
Applying The Paint
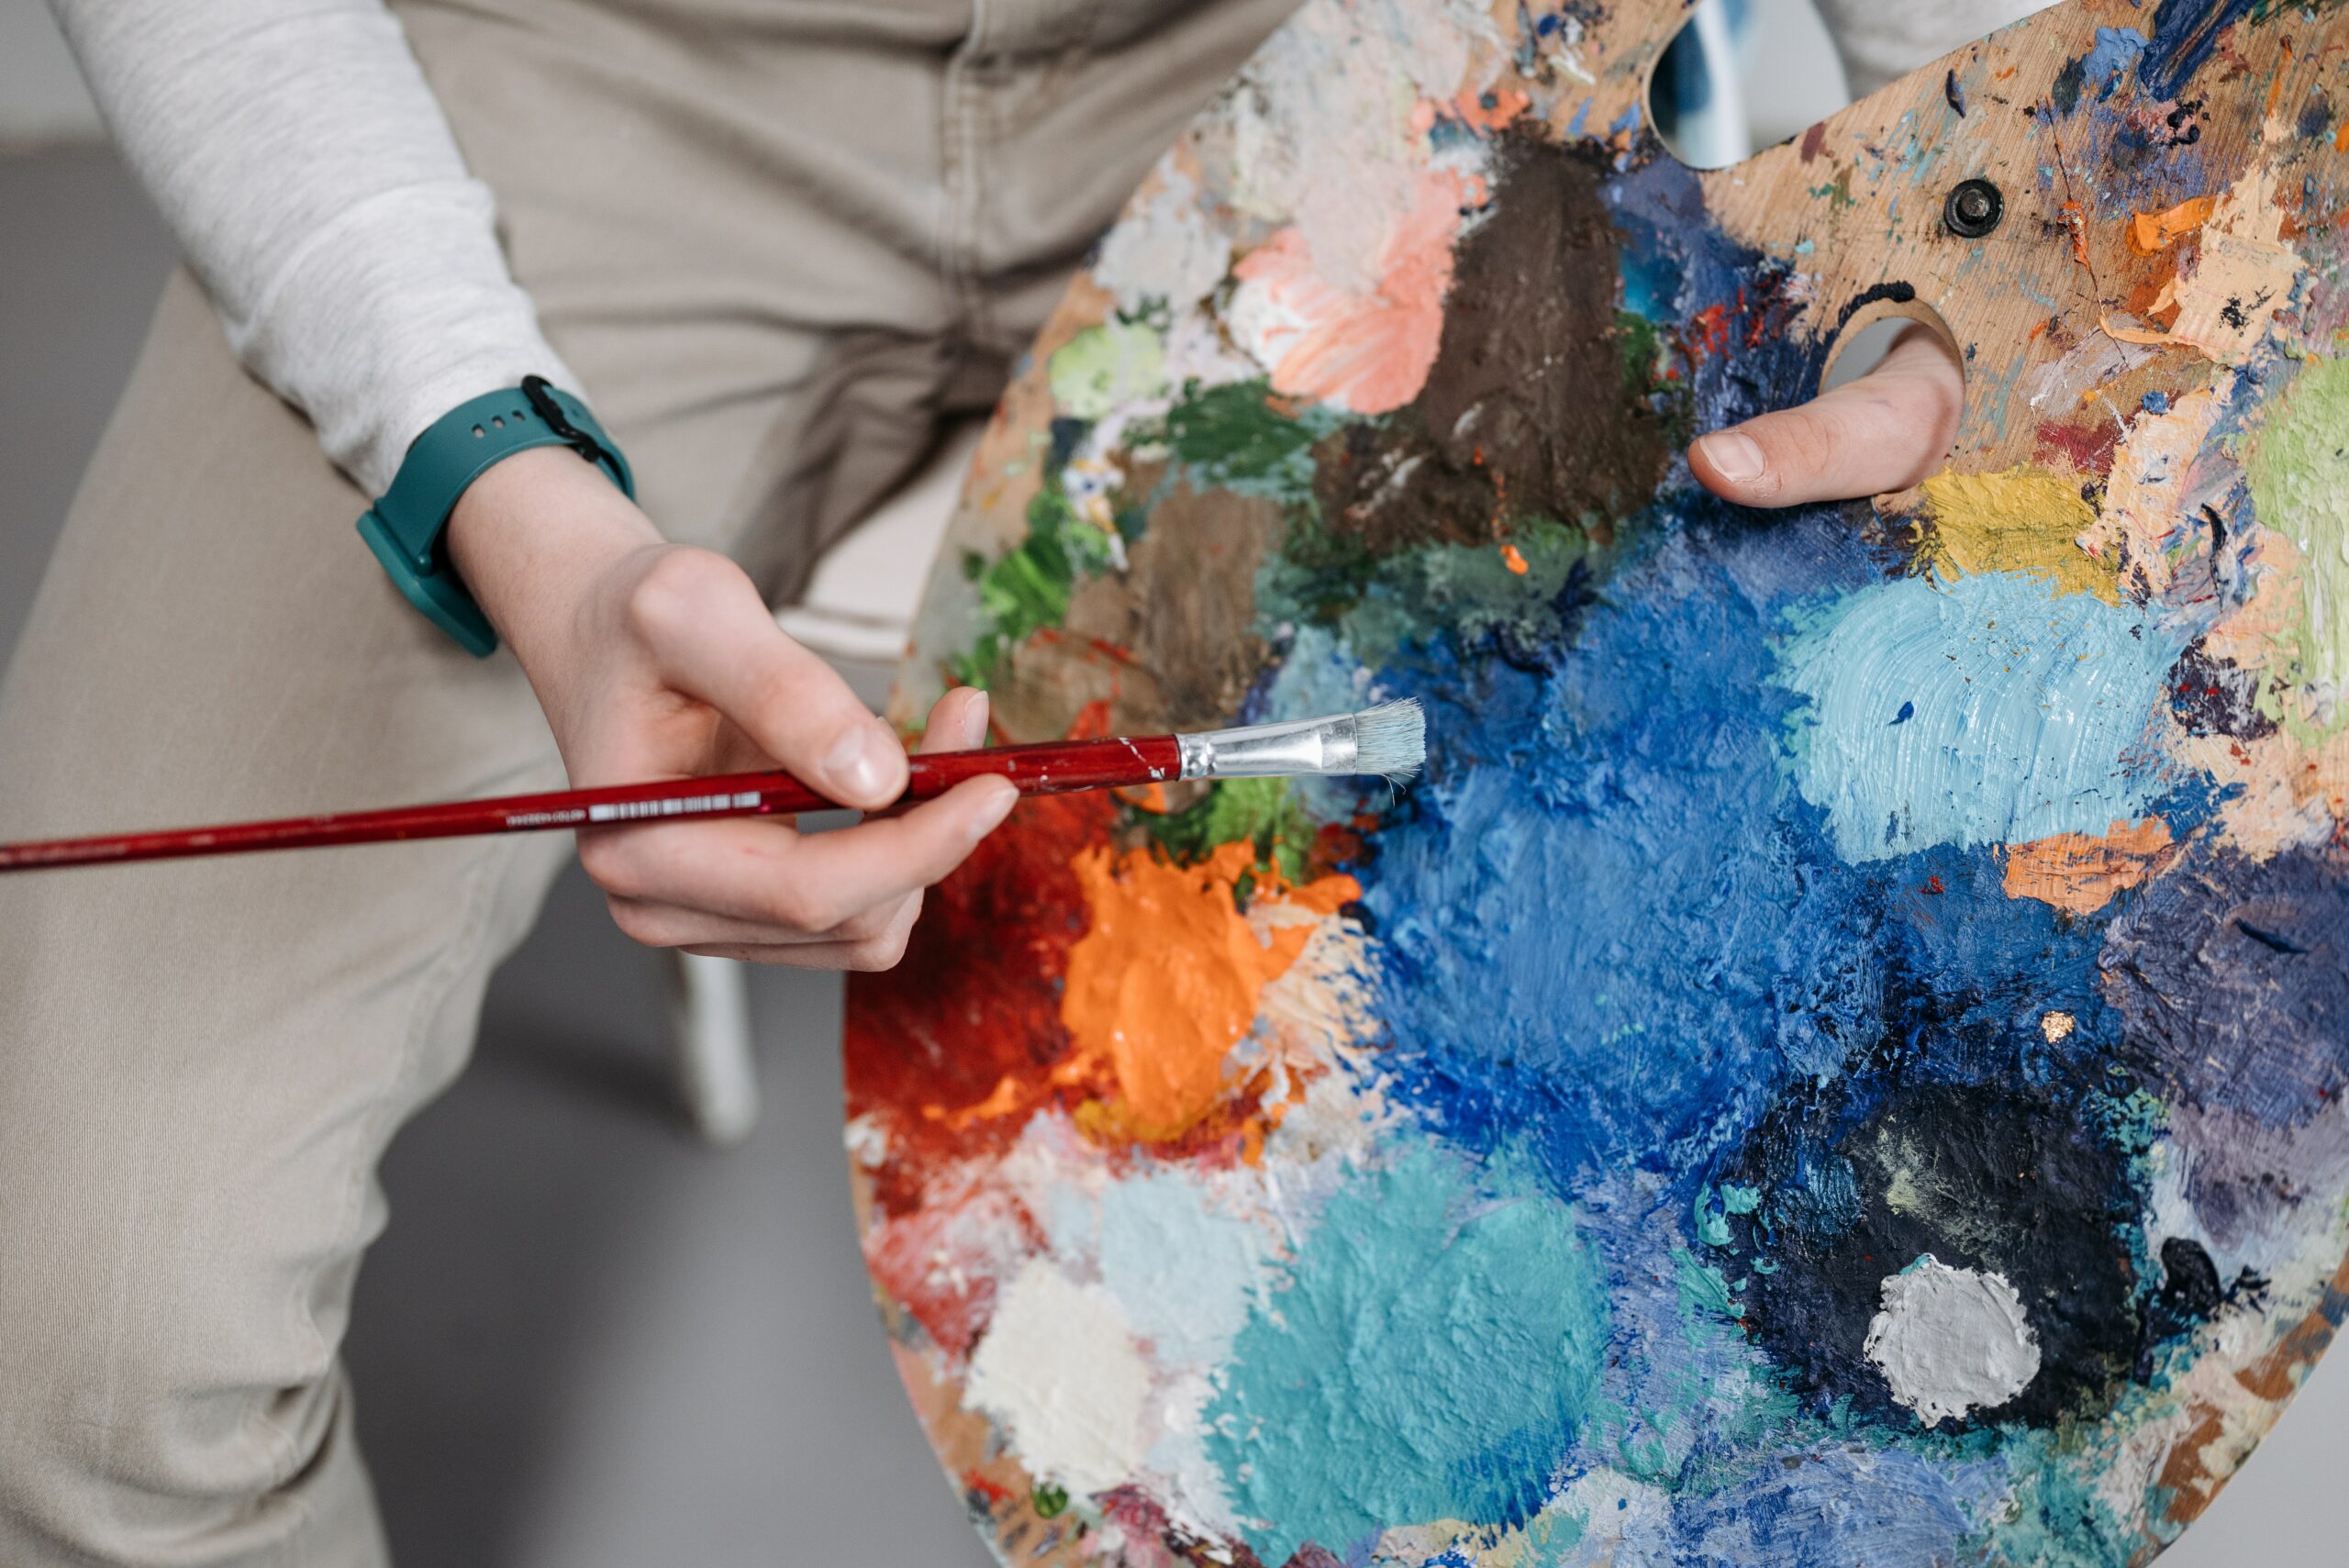
Now that the temperature and humidity have been taken care of, it's time to start painting! Applying acrylic paint can be tricky if you don't know what you're doing. Here are a few tips to help you avoid brush strokes when working with acrylics. First, always use high-quality brushes. Investing in good quality brushes means they'll last longer and produce better results. Cheap brushes tend to leave more visible brush strokes so make sure to buy something decent. Second, never overload your brush with too much paint. Instead, lightly dip the bristles into the container then wipe off any excess on the rim before applying onto the canvas or other surface. This will prevent clumping and create a smooth finish without any noticeable brush marks. Finally, experiment with different techniques as this could also affect how smoothly your paint goes on. If dabbing works best for certain areas of your painting, go for it.
Just remember not to overwork one area as this could cause unevenness in texture which would stand out after drying
By following these steps carefully, you should be able to achieve an even coat of color without any unsightly streaks or smudges. Moving forward we’ll look at how using different types of brushes can open up new possibilities when creating artwork with acrylic paints.
Working With Different Brushes

When painting with acrylics, it’s important to use the right brush for the job. Different types of brushes will give you different results and can determine whether or not your work has a smooth finish or is covered in unsightly marks.
Name | Description |
|---|---|
Flat Brush | A flat-shaped brush that's great for creating straight lines and sharp edges. |
Round Brush | This type of brush creates rounder shapes and comes in various sizes. It's ideal for detail work like outlining images and filling corners. |
Angled Brush | An angled brush is used to create curves like circles or ovals as well as paint diagonals without any jagged strokes. |
Filbert Brush | Filbert Brush |
No matter what kind of brush you choose, there are a few tips to keep in mind when using them. Always clean your brushes after each stroke so they don't pick up excess paint from previous layers. Make sure your bristles haven’t been damaged by wear and tear, otherwise they won't be able to provide an even coat on your canvas. And finally, practice makes perfect! The more familiar you become with how each type of brush works, the easier it will be for you to avoid unwanted streaks or brush strokes in future paintings.
To ensure a professional-looking finish, use multiple coats of thinned down acrylic paint rather than one thick layer; this will help prevent visible ridges from forming when the paint dries. With these techniques under your belt, you'll be ready to tackle some finishing touches on your next project!
Finishing Techniques
Now that you have a better understanding of the different brushes and how to work with them, it's time to discuss some finishing techniques. According to the International Acrylic Painters Association, nearly 40% of all acrylic paint projects require some level of touch-ups or refinishing after they are completed.
To avoid brush strokes when painting with acrylics, here are four key points:
- Start by preparing your surface properly - surfaces should be clean and free from oils before applying any paint.
- Use good quality brushes and keep them well maintained with regular cleaning.
- Apply thin coats of paint instead of thick layers which can cause drips and runs as they dry.
- Always use a light hand when brushing on the acrylics so that the finished product looks smooth and even. If these steps are followed correctly then you will achieve great results every time!
But if you find yourself still dealing with brushstrokes at the end of your project, there is still hope for salvaging a successful finish. One trick is to lightly sand down any rough patches with fine grit sandpaper once everything has dried completely – this should help remove any unwanted marks left behind by the brush. Additionally, using an acrylic glaze over top can also help create a smoother look while adding depth to your artwork in the process. With just a few simple tips and tricks like these, you'll soon become an expert in avoiding brush strokes when working with acrylic paints!
Conclusion
When it comes to avoiding brush strokes when painting with acrylics, the truth of the matter is that there are a few key techniques you can use. First and foremost, make sure you’re using quality paint and have prepared your surface well. Secondly, take into account temperature and humidity as this will affect how your paints dry. Thirdly, experiment with different brushes for varying effects; some will give smoother results than others.
Try out various finishing techniques such as blending or dry brushing to create the perfect look for your piece.
With these tips in mind I'm confident that anyone can avoid those pesky brush strokes no matter what kind of project they're working on! As someone who has been painting with acrylics for years now, I know first-hand just how much practice and patience goes into mastering this craft. It may take time but trust me – once you learn these simple tricks, you'll be able to achieve beautiful results every time!


