How To Dye Faux Fur With Acrylic Paint
Have you ever wanted to give a plain, boring piece of faux fur some pizzazz but didn't know how? Sure, it's no secret that acrylic paint can be used on fabric and other materials. But with faux fur?! Who would have thought? Little do many people know, dyeing your faux fur at home is not only easy; it's also really fun.
As someone who has been there myself, I'm here to tell you don’t let the intimidation of using acrylic paint put you off - it's easier than you think! The truth is, transforming your favorite old piece of faux fur into something new and exciting doesn't require any special skills or equipment. All you need are just a few basic supplies from the local craft store and voila! You'll soon be able to create an amazing DIY project that looks like it was made by a professional.
So if you're ready for a creative challenge that won't break the bank, then keep reading to find out how you can use acrylic paint to dye your very own faux fur masterpiece in just three simple steps.
Choosing The Right Faux Fur
When it comes to dyeing faux fur with acrylic paint, the first step is choosing the right faux fur. It's important to remember that not all fake furs are created equal and you'll want to choose a type of material that can stand up to being dyed multiple times if needed. You should also make sure your fur matches the color palette of your intended project before proceeding.
Additionally, look for a high-quality synthetic fabric like polyester or nylon as these materials will be easier to dye than cotton blends. Choose something washable too so you don't have any trouble cleaning up spills and mistakes! Finally, check the length of the pile; this will determine how much texture your finished project has once it's been dyed.
Once you've found the perfect piece of fabric, it's time to prep it for painting. This includes giving it a good shake and brushing out tangles or knots to ensure even coverage when applying dye.

Prepping The Fur For Painting
"The devil is in the details", and this couldn't be more true when it comes to prepping faux fur for painting. Painting on a surface that isn't adequately prepared can result in an uneven, patchy finish so while it's tempting to dive right into the fun part of dyeing your fabric, taking the time to prep first will pay off in the end.
Start by laying out your faux fur flat on top of some newspaper or plastic sheeting - you don't want any paint getting onto surfaces that are not intended! Next, use a lint roller or tape to remove as much loose fur as possible before brushing away dirt with a soft brush. This helps ensure that no particles get trapped between the fibers during painting.
Heat seals the back side of the faux fur using an iron set to low-medium heat. You should notice steam coming from the material once it has been sealed – this prevents bleeding and ensures even coverage when applying acrylic paints later on. Heat sealing also increases durability and makes cleaning easier after dyeing is complete.
Following these steps sets up your project for success and prepares you for selecting the right acrylic paint for your faux fur masterpiece!
Selecting The Right Acrylic Paint
Believe it or not, acrylic paint is the most popular medium for faux fur dyeing. Over 45 million people around the world use this type of paint to customize their pieces! When selecting the right acrylic paints for your project, there are a few things you need to consider.
First and foremost, make sure that you’re using water-based acrylics as opposed to oil-based ones. Water-based paints will blend better with artificial fibers and be easier to remove if needed. You should also ensure that your chosen colors are lightfast so that they won’t fade away after a few weeks of exposure to sunlight. Finally, look for high pigmentation to achieve vibrant shades without having to apply too many coats of paint.
Choosing the right shade can be tricky since hues tend to appear differently on fabric than they do on paper swatches. To get an accurate idea of how the color will turn out once applied, test it first on a small patch of faux fur before committing to larger sections. It's also important to remember that dark colors may require more than one coat whereas lighter shades usually only need one layer of coverage. After finding the perfect hue for your project, you're ready for.
Applying The Paint
Ok, so now that I've chosen the right acrylic paint for my faux fur project, it's time to apply it. This part can be a bit tricky since you don't want your faux fur to look messy or clumpy with too much paint on it. Before beginning, make sure to have a few items handy: an old t-shirt or cloth rag, water, and soap for cleanup.
To start, dip my brush into the paint and lightly tap off any excess onto the newspaper before brushing across the surface of the faux fur in small strokes. A little goes a long way here! To avoid making mistakes or smudging parts of the coat that are already painted, I need to work slowly and carefully.
Once my painting is finished and completely dry (which could take up to 24 hours), then I'll move on to adding multiple colors and other finishing touches if desired. As long as I make sure not to rush this step by using caution when applying the paint, my faux fur should turn out to look great!
Adding Multiple Colors And Finishing Touches
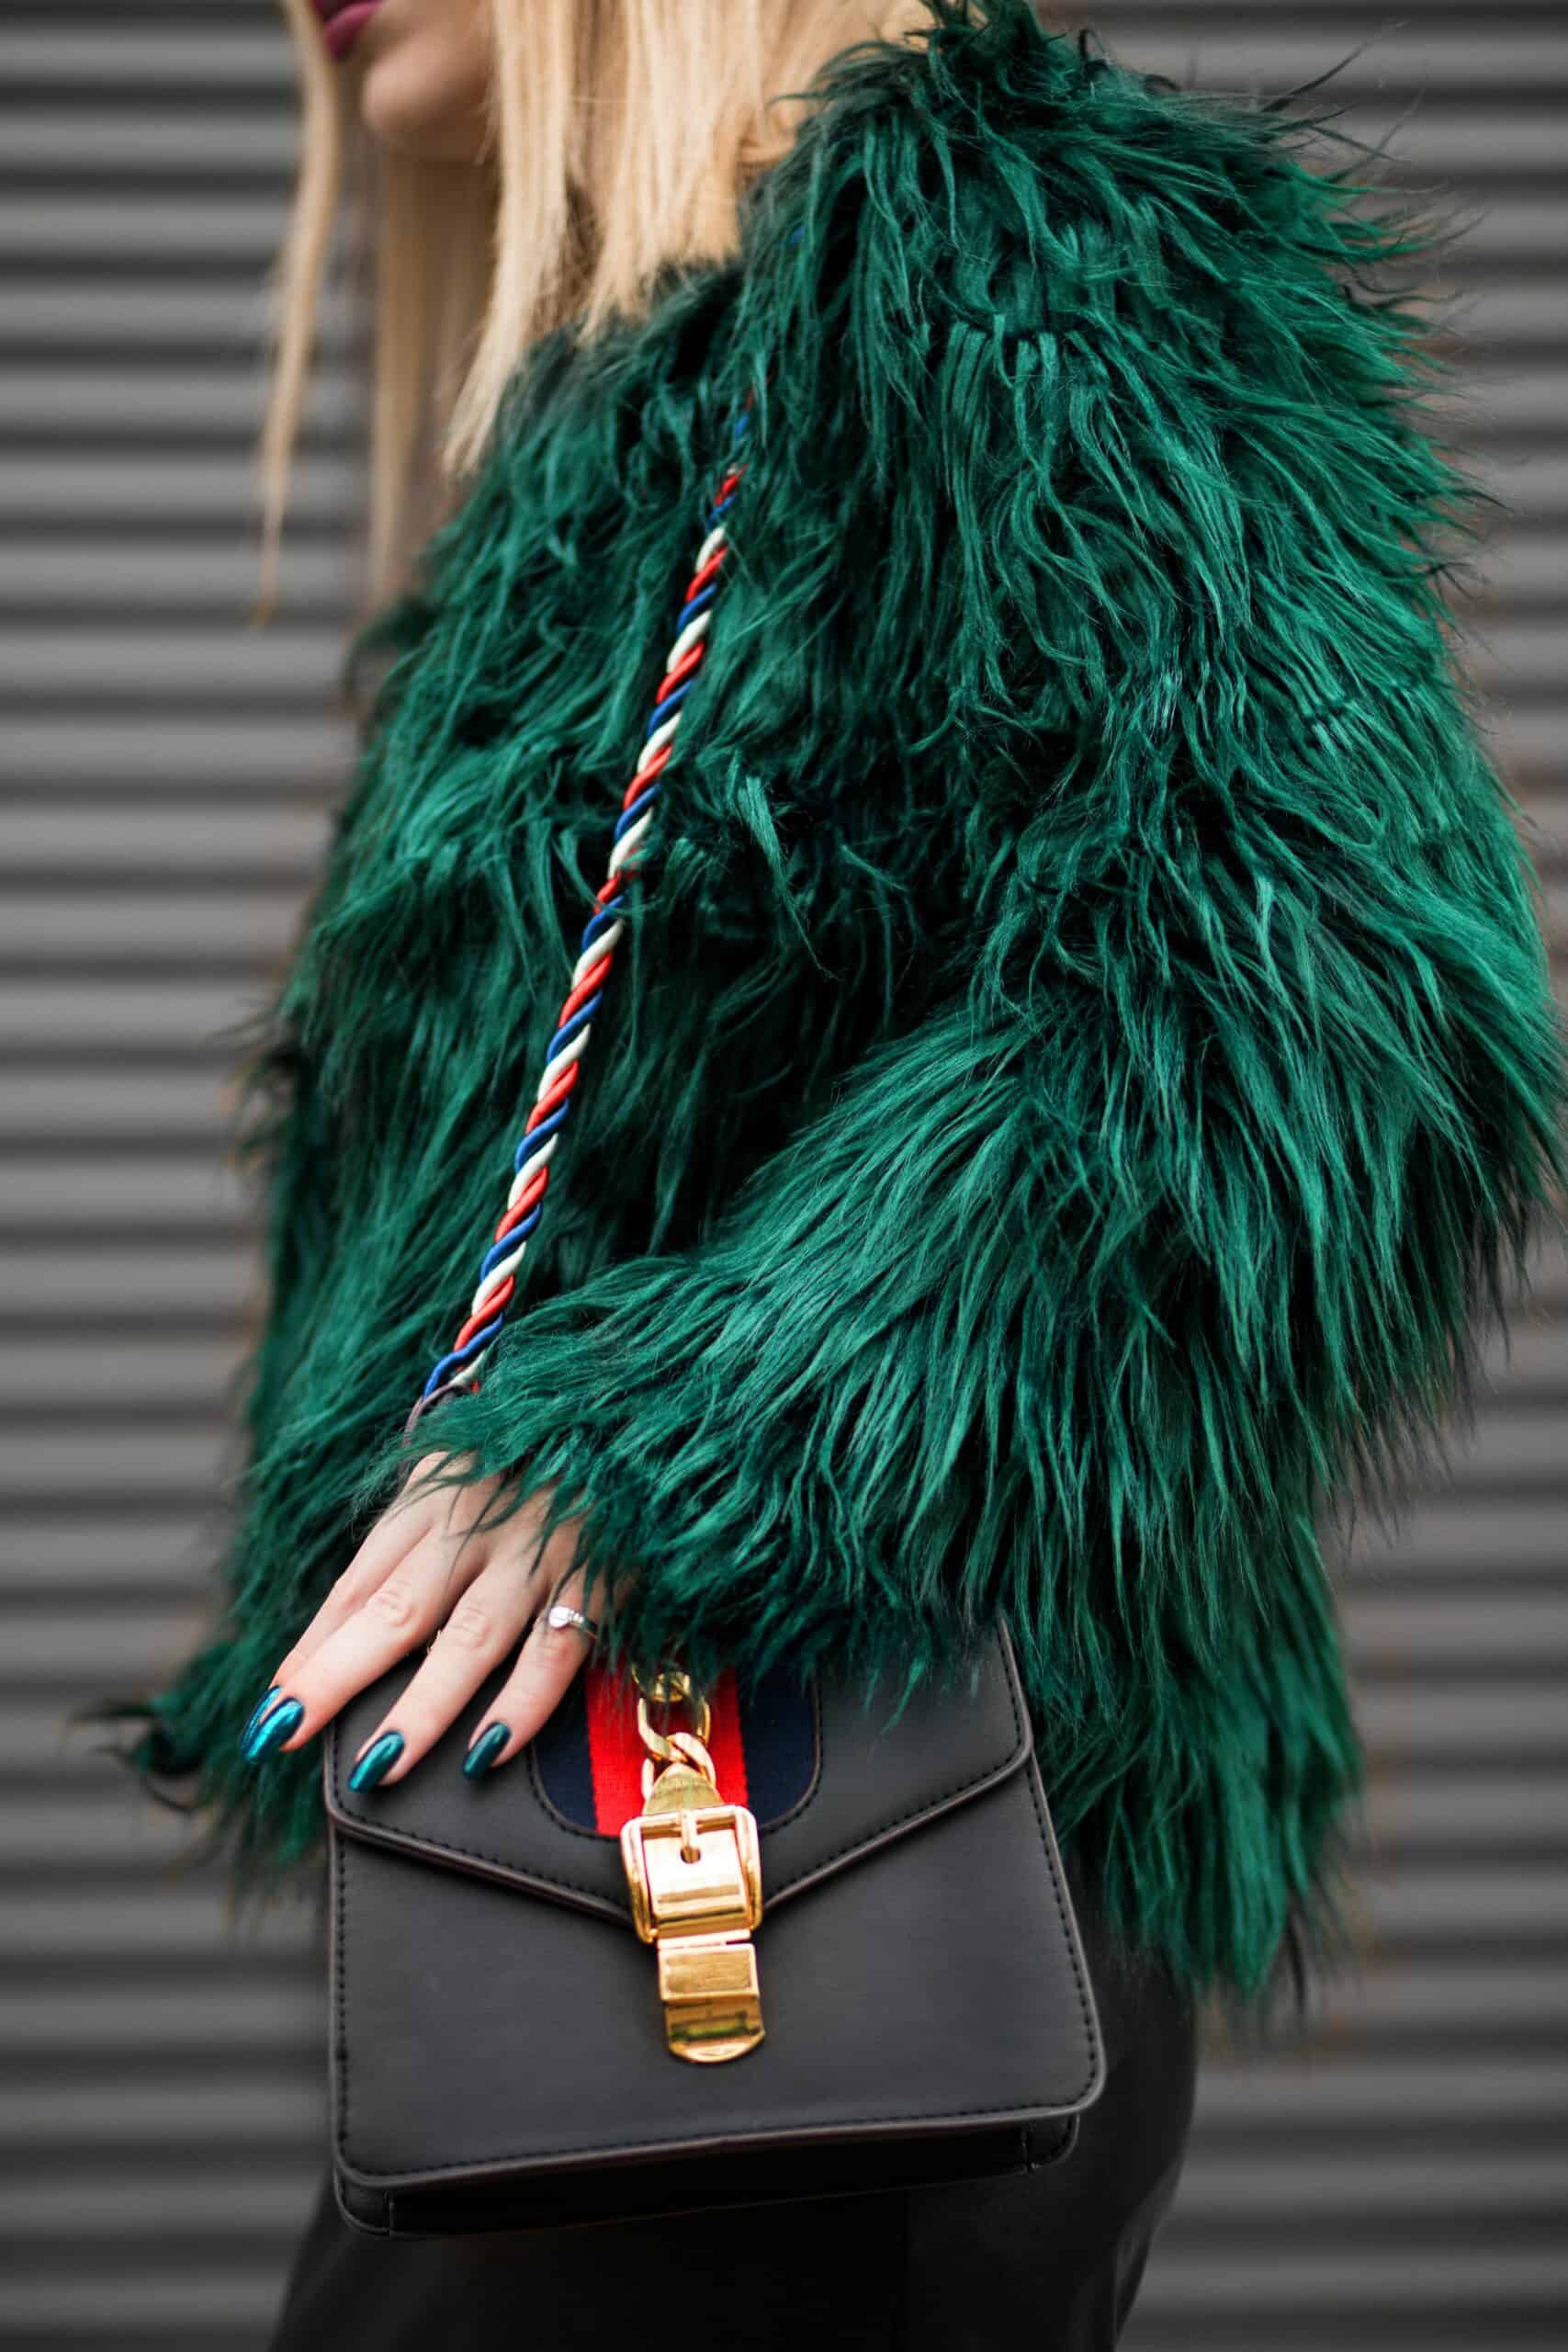
Painting your faux fur is like taking a blank canvas and designing it with all the colors of the rainbow. It can be intimidating to know where to start, but once you get going, it's so much fun! Adding multiple colors and finishing touches is the most exciting part of transforming this fur into something unique.
The options for color combinations are endless; choose whatever suits your vision best. After adding in some base colors, consider using lighter or darker shades to create highlights or shadows. You could also try blending two different hues - ombre looks amazing on faux fur. To finish up, add details like stripes or polka dots with a thin brush and even more paint if needed.
When you've created the masterpiece of your dreams, take some time to admire it before moving on to the next step: sealing the paint with a protective layer. Once completed, your furry creation will look just as good (if not better!) than when you first started!
Sealing The Paint With A Protective Layer
Wrapping it up with a bow, the final step in this faux fur dyeing journey is to seal your paint job with a protective layer. It's like giving your furry project that extra cherry on top! This will keep all of your hard work looking vibrant and new for as long as possible.
The best way to do this is by using a spray-on fabric protectant or an acrylic sealer. The former provides waterproof protection while the latter not only seals the paint but also adds glossiness. Whichever one you choose, make sure to read the instructions carefully so you can apply it correctly without damaging your painted surface. Be sure to test out any products you’re thinking about using before applying them to the entire piece.
Now that you're done sealing off your masterpiece, why not show it some love? Taking care of your newly dyed faux fur means paying attention to its cleaning needs, storage requirements, and more. So don't forget those important details – they'll go a long way toward keeping your beautiful creation around for years to come!
Caring For Your Painted Faux Fur
Have you ever wondered how to care for faux fur that has been dyed with acrylic paint? Once you have taken the steps outlined in our previous sections, it is important to remember a few key points when caring for your newly painted fabric. Here are three simple ways to keep your beautiful creation looking fresh and vibrant:
- Make sure not to machine wash or dry clean the item; hand washing with a mild detergent is best.
- Air-dry the piece as much as possible instead of using heat from an appliance like a blow dryer.
- Take extra precautions when brushing out any tangles to avoid damaging the painted surface.
Caring properly for your new artwork will help maintain its beauty and brilliance over time so you can enjoy it for years to come! Avoiding overly aggressive treatments while cleaning, drying, or styling is an essential step in preserving the longevity of your lovely project. With just a few simple reminders, you can ensure that your work stands the test of time.
Frequently Asked Questions
When dying faux fur with acrylic paint, you want to make sure that the color doesn’t fade or peel off. To do this, it’s important to use a sealant after applying the paint. Applying a sealant will help protect your work and ensure that it looks great for years to come!
But how do you know which type of sealant is best? The answer lies in what kind of surface you’re dealing with. For example, if you are painting on fabric then using an aerosol spray can be quite effective. However, if the surface is leather or vinyl then using a brush-on clearcoat would be better suited. Additionally, some paints may require special types of sealants such as polyurethane or lacquer depending on their composition and intended use.
Once you have chosen the right sealant for your project, apply it generously over the painted area in thin layers until all surfaces are covered. Let each layer dry before adding another one so that everything stays secure and protected from fading or peeling away from the fabric later down the line. With proper care and attention to detail, you can create beautiful pieces that last for years – ensuring your artwork remains vibrant and looks its best!
When it comes to dying faux fur with acrylic paint, the drying time is an important factor. I’m sure you want your project to come out looking great without any issues, so having a good idea of how long the paint will take to dry is essential.
The actual amount of time that it takes for the acrylic paint to dry on faux fur depends largely on several factors – such as paint thickness and air temperature. Generally speaking, though, most acrylic paints can be expected to fully dry within 1-2 days. It’s also worth mentioning that if you use a heat gun or hair dryer on a low setting after applying the paint, this can help speed up the drying process significantly.
So before starting your project with dyed faux fur, make sure you have enough free time available to allow for full drying! Otherwise, some unexpected delays could cause problems down the line when completing your project.
When it comes to dyeing faux fur with acrylic paint, the technique you use is just as important as the type of paint. Applying the paint correctly can make a world of difference in how your project looks when finished. So let’s take a closer look at what techniques are available and which one might be best for your faux fur project.
The most common way to apply acrylic paints to faux fur is by using either a brush or sponge. Both methods work well, but they do require some level of skill and practice to get right. With a brush, you’ll want to start by lightly stippling the bristles into the fabric so that there are no large streaks or splotches. When using a sponge, dabbing motions will help evenly distribute color throughout the material without leaving behind any harsh lines.
No matter which method you choose, if done properly it should result in even coverage over the entire surface area of your piece. Painting on fake fur can be tricky due to its texture and dense fibers, so don’t be afraid to experiment with both techniques until you find something that works for you!
If you’re like me, you want to add a splash of color and creativity to your faux fur items. Doing so can be daunting at first – it’s like painting on the water! But with the right tools, techniques, and guidance, anyone can turn their faux fur into a work of art.
It all starts with choosing the right type of fur for this project. Some fabrics may take more readily to dyeing than others; synthetic materials such as acrylic, polyester, and nylon are usually better suited for creating designs using acrylic paint. Natural fibers such as wool or cotton may not accept paint as easily due to the different types of fibers they contain. So if you’re looking for vibrant colors that won’t fade away over time, opt for an artificial fabric instead.
Dyeing or painting faux fur is like taking a journey – one step leads to another until you discover the final destination: A colorful masterpiece that will make any room in your home come alive! With proper preparation and care, there’s no limit to what kind of designs you can create for your furry friends. Who knows? Maybe soon enough everyone will look up to you as the master painter of faux furs!
Dyeing faux fur with acrylic paint can be a rewarding experience, but it’s important to protect your creation afterward. One way to do this is by using the right type of sealant for the job.
When it comes to sealing faux fur dyed with acrylics, you have two general options: water-based or solvent-based sealants. Water-based sealants are non-toxic and dry quickly, but may not provide as much protection from fading and wear over time as their solvent-based counterparts. Solvent-based sealants take longer to dry, require more ventilation during the application, and typically contain volatile organic compounds (VOCs), which can be harmful if inhaled in large amounts. However, they offer superior protection against fading and abrasion when compared to water-based products.
So depending on what kinds of results you’re looking for, either one could work – just make sure that whichever one you choose is suitable for use with acrylic paint! It’s also wise to test any product on a small area before committing to treating the entire piece; a little bit of preparation now will save you from having regrets later down the road.
Conclusion
The possibilities for creating colorful faux fur items are endless! With a few simple materials, you can easily add a unique and vibrant touch to any of your DIY projects. I love how the acrylic paint gives my faux fur creations an extra dose of color. The dyeing process is easy, but it does take some patience as you need to make sure that the paint dries completely before adding sealant to lock in the colors.
I also like to experiment with different techniques when applying the paint – from using sponges or brushes to creating interesting patterns on the fabric. As long as you use quality acrylic paints and sealants, your dyed faux fur should last for years without fading or coming off. It’s such an amazing feeling knowing that I created something so special with just a few basic supplies!
Creating beautiful and colorful pieces out of faux fur has become one of my favorite hobbies—it’s always exciting to see what kind of creative results I can get each time I start working on a new project. So if you're looking for a fun way to express your creativity, then try dyeing faux fur with acrylic paint today!


