How to Paint a Beautiful Landscape with Oil Paints: A Step-by-Step Tutorial
Welcome to my landscape oil painting tutorial! I'm so excited you've decided to join me on this journey of creativity and exploration. Whether you're a beginner or an experienced painter, I know that together we can create something extraordinary.
Oil painting is one of the most beautiful and challenging mediums out there - but with a few tips and tricks from me, it doesn't have to be intimidating. In this tutorial, I'll take you through all the basics of working with oils; everything from understanding color theory and brush technique to developing your very own style as a professional artist. Together, let's make something magical!
The beauty of landscape oil painting lies in its ability to capture moments in time – no two paintings are ever exactly alike. With patience and practice, you’ll soon be able to express yourself freely through colors, textures and shapes… just like any other masterful artist! So grab your canvas and paints, 'cause we're about to get started!
Materials Needed
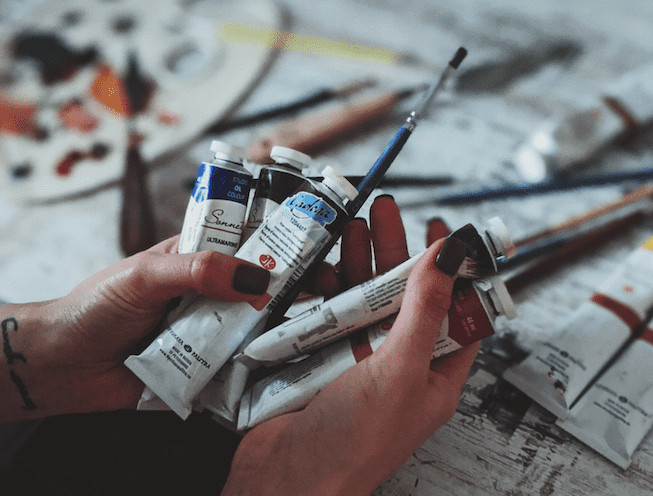
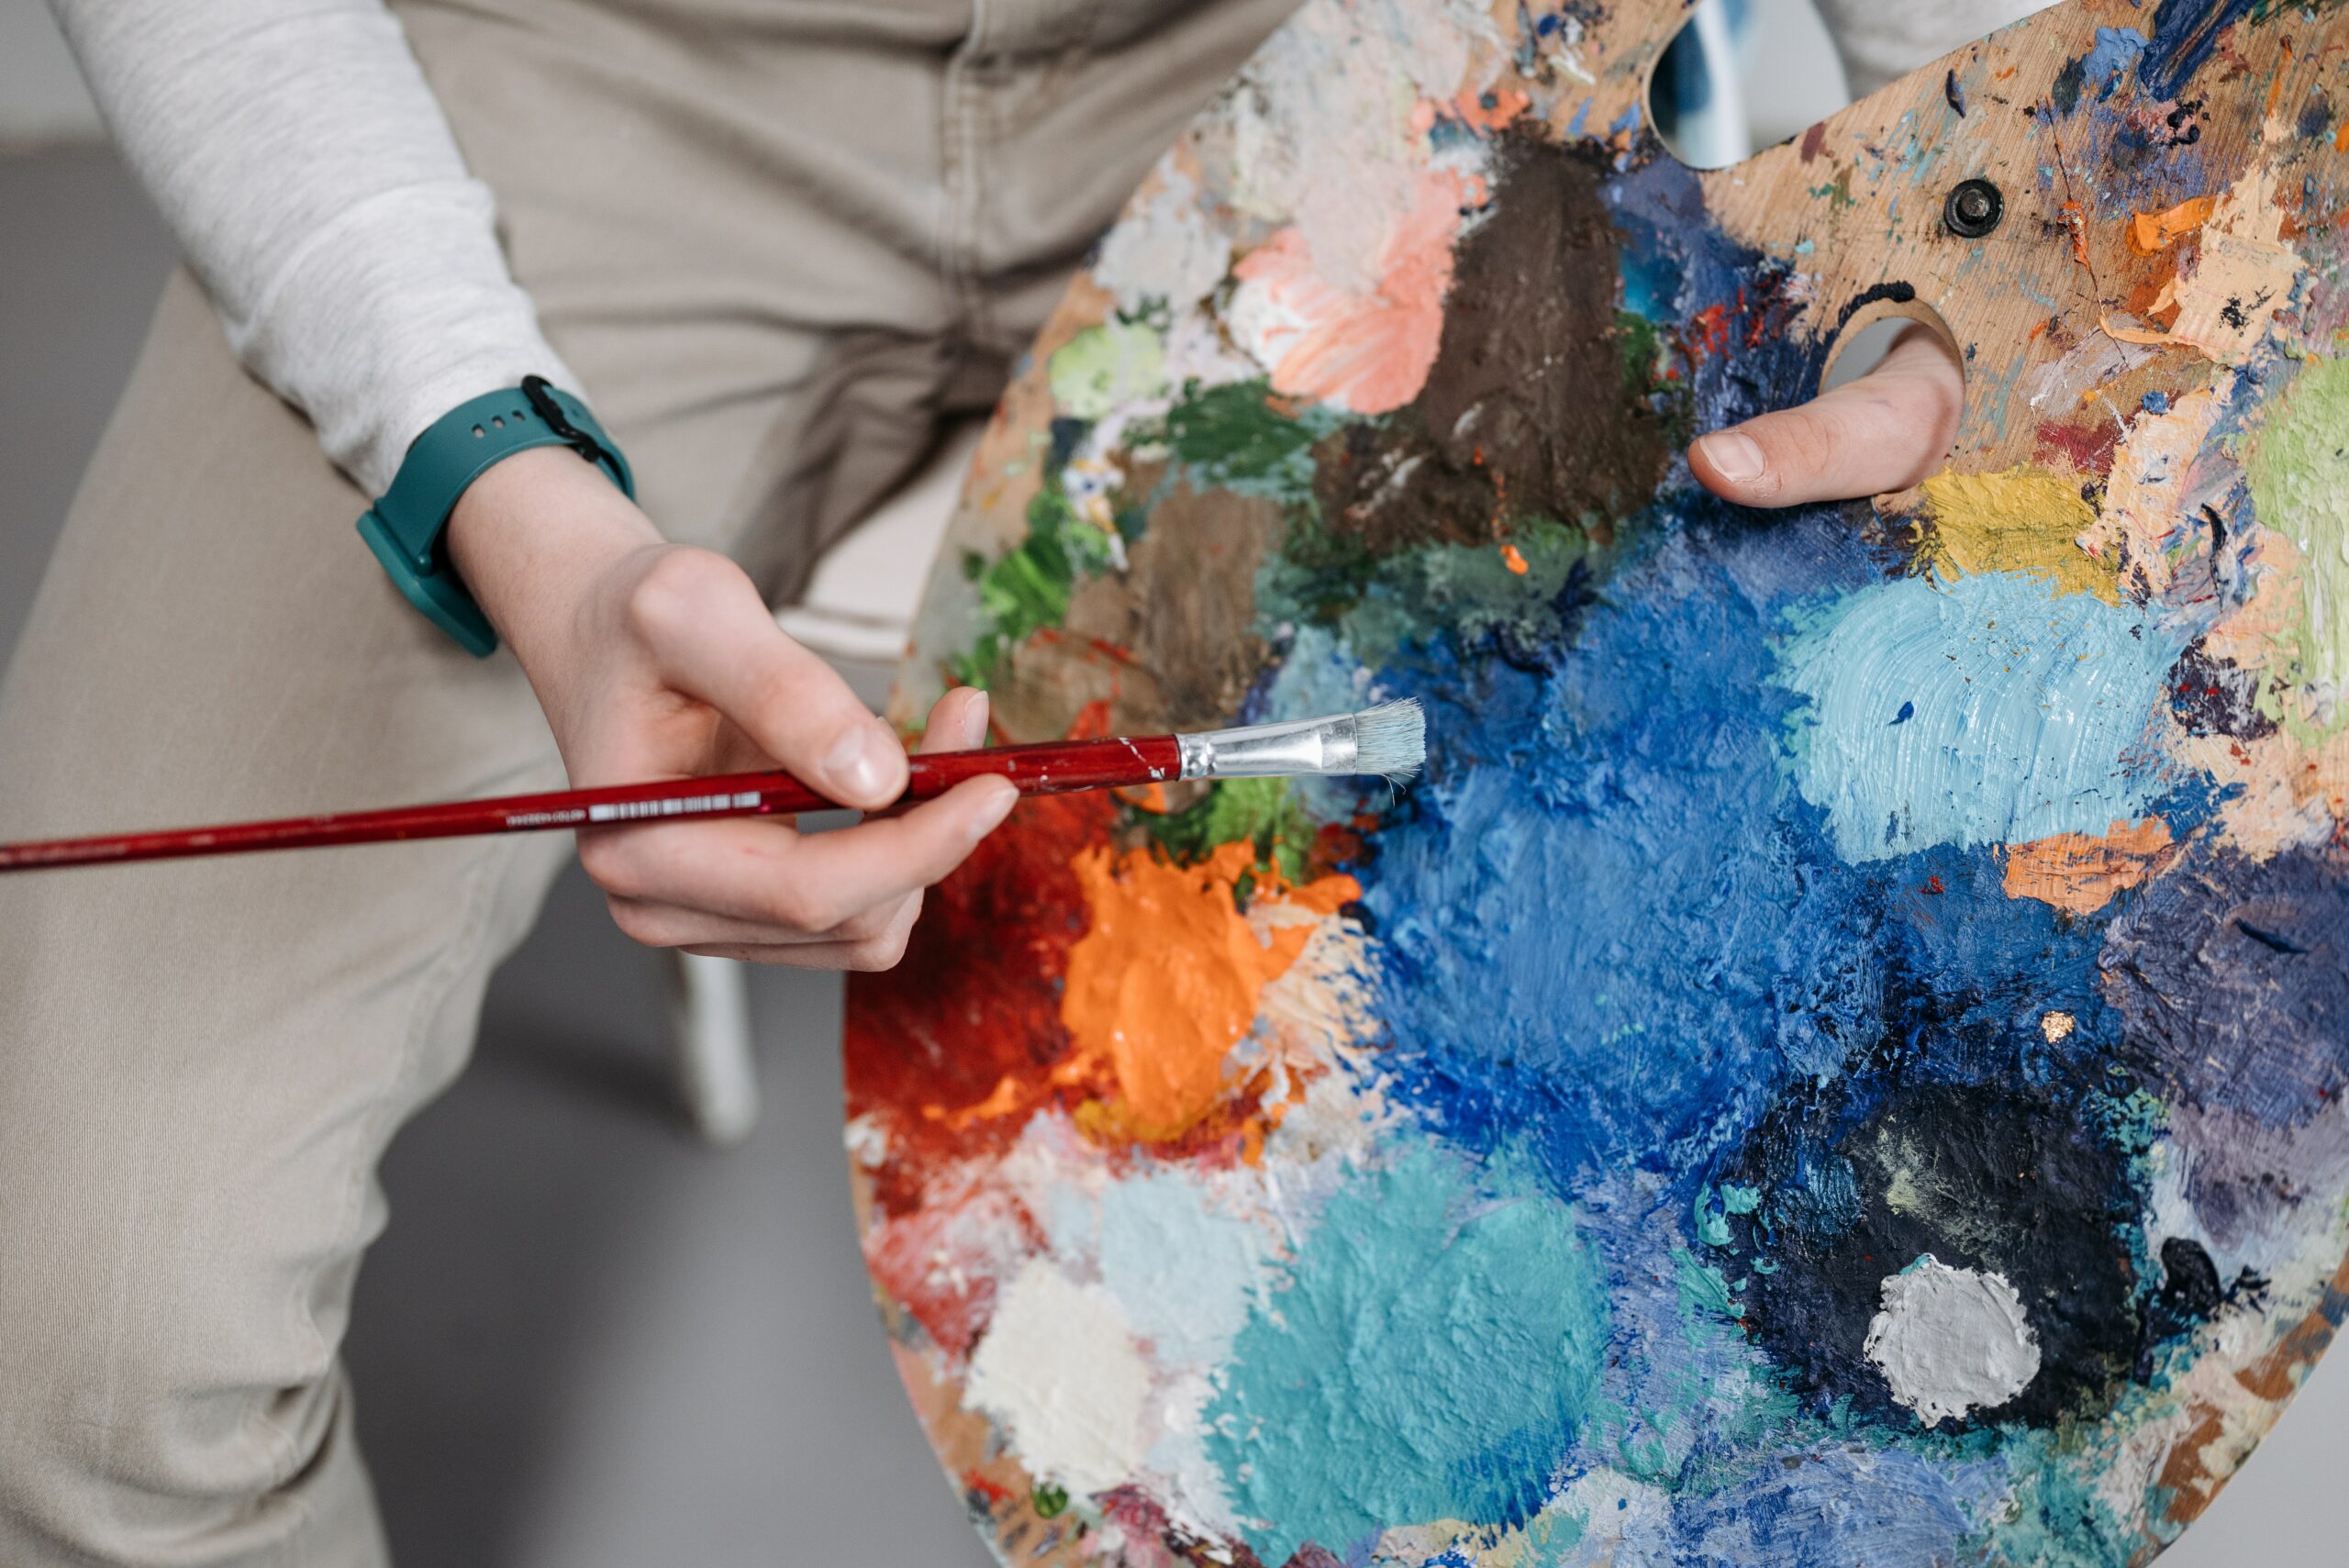
Did you know that oil painting has been around for centuries? It's such an amazing art form and I'm excited to show you how to get started! For this landscape oil painting tutorial, you will need a few key materials. Firstly, you'll need several types of paintbrushes in various sizes and shapes. You should also have a couple of painting knives handy as well. Secondly, high-quality oil paints are essential; choose from both opaque and transparent colors to create texture and depth. Thirdly, canvas boards provide the perfect surface for your artwork - make sure they're primed first before beginning your masterpiece. Finally, don't forget some varnish to protect your work once it's finished. Now we can move onto preparing the canvas for our beautiful landscape paintings!
Preparing The Canvas
Now that you have your materials ready, it's time to prepare the canvas. This is an important step in oil painting because it will determine the surface quality and longevity of your artwork. Here are some things to consider when preparing a canvas for landscape oil painting:
- Stretching Canvas – Use traditional canvas or cotton duck fabric stretched over wooden stretcher bars with heavy duty staples.
- Gesso Primer – Apply two coats of gesso primer as this helps ensure even coverage. Allow each coat to dry before applying more paint.
- Priming Surface – Before adding color, make sure the entire surface has been primed properly so the colors won't bleed together or fade away quickly.
- Canvas Preparation – Take some extra time to prepare the canvas by sanding down any bumps or imperfections on the surface. This will help create a smoother finish for your painting.
Once everything is prepped and ready, add a few finishing touches like nails around the edges to secure the canvas and prevent warping over time.
With all these steps completed, your canvas should be ready for composition and color theory!
Composition And Color Theory
Now that you have your supplies ready and a general idea of what you want to paint, it's time to start thinking about composition and color theory. Composition is the arrangement of elements within an artwork in order to create harmony or contrast between them. Color theory helps us understand how colors interact with each other when placed side by side.
To begin, let's review some basic concepts related to these two topics. Start by selecting a color palette for your painting. Think about shades, tones and tints as they are all important components of any good oil painting. Once you've chosen which colors will work best, use brush strokes to apply the paint onto the canvas in layers - this creates texture and depth in your piece! It also helps emphasize certain aspects of the landscape such as light and shadows.
Lastly, be mindful of how different hues can either enhance or detract from one another based on their placement in relation to each other within the painting. With practice and experimentation, you'll find yourself creating beautiful compositions using powerful color combinations that convey emotion through art. Let's move on now to blocking in shapes and values - this is where things really get exciting!
Blocking In Shapes And Values
I'm going to show you how to block in shapes and values with oil painting. The key is to use basic outlines of your composition and then apply values. Start by roughly sketching out the larger shapes, like mountains or trees. This will help give a structure for layering colors and shading later on. Then, look at the light source for each object you're painting; this will determine where shadows should go and how dark they should be. I'll demonstrate here how to mix paints so that you can create different shades of the same color based on that information. Next, start applying paint. Begin with the background first before moving onto more detailed elements such as foliage or rocks.
Make sure you're paying attention to angles of light and perspective when placing darker tones in certain areas of your scene. Begin adding details like highlights or reflections while still leaving some empty space open - these can be added in during later steps!
Now we’re ready to move onto adding details and highlights.
Adding Details And Highlights
Now that you’ve completed the base layer of your painting, let’s move on to adding details and highlights. This is where your brushwork will come into play! With every stroke, make sure it's in the correct light and shows off your painting techniques.
When creating details for your landscape oil painting, take some time to think about how best to incorporate them. Do you want a more subtle look? Or do you want something bolder with more contrast? Make sure all those little details convey what you're trying to say visually.
Once you have added the desired detail work, start highlighting areas of interest or focus points – these can be objects such as mountains or trees, but also include things like shadows or light reflections in water. Highlighting creates depth within a piece so use contrasting colors to create an effect that draws people in.
Now we’re almost ready to start applying finishing touches and bringing this masterpiece together!

Finishing Touches
Now that your painting is complete, it's time to add the finishing touches. This includes creating texture, subtle glazing and brushstrokes. To create a textured surface on the canvas, use an old paintbrush or other tool to apply some thicker layers of oil paint in selected areas of the landscape. When adding glazes, mix colors together with mediums such as linseed oil or turpentine for a softer look. You can also experiment with color mixing techniques like wet-on-wet, dry brushing and scumbling to bring out specific details you want to highlight in your painting.
To finish up your artwork, carefully apply a coat of varnish over the entire surface when fully dried - this will help protect the painting from fading due to exposure to light and air pollutants. Make sure to read all instructions provided by the manufacturer before applying any varnish product!
With these tips for adding texture, blending colors and protecting your art piece with a layer of varnish, you are now ready to show off your beautiful work of art!
Preserving Your Artwork
Your artwork is a reflection of your hard work and creativity, just like a diamond that has been cut and polished. It needs to be cared for, protected and preserved in order to remain beautiful. As an oil painting tutor, I want you to ensure the longevity of your artwork by taking proper steps for its long-term protection.
The first step is understanding how to store an oil painting correctly. The environment where the painting will be stored should have low humidity levels with no direct sunlight or extreme temperatures. This will help protect it from any potential damage due to weathering over time. Additionally, make sure that your painting stays away from areas with high foot traffic as this may cause scratches on the canvas or other forms of physical damage.
When not in use, wrap up your artworks in acid-free materials such as cotton sheets or specialized bubble wraps before placing them into storage boxes or cabinets. Oil paintings can also benefit from occasional maintenance like cleaning and revarnishing which will extend their life expectancy further - always consult a conservator specialist if needed!
I hope these tips were helpful for preserving your artwork so that others can continue admiring it for many years to come!
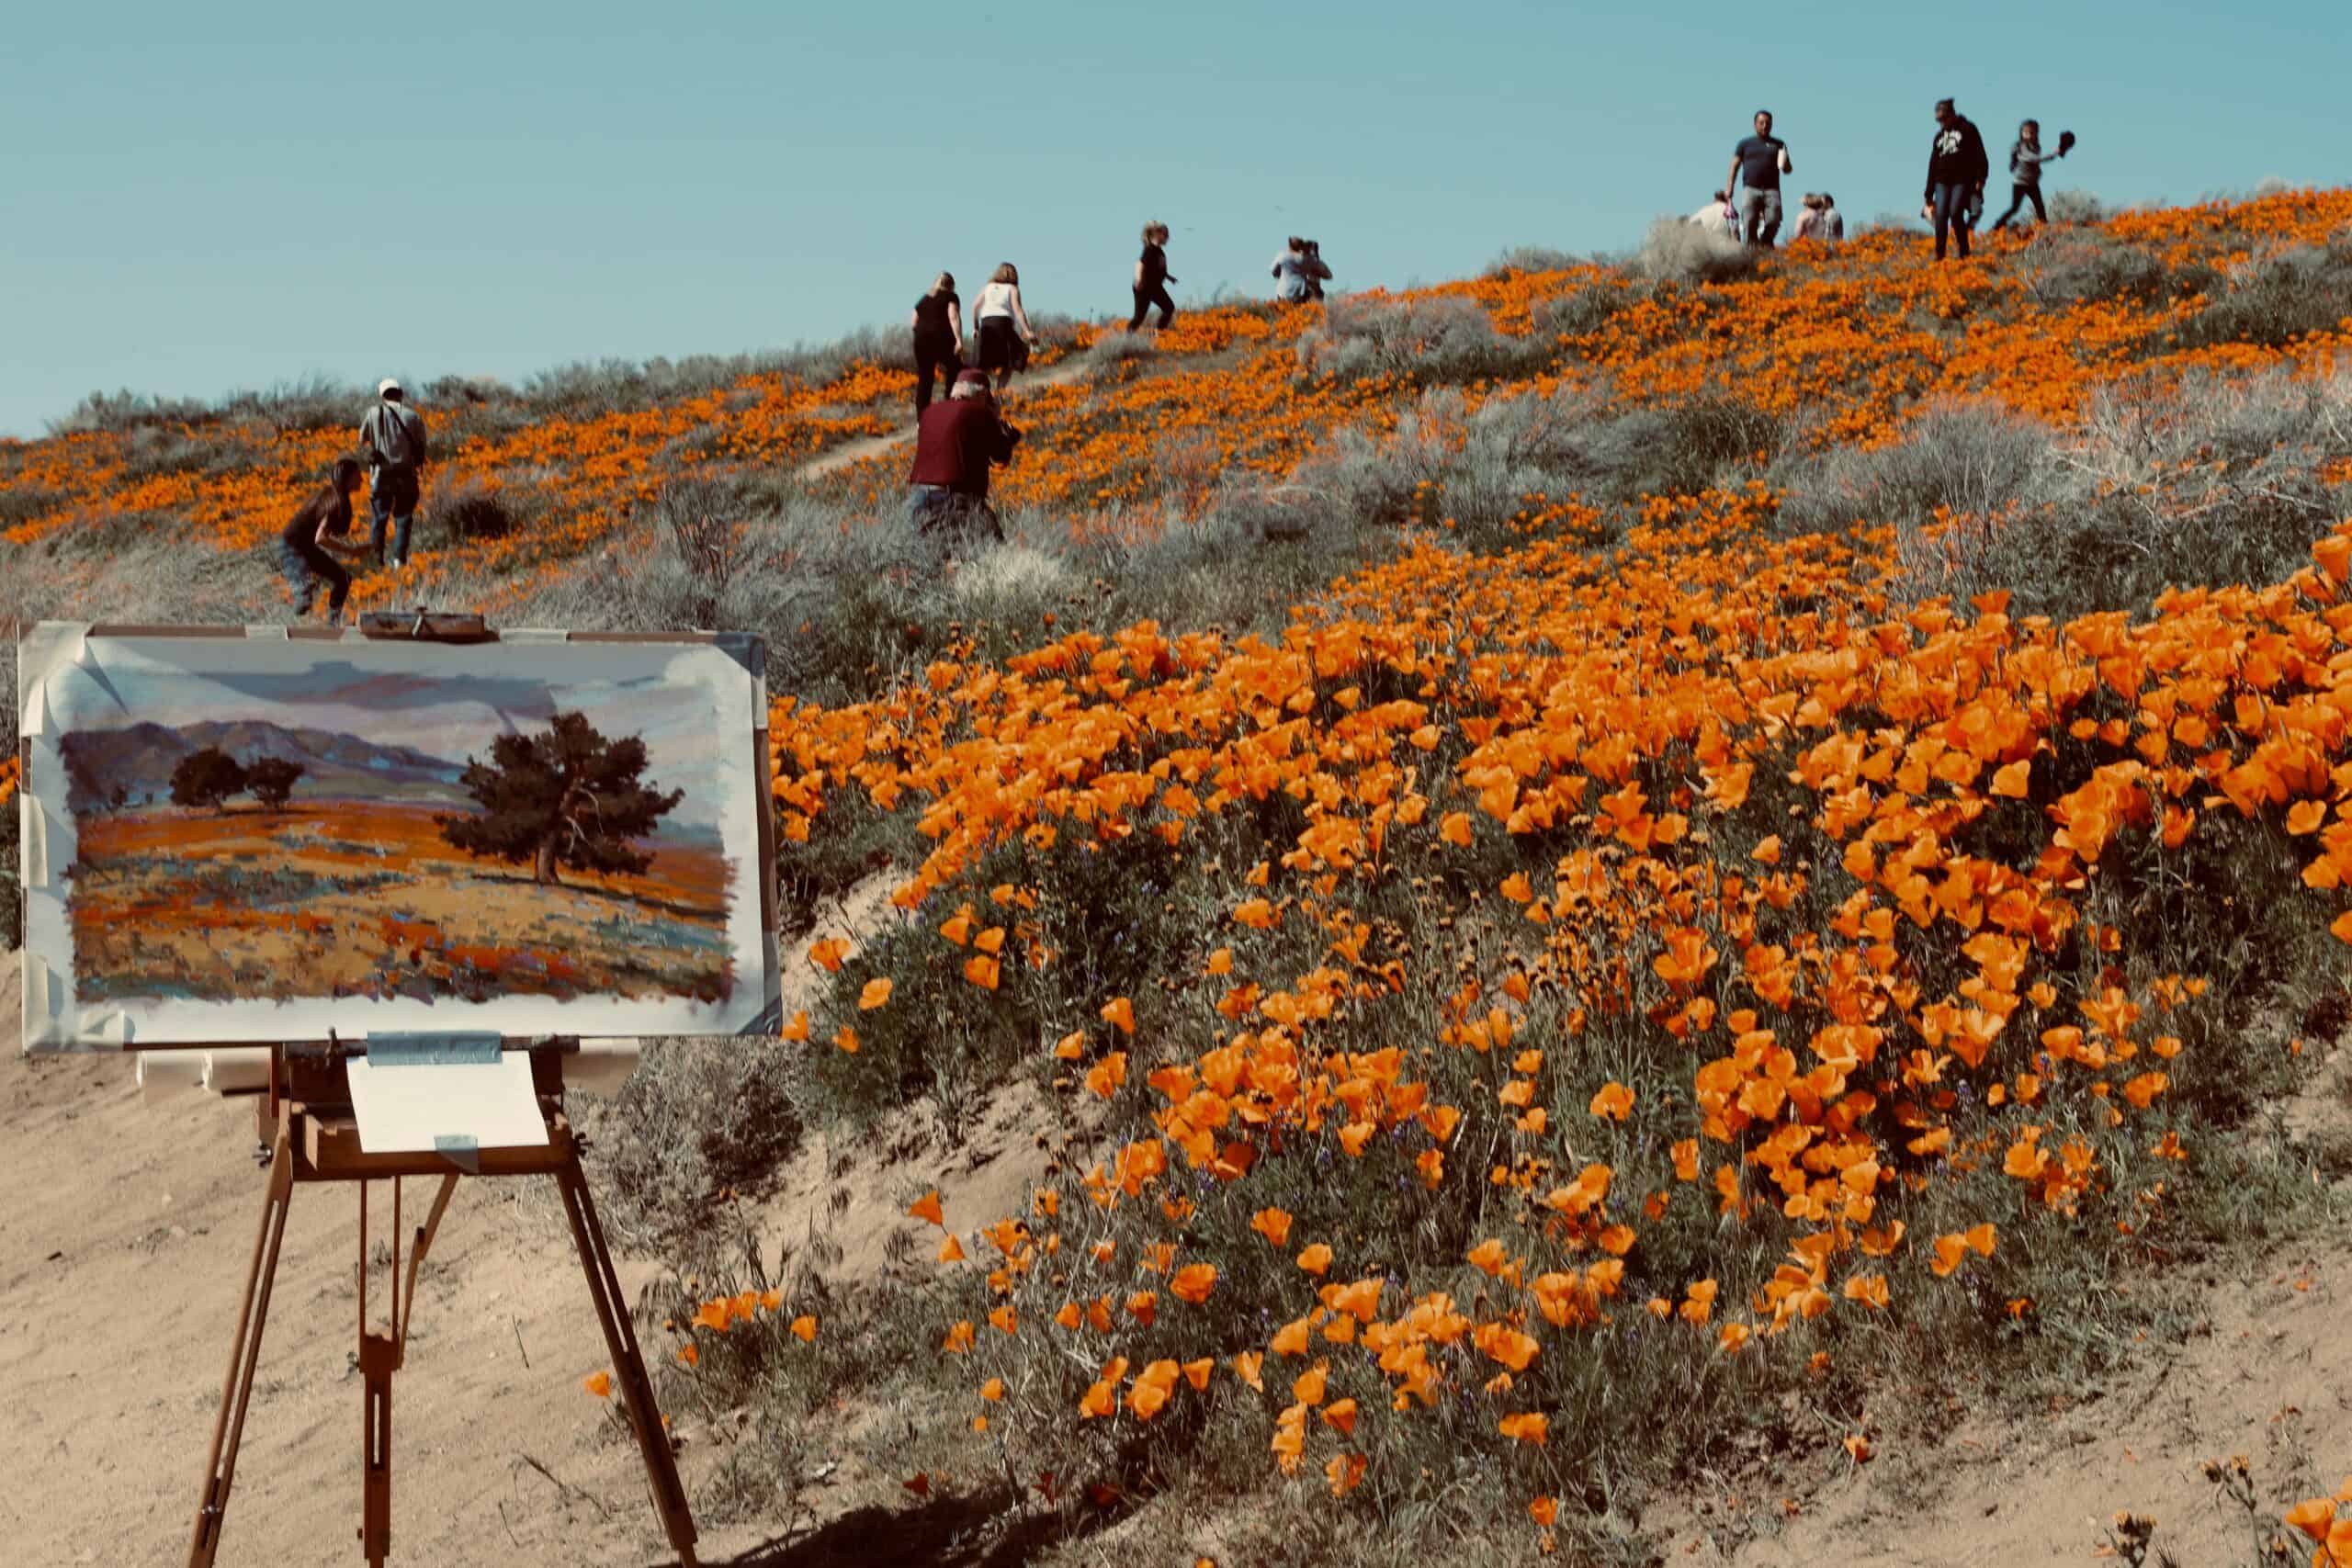
Conclusion
At the end of this landscape oil painting tutorial, you should have a good understanding of what it takes to create an artistic piece that will stand out. Painting with oils is a rewarding experience – even if the results don't turn out as planned! With practice and dedication, you can improve your skills and eventually be able to paint stunning scenes or objects from nature.
As I’m sure you’ve noticed in this tutorial, there are many elements involved in creating beautiful art. From choosing colors to blending different shades together, these steps require patience and precision. But remember: mistakes happen - just keep going until you get closer to your desired result! The more time and effort you put into perfecting your technique, the better quality artwork you will produce.
Painting landscapes with oils is an enjoyable activity for all levels of skill. Whether you're an aspiring beginner or a pro looking for tips on how to take their work up a notch, I'm confident that my landscape oil painting tutorial has provided some actionable insight that can help bring any project to life. Now go explore your creative side and start creating something special today!

