How To Paint A Galaxy With Acrylic On Canvas
Ah, painting a galaxy with acrylic on canvas. It’s one of the most beautiful and exciting art projects a person can undertake! Not only does it require creativity and an eye for detail, but it also allows you to explore the depths of your imagination in ways that other mediums simply cannot match. The result? A stunning piece of artwork that will capture viewers’ attention and spark their curiosity.
In this article, I'm going to show you just how easy it is to create a mesmerizing galactic landscape with acrylic paints on canvas! From choosing colors to adding finishing touches, I'll walk you through each step so you can get started right away. You don't need any prior experience or knowledge of art techniques - all you need is enthusiasm and some basic supplies. So let's dive in and learn how to paint a galaxy with acrylic on canvas!
Whether you're a beginner looking for guidance or an experienced artist wanting to hone your skillset, this guide has something for everyone. With just a few hours of dedication (and plenty of inspiration!), you'll have created something truly unique – a spectacular cosmic scene worthy of admiration from far and wide. Let's begin our journey into the stars together – grab those brushes, roll up your sleeves, and come join me as we embark upon this creative adventure!
Types Of Acrylic Paints
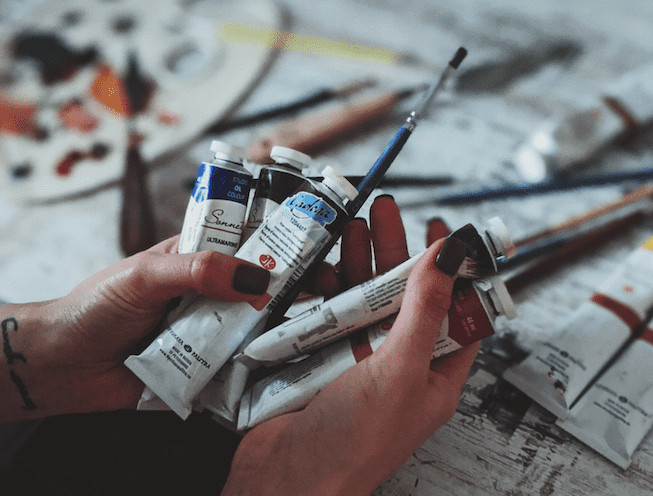
When it comes to painting a galaxy with acrylics, there is no shortage of options. Acrylic paints come in an array of vibrant colors and finishes, ranging from matte to pearlescent. In fact, did you know that there are over 500 different shades of acrylic paint? With such a wide selection, the possibilities for creating your own masterpiece are virtually limitless!
The first step to selecting the perfect paints for your galactic project is to familiarize yourself with the types available. Acrylic paints come in two main forms: tube or jar. Tube paintings have a thicker consistency and can be used directly on canvas as they contain fewer fillers than those purchased in jars. On the other hand, jar paints tend to have more binder which makes them easier to thin out but also less durable when applied directly onto canvas. Additionally, some artists prefer using liquid acrylics which offer greater flexibility and luminosity once dry.
No matter what type of finish you're looking for - glossy or flat – there's an acrylic paint formula for every style and technique!
Now that we've discussed the various types of acrylics available let's move on to preparing our canvas...
Preparing The Canvas
Now that you've chosen the right type of acrylic paint, it's time to get your canvas ready. Before beginning to paint, make sure to prepare the surface of your canvas with gesso. Gesso is a white primer which helps the colors appear brighter and more vivid on top of the canvas. It also prevents any existing colors from ruining your painting by seeping in through the layers. In addition, using gesso will prevent fading over time as well as increase durability when you're finished.
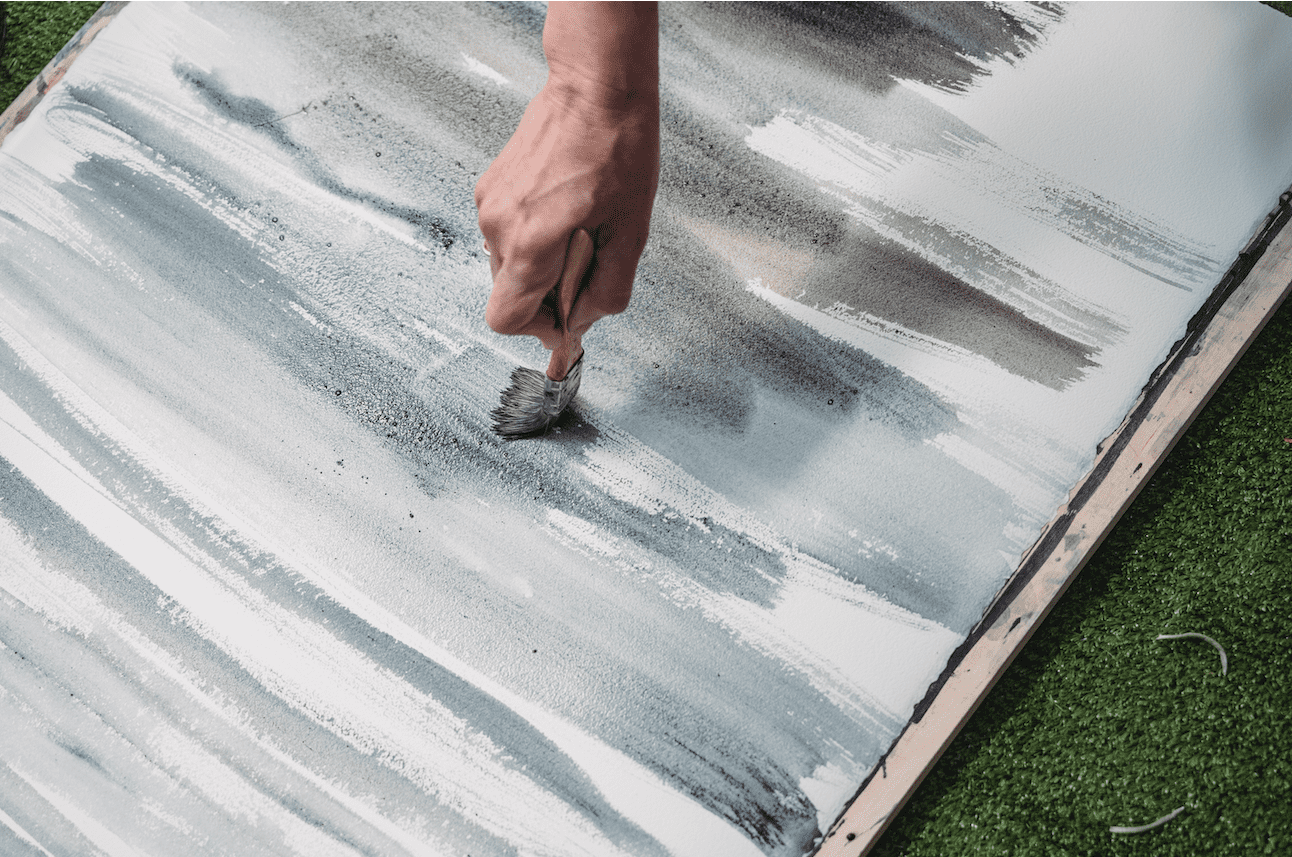
Once you have applied two coats of gesso onto your canvas, let it dry completely before starting to sketch out your galaxy design. You'll want to use either carbon paper or a light-colored pencil for this step since charcoal can cause staining due to its waxiness. Once you have completed drawing out your design, go ahead and outline each shape with black acrylic paint mixed into an extender medium like Liquitex Gloss Medium & Varnish (Gloss) at a ratio of 1:1. This will help ensure that all lines remain sharp throughout the entire painting process no matter how many layers are added afterwards.
Now that our canvas is prepared and we have sketched out our design - it's almost time to begin adding color! But first we need learn about some essential color mixing techniques so our sky scene looks just right...
Color Mixing Techniques
Mixing colors is one of the most important steps when painting a galaxy. It's important to understand how different hues, shades and tints work together in order to create beautiful and vibrant works of art.
Here are some techniques for mixing your own unique paint colors:
- Mix complementary or analogous colors - Start with two base colors that complement each other and mix them together until you reach the desired shade or tint.
- Layer multiple color glazes - Create layers of subtle color by applying thin washes of transparent paint over an existing layer of acrylics.
- Experiment with various mediums - Add matte gel, glossy gel or texture paste to give your finished painting a unique look and feel.
These methods allow you to customize your palette so that it perfectly captures the beauty of a night sky full of stars. With just a few simple supplies, you can easily add elements such as nebulae, star clusters, and distant galaxies into your masterpiece. Now let’s take our brushstrokes up close and learn how to create a starry sky effect within our paintings!
Creating A Starry Sky Effect
Now that you've learned how to mix colors and create a smooth blend, it's time to take your artwork up a notch. To achieve a starry sky effect in acrylics on canvas, there are several techniques you can use.
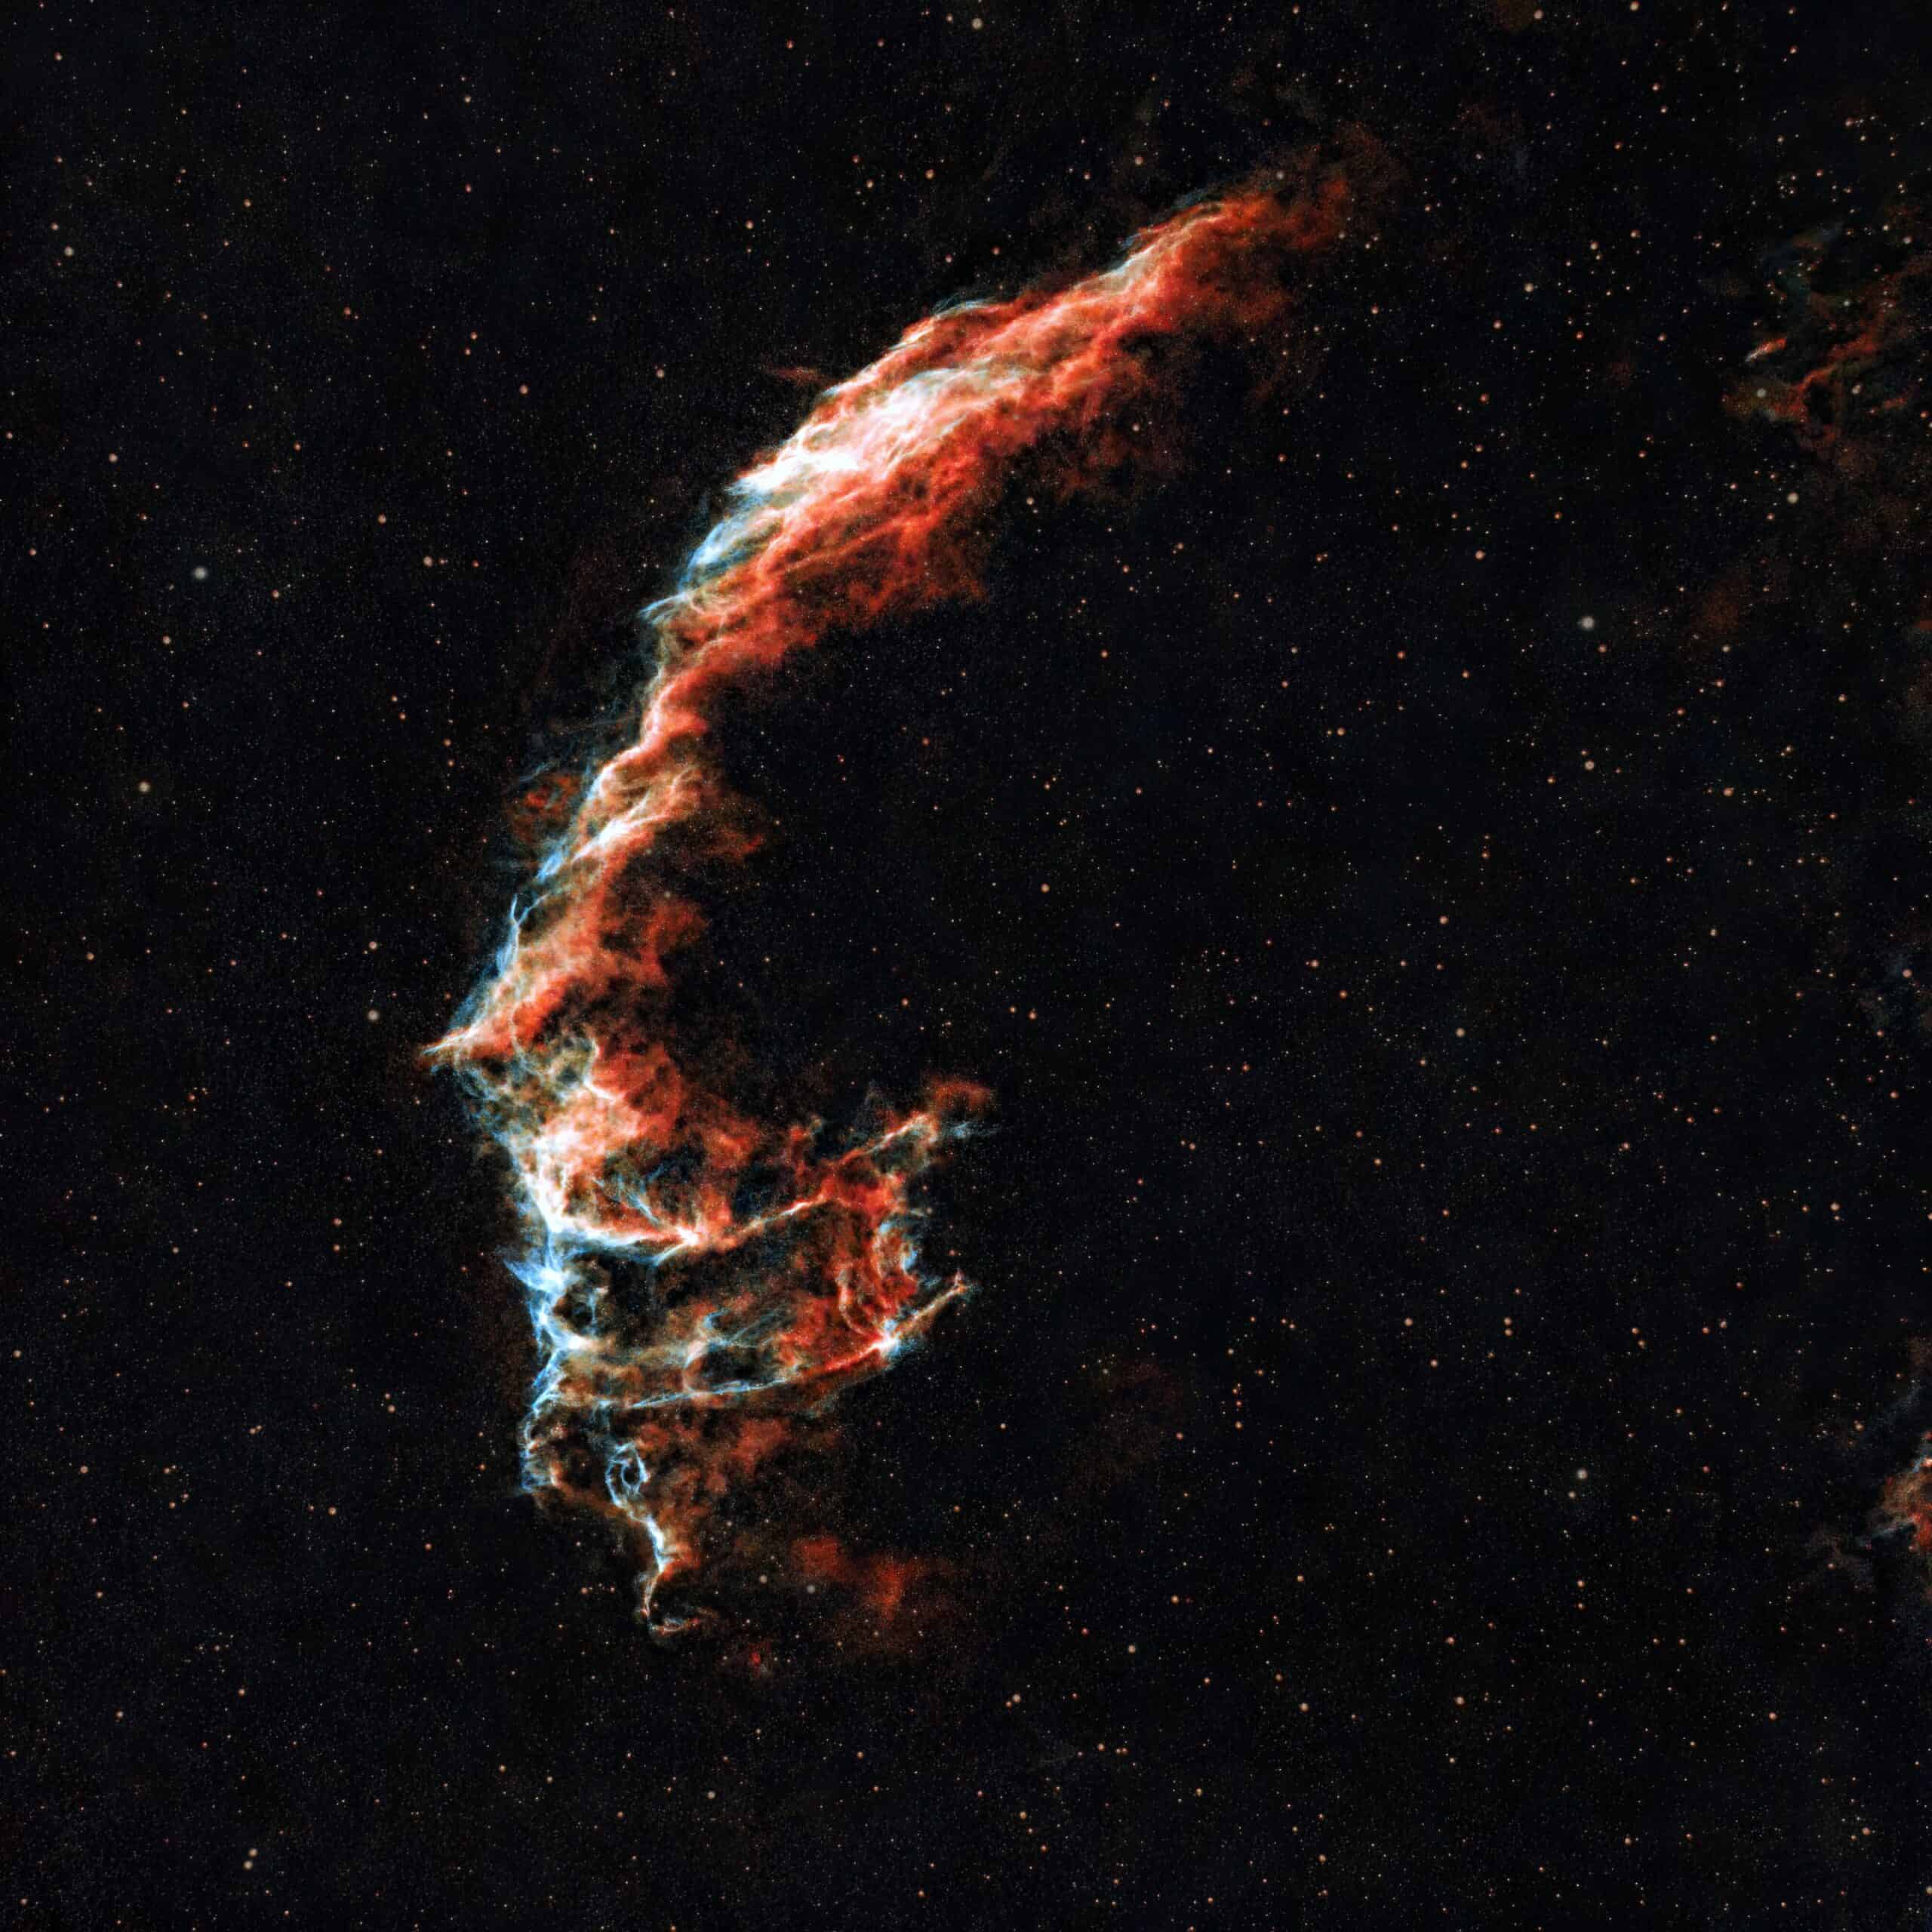
The first technique is called dry brushing. Basically, this procedure involves taking a brush with very little paint on it and lightly dabbing the bristles onto the canvas to create stars and other patterns. This method works best when using lighter colors such as white or light blue. You'll want to start by making small dots all over the canvas before gradually increasing their size until they form clusters of stars. Be sure not to press too hard into the canvas so that each dot looks distinct from one another.
Another technique for creating a starry night look is by using masking tape in combination with spray painting or airbrushing.
Start off by laying down strips of masking tape around where you would like stars to be formed then proceed with spraying or airbrushing inside those areas. Once dried, carefully remove the masking tape and voilà! You will have created beautiful star formations without having to worry about mixing paints perfectly together.
Finally, after you've achieved your desired design with either dry brushing or masking tape, you're ready to move onto painting galaxies and nebulas! With just a few more easy steps, your art piece will come alive right before your eyes!
Painting Galaxies And Nebulas
“When you have a dream, make it come true - that's what I always say when it comes to painting galaxies and nebulas! Acrylic on canvas is the perfect medium for capturing these beautiful sights in the night sky. With just a few simple supplies, you can create your own stunning masterpiece.
Brushes | Paint | Surfaces |
|---|---|---|
Filbert | White | Canvas |
Flat | Black | MDF Board |
Round | Silver | Stretched Canvas |
Angular | Turquoise | Wood Panels |
To begin, choose one of the suggested brushes and paints listed above. Start by using white paint as a base coat layer over either a stretched canvas or primed wood panels. Then use black acrylic paint to draw the outline of your galaxy or nebula design with small brush strokes until you get desired results. After that, add smaller details such as stars, clusters and swirls using silver, turquoise and other colors from your palette. When complete, let dry before applying finishing touches like glitter or metallic accents for extra sparkle!
With practice and patience, anyone can become an expert at creating their own star-studded artwork. As long as you keep experimenting with different types of brushes and paints along with unique surface textures, soon enough you'll be able to create cosmic masterpieces worthy of any art gallery!"
Finishing Touches
Now that you've created the foundation of your galactic painting, it's time to add a few finishing touches. To begin, use an artist-grade acrylic paint in white or silver and create highlights on the stars. You can do this by flicking small amounts of paint onto the canvas with a brush. Also, try adding some sparkle to your galaxy by using glitter mixed into the paints. This will give it a more magical feel.
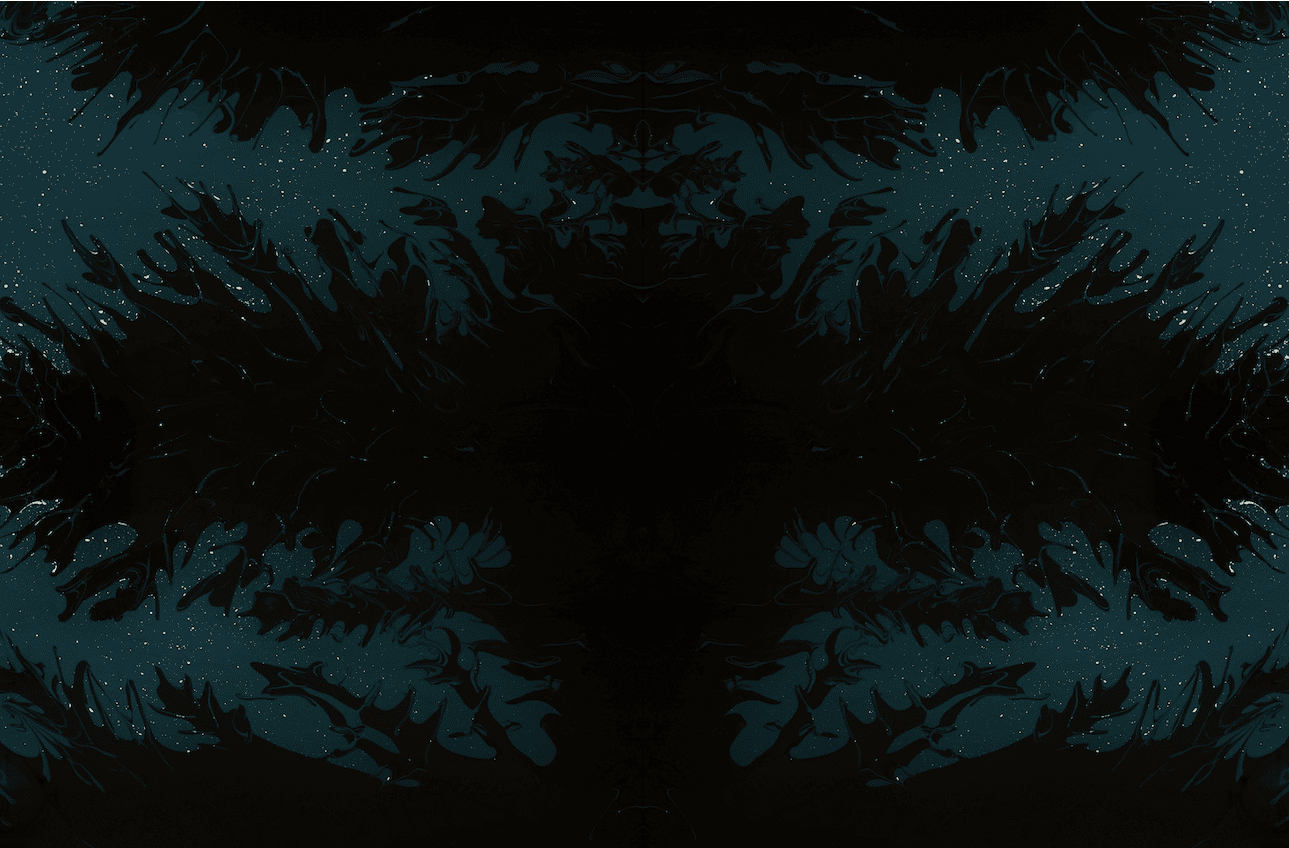
Next, you'll want to bring out any colors that may have become lost in the background. Use brighter shades of blue and purple and detail around each star cluster to enhance their brilliance.
Additionally, if there is an area where two different colors meet, try blending them together gently for a soft transition between hues. This will make sure your finished piece looks natural and vibrant!
Conclusion
The beauty of painting a galaxy with acrylic on canvas is that the possibilities are truly endless. You can create your own colorful masterpiece, and it doesn’t take long to learn the basic techniques. With practice and experimentation, you can create stunning works of art that will be admired for years to come.
It’s like stepping into another world when I paint galaxies or nebulas – there’s something so peaceful about blending colors together until they become something new and unique. As an artist, I love having this kind of creative freedom!
Whether you consider yourself a novice painter or an experienced artist, painting galaxies on canvas is sure to provide hours of joy and satisfaction. And who knows? Maybe one day these beloved pieces of artwork will hang in museums around the world.

