How To Paint Birch Trees On Canvas
Welcome to my painting class! Today we will be learning how to paint beautiful birch trees on canvas. I'm so excited for you all to get started on this project and see what amazing creations you come up with. Painting birch trees can seem daunting at first, but it's not as hard as it looks – especially if you follow a few simple steps. Let me guide you through the process of creating stunning works of art that capture the beauty of these iconic trees. In this lesson, I'll show you how to mix colors correctly, build texture in your work, and create an overall effect that stands out from the crowd. So grab your brushes and let's get started!
Gathering Supplies
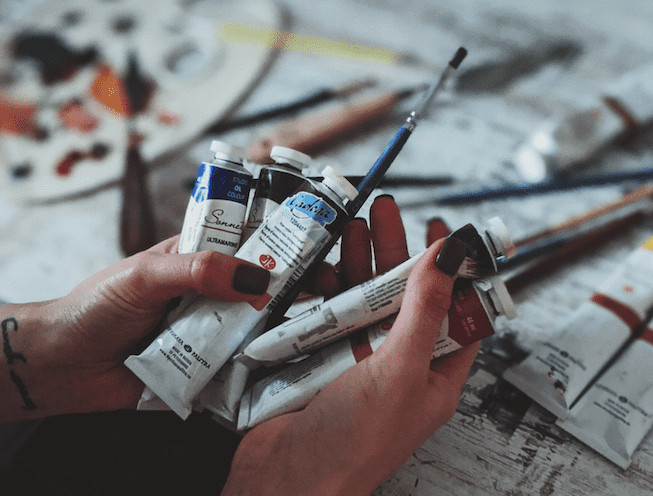
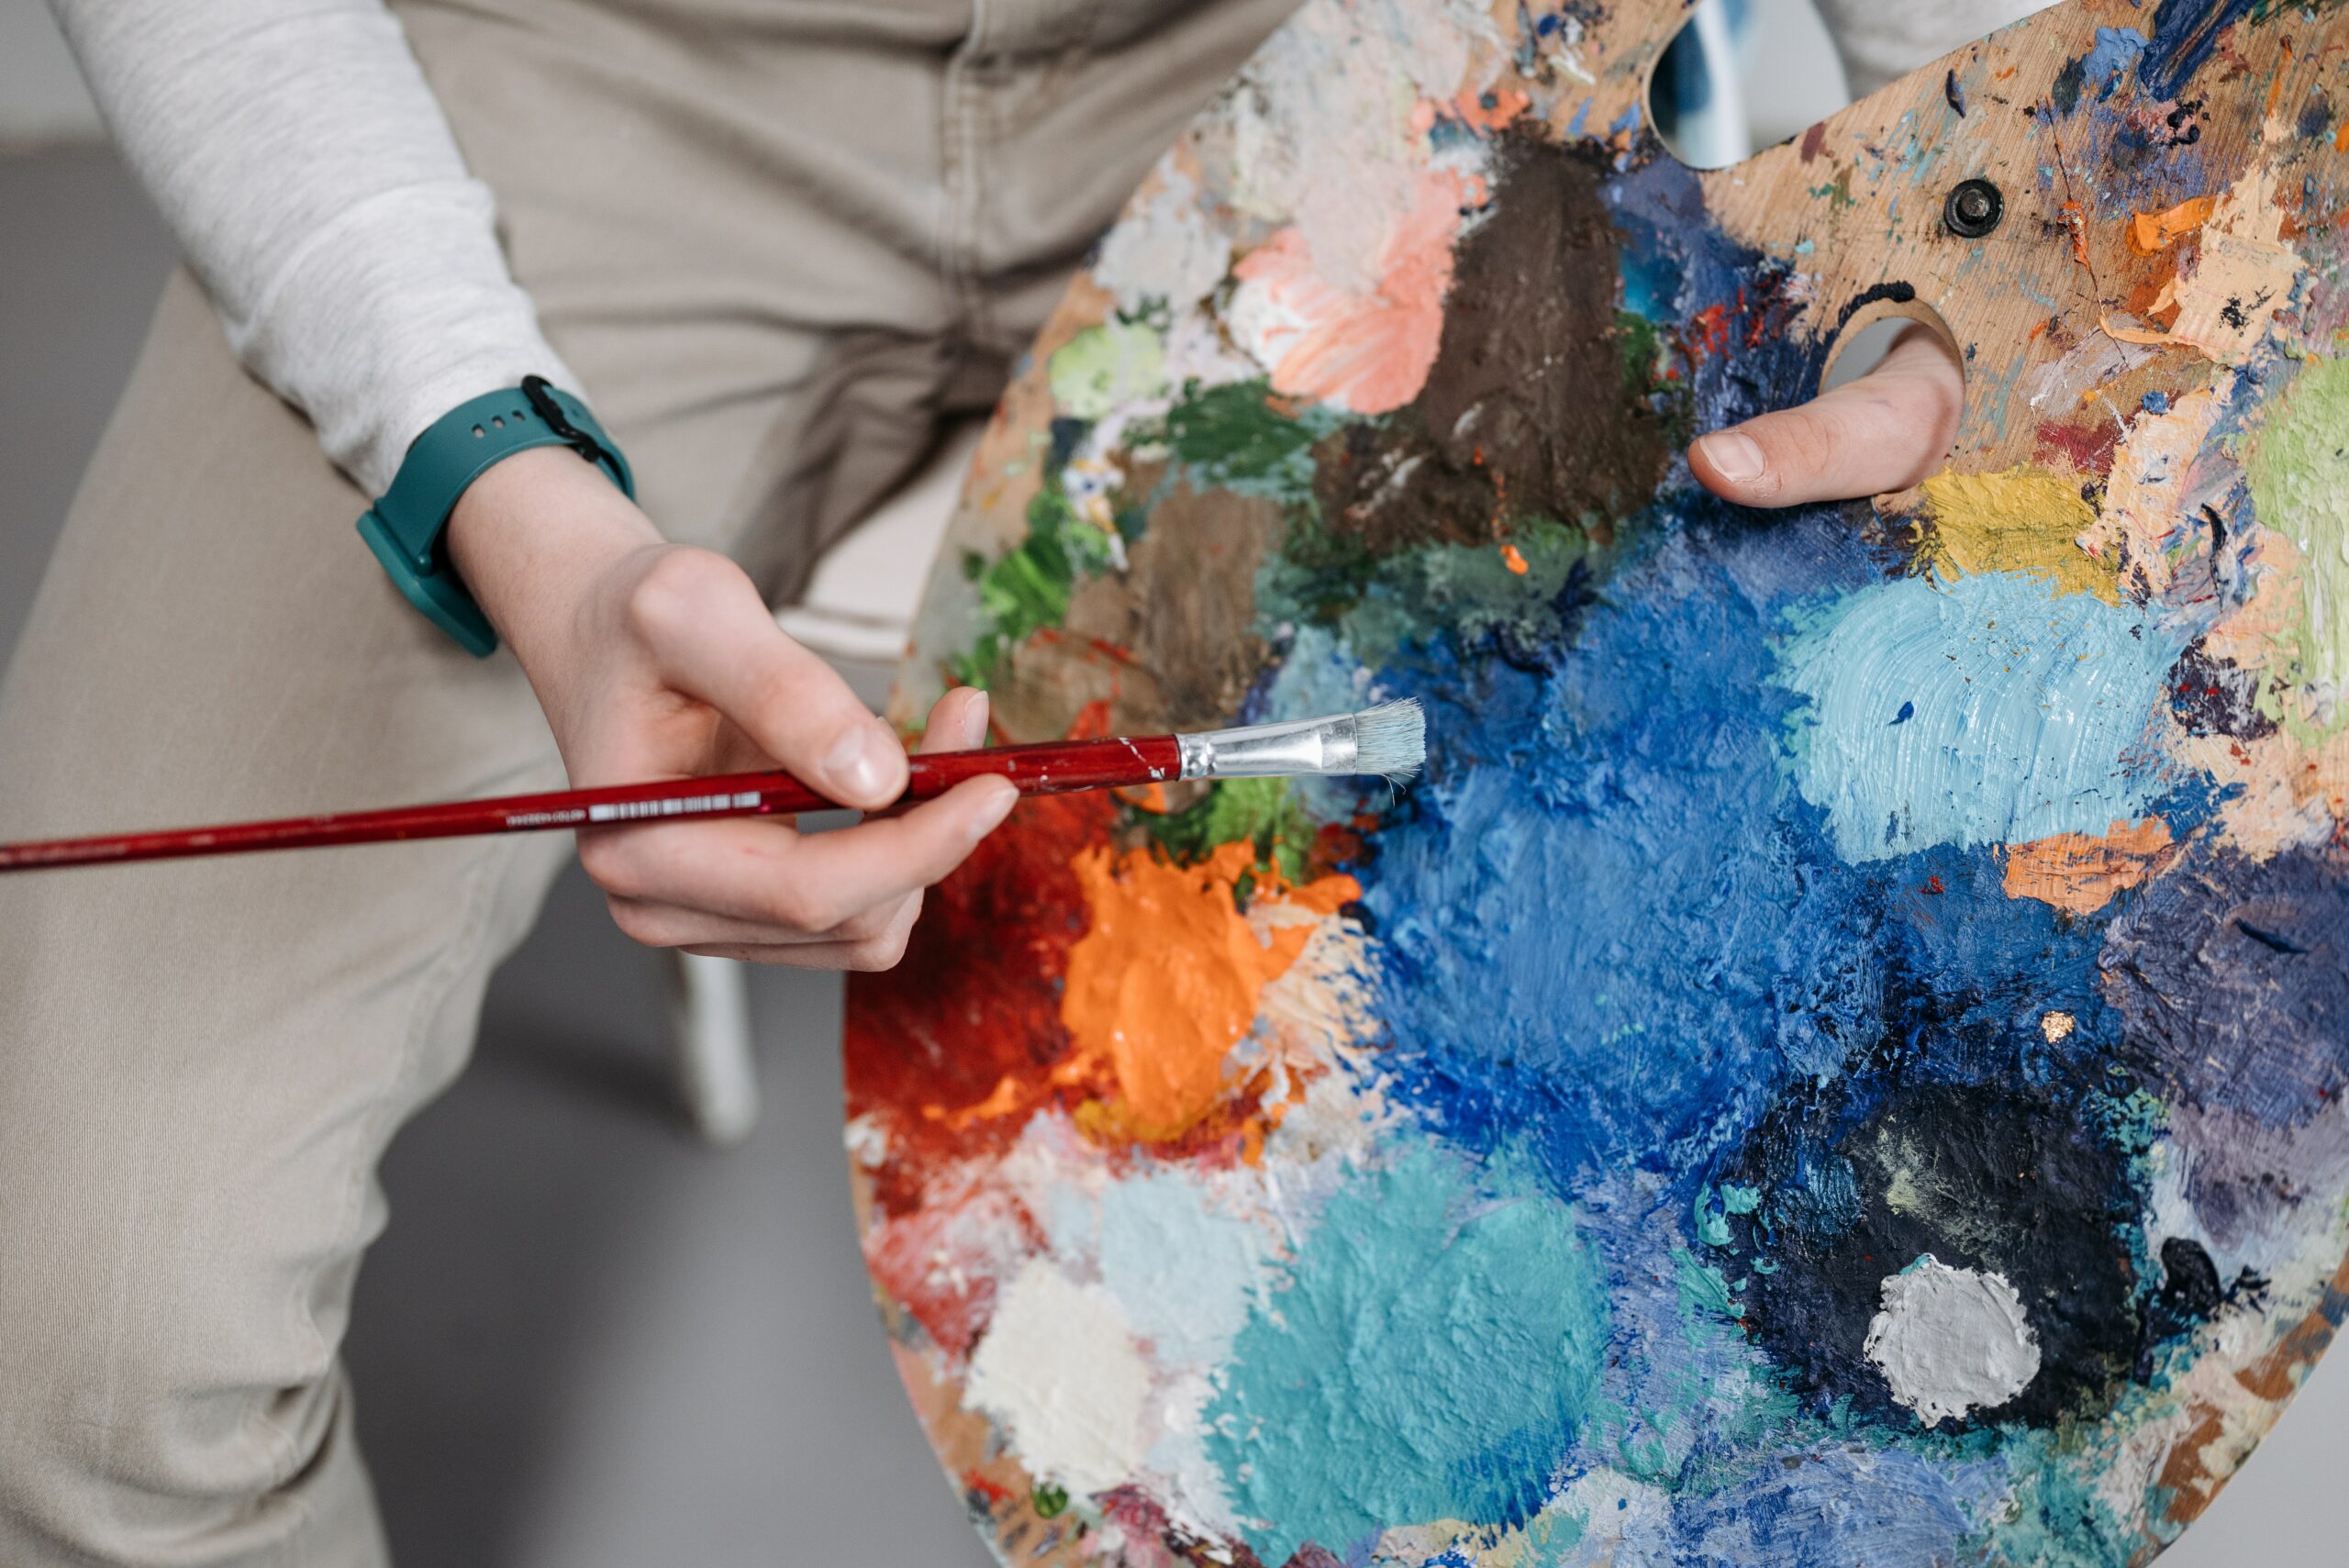
Gathering the supplies for painting birch trees on a canvas can be an exciting and creative endeavor. I always like to start with my imagination, letting it guide me through the process of choosing the right materials. To paint birch trees, you'll need a few key items: quality acrylic paints in various shades of white, brown, and green; good-quality brushes; a 16"x20" stretched canvas or primed board; and some masking tape.
When selecting your paints, think about how you want to capture the texture of the bark as well as its color variations. The creamy whites mixed with grays create beautiful tones that will bring life to your painting. And then there are all those interesting greens used for leaves – emeralds, olive drabs, turquoise blues! Don't forget to pick up some earthy browns too.
The last thing you'll need is quality brushes capable of creating fine lines and intricate details — nothing too stiff or soft but something in between. With these tools at hand, you're ready to get started! Preparing your canvas properly is essential for achieving great results...
Preparing The Canvas
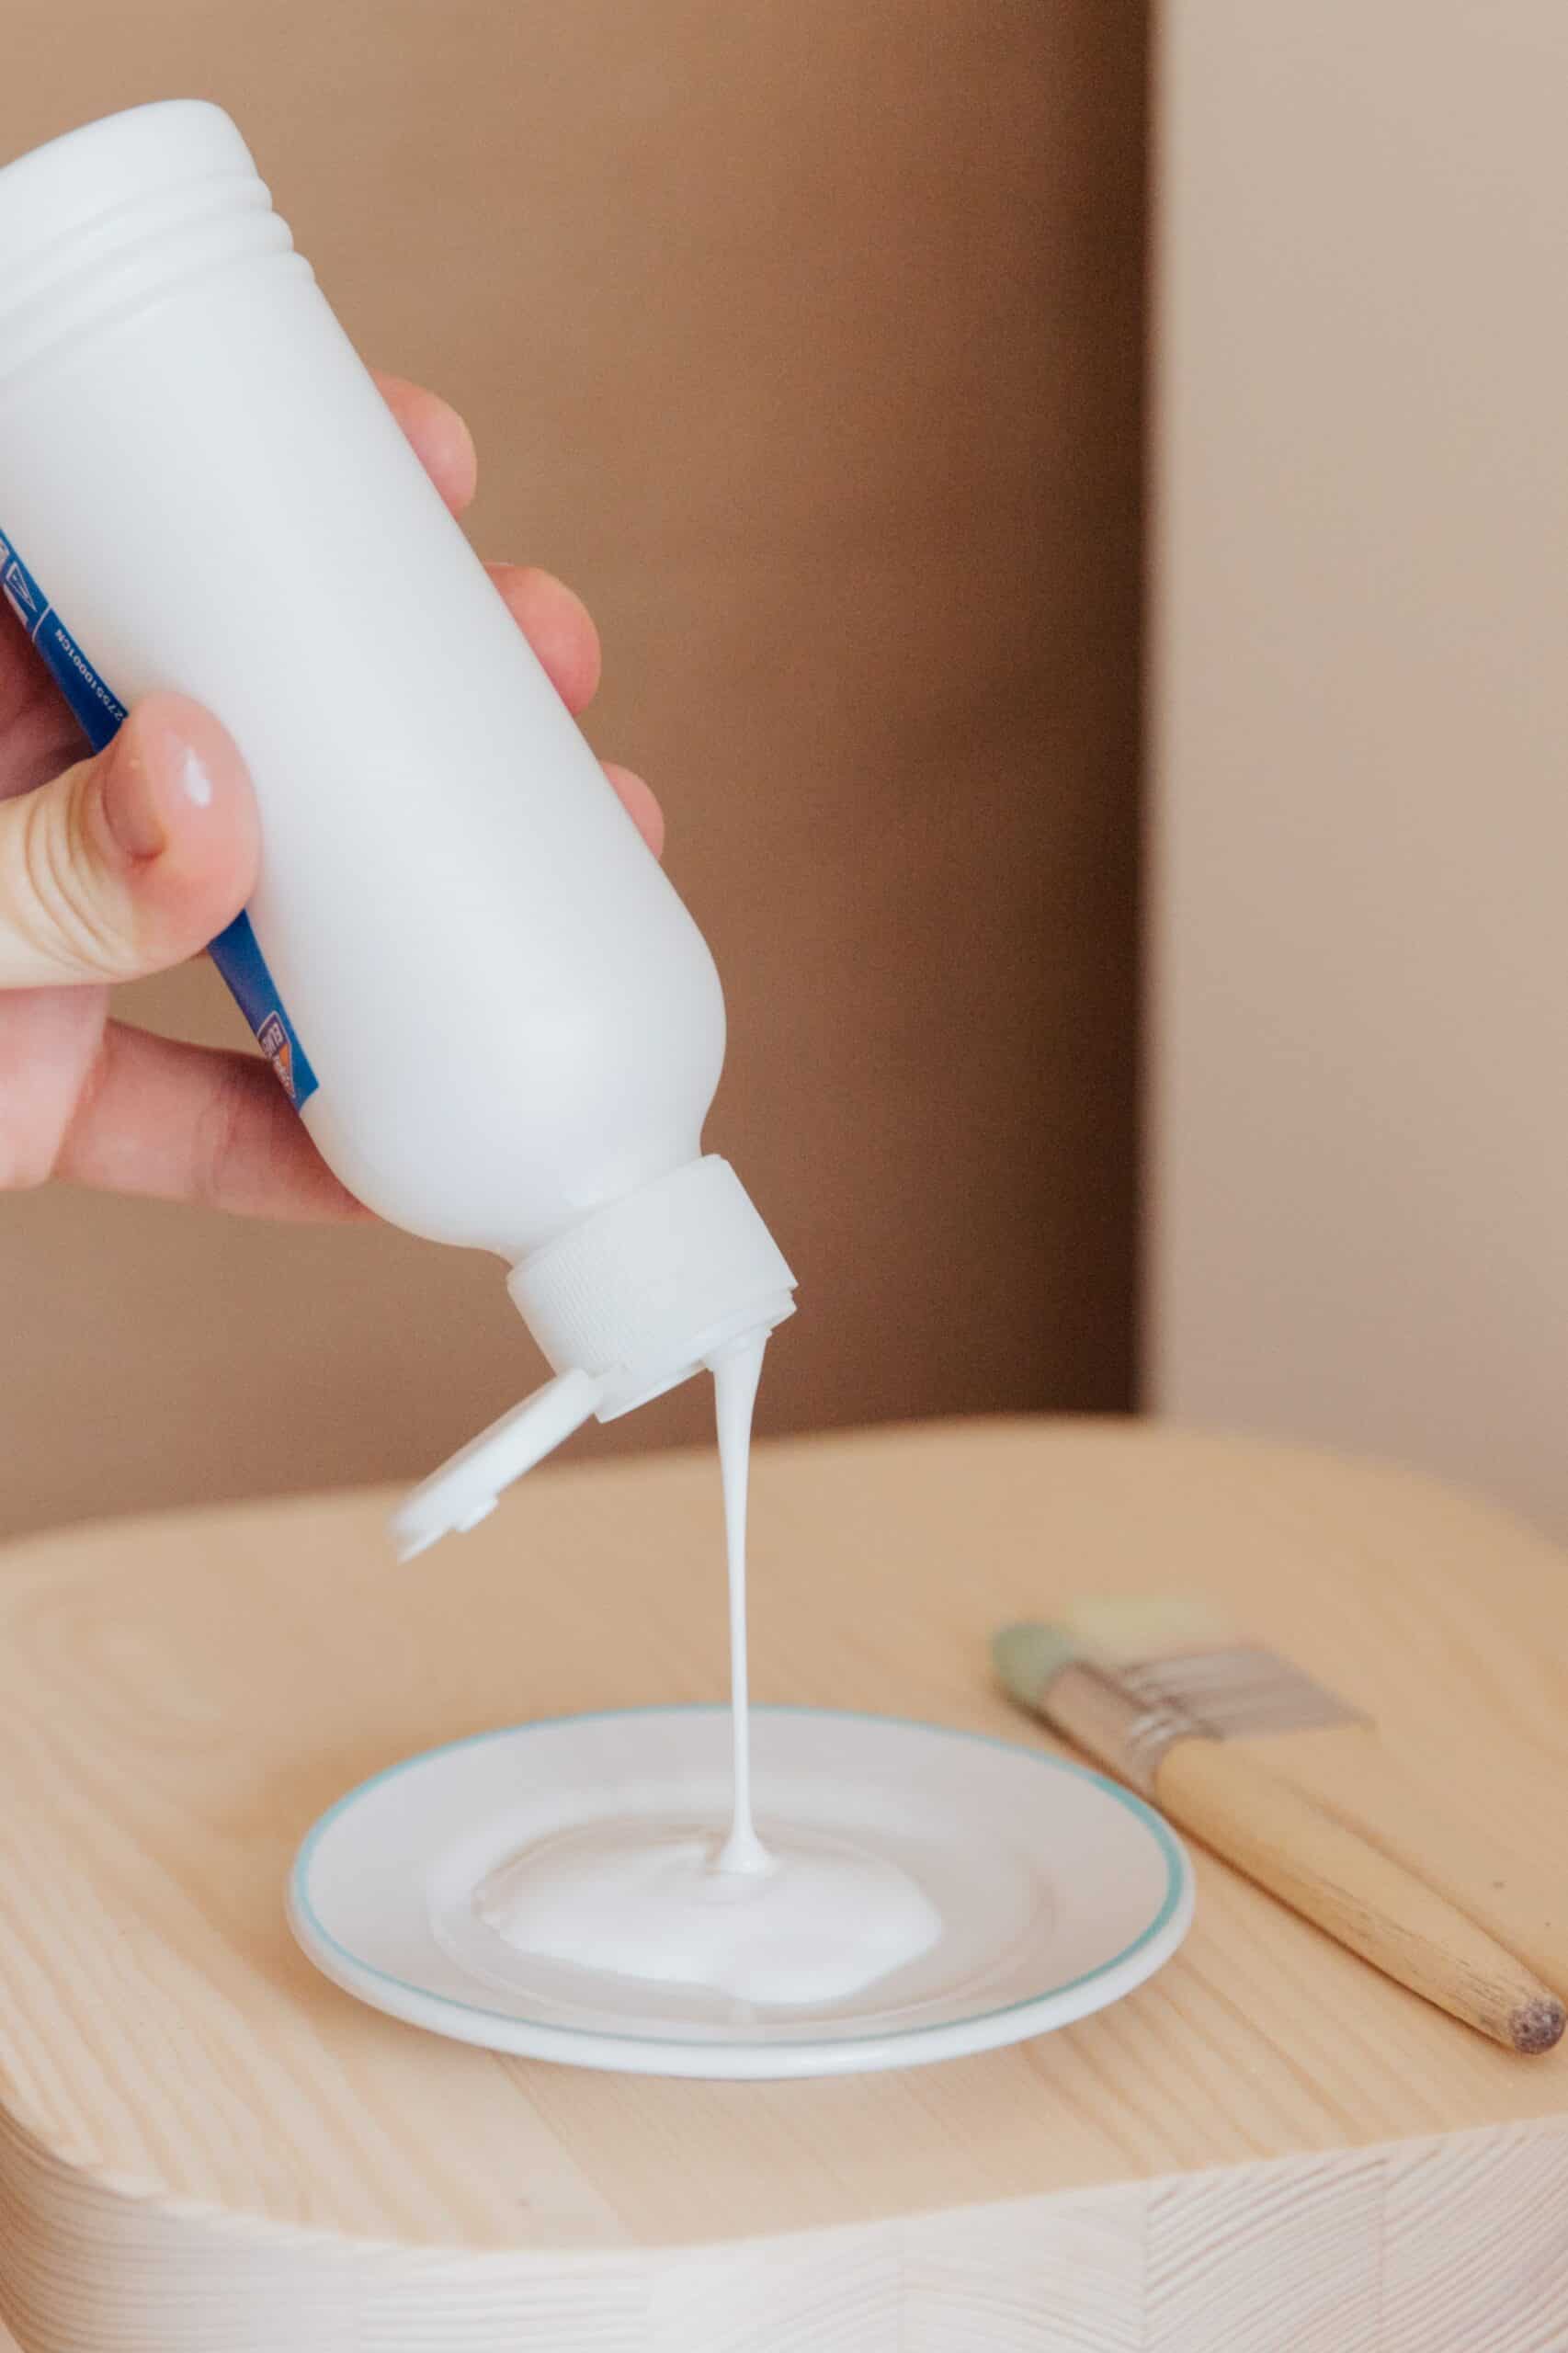
Once you have chosen your canvas for the painting, it's time to prep it. Start by giving it a good cleaning with an appropriate artist-grade cleaner and cloth. If there are any smudges or dirt particles on the surface, they can interfere with the paint if not removed.
Next, stretch the canvas so it is taut and ready for painting. This will ensure that your painting remains even across its entire surface while drying. To accomplish this, place wooden bars around each edge of the canvas and secure them firmly in place using screws or staples.
Use a hammer to gently tap the corners until you feel the tension building up along the edges of the canvas. When finished, check that all sides appear flat and evenly stretched before continuing onto sketching out your image!
Sketching Out The Image
Now that we’ve prepared the canvas, let’s sketch out our birch trees. Drawing on a canvas can be intimidating, but once you get used to it, it's quite simple. To begin with, use graphite paper and trace your original image onto the canvas. If you don't have access to graphite paper, lightly draw or trace your image using a pencil instead. Once you've traced the basic outline of your image, refine the details by adding thin lines for branches and leaves as necessary. This will give us an accurate guide for when it comes time to paint in the base layer.
Painting In The Base Layer
Let's get started! First, you'll need some supplies to begin painting your birch tree on canvas. You'll need a canvas of any size that you like, acrylic paints in shades of white and brown, brushes, and water for cleaning the brushes. Once you have everything ready, let's move on to the next step - painting the base layer.
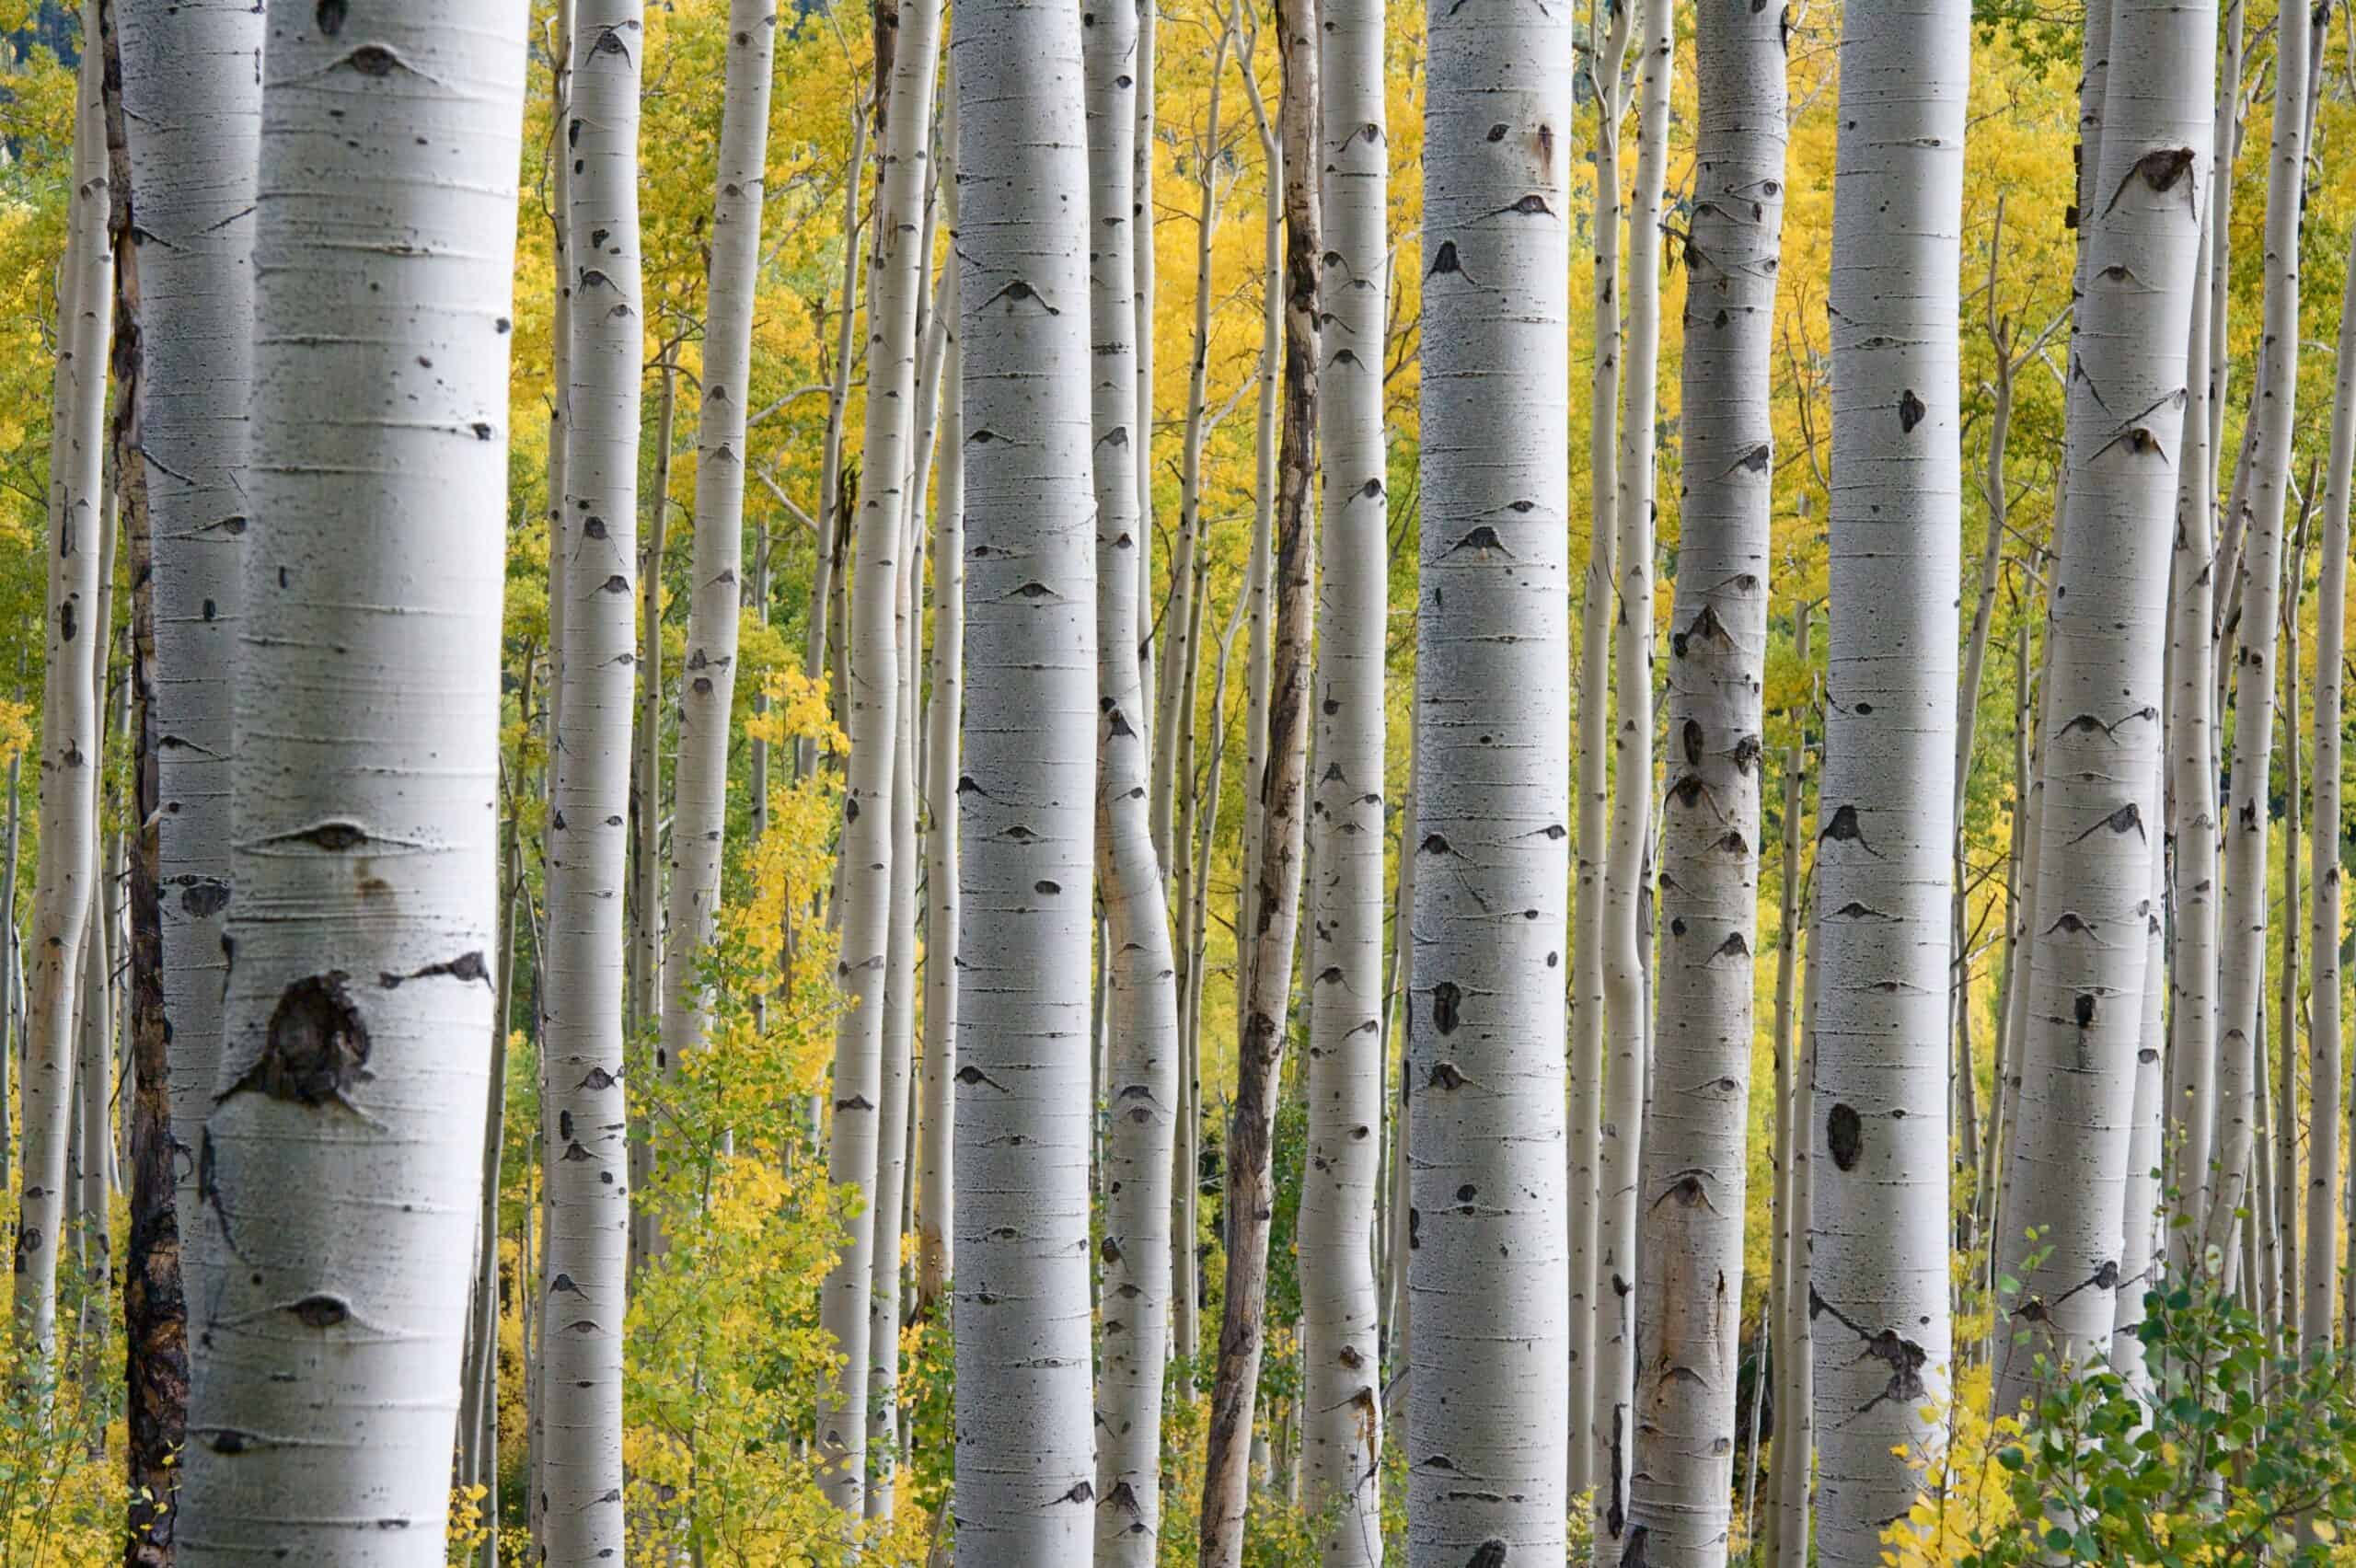
For this step, I recommend starting with a thin coat of white paint to cover the entire canvas. This will give it an even tone as well as provide some texture which makes it easier to add details later. When that is dry, start adding more layers using light browns mixed with whites until you achieve a good overall color palette that resembles bark. Make sure each layer has dried before adding another one so that they don't blend too much.
Now that we've painted our base layer, we can start adding details and highlights to make it look more realistic.
We can use darker colors and thicker layers where necessary while still leaving enough room for lighter tones around them to create depth and contrast.
Adding Details And Highlights
Now that your base coat of paint is dry, the fun part begins! Let's add details and highlights to make our birch trees come alive. First off, use a thin brush with white or light gray paint to create some bark texture on the tree trunks. Start by laying down faint horizontal lines from top to bottom, gradually increasing pressure as you go for a more pronounced texture. Once you've achieved the desired effect, it's time to start adding shadows. With an ultra-thin brush and dark brown paint, outline each section of the trunk in short strokes; this will help define the shape and give dimension to your painting. Lastly, it's time for highlights - take a small amount of white paint onto your brush and lightly dab it along the edges of each tree trunk so they shine against the darker background tones. By applying these techniques, we can bring our birch trees to life! Now let's move on to making those final touches and varnishing them for protection.
Final Touches And Varnishing
Now that we've finished painting our birch trees, it's time to add the final touches. Begin by lightly going over any areas of your canvas you feel need adjusting or more detail added. This is also a good opportunity to make sure everything looks balanced and in proportion before committing to varnish.
When you’re happy with how it looks, take out the gloss varnish – this will seal your artwork and help protect it from dust and moisture buildup.
You can apply the varnish either by brush or spray bottle; whichever works best for you. Make sure to cover every area of the canvas evenly as well as along the edges so there are no bare spots left unvarnished.
Once all of your work has been covered in varnish, let it dry completely before displaying or storing away! Your beautiful birch tree painting should now be fully protected and ready for admiration.
Conclusion
The final touch to your painting of birch trees is arguably the most important part. It can be easy to rush through this step but to make sure you’re proud of your finished product, you must take the time for varnishing and any other finishing touches.
Varnish will help protect your piece from dirt and dust as well as protect it against sunlight damage over the years. Additionally, if at any point you decide to move or transport your artwork, a layer of varnish will add an extra level of protection during transportation.
To finish off your painting with a truly polished look, consider adding one last lyrical brushstroke here and there or some subtle highlights - whatever feels right to complete the overall effect. With these steps taken into consideration, you now have all the tools necessary to create a stunningly beautiful painting of birch trees on canvas!

