How To Paint Dots On Rocks
Welcome, fellow rock painters! Are you looking for a way to add some extra decorative flair to your rocks? If so, I'm here to show you how. Painting dots on rocks is one of the easiest and most versatile ways to decorate these little works of art. Whether you're creating simple designs or intricate patterns, dot painting could be just what you need!
In this article, I'll teach you everything from selecting colors and tools to applying them correctly. With my expert tips and tricks, even novice rock painters can easily start mastering dot-painting techniques in no time. Plus, it's an incredibly fun activity that's sure to put a smile on your face as soon as you get started!
Excited? Let's dive right into learning about how we can create beautiful masterpieces with our beloved rocks using the classic technique of dot painting!
Supplies Needed
I'm so excited to show you how to paint dots on rocks! To get started, there are a few supplies that I recommend having. First and foremost is the rock itself. You can often find smooth river stones at your local craft store or outdoors. Make sure it's nice and flat for an easier painting experience.
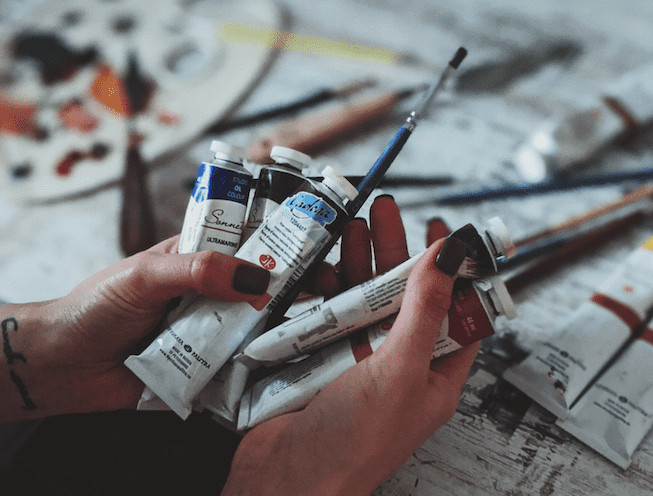
Next up are some acrylic paints in colors of your choice. For dotting, I like using small round brushes - they're great for making neat little circles! Finally, grab yourself a cup of water and some paper towels; these will be used to clean off your brush between each color. Now we're ready to start prepping our rocks!

Preparing The Rocks
When I'm getting ready to paint dots on rocks, the first step is always to properly prepare my supplies. I must choose the right kind of rocks for this project - smooth stones work best! Once I've found my materials, it's time to clean them up and make sure they're free from dirt and dust.
I start by running warm water over each rock until all traces of grime are gone. Then, using a soft cloth or paper towel, I dry off each stone individually before setting them aside in a safe spot.
After giving them a good cleaning, use a sandpaper to gently buff out any remaining marks or bumps so that the design will look as neat and uniform as possible when it's finished.
Once everything is all prepped and ready, I can begin designing my dots!
Designing The Dots
"As the saying goes, 'the devil is in the details'. When it comes to rock painting, creating dots on your rocks can be a great way to add detail and color. Dots are versatile, as you can use them for all sorts of patterns or stand-alone designs. As an artist looking to create some dot-filled masterpieces, there are a few things to keep in mind before applying paint!
First off, pick out your design. This could be anything from polka dots, chevrons, spirals, or swirls. Whatever shape you decide on will help determine how many dots you need and where they should go. If you’re feeling particularly creative, try combining several different shapes! Once that's decided upon, sketching out your design with a pencil helps provide structure before getting started with the paint itself.
Finally, it's time to get creative with the size and placement of those dots. Don't worry about making mistakes - this is part of the fun of being an artist! See what looks best and adjust accordingly until everything appears just right; then grab that brush and start adding beautiful pops of color."

Applying The Paint
Now that you've got your supplies ready and the rock prepped, it's time to start painting! Start by squeezing some of the paint onto a paper plate or into a cup. Dip your brush in and out of the paint until you get enough coverage on the bristles. You want just enough so it doesn't drip when you apply it to the rock, but not too much where it'll run off.
Next up is applying the dots. To keep them even, use something like a pencil eraser or dowel rod as a template for each one. Place it on the surface and then fill it in with the brush, creating circles of various sizes.
Don't worry if they don't come out perfectly round - this adds character to your work! Once you're happy with how they look take a step back and admire your masterpiece!
When all of your dots are finished, let them dry completely before adding any finishing touches.
Finishing Touches
Once your rocks are painted, it's time to add the finishing touches! I like to use a sealer or varnish so that my design is protected and lasts longer. Sealers come in spray cans or bottles depending on what you prefer. Make sure you've covered all of the surfaces with an even coat before letting them dry for 24 hours.
Another great way to make your rock painting stand out is by adding glitter or rhinestones. Glitter gives it some extra sparkle and shines while rhinestones can be used to create beautiful 3D effects. It's totally up to you whether you want to go all out with these materials or keep it simple - just remember that less is often more when it comes to embellishing your rocks!
Now, after spending all this time creating something special, let’s take a moment to talk about how best we can care for our creations.

Caring For Painted Rocks
Once you’ve painted your rocks, how do you care for them? It’s important to protect the paint so it lasts as long as possible. First, let the paint dry completely before handling or displaying the rock. This will help preserve the vibrancy of the colors and prevent any smudging that could occur if it were handled too soon. To further protect your artwork, a coat of sealant is recommended. A clear gloss spray works great! Let this cure for 24 hours before placing it in outdoor areas or anywhere with moisture exposure. Finally, store your completed projects away from direct sunlight as much as possible, since UV rays can fade the color over time. All these little steps keep your hard work looking just like new!
Conclusion
Painting dots on rocks is a fun and creative art form that anyone can try. With the right supplies, some practice, and a bit of imagination you'll be creating beautiful masterpieces in no time. As the adage goes “practice makes perfect” – so don't be afraid to experiment until you find just the right design!
When it comes to caring for these painted rocks, I recommend sealing them with a clear coat or varnish when they are finished. This will help protect your work of art against fading due to sun exposure or water damage. It's also important to store them away from extreme temperatures as this can cause paint cracking or chipping over time.
All in all, painting dots on rocks is an enjoyable pastime and a relatively easy craft project that won't break the bank. So why not give it a go? You never know what kind of magical creation may appear before your eyes!

