How To Paint Fur In Acrylic?
Painting fur can be a challenging task, especially when it comes to creating the illusion of realism. How do you make acrylic paint look like real fur? Is there any special technique or secret formula?
The truth is that painting fur in acrylic requires patience, practice, and an understanding of how light interacts with different textures. But don't let this intimidate you – even if you're just starting in your artistic journey, you can still learn how to masterfully bring furry creatures to life!
In this article, we'll explore some simple tips and tricks for painting true-to-life fur using only acrylic paints. We'll cover everything from basic techniques like color mixing and blending to more advanced skills such as adding highlights and shadows. If you want to give your artwork a realistic touch, then keep reading – by the end of this guide, you’ll be able to confidently create stunning works featuring furry friends.
Gather The Right Supplies
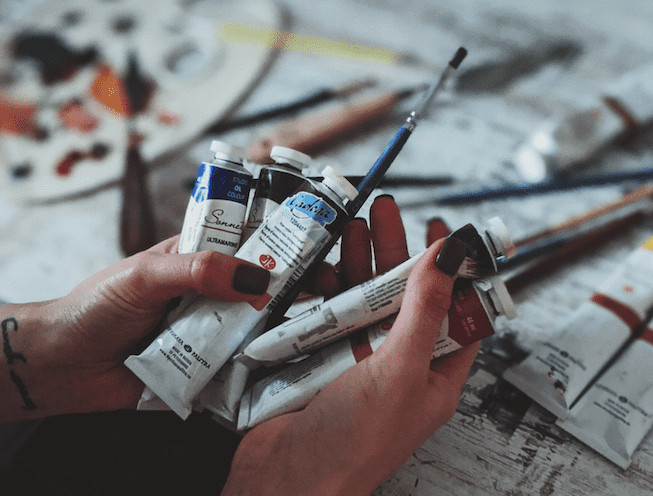
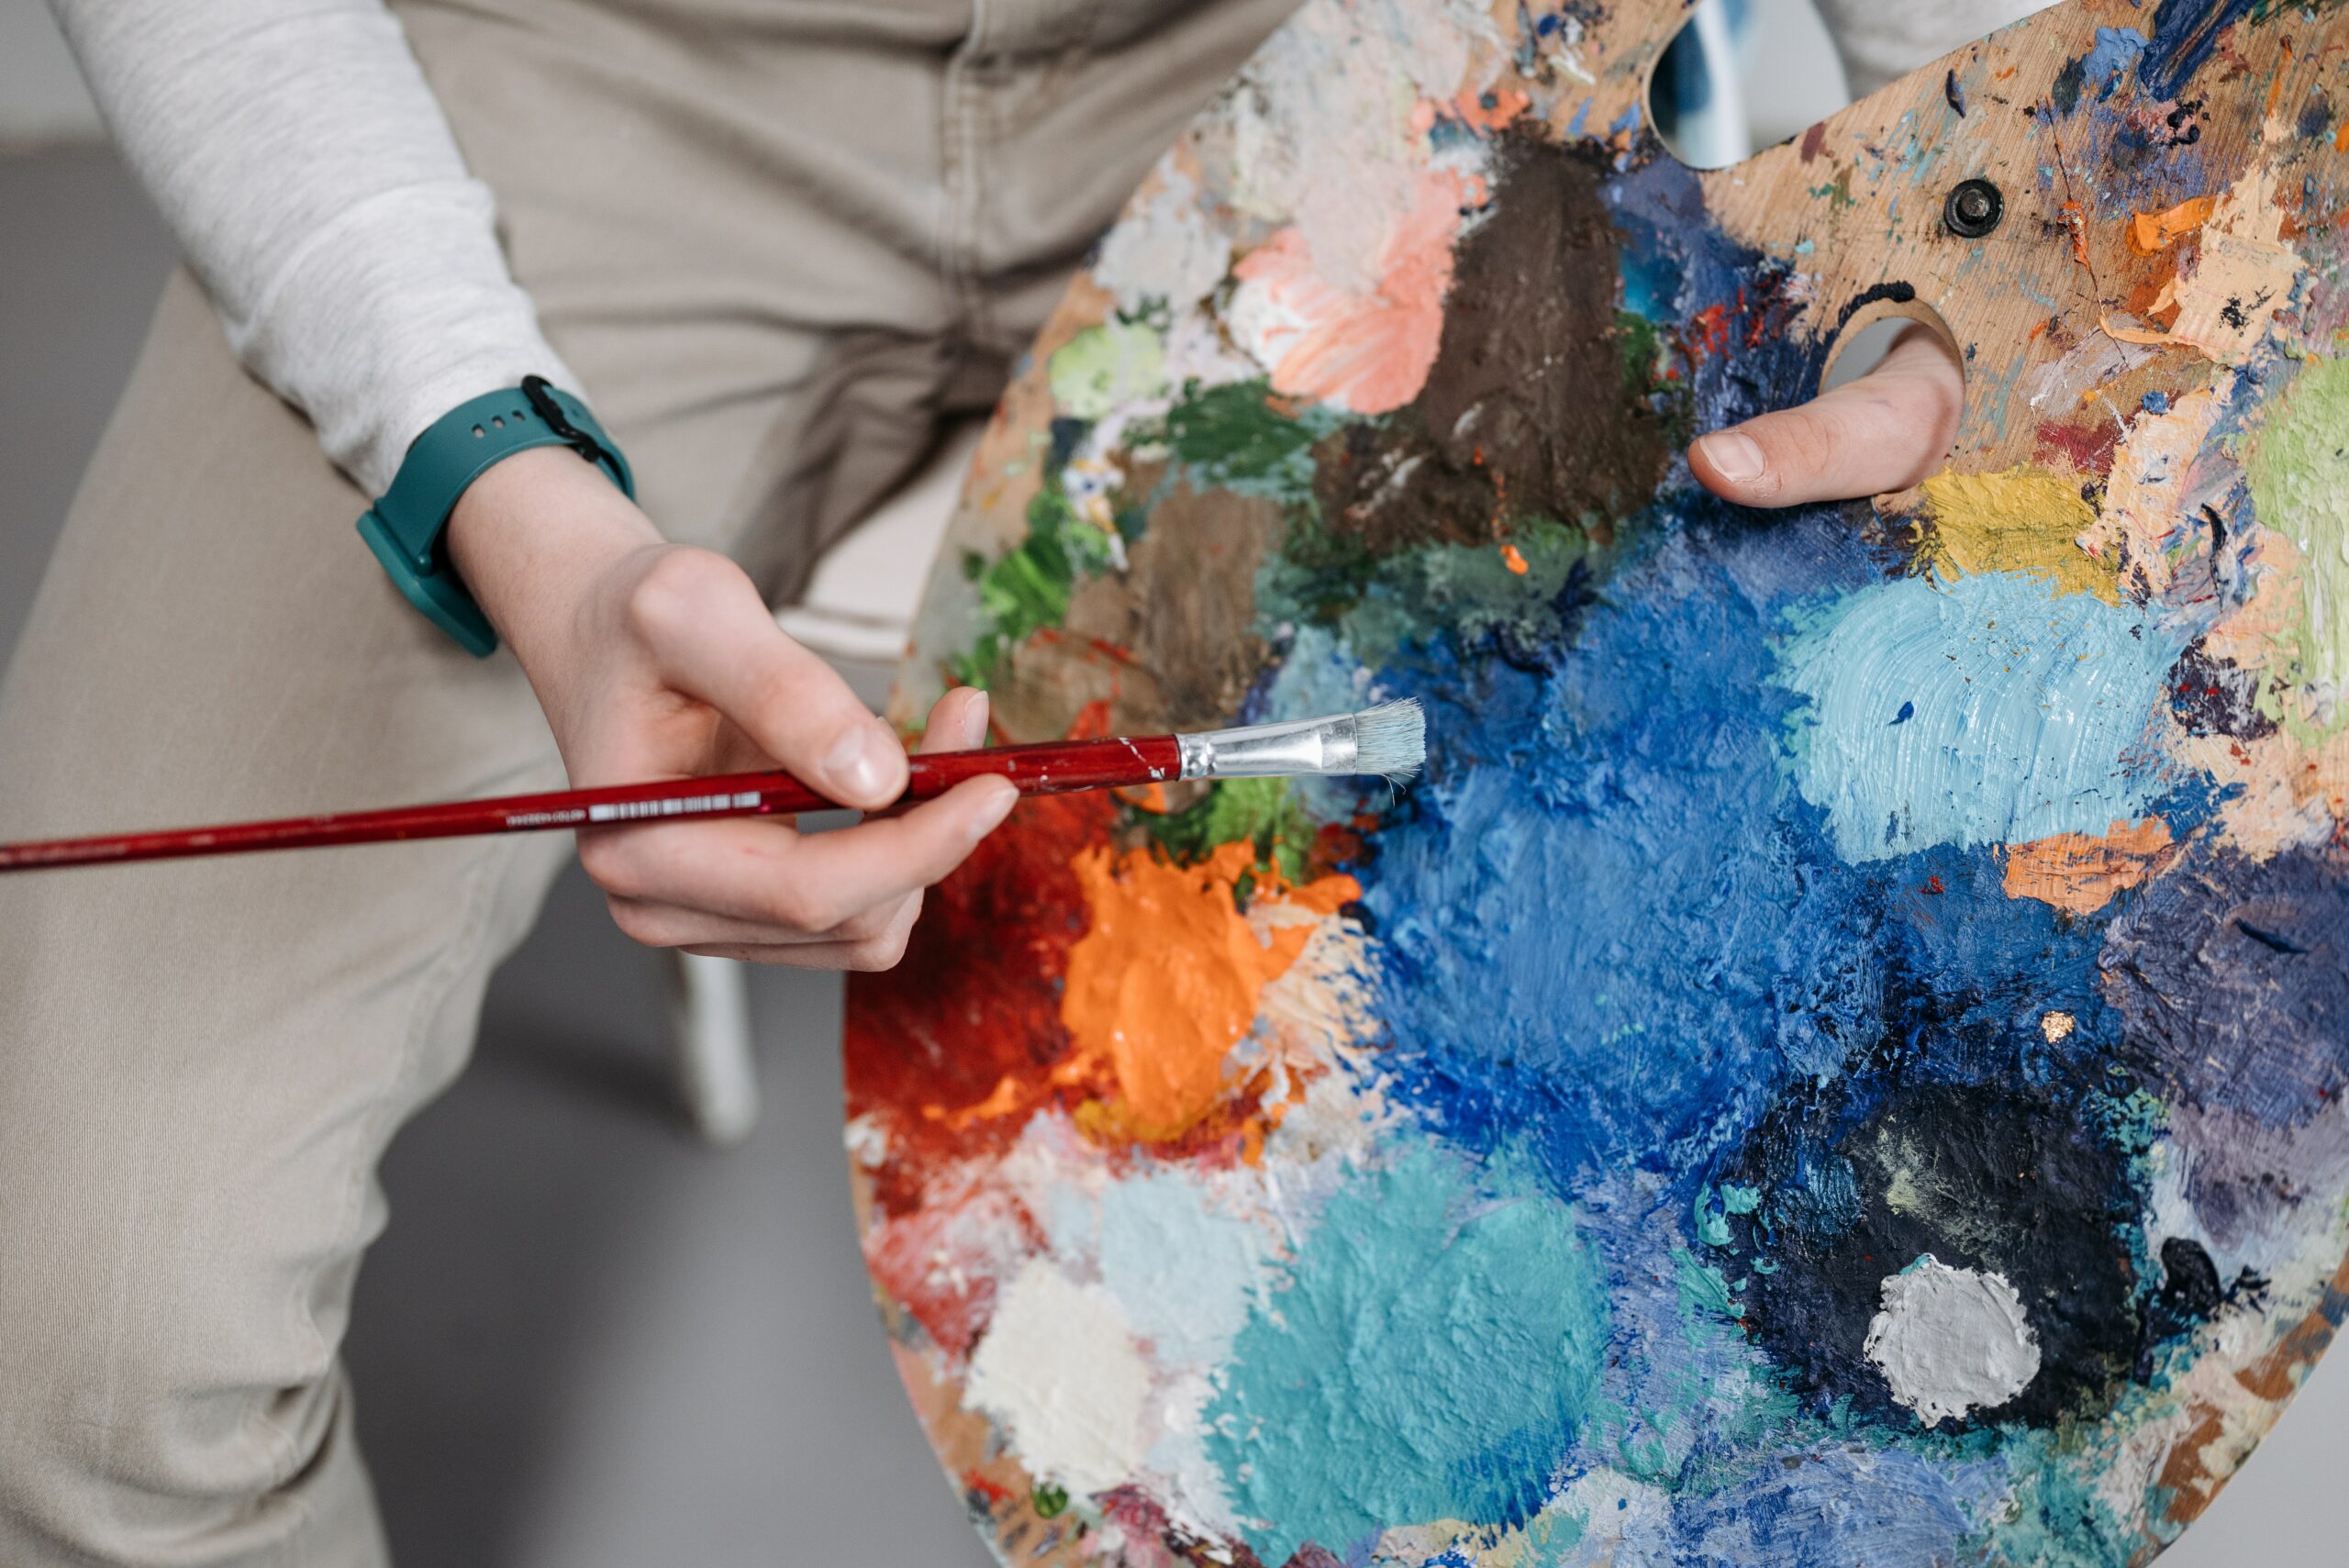
Painting fur in acrylic can seem like a daunting task. But with the right supplies, it's quite manageable – and even fun! To get started, you'll need some fabric medium to mix into your paint for better adhesion, plus your usual art supplies. Different brushes will come in handy, too.
You don't have to buy fancy ones; just make sure that they're suitable for use with acrylics. It helps if you select one brush for thin lines (like whiskers) and another for larger areas of fur texture. Plus, having two sizes of each type of brush gives more options when painting those details.
Now that you've got all the necessary tools to create furry scenes on canvas, let's move on to preparing the reference photo you want to work from. That way, you can jump right into getting creative!
Prepare The Reference Photo
Painting fur in acrylics can be a daunting task, but it’s easy to tackle if you have the right guidance. Preparing your reference photo is just like laying down the foundation of a house - without it, everything else will crumble!
To get started with this essential step, I suggest gathering up these materials:
- A printed-out or digital copy of the reference photo that has clear details of white fur
- A warm cup of coffee (or tea!) and some snacks for energy breaks throughout the painting process
- Your favorite brush set – one small and soft and one large and stiff.
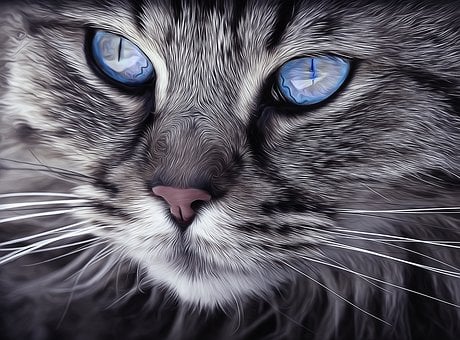
Now let's start prepping our reference photo! To achieve accurate results, we need to pay attention to every detail present in the picture. We should first look at the overall shape of each piece of fur and how they all come together as a whole.
Zoom into the individual sections; focus on areas such as texture, color, lighting, shadows, sparsity/density, and lastly angles. This process helps us understand how each strand interacts within its environment which translates onto our canvas when we start putting paint on them. Incorporating keywords such as 'brush strokes' and 'white fur', allows us to capture their essence while creating an image full of life.
When we feel confident about what needs to be done, then comes the fun part where we can finally put those brushes into action! And before you know it we'll have completed our masterpiece!
Start With The First Layer
Painting fur in acrylic can be a daunting task, but with the right approach and technique, it's doable. Believe it or not, around 80% of animal species have fur! It's amazing to think that this complex texture is created by layers of paint. Let's get started on the first layer by using burnt sienna, burnt umber, and a fan brush.
At the start of your painting journey for furry critters, you'll want to mix some warm hues like burnt sienna and burnt umber as these will create an inviting base layer. When applying these colors onto the canvas I recommend using a fan brush rather than a regular flat brush as this will give more variety to each stroke. This way when we move on to adding additional layers they won't blend too much into one another leaving us with just one color at the end.
By building up thin layers of color step-by-step we can achieve those beautiful long hairs and short hairs that makeup fur textures in animals. Remember: patience is key! With each layer allow time for it to dry before tackling the next stage so that everything doesn't smudge and ruin all our hard work. By taking our time and gradually layering different shades of browns, eventually, we're going to see something come alive beneath our fingertips - allowing us to portray realistic yet stunning fur effects on whatever creature we choose! Now let's take things further and explore how we can use a fan brush to create even more texture.
Use A Fan Brush To Create Fur Texture
Using a fan brush is the best way to create fur texture when painting with acrylics. With its wide shape and long bristles, it's perfect for making those short, fine strokes that makeup fur. Here are some tips on how to use it:
- Pull the brush gently across your canvas in different directions as you paint. This will help mimic the natural direction of fur growth.
- Use light pressure but keep an eye out for any areas where more or less pressure might be needed.
- Make sure to hold the brush at an angle rather than straight up and down as this will give you better control over what kind of lines you’re creating.
Experimenting with different kinds of brushes can enhance your acrylic painting projects by giving them added dimension and detail. You could try using square or round-tipped brushes, mixing colors on your palette before applying them to your artwork, or even trying out different types of paper! All these elements contribute differently to the final look so have fun exploring ways to bring life into your art!
Experiment With Different Brushes
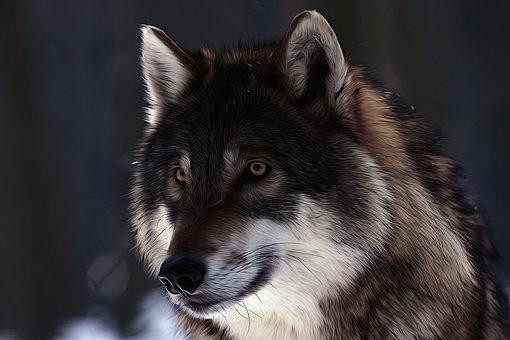
When it comes to painting fur in acrylic, having the right brush is key. Take my friend's dog for example - she wanted a lifelike portrait of her pup and I had to make sure every hair was perfect. Experimenting with different brushes was essential! Round brushes are great for creating more defined hairs while flat brushes help blend colors. Angled brushes can be used to create individual strands or long strokes.
It's important to remember that each type of fur requires a different approach. Not all cats look alike after all! After some trial and error with various combinations of round, flat, and angled brushes, I developed an understanding of which would work best in certain scenarios. Working from the lightest shades outwards will help you achieve a realistic texture too; this way your colors won't become muddled as you're working on finer details like whiskers or eyelashes.
It took me several hours but eventually I managed to get the entire coat looking just right - apart from the color selection, getting the brush combination down correctly was integral in achieving a successful result! With enough practice and experimentation, you'll soon recognize what works best in any painting situation involving fur textures so don't worry if it takes time at first. Now let's move on to choosing the right colors.
Choose The Right Colors
Painting fur in acrylic is like watching a sunset. You start with the colors, then move on to the texture and finish it off by adding those little strokes of magic that make your painting come alive. Choosing the right colors can be tricky but essential for creating realistic-looking fur.
When selecting hues, think about using dark tones as well as vibrant colors. Start with one darker color and add lighter shades around it to create depth and dimension. It's important not to use too much light paint since you want the fur to look natural and textured rather than washed out. Add highlights where necessary by mixing white into some of the other colors or dabbing them over sections of fur with a dry brush.
You don't have to limit yourself either! Experimenting with different shades of browns, tans, grays, blacks, and whites will bring even more realism to your work if desired. Just remember that practice makes perfect when mastering this skill - keep trying until you find what looks best for your piece!
To achieve an extra smooth texture, try adding fabric medium after completing your base layer. This will help give it an authentic appearance while also making future touch-ups easier!
Use Fabric Medium For A Smooth Texture
Painting fur in acrylic can be a daunting task - like trying to catch the wind with your hands. To make sure you have the best result, using fabric medium is a must for achieving a smooth texture and professional look. Here are some tips for successful painting when incorporating fabric medium into your acrylic painting:
- Mix fabric medium into your acrylic paints before applying them onto canvas – this will help ensure that all of the colors blend nicely while adding an extra layer of protection and stability to your paint strokes.
- When layering multiple coats of color, use more fabric medium than usual as it helps keep each coat from becoming too thick or clumpy, creating a much smoother overall finish.
- Don't forget to apply a thin layer of fabric medium over the entire piece at the end; this adds another protective barrier against dust and dirt, which could damage or dull down your beautiful work!
Using these simple steps will help you achieve an optimal outcome for your acrylic painting project involving fur. You'll find that by taking the time to incorporate fabric medium into every step of the process, you'll get a stunningly smooth texture that brings life-like realism to any artwork featuring furry subjects. Ready to take on those paint strokes? Let's go!
Make Paint Strokes In The Direction Of The Fur
Painting fur in acrylic can be a daunting task! With every stroke of the brush, you want to make sure that it looks as realistic and lifelike as possible. To get started, one must make paint strokes in the direction of the fur. This is essential when creating an accurate representation of a furry animal.
Painting with individual strokes in the direction of the fur growth will create texture and dimension for a more realistic look. When making these strokes, use small amounts of paint on your brush at a time so that it appears thin and light as real fur should look. It's best if you work from left to right or top to bottom depending on which way the fur naturally falls or grows on the body of your subject.
Creating beautiful textures doesn't have to be intimidating either - just keep practicing and soon enough you'll achieve professional-looking results! And although practice makes perfect, by following these tips for painting with acrylics in the direction of fur growth, you are already well on your way towards achieving life-like paintings with each canvas.

Use Small Amounts Of Paint
Did you know that a typical fingernail can hold up to 1 ml of liquid? That's a surprisingly small amount! When it comes to acrylic painting tips, this little fact is especially relevant when creating faux fur fabric. To paint with acrylics and realistically depict fur, you need to use an even smaller amount of paint than what can fit on your nail – just a tiny drop or two.
Using too much paint will result in an overly thick, clumpy texture that looks nothing like natural fur. Instead, focus on the individual strokes and make sure each one is as thin as possible by using very limited amounts of pigment. At first glance it may look like there isn’t enough color being used; however, if done correctly you'll be able to achieve real depth and contrast without having to resort to heavy layering.
To ensure maximum control over your brushwork, try dipping the tip into the water before adding any paint - this helps create finer lines and gives you more maneuverability while working on delicate details such as whiskers or a downy undercoat. With these simple techniques in mind, you should have no trouble achieving great results when painting with acrylics! And with darker tones added for depth and contrast.
Add Darker Tones For Depth And Contrast
Painting fur with acrylics can be the most exciting and rewarding artistic experience ever! With a few simple steps, you can create an amazing piece of art that looks like it came right out of the wild. Adding darker tones to your painting is key for creating depth and contrast in your work.
When adding darker tones to your painting, focus on the darkest points, shadows, and areas. You want to make sure these spots are deep enough so they stand out from the lighter colors around them. Use a small amount of paint at first when defining the darkest points as too much could ruin the effect you’re trying to achieve.
You should also remember that even though you're using dark colors, you don't want them all to be black or very dark shades. Instead, opt for subtle variations such as blues or browns which will give your painting more dimension without making it look overly dramatic or cartoonish. By carefully selecting where and how much color to add, you'll have a beautiful piece of artwork in no time!
It's now time to use an angle brush to create definitive marks within each area of fur - this will help bring life into your painting and finish off its details perfectly!
Create Definitive Marks With An Angle Brush
Creating a realistic fur effect in acrylics can be tricky, but with the right tools and techniques, it is achievable. Did you know that most mammal fur has up to five different tones within just one strand? That's why creating depth and contrast is essential for an accurate result.
Using an angle brush to create definitive marks helps build texture when painting fur in acrylics. This type of brush allows you to control paint flow more precisely as well as lets you work on directional contours easily. When using this kind of brush, make sure its degree angle is adequate so that the bristles can pick up enough paint while still being flexible. For finer details, try switching out your angle brush for a detail brush which will let you add even more definition by creating tiny strokes throughout the canvas.
To get started, begin with defining background elements like shadows or undertones first before adding highlights later on. Doing this will help bring out those subtle nuances present in real-life fur and give your piece much-needed dimensionality and realism. With the darker tones laid down, next, we'll move on to highlighting our painting with vibrant colors!
Highlight With Vibrant Colors
As the saying goes, "Practice makes perfect". Painting fur in acrylic can be a tricky process, but with enough practice and experimentation, it can yield beautiful results. When painting fur using this medium, one of the most important steps is to highlight the details with vibrant colors. Here are four tips for doing so:
Firstly, use warm water to mix your paints. It's important to ensure that you're always working with an even consistency when mixing your paint; otherwise, your brush strokes will appear blotchy and uneven on the canvas or paper. Secondly, choose artists’ grade acrylics as they tend to have higher pigmentation than student-grade options. This will make sure that your highlights pop off the page and add texture to your work. Thirdly, select highlight colors that contrast well against the base color of the fur you're aiming to create. For example, if you're creating light brown fur then pick bright yellows, oranges, or reds as accents – all depending on what kind of look you want! Lastly, remember that these highlights don't need to be overly subtle – use them generously for the best effect!
Once you've created those bold lines in combination with vivid accent colors you'll begin to see some great textures develop within the fur. Make sure that whatever darkest point there is has been dark enough though - without this crucial step, no amount of highlighting will help bring out its beauty!
Insure The Darkest Point Is Dark Enough
When it comes to painting fur in acrylics, there's one essential thing – making sure your darkest points are dark enough. Dark paint is the foundation of bringing out all the details and highlights later on. If you don't get this right, then everything else will look flat or won’t stand out as much.
To ensure a darker value for your base coat, use a limited palette with deeper pigments like browns and blues for a more realistic look. You can also use negative painting techniques where you leave unpainted portions around an area of focus to create depth. This way, you're creating shadows without having to reach for darker paints each time.
Pay special attention when working on smaller areas because the finer details tend to require greater precision. A good practice is to build up gradually using thin layers instead of trying to achieve full coverage at once - this makes corrections easier if needed too! Ultimately, these steps help give dimensionality and texture to your fur so keep them in mind as you make progress with your piece.
Pay Attention To The Fine Details
I'm sure you've heard the phrase 'painting with a fine-toothed comb', and that's exactly what it takes to paint fur in acrylic. It's all about getting those tiny details just right, making sure not to miss out on any of them! Here are three tips for acing your painting:
- Use white paint as an accent color - use it sparingly so that it stands out against the darker strands of fur.
- Don't forget the fine lines. Painting fur requires paying attention to even the smallest hairs, ensuring each one is represented on the canvas.
- Pay close attention when adding shadows - the darkest parts should be dark enough but still look natural and realistic.
These small touches can make or break a painting, so take your time and don’t rush through these details. Incorporating keywords like “white paint”, “fine details” and “fine lines” will ensure that your artwork looks professional and well executed if done correctly. To finish up our painting masterpiece, we'll need to add a protective layer using acrylic spray paint for an extra bit of shine and sheen.
Finish With Acrylic Spray Paint For A Protective Layer
A majority of people are unaware that acrylic spray paint is an effective way to protect the fine details of fur when painting in acrylics. This interesting statistic makes it clear why adding a protective layer like this is so important – not only does it help keep the colors vibrant and true, but it also helps preserve the intricate nuances of your work.
When working with acrylics, using an acrylic spray paint can add a professional touch to any artwork. By utilizing this product, you will be able to replicate the delicate nature of fur while ensuring that its unique characteristics remain intact. The added layer of protection prevents wear and tear over time which allows your finished piece to look as good as new for longer.
To achieve optimal results when applying acrylic spray paint on fur details, it's best to use light coats and build up gradually until you get the desired effect. A little bit goes a long way here; too much paint could end up smudging or blurring out some of the finer elements of your work. Taking extra care while spraying ensures that all those hard-earned details stay sharp and visible even after years have passed by.
Applying a protective layer with acrylic spray paint is one simple yet powerful step toward creating amazing pieces featuring realistic-looking fur textures. With just a few sprays you can easily bring life into your artwork without having to worry about damage or fading due to exposure over time.
Conclusion
Painting fur in acrylic can be a daunting task. After all, getting the texture and color of fur just right takes plenty of practice, patience, and dedication. But with the tips outlined above, you’ll be able to create beautiful works of art that will astound even the most seasoned painter!
At first, it may seem like an impossible feat, but with enough time and effort put into your painting process, you’ll quickly find yourself creating masterpieces that could rival those found in any gallery. With every stroke of your brush, you’ll gain more confidence as well as a skill until eventually, you’re painting furry animals so realistically that they look ready to jump off the canvas at any moment – talk about breathtaking!
So don't wait another minute - get out there and start putting some fur on that canvas! Your work may never hang in a museum, but who knows? Maybe one day someone will look upon your creation and feel moved beyond words- miraculous!

