How To Seal Acrylic Paint On Ceramic Tiles
Have you ever experienced the frustration of trying to decorate a ceramic tile with acrylic paint, only for it to chip away? If so, then you know just how annoying it can be! I've been there too - in fact, that's exactly why I set out on my mission to discover the best way to seal acrylic paint on ceramic tiles. After days of research and experimentation, I finally cracked the code and learned how to get perfect results every time.
In this article, I'm going to share what I discovered about sealing acrylic paint on ceramic tiles. You'll learn all the steps involved from start to finish: from prepping your space and materials through painting and finishing up with a protective layer that will keep your art looking fresh for years. By following these guidelines, you'll be able to produce professional-looking results without worrying about chipping or fading.
It doesn't matter if you're an experienced artist or a complete beginner; anyone can learn how to apply beautiful designs onto ceramic tiles with acrylic paints and seal them properly. So let's dive right in and explore everything you need to know about creating stunning works of art that last!
Cleaning The Tile Surface
Getting ready to seal acrylic paint on ceramic tiles is an important step in creating art that will last. Proper preparation ensures a clean and even surface for painting, as well as helps the primer and paint adhere better. So before starting, it's essential to properly clean the tile surface.
I like to begin by dusting off any dirt or debris with a soft cloth. Then I use warm water mixed with mild dishwashing liquid to remove any stubborn grime or residue. A gentle scrubbing with a non-abrasive sponge should do the trick – just be sure not to scrub too hard so you don't damage the glaze of your tile! After rinsing off all soap residue, dry off the tile thoroughly with a paper towel or soft cloth.
Now the surface is perfectly prepped for applying the primer – which seals in color and protects against wear and tear over time. To ensure maximum adhesion, make certain there are no remaining oils or grease from cleaning products left behind on the surface. And remember: take your time during this prep process for the best results!
Applying The Primer
Preparing the ceramic tile surface for painting is a crucial process that requires attention to detail. Let's take it one step at a time and, like building blocks, layer each task to achieve the desired result - sealing acrylic paint on ceramic tiles!
The second step of this puzzle is applying the primer. It’s essential to use an oil-based primer that will provide you with superior adhesion from your paint to the tiles and give you long-lasting results.
Make sure you get into all those nooks and crannies so nothing gets missed; if you don't prime thoroughly, then chances are that after some time your masterpiece will start chipping away. So take extra care not to miss any spots!
With the right kind of preparation, patience, and elbow grease, you can create beautifully painted surfaces on ceramic tiles which will last much longer than just a few days or weeks. Now that we have laid down our foundation by cleaning the surface and priming it correctly, let's move on to selecting the right type of paint for this project.
Selecting The Right Paint

Now that we’ve applied the primer, it's time to select the right paint for our ceramic tiles. I suggest you go with an acrylic paint specifically designed for ceramics and tile surfaces. This type of paint will adhere better to the surface and provide a longer-lasting finish when sealed properly.
When choosing your color, keep in mind that some paints may look different on ceramic than they do in the can or tube. So be sure to give them a test run before committing! Additionally, make sure you have enough paint to cover all of your tiles since many types of paint cannot be mixed due to their chemical composition.
Once you've decided on what kind of paint and color you want, prepare it according to the instructions on the container. Then take your brush and start painting away - but don't forget about taking breaks every so often! And remember: no matter how tempting it is to rush through this step, take your time so that each layer dries completely before adding another one. This will ensure a smooth and even application with less chance of streaking or smudging later down the line when sealing. Ready? Let's get painting!
Painting The Ceramic Tile
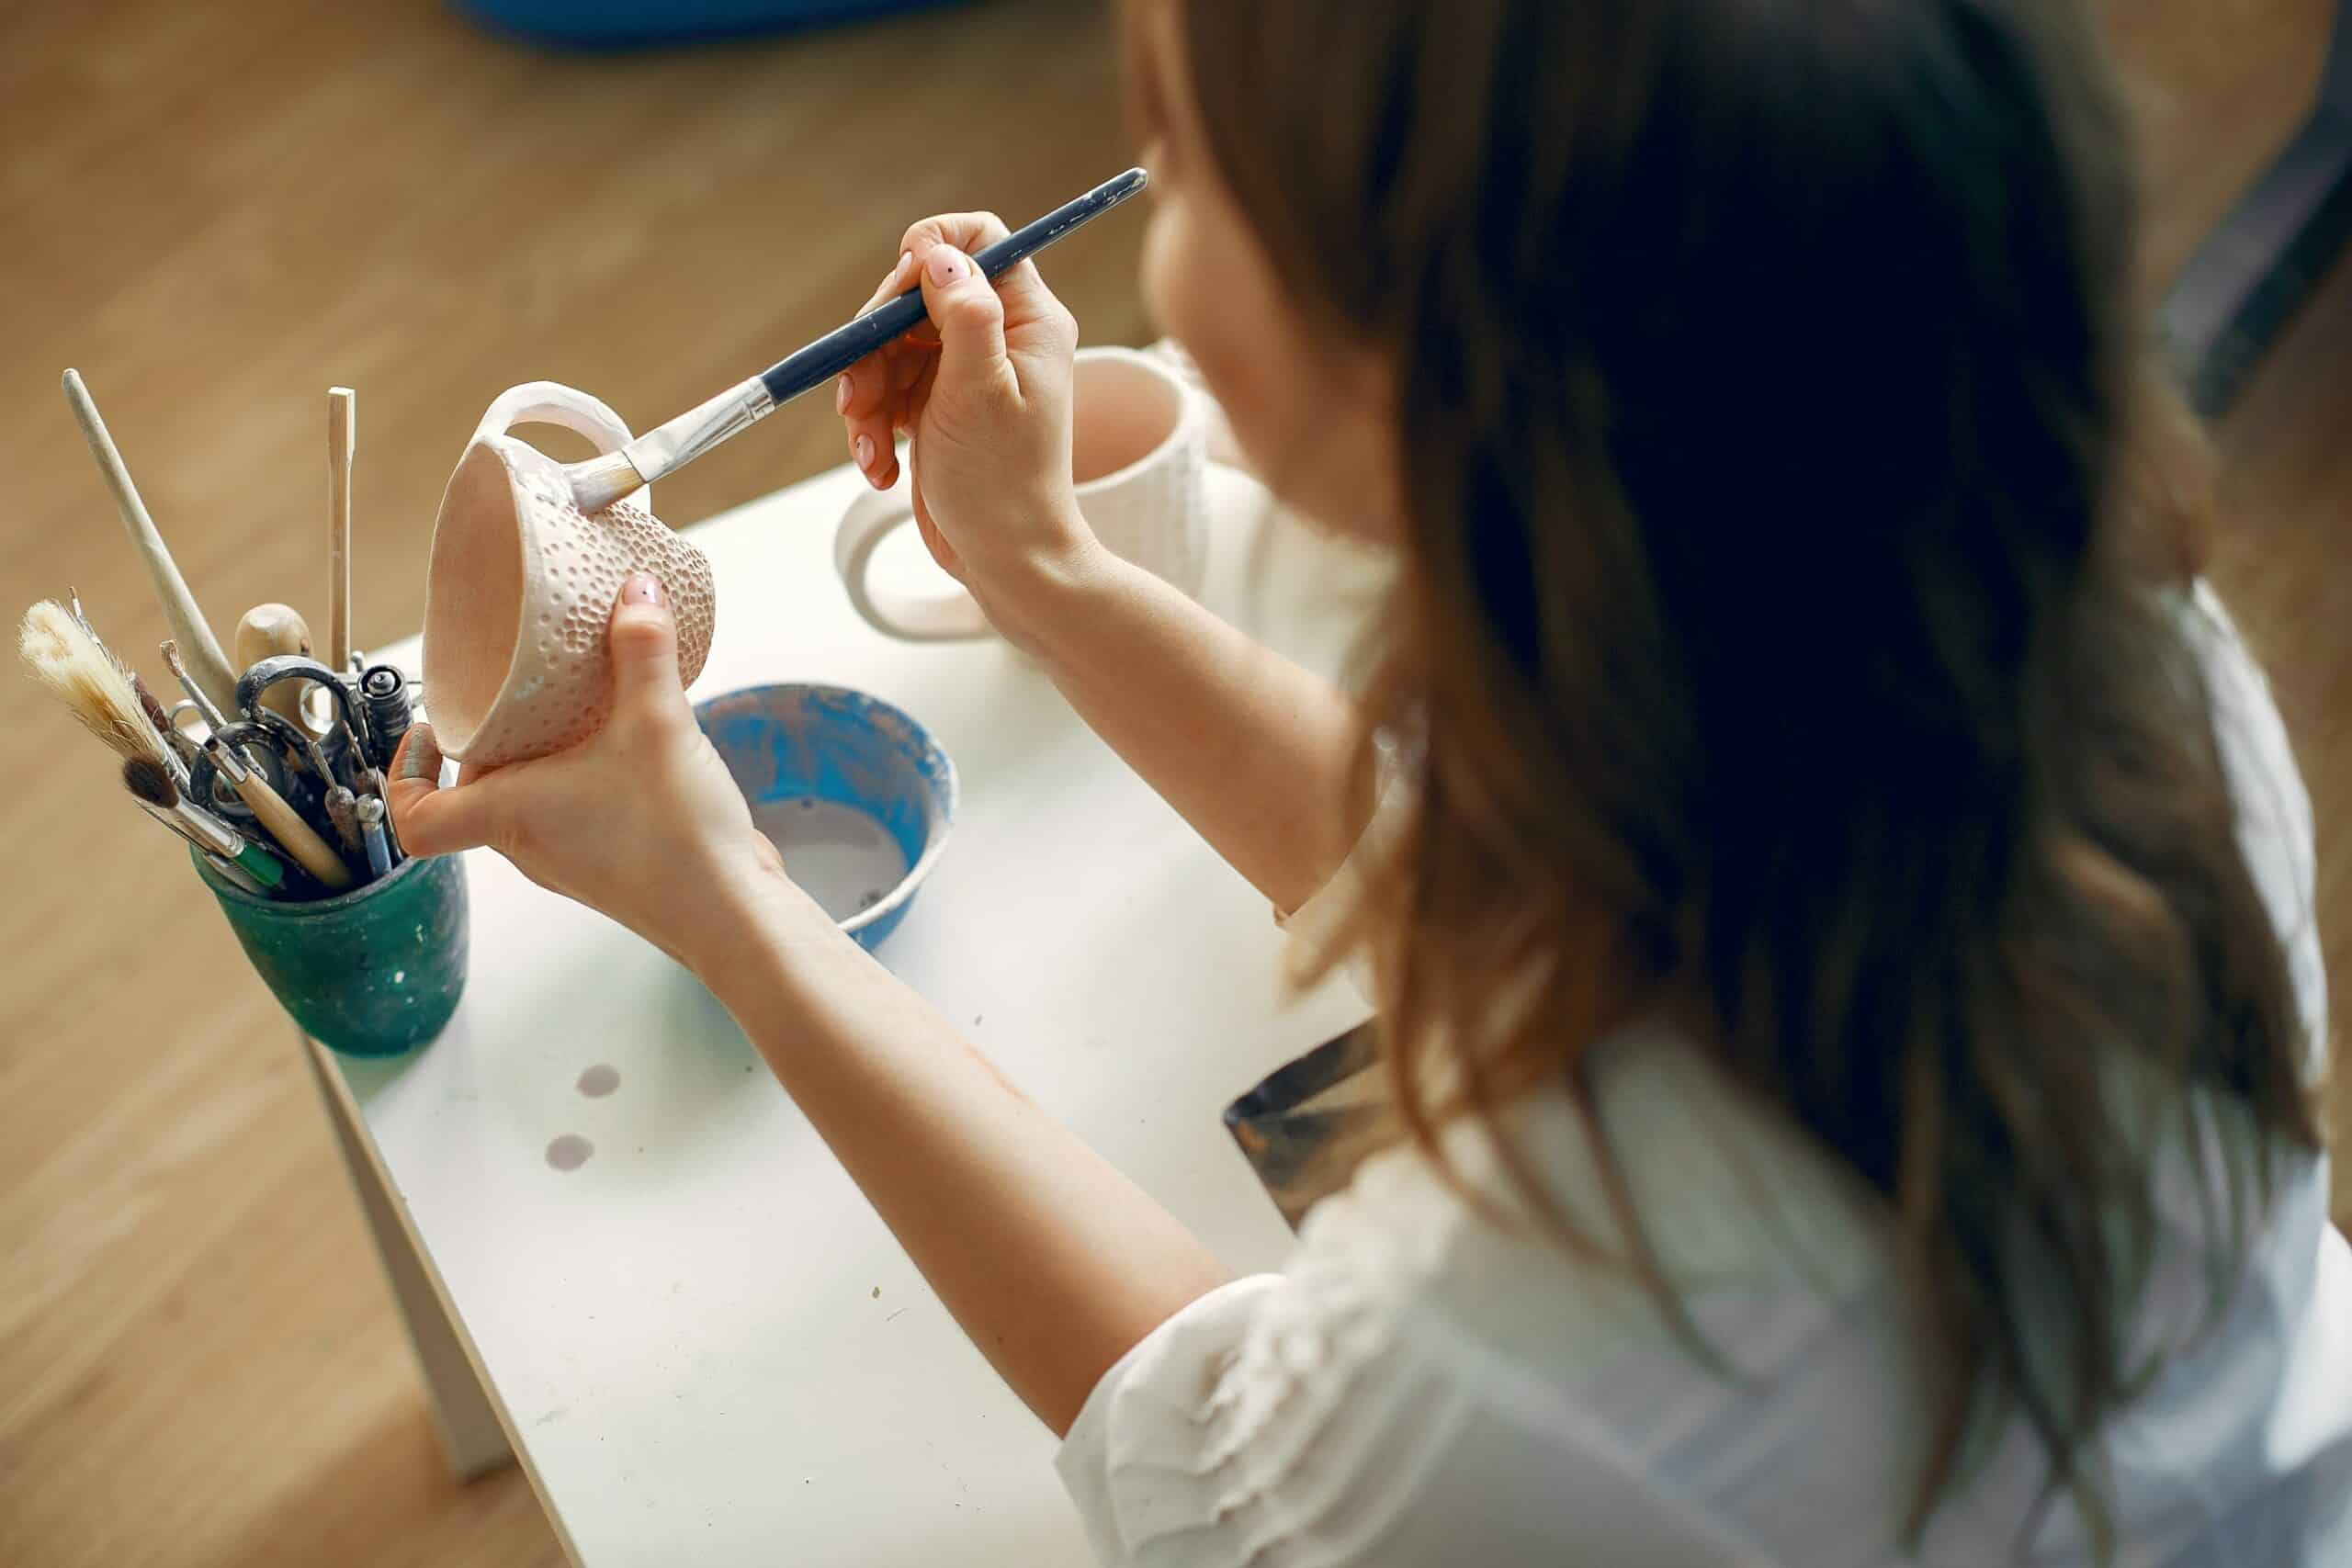
I'm ready to start painting my ceramic tile! First, I'll need to make sure the paint I've chosen is suitable for use on a ceramic surface. If it isn't specifically labeled as such, I'd recommend doing a test patch in an inconspicuous area first before applying it all over.
Once I know that the paint is appropriate, then I can begin brushing it on evenly with a good-quality brush or roller. It's important to be careful and precise during this step so that the result looks neat and professional.
Applying thin coats of acrylic paint will give me more control over how much texture and depth appear when dry.
When each coat has dried thoroughly, usually around 24 hours later depending on humidity levels, then I can move on to adding a protective clear coat to seal in the design. This ensures lasting color vibrancy and prevents chipping or cracking over time - essential if you want your tiles to look great for years to come!
Adding A Protective Clear Coat
Adding a protective clear coat to your ceramic tile painting project is an essential step in ensuring that your work lasts for years. According to the DIY Network, 95% of home projects fail without proper sealing and protection. To make sure you get it right, here are some tips on how to seal acrylic paint on ceramic tiles:
First, clean off any dust or dirt from the surface of the tile with a damp cloth before applying the sealant. This will ensure that no debris gets trapped under the coating and ruins your finished product. Next, decide which type of sealant best suits your needs – there are both water-based and solvent-based options available. Water-based products tend to be more affordable while solvent-based ones offer better protection against moisture damage. Finally, apply the sealant according to instructions given by the manufacturer; this includes two coats applied with a brush or roller at least 24 hours apart for maximum durability.

To maximize longevity and protect your work, it's important to remember that UV rays can fade colors over time so look for sealants that also provide UV protection. Additionally, consider adding other decorative elements like glass beads or glitter for extra sparkle after you've sealed everything in place! By following these steps carefully, you'll have a beautiful piece of art that will last through many years of wear and tear.
Sealing The Acrylic Paint
Moving on to sealing the acrylic paint, there are a few steps you'll need to undertake. Firstly, you must allow your painted ceramic tiles to dry completely before taking any further steps. Once they're dried and cured (this can take up to 24 hours), here's what I recommend doing:
- Wipe down the tile surface with rubbing alcohol or another suitable cleaner - this will remove dirt, oils, and other contaminants from its surface;
- Apply a sealant specifically designed for acrylic paints - make sure you read the instruction carefully beforehand;
- Let the sealant cure according to the manufacturer's recommendation;
- Clean off any excess residue left over after it has cured;
- Inspect each tile thoroughly once complete – ensure no additional cleaning is needed to maintain its aesthetic appeal.
Having followed these steps correctly, your painted ceramic tiles should now be well-sealed and ready for display! As such, you must look after them properly so that they remain looking as fresh as possible for years to come.
Caring For Painted Tiles
Having just finished the hard work of painting and sealing your ceramic tile masterpiece, it's time to take a few steps to ensure it has longevity. Caring for painted tiles may seem daunting but with proper maintenance, you can have your art piece looking beautiful for years!
First things first: make sure that the sealant you used is appropriate for outdoor or indoor use depending on where the tile will be displayed. If indoors, then dusting regularly should suffice in keeping dirt at bay; however, if placed outdoors, an additional layer of water-resistant sealer may be necessary every couple of years. Doing this extra step will help protect against fading from sun exposure as well as wear and tear due to weather conditions.
Lastly, when cleaning your newly decorated tiles be gentle - never scrub them harshly as this could damage paint and sealants. Stick with mild soap solutions such as dish detergent and warm water applied with a soft cloth or sponge. Avoid using abrasive tools like steel wool or brushes which might scratch the surface. With these simple tips in mind, your handmade ceramic tiles should last for many years!

Frequently Asked Questions
I’m sure I’m not the only one who has been in this situation: after spending hours carefully painting ceramic tiles with acrylic paint, it’s time to seal them. But before doing so, I need to know what precautions should be taken to ensure that my hard work is preserved.
First of all, it’s important to make sure the tiles are completely dry before applying a protective clear coat. This can take anywhere from 24-48 hours depending on how many layers of paint were applied and how thickly they were spread. Once you’re certain that everything is dry, then you can proceed with sealing your tiles.
The next step is ensuring a proper application of the sealant. It’s best to begin by lightly sanding any areas where multiple layers of paint have been used or if there are any rough spots. Then apply an even layer of sealant over the entire surface using a foam brush or roller for larger sections. Finally, let the sealed tile cure overnight before use or display as per instructions set out by the manufacturer of the sealant being used.
Following these steps will help guarantee that your painted ceramic tiles look great and last for years to come!
When it comes to sealing acrylic paint on ceramic tiles, the most important thing is ensuring that the paint adheres properly to the tile surface. This means making sure that you prepare the surface of your tile correctly before painting and also selecting an appropriate sealer for your project.
First things first: make sure that you are thoroughly clean and dry your tile before beginning any painting project. Any residue or dirt left on the surface can prevent your paint from sticking, so this step is essential! After cleaning, sand lightly with fine-grit sandpaper and then wipe clean again with a cloth. Once you’re satisfied that all surfaces are free of dust and debris, you can begin applying primer – this will help create an even base layer for the paint to adhere to once applied.
Now it’s time to select a suitable sealer for your painted tile design. Acrylic sealers come in two types: water-based (which dries clear) or solvent-based (which gives off fumes while drying). Both options work well but if you want more protection against wear and tear, go with a solvent-based option as these tend to be more durable over time. For best results, apply the sealer in thin coats rather than one thick layer – this allows for better absorption into the acrylic paint itself and helps ensure long-lasting results.
TIP: Be sure to always read product instructions carefully when it comes to using sealants on ceramic tiles – certain products may require specific application times or extra steps such as heat curing depending on what type of tile material you have used.
When it comes to sealing acrylic paint on ceramic tiles, timing is key! After you’ve finished painting your project, give the layer of paint time to dry completely. If you apply a protective clear coat too soon, the sealant could be compromised and won’t properly protect the painted surface. It’s important to wait at least 48 hours before applying any kind of sealant or varnish.
This waiting period will ensure that all layers are fully dried and set in place so they can accept the topcoat without any issues. You’ll want to use an appropriate sealer for this type of job–one specifically designed for ceramic tile surfaces such as a polyurethane-based sealer. Make sure you test out a small area first and check if it dries correctly and if there is no discoloration in the finish.
Once your chosen sealer has been applied, it’s best practice to let it cure for another 24-48 hours before using or touching the tiles again. This way you’re ensuring that everything is safe from damage due to moisture or wear and tear.
When it comes to painting ceramic tiles, there are a few things you need to consider. The type of paint you use will determine how well the paint adheres to the tile surface and how long it lasts. That’s why it’s important to pick the right kind of paint for your project.
Acrylic paints tend to be the best choice when working with ceramic tiles because they have great adhesion properties and are highly durable, making them an ideal option for this kind of job. Plus, acrylic paints come in a wide range of colors so you can find something that matches your décor perfectly. They also dry quickly, meaning less time spent waiting for them to set before you move on to other projects.
However, applying any kind of paint correctly is key to getting good results. So make sure you follow all instructions carefully and don’t forget about sealers! A quality sealer can help protect the painted finish from wear and tear over time as well as make cleaning easier once the project is finished.
TIP: Before starting your project, do some research on the different types of sealers available so that you can choose one appropriate for ceramic tiles. This way, you’ll ensure your beautiful new look stays looking its best for years to come!
Have you ever wanted to paint ceramic tiles with acrylics, but weren’t sure how to ensure that the colors stay vibrant and don’t flake off? It’s not as difficult as it sounds! To seal in your painted design, all you need is a good quality sealant. But what kind of sealer should be used for ceramic tiles specifically?
When sealing ceramic tiles with acrylic paint, I recommend using a polyurethane resin-based sealant. This type of sealant provides extra protection from wear and tear while also preventing any moisture from seeping into the tile or damaging your artwork. Additionally, it helps keep your painting looking new for longer by providing a glossy finish that repels dirt and dust.
Applying this type of sealant is pretty straightforward — simply apply a thin layer over the surface of the tile with either a brush or roller until you get an even coat. Let dry completely before adding another layer (if necessary). With just these few simple steps, you can easily protect your work on ceramic tiles!
Conclusion
In conclusion, sealing acrylic paint on ceramic tiles can be a difficult task. However, with the right sealant and proper preparation, your painted tiles will look beautiful for years to come. According to experts, nearly 80% of home improvement projects involving tile begin with prepping and painting the surface. Taking the time to choose the best type of paint and ensuring that it adheres properly is key to achieving an even finish.
I would also suggest applying two coats of clear coat for extra protection against wear and tear over time. This ensures that any chips or scratches on the surface are minimized. Finally, make sure you wait at least 24 hours before using the newly sealed tiles so that they have enough time to dry completely.
With these tips in mind, I'm confident you'll be able to complete your project! You don't need to be a professional painter or tiler – just take your time and practice patience and care when working with acrylic paints on ceramic tiles. Good luck!


