How To Seal Acrylic Paint On Fabric
Hey everyone! Are you looking for a simple way to seal your acrylic paint on fabric? As a textile painter, I know how important it is to make sure that your artwork lasts as long as possible. The good news is, with the right tools and techniques, sealing acrylic paint on fabric can be an easy and rewarding process. In this article, I'll provide step-by-step instructions on how to protect your painting from fading or running over time.
The first thing we need to do is choose the right type of sealant. There are various products available specifically designed to help seal acrylic paints on fabrics; however, some may not work as well as others depending on what kind of fabric you're working with. To ensure maximum protection and longevity of your artwork, it's best to opt for an archival grade sealant like Mod Podge clear acrylic sealer.
Finally, once you've chosen the correct product for the job, it's time to start applying it onto your painted fabric. With just a few simple steps such as covering evenly and allowing enough drying time between coats, you'll soon have a finished piece that's ready for display! Read ahead for more details about how to properly use and apply sealants when protecting fabrics with acrylic paint.
Overview
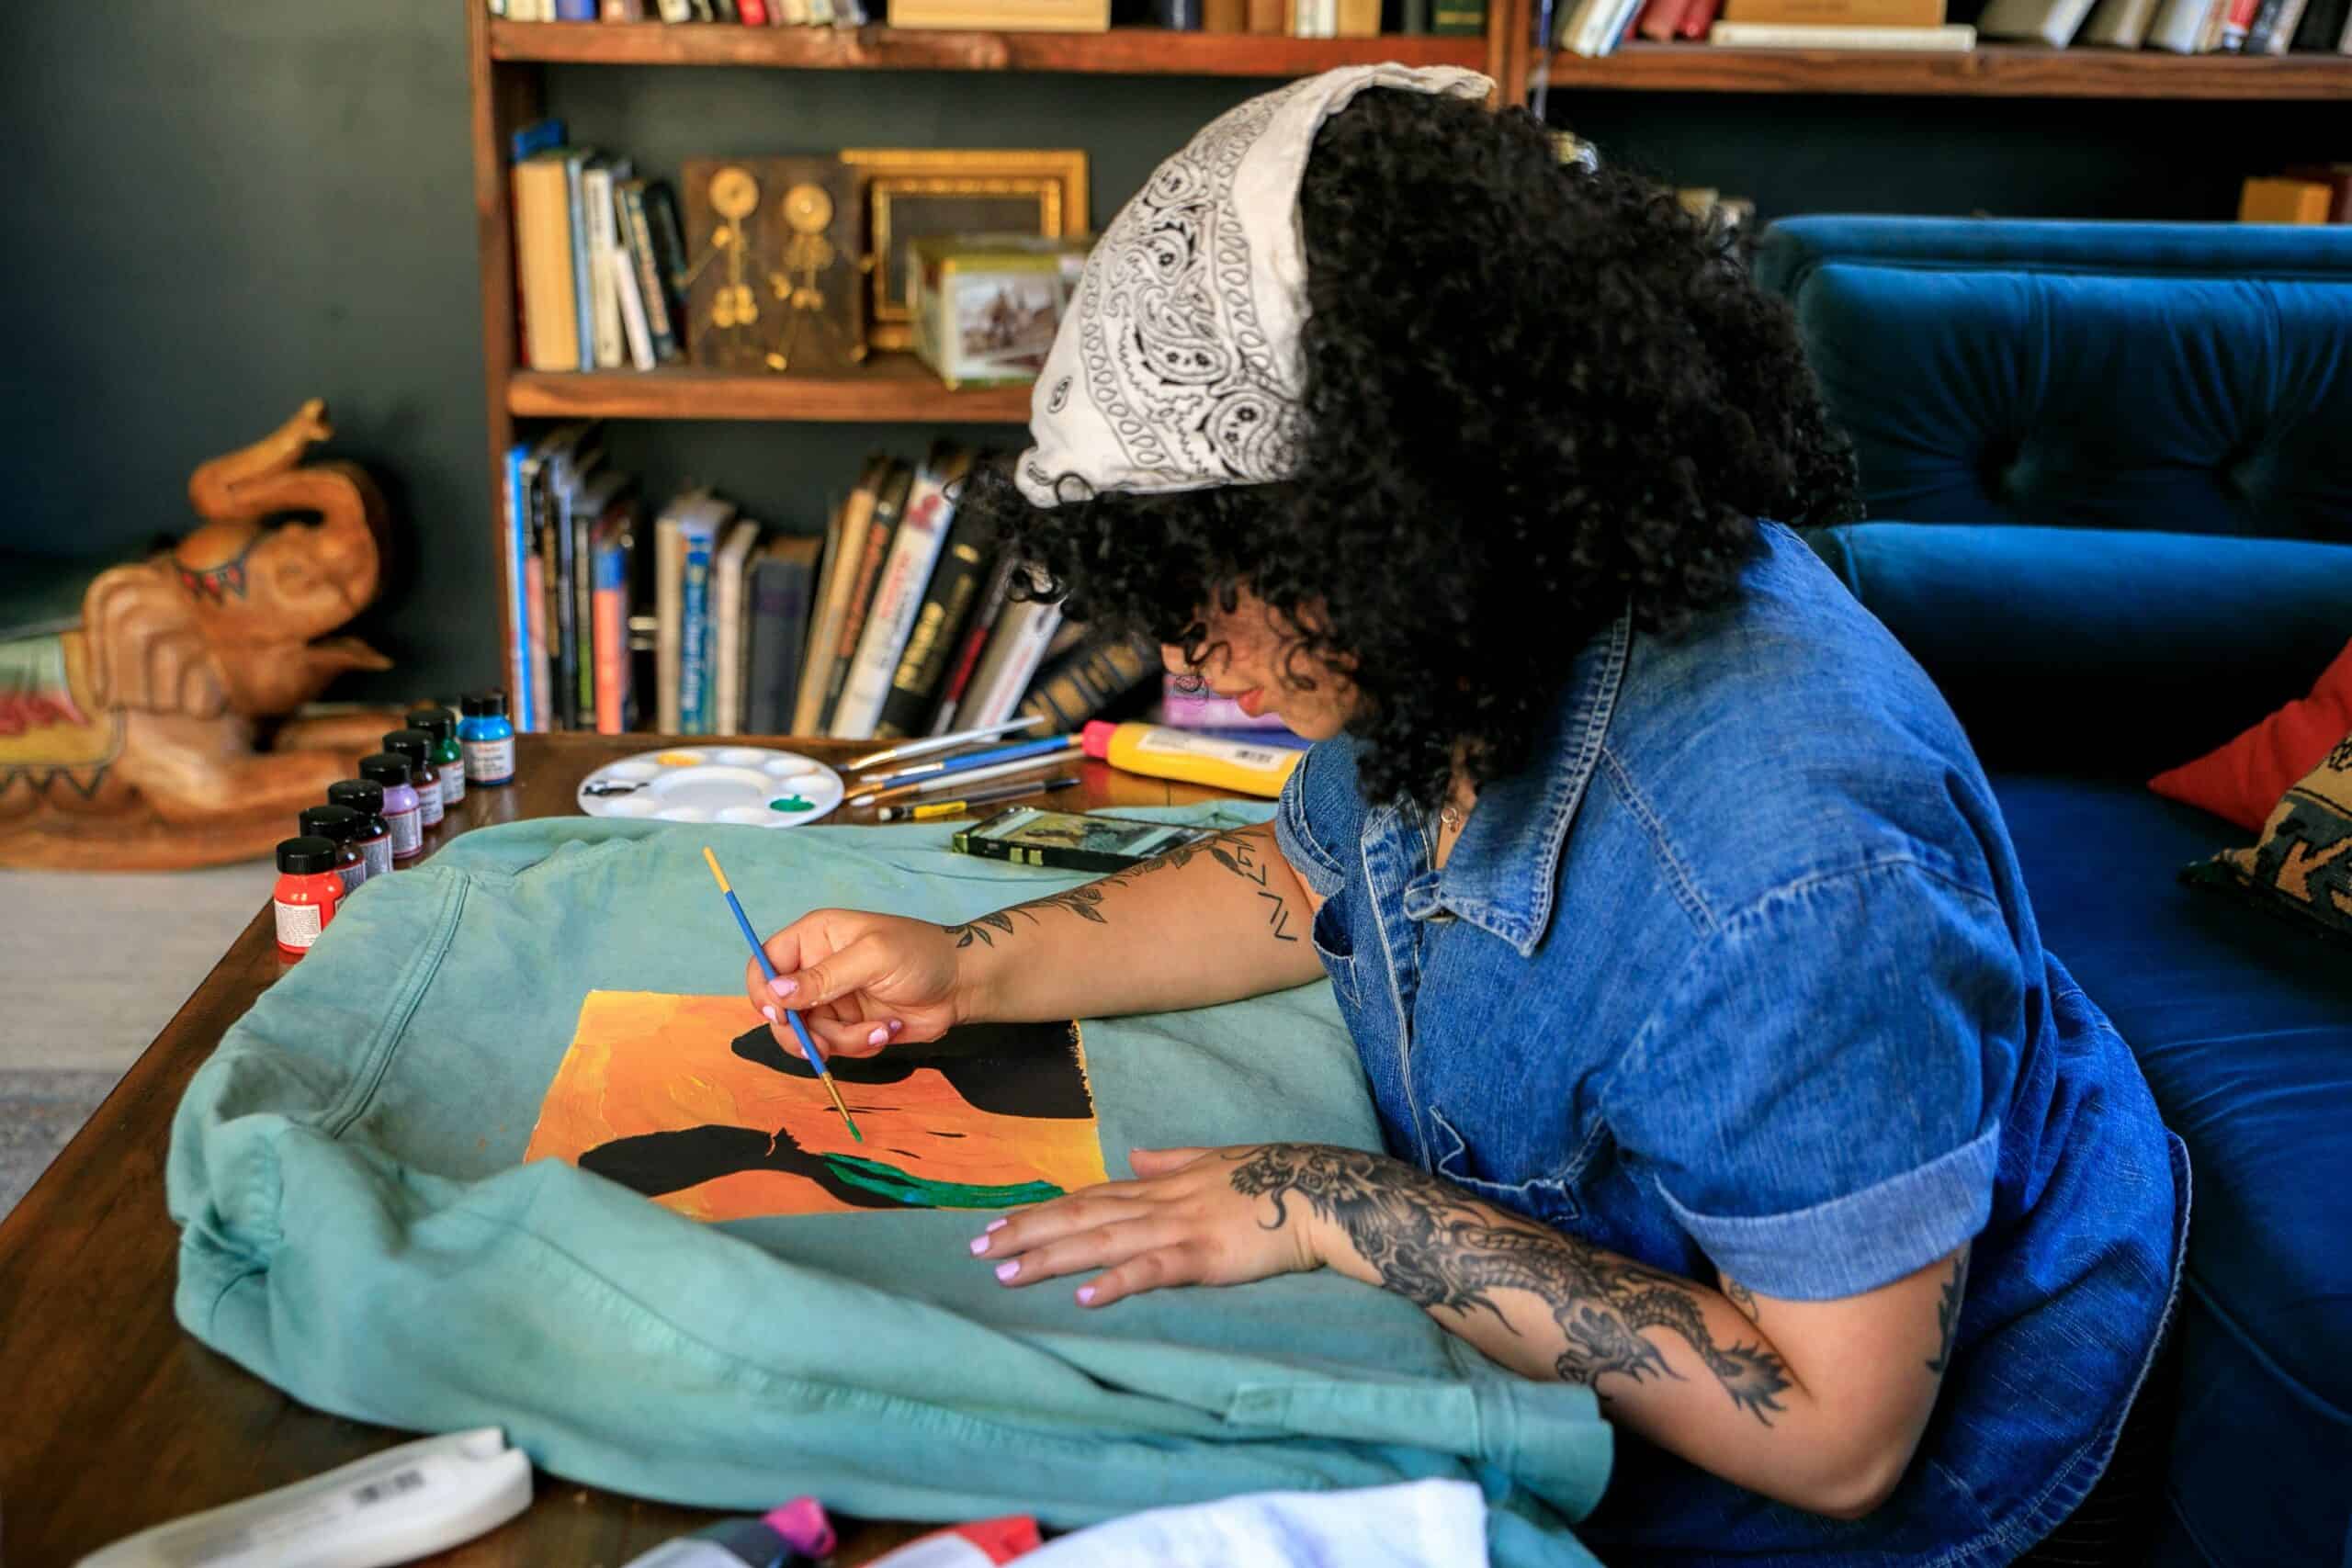
Painting fabric is a colorful and creative way to bring life to old pieces of clothing or upcycle new ones. It's like weaving together stories and memories, giving them a unique look that can be personalized for each project. From stunning abstract designs to vibrant florals, there are endless possibilities when it comes to painting on fabric!
in order for the design to last long-term, you'll need to ensure that acrylic paint has been sealed properly onto the material.
With some prepping and patience, sealing acrylic paint on fabric doesn't have to be intimidating. Let’s take a closer look at how this process works so you can confidently create customized fabrics with your own style! Now let's move on and explore what goes into prepping the fabric before we even think about adding any paint...
Prepping The Fabric
Preparing the fabric properly is key to ensuring that your acrylic paint stays sealed. To ensure a smooth painting experience, you'll want to wash and dry your fabric before starting. This ensures that there are no oils or dirt on the surface which could prevent the paint from adhering properly. It also helps preserve the colour of the dye in the fabric.
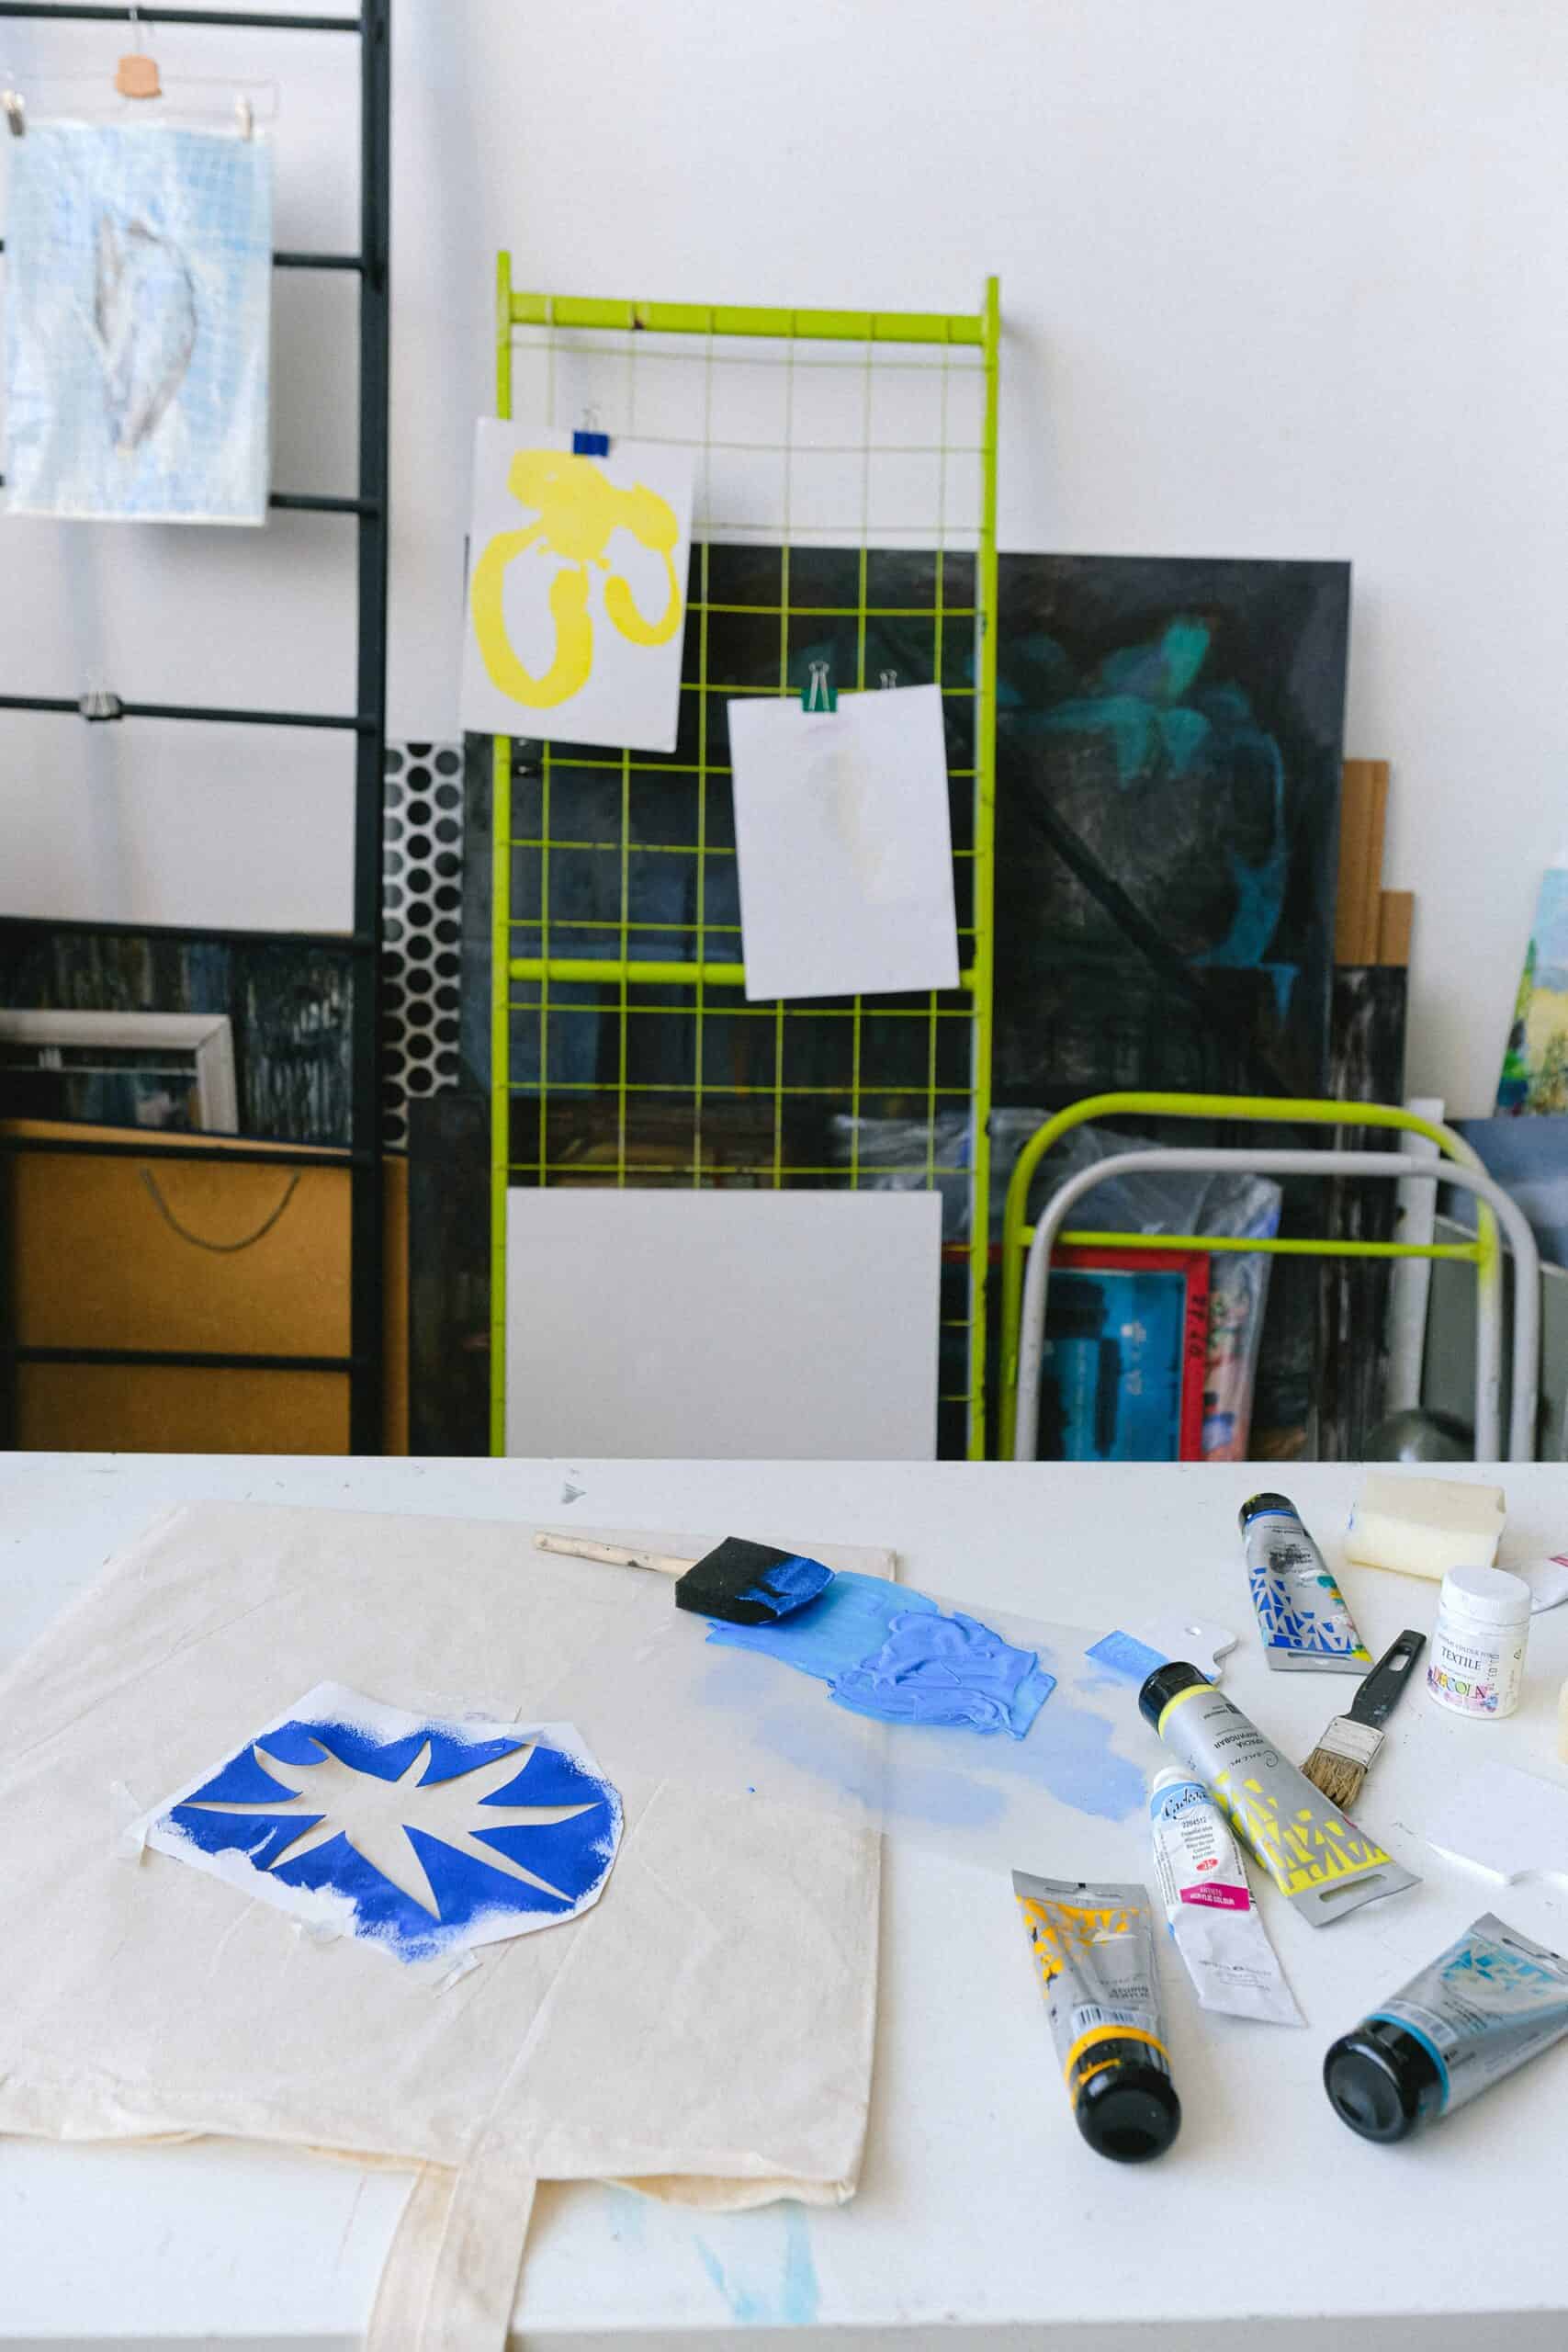
Once washed, iron out any wrinkles or creases in the material as this will create an even surface for you to work with. When it comes to fabric type and weight, I generally recommend using medium-weight fabrics like canvas and denim that won't be too heavy when complete but still thick enough to hold up against wear and tear.
Finally, use an appropriate size brush for whatever design or pattern you're creating. Smaller brushes are better for detailed designs while larger ones can cover more area quickly - just remember, each stroke should be light and consistent!
Applying The Paint
As the old adage goes, 'The devil is in the details'. Applying acrylic paint to fabric can be a tricky task. The key to success lies in taking your time and paying attention to detail. To achieve the best results when painting on fabric with acrylics, use thin layers of paint instead of thick ones. This will ensure that colors blend together without becoming muddy or too dark. Additionally, it's important to let each layer dry before adding another one so that the colors don't run into each other. A great way to do this is by using a hairdryer on low heat setting between coats.

When you are finished painting, it's essential to properly seal the artwork so that it lasts for years to come. Sealing protects against fading, as well as protecting from accidental spills and normal wear-and-tear. It also helps keep colors vibrant and makes sure they won’t bleed onto clothing or other fabrics when worn or used regularly. In order to get started preparing for sealing your artwork, make sure all the paints have completely dried before proceeding any further - otherwise you may end up ruining your masterpiece!
Preparing To Seal The Paint
Before sealing acrylic paint on fabric, it's important to make sure everything is properly prepared. First, I'll check that the fabric has been pre-washed and ironed without any starch or sizing added. It's also important for me to ensure that the fabric is completely dry before getting started. This helps prevent any wrinkles from appearing when the paint dries. Once all of this is done, it's time to get ready for sealing the paint!
Next, I’ll select an appropriate sealant – either a spray-on varnish or brush-on coating - depending on what type of finish I want my artwork to have. If I want glossier results then a spray-on sealer will do the job better than a brush-on one. For more matte finishes, however, a brush-on product can be used instead.
Additionally, some sealants may require additional heat setting with an iron or hairdryer in order to fix them into place once they are applied over the painted surface of the fabric.
Finally, I'm now ready to start applying my chosen sealant onto my newly painted piece of fabric art. The key here is making sure each coat is fully dried before beginning another layer so as not to cause damage or smudges from wet layers being applied on top of each other. With these steps taken care of, let's move on to sealing the paint!
Sealing The Paint
It's time to seal the paint and make sure that your fabric masterpiece will last for years. Sealing acrylic paint is pretty straightforward, but there are a few tips you should know before getting started:
Materials Needed:
- Heat gun or blow dryer
- Aerosol spray sealant (e.g. Krylon)
- Masking tape
Instructions:
- Start by covering any painted areas with masking tape so it won't get damaged during sealing.
- Then, use a heat gun or blow dryer on low setting over the painting for about 10 minutes to ensure the paint has fully cured. This will help the aerosol sealant adhere properly to the fabric.
- After that, apply an aerosol spray sealant in light coats while holding the can at least 12 inches away from your artwork. Allow each layer of sealant to dry completely before applying another coat. Depending on how thick you want your finish, you may need up to four layers of coating before being done!
As a textile painter/textile artist, I recommend using a quality aerosol spray sealant like Krylon instead of other products such as Mod Podge or fabric mediums because they don't offer long-term protection and may crack or chip off after multiple washings. When finished sealing, let your art piece rest overnight before putting it into service - this final step allows plenty of time for all those lovely colors to set securely! Now that your painting project is complete, take some extra steps to ensure its longevity through proper care and maintenance.
Care And Maintenance
Caring for and maintaining fabric painted with acrylic paint is relatively easy. To start, make sure to wash the fabric in cold water before painting on it – this helps keep dirt and oils out of the paint. Once you’ve finished your masterpiece, let it dry completely before beginning the sealing process. I recommend using a spray sealant as it provides an even coverage across the entire surface of the fabric. A few light layers should do just fine; be careful not to overdo it or else it could cause discoloration or fading! When applying each layer, wait at least 10 minutes for it to dry before moving onto another one.
Allow 24 hours for your work to fully cure before washing or wearing your newly painted garment.
Conclusion
As a textile painter, I'm sure you have been looking for ways to seal your acrylic paint on fabric. Now that you know how to do it properly and with the right materials, you can be confident in the knowledge that your work is safe from wear and tear! The key is to ensure proper prepping of the fabric before applying the paint, as well as preparing and sealing the paint correctly once applied. With careful care and maintenance, you will be able to enjoy your masterpieces for years to come!
But don't forget - this process takes time! You may need multiple layers or coats of sealant depending on the material you are working with. So make sure to set aside enough time when planning out your projects so that they can turn out just as beautiful as you imagined them.
Sealing acrylic paint onto fabric is not impossible if done correctly; it just needs patience and dedication! As long as these steps are followed thoroughly, any artist should feel comfortable knowing their artwork is secure and won't fade away anytime soon. So get ready to show off your vibrant creations with confidence!


