How to Seal Your Acrylic Pour Painting to Keep the Colors Bright and Beautiful
Hi everyone! I'm an acrylic pour painting expert and I'm here to share with you my top tips on how to seal your project successfully. Acrylic pour paintings are a great way to create vibrant, unique works of art - but sealing them correctly is essential for preserving their vibrancy in the long term. In this article, I'll be walking you through everything from choosing the right type of sealer to properly applying it so that your piece will last for years to come.
So let's get started! Sealing an acrylic pour painting isn't all that difficult once you know the basics; however, there are some important points to keep in mind when selecting and using the appropriate sealer. First off, make sure you choose a quality product specifically made for use with acrylic paints. You don't want something too thick or oily as this can affect the appearance of your artwork. Additionally, it's important not to apply too much sealant as this could cause cracking over time.
Finally, proper application technique is key when it comes to the successful sealing of an acrylic pour painting. Make sure that you've allowed enough drying time before applying any sort of sealant (at least 24 hours) and work in small sections rather than trying to cover the entire surface at once. Applying even coats and avoiding puddles will also help ensure success!
Preparation And Materials
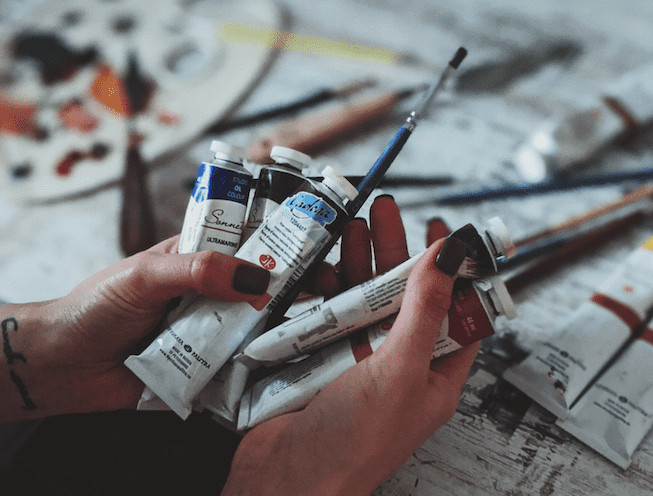
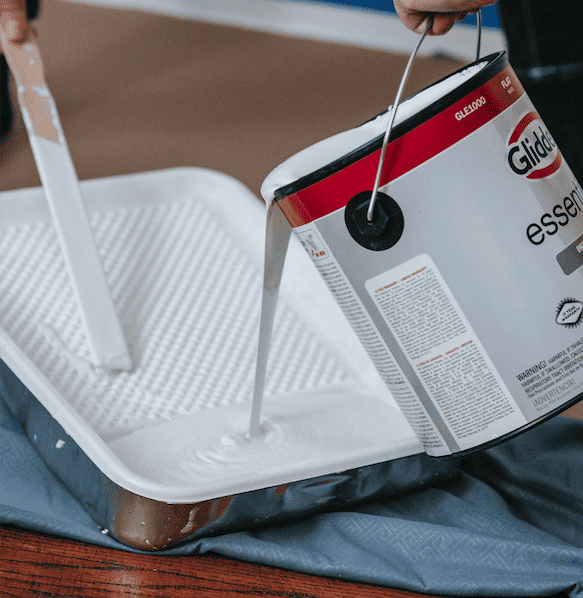
Before I start pouring, there are a few things I need to get together. First off, you'll want to have your acrylic paint and pouring medium on hand. Make sure the ratios of each are correct for optimum flow. You'll also need a painting canvas of your choice-canvas board or stretched canvas both work great! Don't forget protective gloves either; they're an essential part of any pour painting process. Finally, pick up some stirring sticks - wooden ones will do just fine.
Once everything is gathered, it's time to move on to mixing the pouring medium.
Mixing The Pouring Medium
Mixing the pouring medium for an acrylic pour painting is a critical step to getting beautiful results. It's important to get the right ratio of paint and medium so that your colors flow together smoothly, without any lumps or bumps. Here are some tips on how to mix your pouring medium like a pro:
Creating a Base Mix
Start by adding two parts of fluid acrylics to one part of your chosen pour painting medium in a cup. This will be your base mix which you can then customize with color depending on what type of pour you want to create.
- Be sure to use equal amounts of each component when mixing the base solution; otherwise, it may not work correctly. Make sure there are no clumps in the mixture before moving on to customizing with color.
- Don't forget to stir thoroughly until everything is well combined!
Adding Color
- Now that you have your base mix ready, you can start customizing it with color. You can do this by adding drops of fluid acrylics directly into the cup, making sure that they blend seamlessly with your base solution before continuing.
- Experiment with different proportions as needed - just remember that if you add too much pigment, it could affect the consistency of your paint and make it difficult to work with during application.
- Feel free to experiment with different color combinations and find out what works best for you!
Testing Your Mix
- Once you've finished creating your unique blend, it's time to test it out on a surface before beginning your project. Dip a brush into the mixture and apply it onto a scrap piece of paper (or whatever other surface you're working on) and observe how the paint flows once dry – does it run off easily? Does it stick nicely? Is there enough texture? These all play an important role in determining whether or not your mixture was successful! If something isn't quite right, don't hesitate to tweak ratios until you achieve optimal results.
Now that we’ve covered mixing our pouring medium, let’s move on to selecting our paints and applying them…
Color Selection And Application
When it comes to acrylic pour painting, color selection is everything. Almost 80% of completed works are attributed solely to the artist’s ability in selecting and applying colors. As an expert in this technique, I advise that you take your time when deliberating over which colors will be used for your particular piece.
It's important to understand the range of hues available from different brands of acrylic paints, as well as their individual consistency and viscosity potential before deciding on a palette for your work.
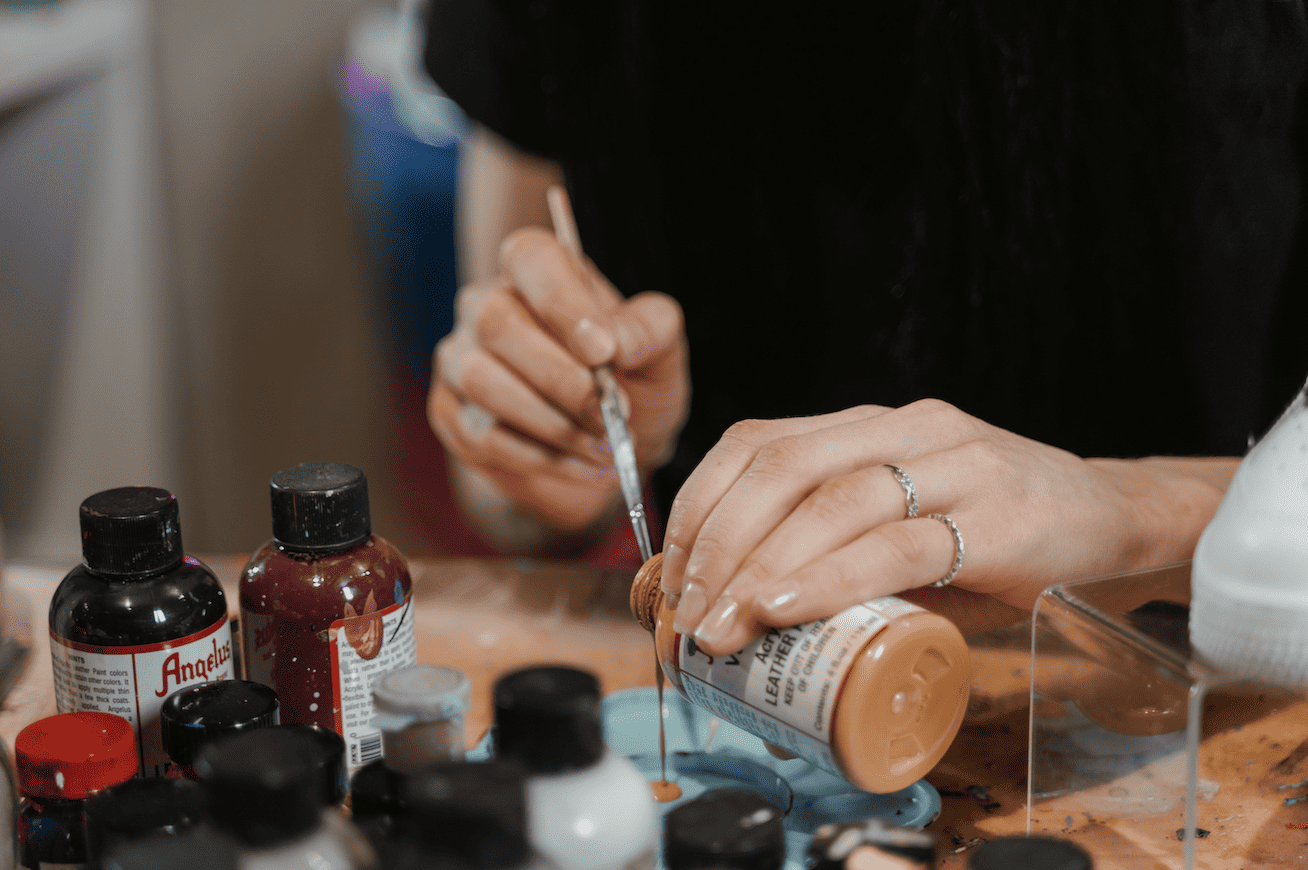
The application process involves pouring the selected colors onto a canvas or wood paneling surface with a specific pouring technique. Make sure to use a carrier medium like floral or silicone oil during this step; these substances help achieve even levels of paint flow while also enabling beautiful puddle formations and interesting marbling effects too! Additionally, keep in mind how the various pigments interact with each other - some may mix more easily than others, creating unexpected but pleasing results!
Ultimately, utilizing proper preparation techniques before starting your project can make all the difference between success and failure. Take care when choosing materials, mixing media, and applying color combinations so that you end up with a gorgeous final product worthy of displaying proudly. And now let us move on to learning about how tipping and tilting the canvas affects our artworks.
Tipping And Tilting The Canvas
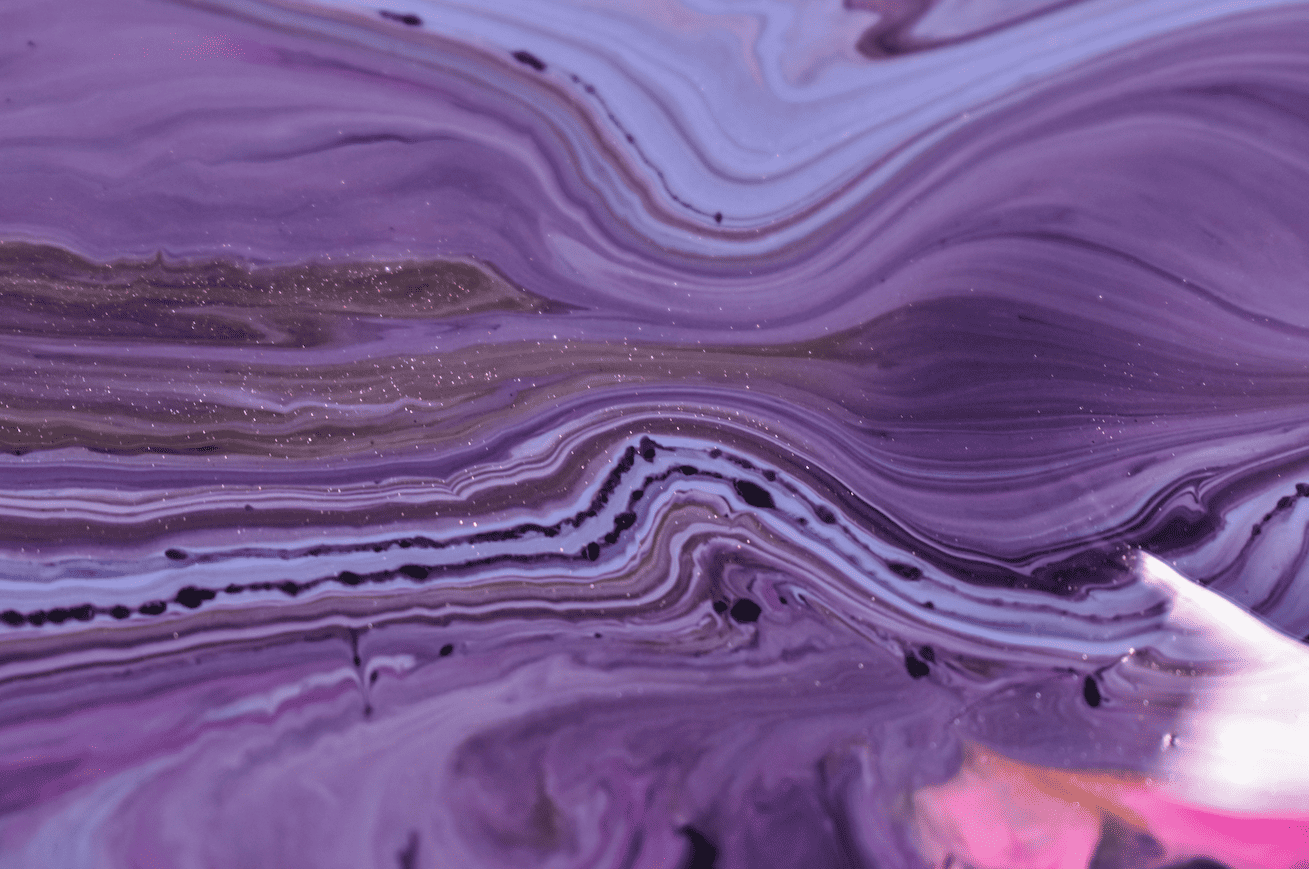
Once your canvas is prepared, it's time to start tipping and tilting the canvas. This is an important step in acrylic pouring which helps achieve different effects with the paint. To begin, tilt the canvas so that one corner points slightly downwards towards a piece of cardboard or paper underneath it. Now pour a small amount of acrylic paint onto the tilted part of the canvas. Then gently tip and tilt the canvas back and forth until you have achieved your desired effect.
You may want to use more than one color for this exercise by slowly adding additional paint layers on top of each other while continuing to tilt and move the canvas around. This will create beautiful patterns within your painting as well as give depth to it. It’s important not to apply too much pressure when doing this as you could accidentally flatten out any interesting shapes created by tilting and tipping the canvas.
Experimenting with different combinations of colors and movements can bring unexpected results that look amazing! Be sure to take breaks throughout this process if needed – creating art should always be enjoyable rather than rushed or forced. When finished, it’s time to let your masterpiece dry before moving on to the next step in our guide: drying the paint.
Drying The Paint
Once you’ve finished your acrylic pour painting, it’s time to let it dry. To ensure the best possible results, you must be patient and allow your work to thoroughly dry before attempting any further steps in the process. Here is a table that lists some of the most important information regarding drying times:
Type | Time Frame | Temperature |
|---|---|---|
Unaltered Paint | 2-4 hours | Room Temp |
Thinned with Water | 1 hour | Room Temp |
Heat Gun | 10 minutes | High Heat |
When allowing the paint to dry naturally, make sure your workspace has good ventilation and no direct sunlight hitting the canvas as this can cause the colors to fade or warp over time. If using a heat gun, take care when aiming at certain areas of the painting so as not to damage them. Lastly, for optimal results keep an eye on progress every 15 minutes or so during drying time.
Now that we have discussed how long it takes for acrylic paints to dry properly, let's move on to sealing our masterpiece! For this step, we will need to choose either a gloss or matte varnish depending on what look we are going for. With this decision made, all that remains is applying the sealant correctly.
Sealing The Painting
Now that you've reached the home stretch of your acrylic pour painting, it's time to give it some long-term protection and make sure this work of art lasts! Sealing an acrylic pour is one of the most important finishing steps. Here are a few techniques for sealing your masterpiece:
- Acrylic Varnish - This is the most popular option when it comes to sealing an acrylic pour painting due to its versatility and ease of use. It provides a protective coating while also enhancing color vibrancy and depth.
- Spray Sealant - Using a spray sealant can help keep dirt and dust away from your artwork in addition to providing additional UV protection against fading over time.
- Heat Gun - A heat gun is another great way to protect your painting by melting layers together and creating a glossy finish. Be careful with heat guns though, as they can easily damage or discolor your paintings if not used correctly!
No matter which method you choose, these sealing techniques will ensure the long-term preservation of your beautiful piece of art so you can enjoy it for years to come! Now that we have our painting sealed up tight, let’s move on to giving it those final touches before hanging it up proudly in our home or studio.
Final Touches
Once the painting has been completed, it's time to add those extra details that will give your acrylic pour painting its final touches. It is important to take the time to ensure that your artwork looks as good as possible before you complete it. Several techniques and materials can be used to enhance the effects of your painting.
One way to finish off a painting is by using glazes or varnishes. These products help protect the colors from fading over time, while also adding a layer of protection against dirt and dust accumulation. They can also provide more depth and texture to the overall piece when applied properly.
Additionally, they may bring out certain colors in areas where too much paint has been applied without any blending or covering up of other colors.
Another approach for finalizing a painting is through embellishments such as glitter, beads, sequins, feathers, etc., which can add sparkle and shine to your work for an eye-catching effect. Finally, use different tools like sponges, brushes, stamps, etc., for creating unique textures on the surface of the canvas or board – this helps make your creation stand out even more!
By following these tips and spending some extra time perfecting all aspects of the project, you'll create beautiful pieces every time; enhancing both your skill set and portfolio!
Conclusion
The journey of creating an acrylic pour painting is not just about the act of pouring but also includes understanding how to correctly seal it. Sealing your masterpiece will protect and preserve it for years to come. It’s important to make sure all layers are completely dry before sealing; any moisture left in the paint could be trapped and cause discoloration or cracking over time.
Once you've determined that your piece is ready to be sealed, there are several options available: a spray-on fixative, varnish with a brush or aerosol can, or even wax. Each method has its advantages and disadvantages so make sure you do your research beforehand! No matter which option you choose, always remember to apply multiple thin coats instead of one thick coat—this will ensure better protection from dust and dirt as well as keep your colors vibrant for longer.
With these tips in mind, you'll be able to properly seal your acrylic pour paintings and keep them looking their best for many years to come! By taking the time now to learn how to properly seal this unique art form, you're ensuring that future generations will still be able to admire it.

