Innovative Approaches for Making Acrylic Paint Stick to Glass
As an acrylic paint specialist, I’ve been asked many times how to make acrylic paint stay on glass. It can be tricky and intimidating at first, but with some patience and practice, you’ll soon be able to successfully create stunning pieces of art on glass surfaces. In this article, I will take you through the basics so that you too can learn how to make your acrylic paints last on any type of glass surface!
You may be asking yourself what makes it difficult for acrylics to stick onto glass. The answer is simple: the smoothness of the glass creates a barrier between the paint and surface making it hard for them to ‘grab’ onto each other. But don't worry - there are several techniques available that can help solve this issue. With a few tricks up your sleeve and my expert advice, you'll soon have vibrant artwork adorning any kind of glass surface in no time!
Making sure your painting project lasts long after completion starts from the preparation before even beginning to apply the paint itself. Following these steps correctly ensures that your work stays intact for as long as possible – let’s begin!
Understanding Acrylic Paint
Understanding acrylic paint is key to making it stay on glass. Acrylic paints are formulated differently than other kinds of paints, as they contain an emulsion of polymers suspended in water. This makes them fast-drying and durable once cured, but also very difficult to work with if you don't understand the basics. When applied correctly, acrylics can be used for a variety of projects including painting on canvas or wood, airbrushing, and even painted directly onto glass. It's important to note that acrylics will not adhere properly without proper preparation of the surface first. For this reason, prepping the glass surface before applying your paints is essential for successful results. With the right knowledge and techniques, anyone can create beautiful artwork using acrylics!
Prepping The Glass Surface
Now that you understand acrylic paint, it's time to get down to the nitty gritty of prepping your glass surface. You'll need to take special care in preparing the area before you apply the paint. This will ensure that your finished project has a professional look and the colors stay vibrant and true for years to come.
The first step is to make sure that any dirt or residue on the glass is removed with rubbing alcohol and a lint-free cloth. This will help create an even base and prevent clumping when applying the paint. It also helps keep airborne particles from sticking to the paint as it dries. If you are looking for extra protection against smudges, you can also use a sealer after cleaning with alcohol.
The next step is priming the surface if necessary; some paints may require two coats of primer depending on how thickly they have been applied. Primer gives extra adhesion for better coverage and longer wearability. For best results, select a primer specifically designed for use with acrylics such as Gesso or Golden Artist Colors' Clear Tar Gel Primer/Sealer.
Let the primed surface dry completely before beginning your painting process - this could take anywhere between 10 minutes and 2 hours depending on humidity levels and other factors! With these steps complete, you're ready to start applying paint onto your glass canvas!
Applying The Paint
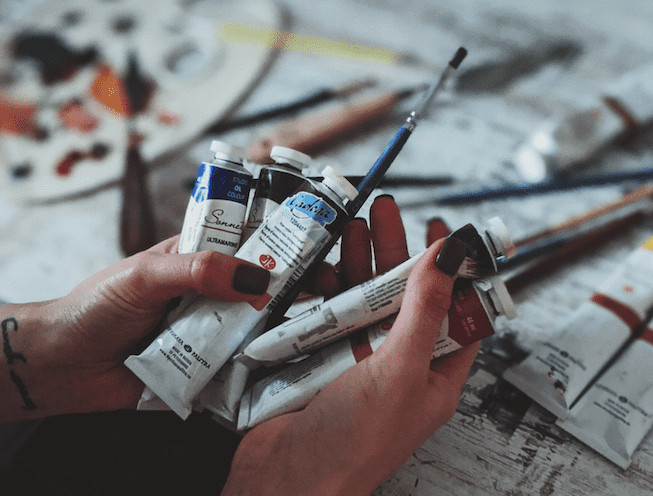
Painting on glass is an art form that requires a steady hand and patience. As an acrylic paint specialist, I can tell you the best way to apply your chosen colors. To start, gathering all of your materials – paints, brushes, cups for water – before beginning will make the process smoother.
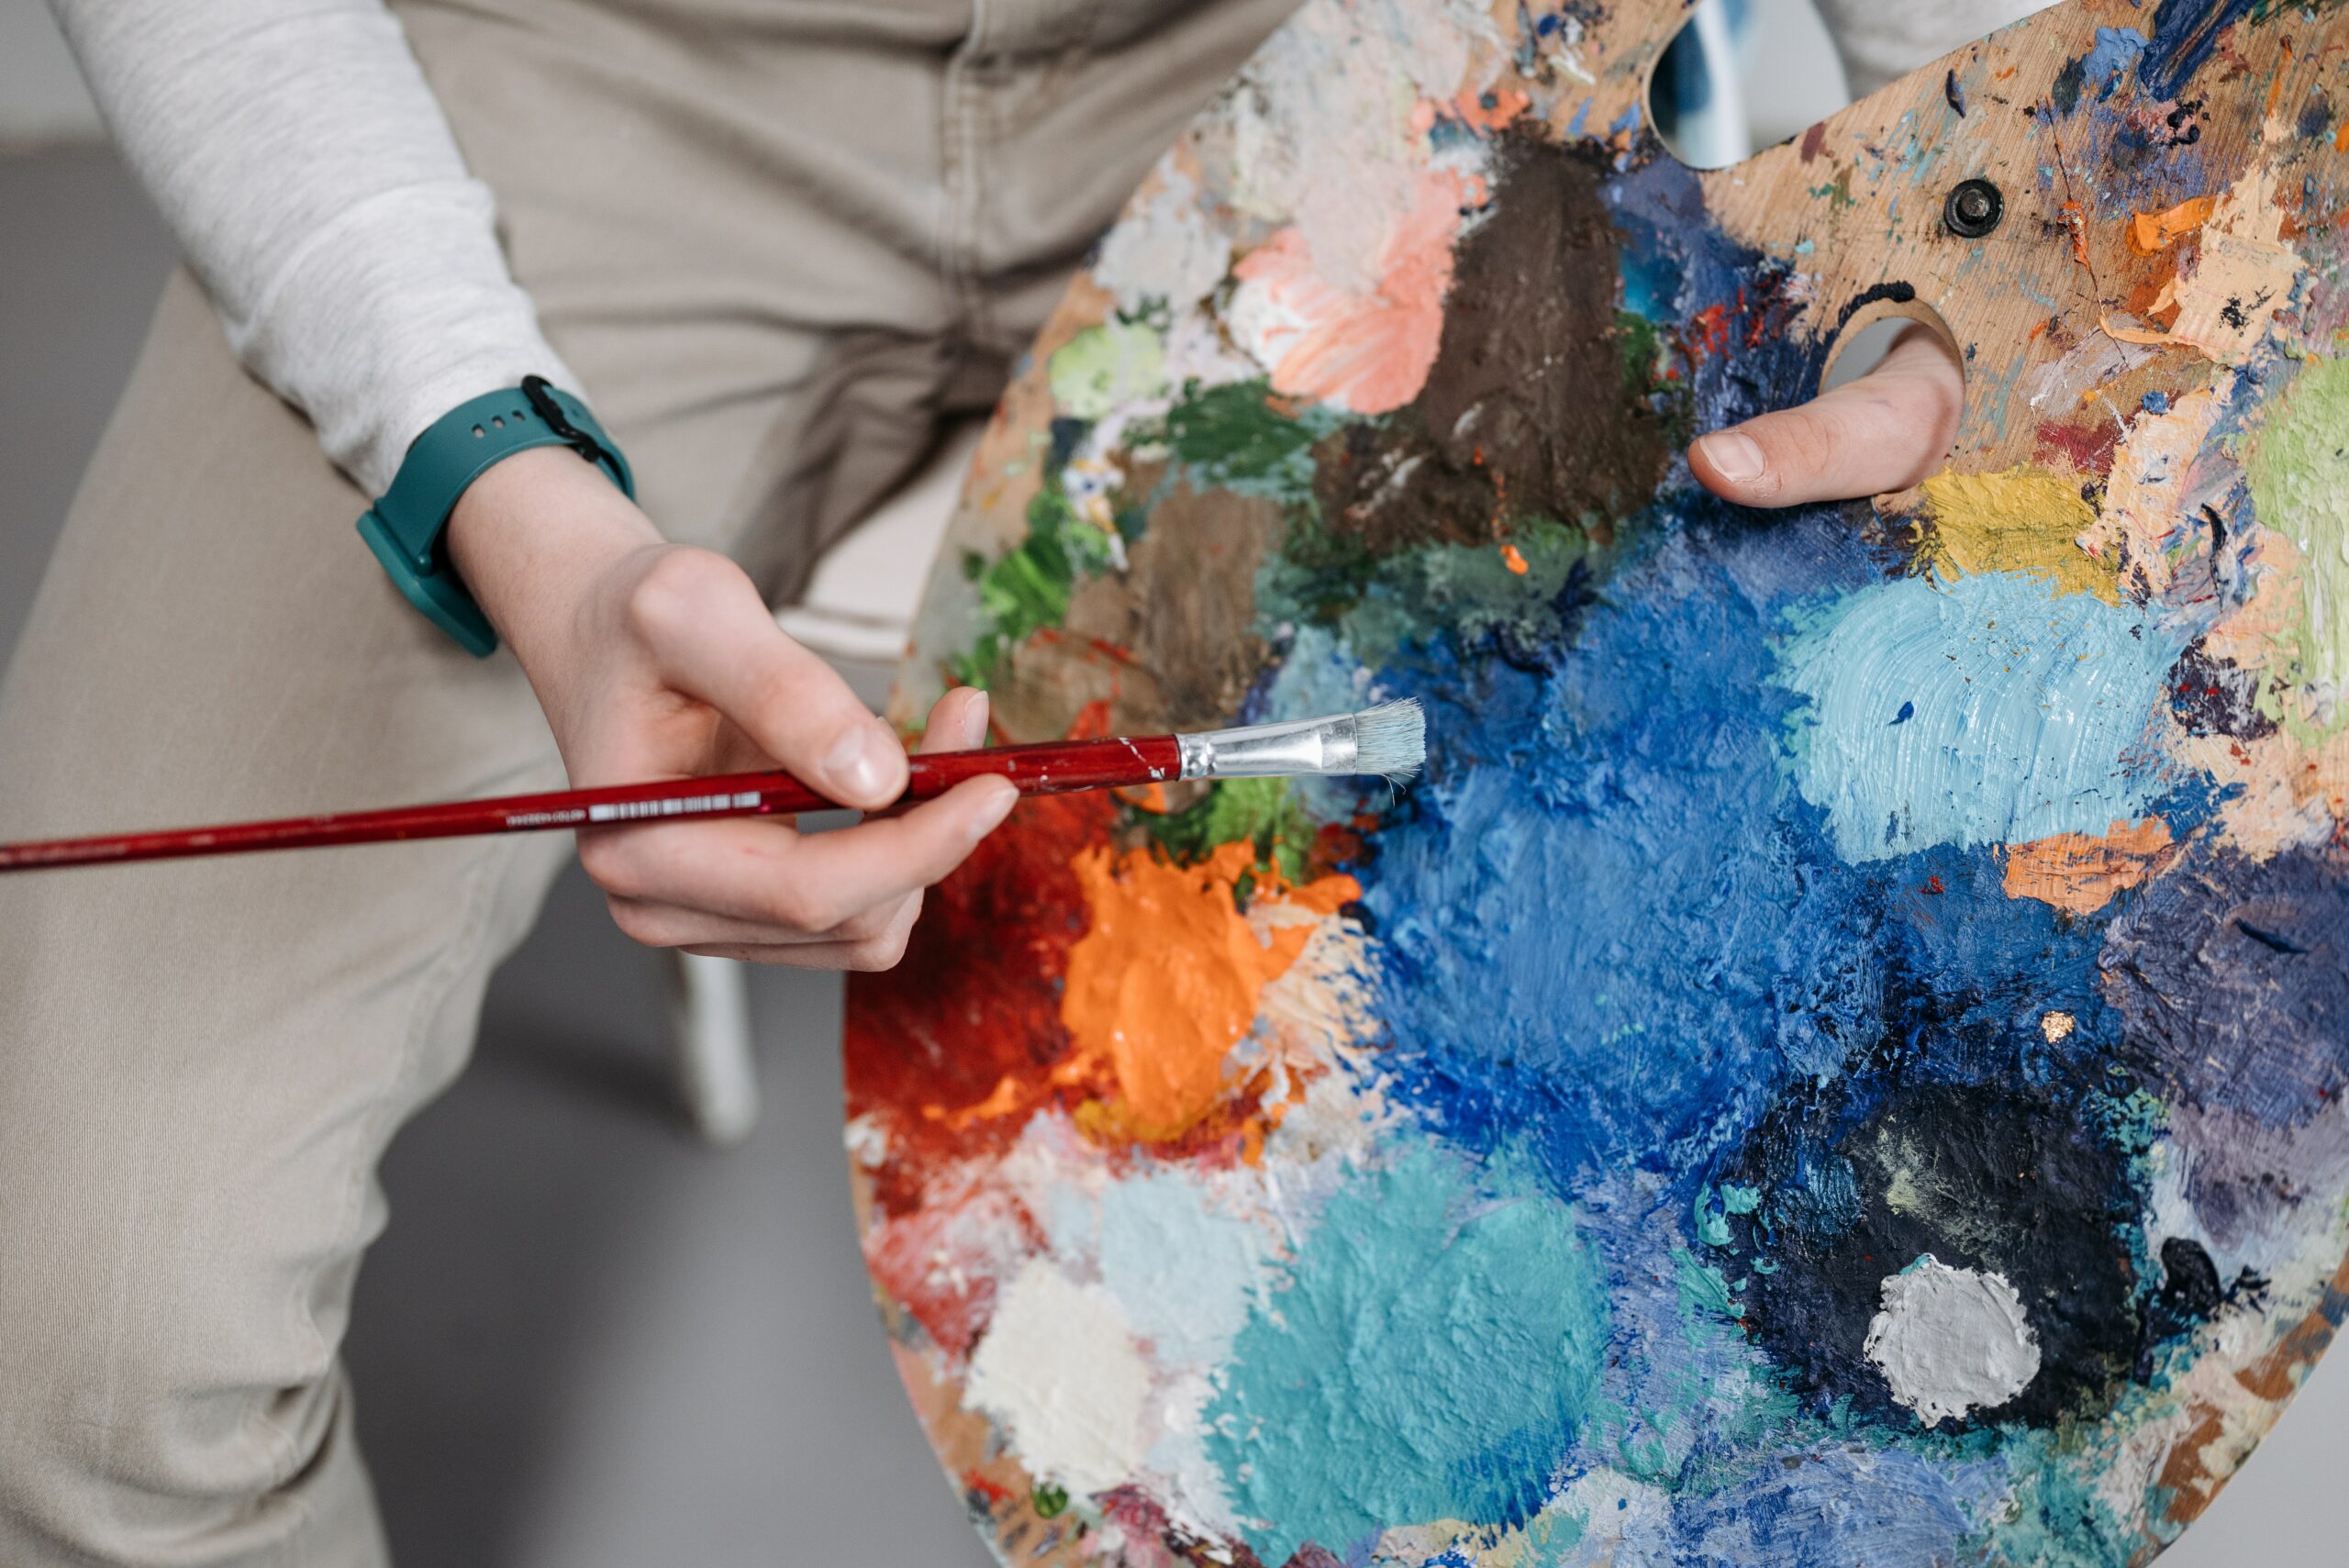
For starters, begin by adding some drops of acrylic paint into each separate cup filled with water. Then, dip a brush in one color at a time and gently spread it over the surface of the glass. Make sure to evenly distribute the color across the entire space so there won’t be any missed spots or areas that appear too dark or light.
When applying more complex designs, it may take several layers of paint to achieve desired results. When layering colors onto one another, allow each layer to dry completely before moving onto the next step. This is important as wet paint can easily smudge and ruin delicate details when attempting intricate patterns.
Now that we have our base colors applied successfully, let's move on to those finishing touches!
Finishing Touches
Once you have mastered the basics of painting glass with acrylics, it's time to make sure your masterpiece stays in place. There are several finishing touches you can apply to ensure that your artwork remains securely on the glass surface.
First and foremost is sealing your work with a coat of matte or gloss varnish. This will not only protect the paint from dust and other debris but also give it a nice finish. It’s important to select a permanent-type sealer as some may rub off over time. Scraping away any excess paint before applying a layer of varnish helps create an even look when dry. If using spray-on sealers, be sure to use several light coats for best results instead of one heavy coating which might leave behind unsightly streaks or splotches.
Varnishing isn't the only step though! Once sealed, I recommend avoiding anything abrasive such as cloths or scrubbers when cleaning up your painted glass piece. Make sure to use gentle soap and warm water together with soft sponges so that no damage is done while removing dirt build-up - this way, your colors will stay vibrant for years to come!
Now that we've finished up our finishing touches, let's talk about preserving your artwork properly.
Preserving Your Artwork
Once you have painted your masterpiece on glass, it is important to properly preserve it. To ensure that your acrylic paint stays on the glass surface, there are a few things you should do. First, make sure to apply an appropriate sealant or topcoat over the paint after it has dried. This will help protect the colors and prevent them from fading too quickly. It also helps create a barrier against dust and moisture that can damage the artwork.
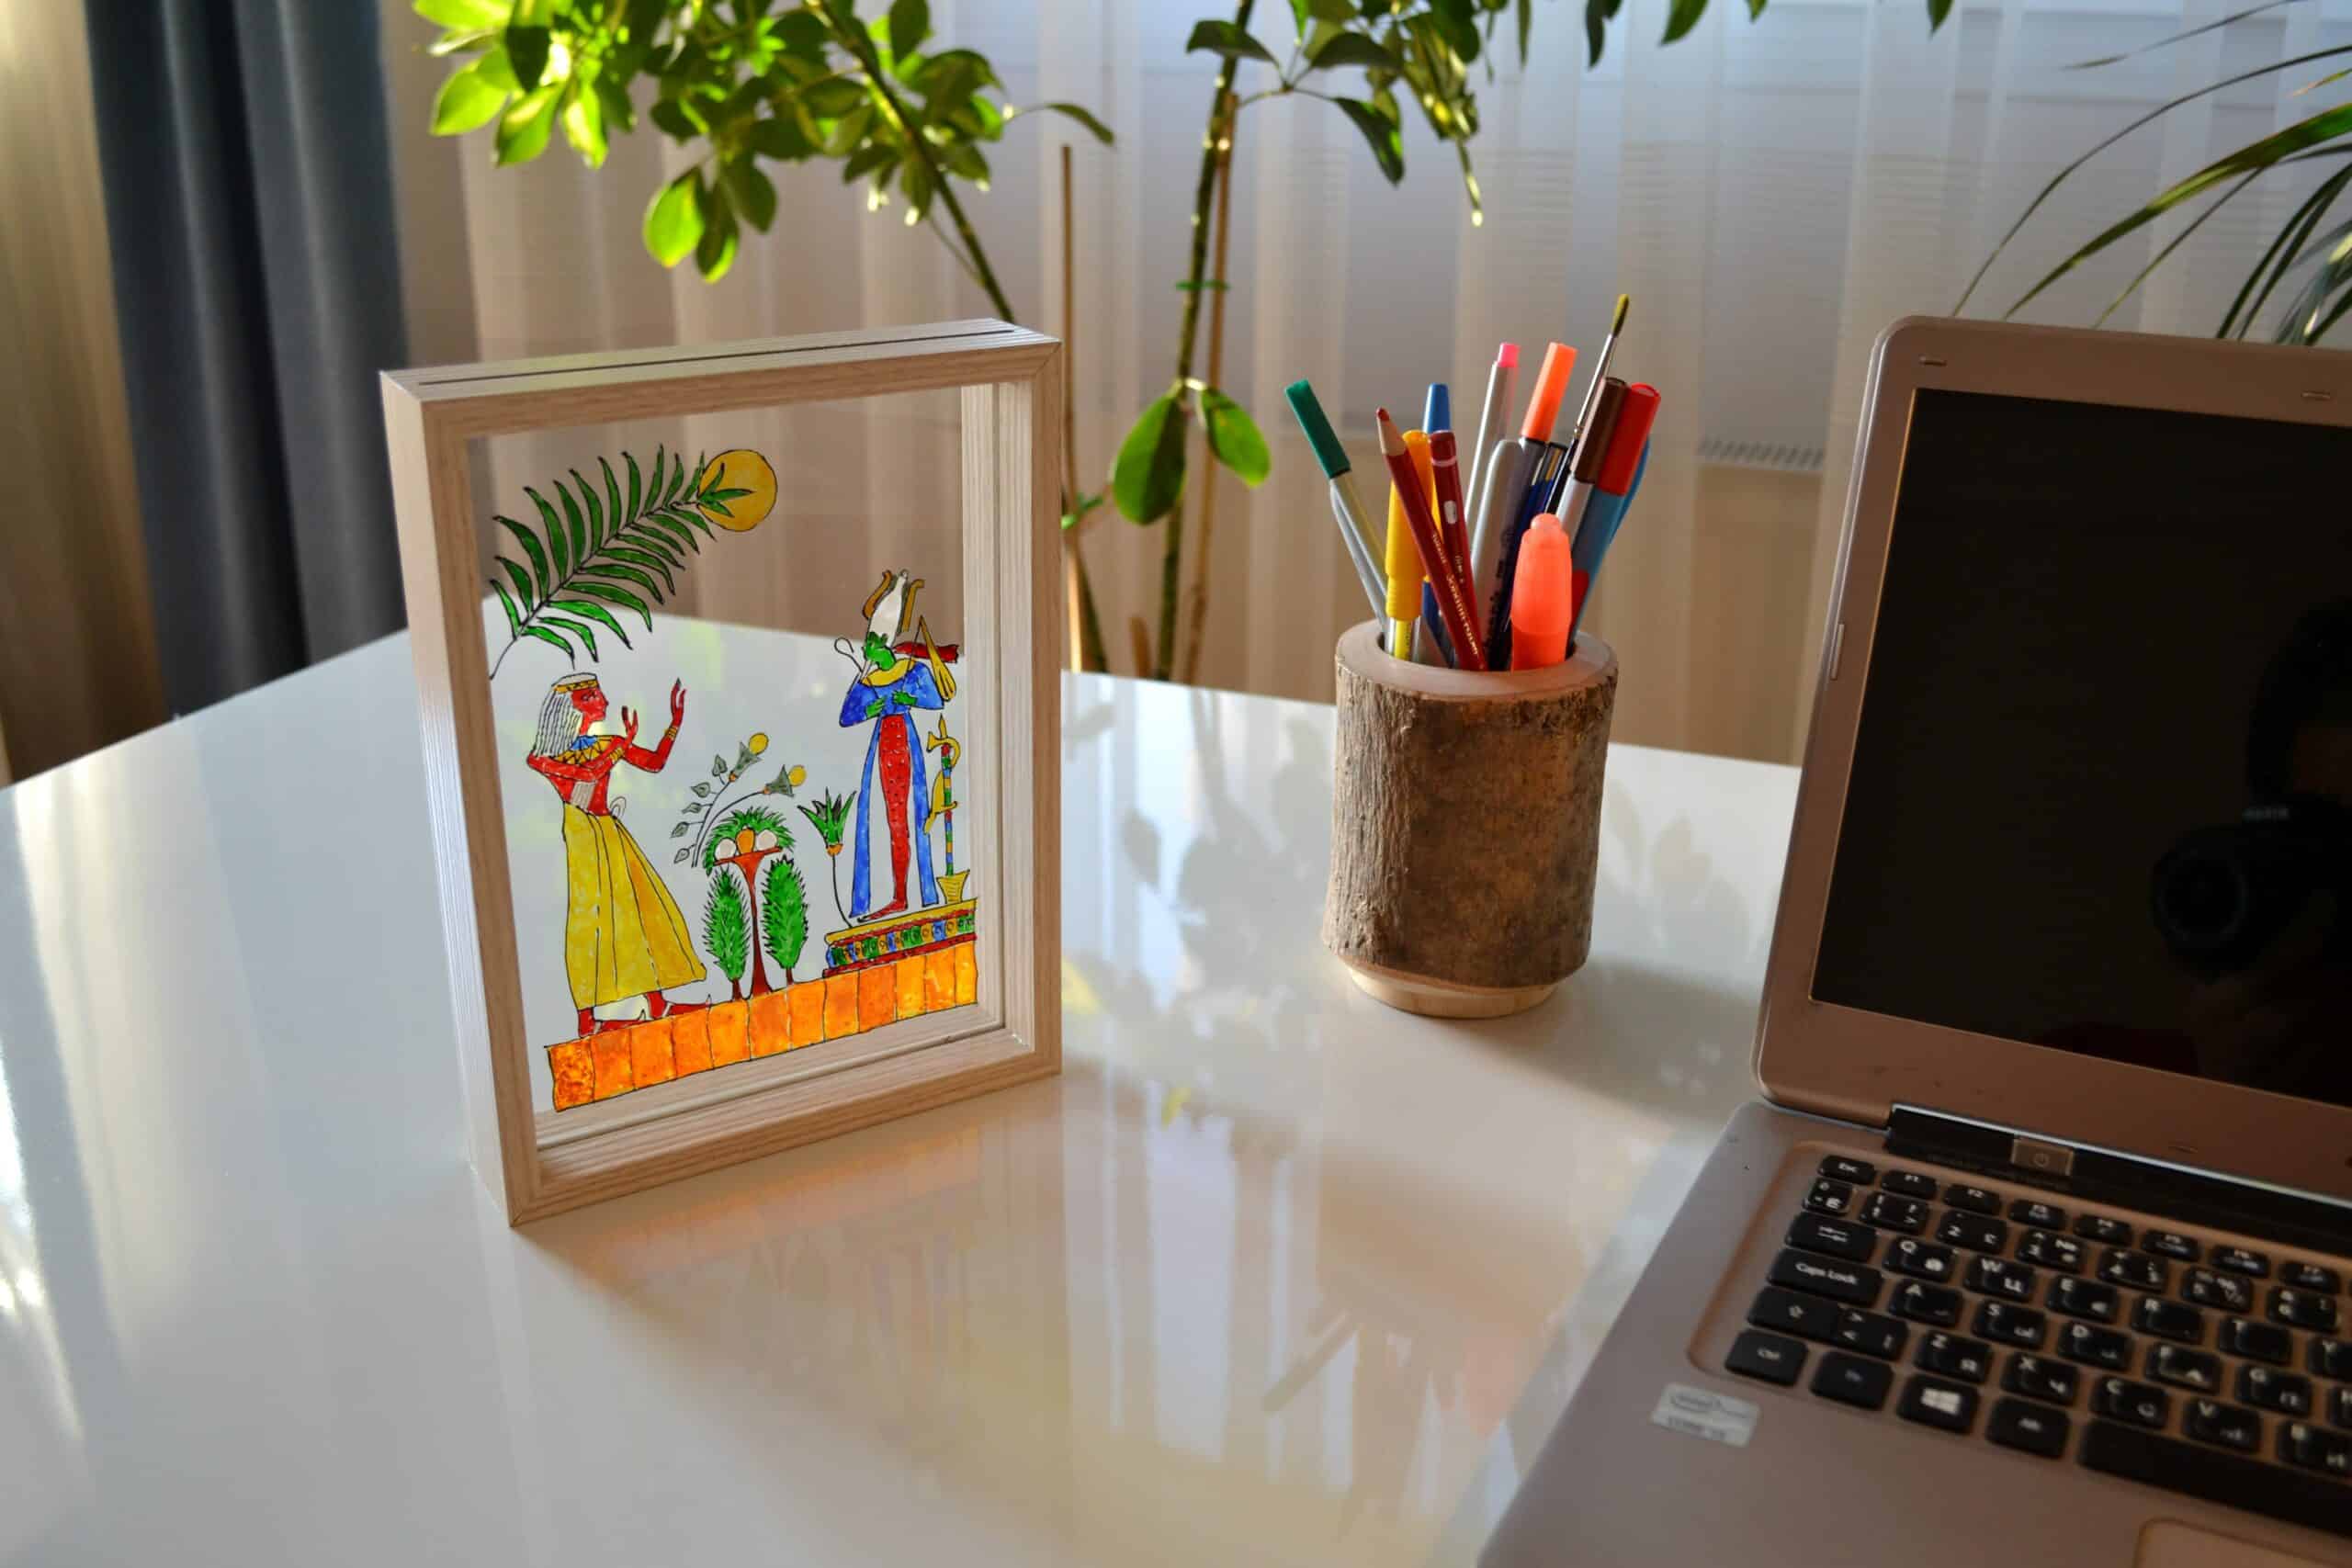
Next, consider adding another layer of protection by using a frame around the painting. Frames not only look attractive but they also provide additional shielding against dirt and other environmental factors such as humidity and sunlight exposure. They also add stability so that your artwork doesn’t move when being transported or hung up in different places.
Finally, if possible, keep your work off direct sunlight for prolonged periods of time since this could cause discoloration or fading of some colors – even with sealants or protective frames in place! With these measures in place, you can rest assured that your art will stay vibrant for years to come. As we move forward into our next section about 'additional tips', remember there are plenty of ways to safeguard your creativity!
Additional Tips
Painting on glass with acrylics is like a dance. You need to be careful and precise while also having the confidence to try something new. Here are some additional tips for making your acrylic paint stay put:
First, use a sealant or varnish when you’re done painting. This will create an extra layer of protection for your work, ensuring that it doesn't chip off easily.
Make sure to always start with clean glass – any dirt or dust can affect how well the paint sticks. And finally, if you're using multiple colors, avoid overlapping them as much as possible; this will help keep them from mixing together and creating an unintended effect.
These simple steps should ensure that your acrylic paintings look great and last a long time! With patience and practice, anyone can become skilled at putting their own personal touch onto glass surfaces with beautiful results.
Conclusion
The world of acrylic painting is a fun and exciting one. With just a few simple steps, you can create beautiful works of art that will last for years to come. Now that you know how to make your acrylic paint stay on glass, take the time to experiment with different techniques and color combinations. You'll be amazed at the stunning results you can achieve!
As an acrylic paint specialist, I encourage all my clients to respect their artwork's longevity by taking the necessary steps outlined in this article. Not only will it keep your piece looking its best, but it also shows appreciation for the hard work and dedication put into creating such masterpieces. After all, artists don't get enough credit as it is!
So go ahead, let your creative spirit run free with glass painting! Whether it's a vase or windowpane, if you follow these tips carefully – I guarantee that your artwork will withstand any test of time!

