Let Your Creativity Fly: Painting a Birdhouse with Acrylics
Welcome to the world of painting! I'm so excited that you've decided to take this journey with me. This article will be your guide as we explore how to paint a birdhouse with acrylic paints. You'll learn all of the essential techniques, tools, and tricks necessary for creating amazing art pieces.
Are you ready? Let's get started! Painting is not only fun but also therapeutic, allowing us to express our creativity in new ways. With acrylics, it's easy to create beautiful works of art without needing much experience or skill. We can mix colors and add layers of texture and depth to create stunning paintings. Plus, there are endless possibilities when it comes to using different brushstrokes and techniques.
In this article, I'll show you step-by-step how to use acrylic paints on a simple birdhouse project - from prepping the surface right through to completing the finishing touches. So grab your supplies and let's get creative!
Gather Supplies
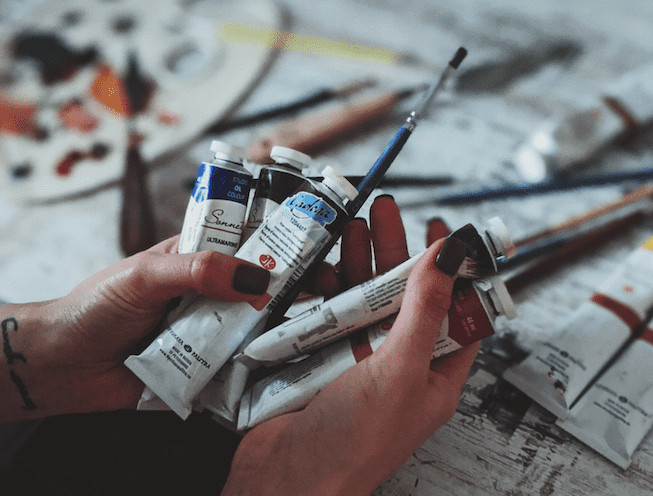
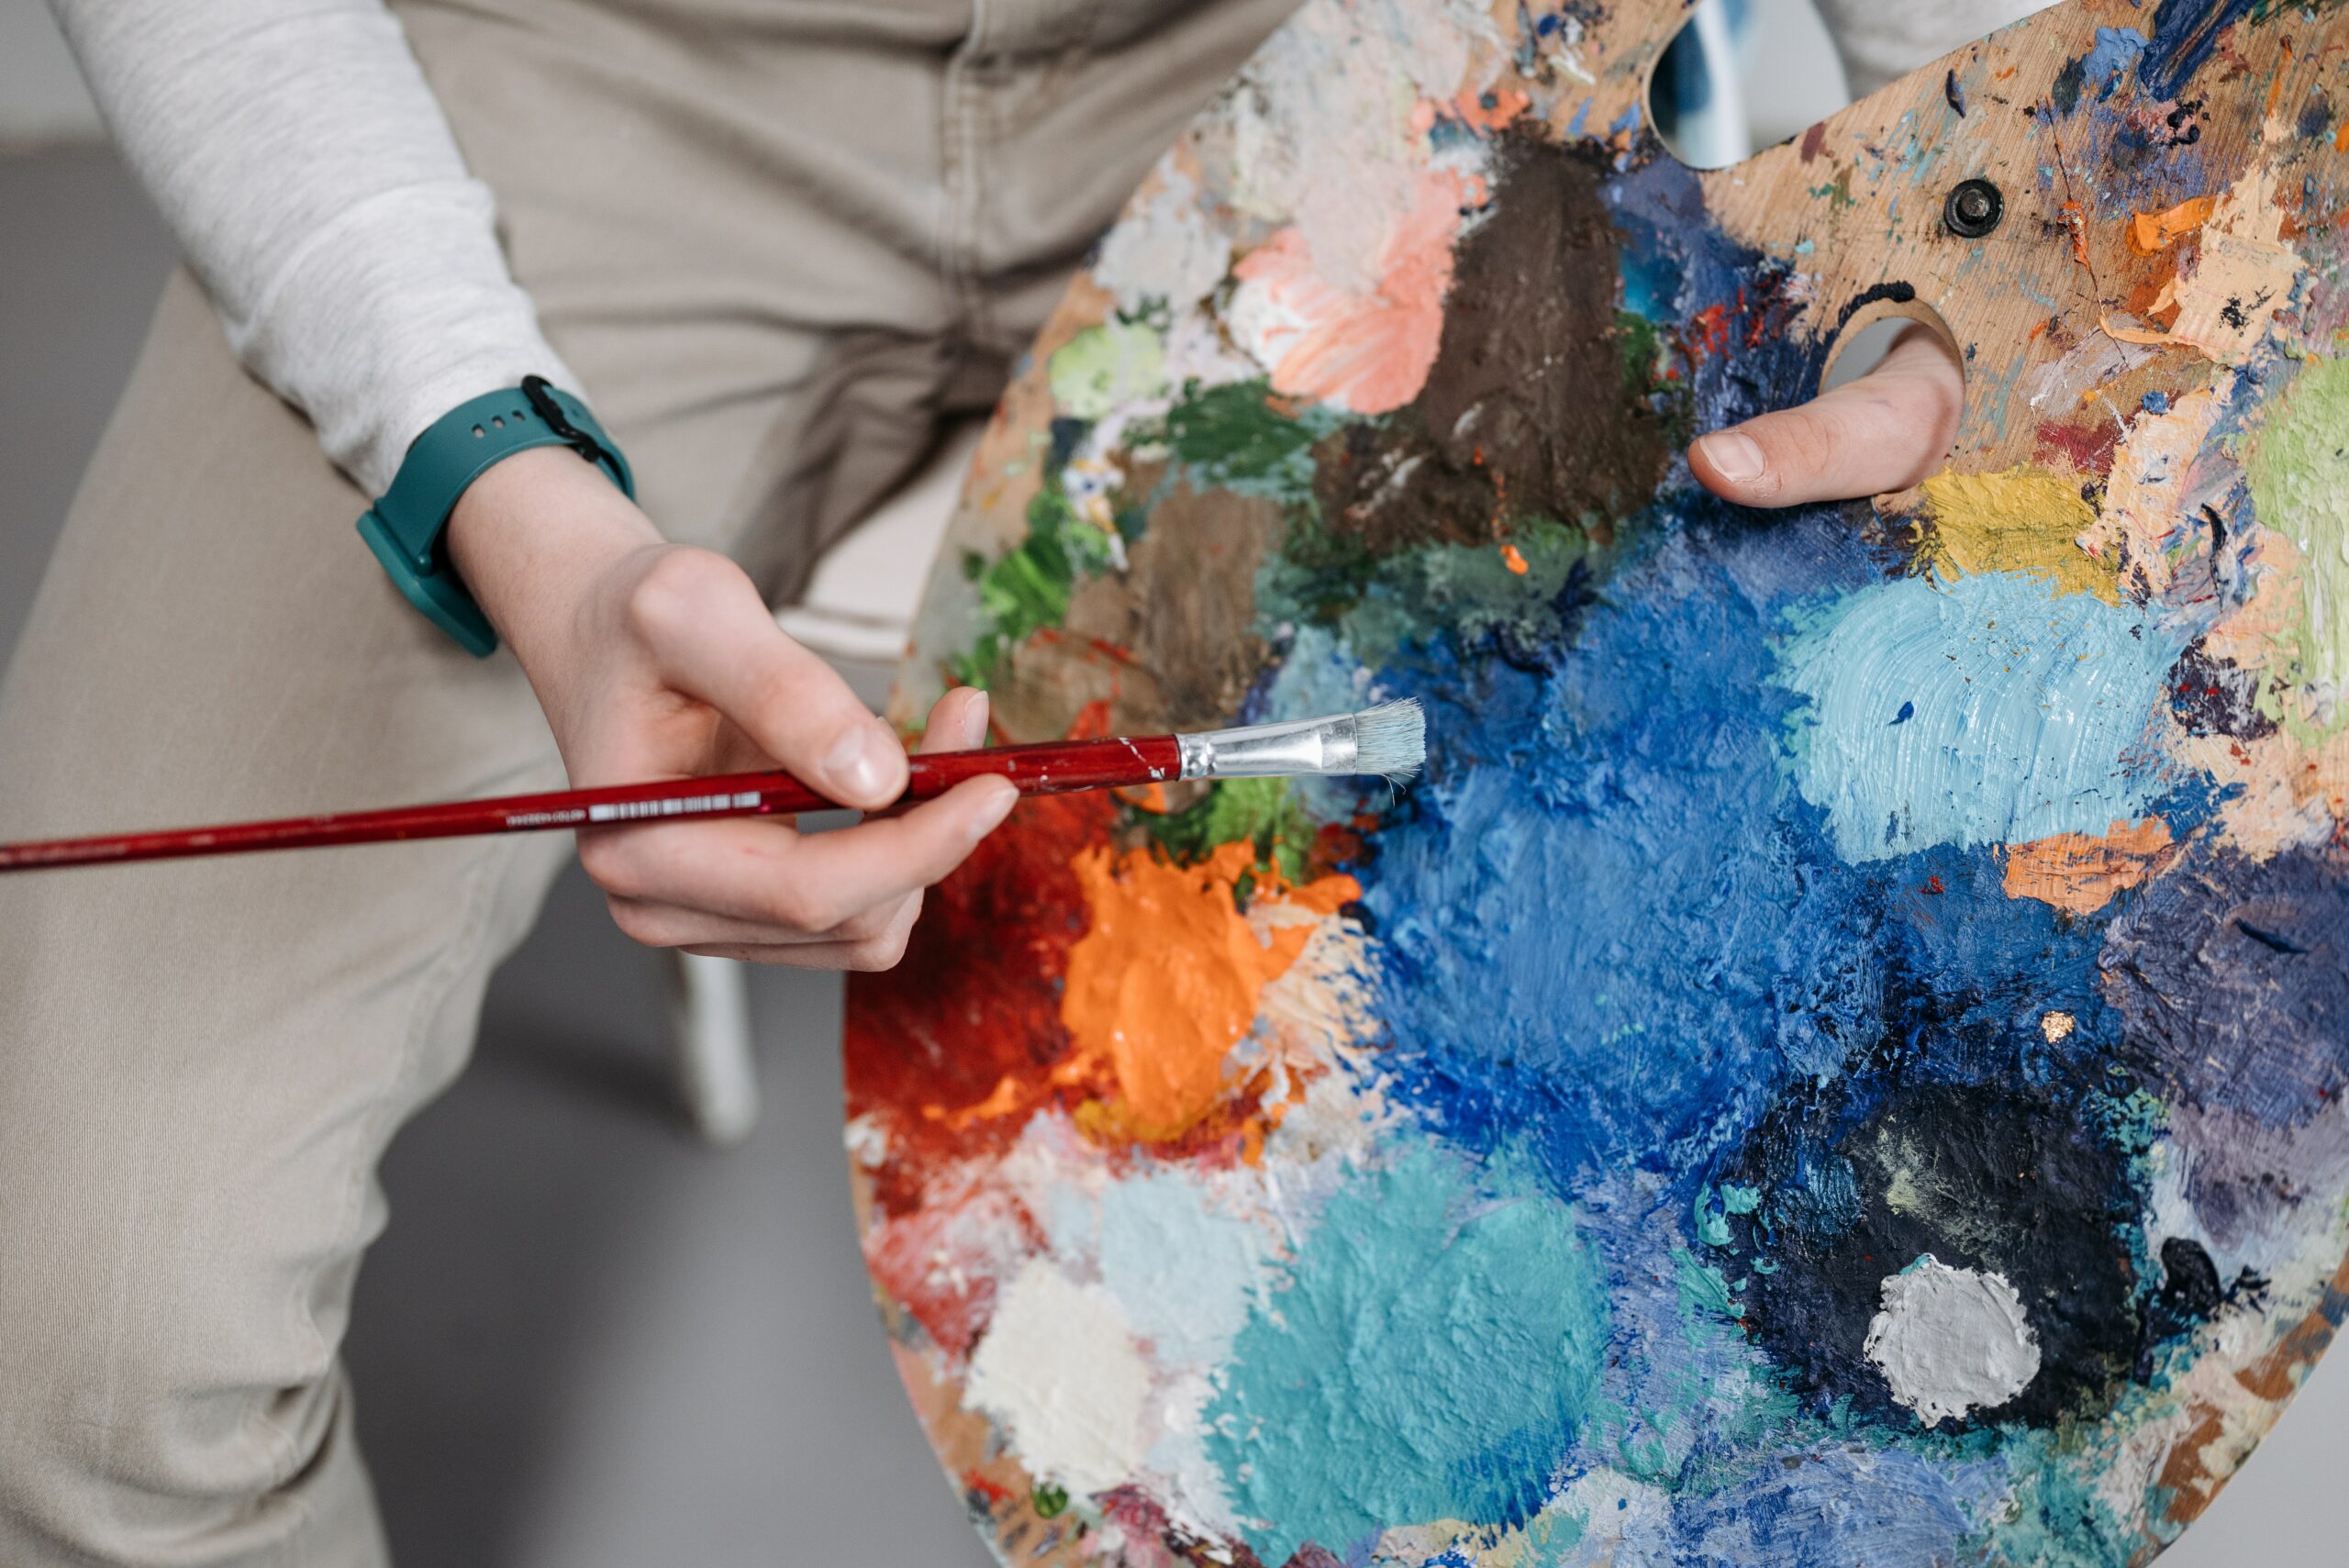
Did you know that the average birdhouse needs a fresh coat of paint every three to five years? Painting your birdhouse is an easy way to spruce up your backyard, and with acrylic paint, it's even easier! As an acrylic painting instructor, I'm here to show you how. To get started, make sure you have all the supplies you need: a birdhouse, acrylic paints in colors of your choice, brushes for detailed work, a drop cloth or tarp for any spills and splatters, and sandpaper for prepping the wood. Now that you're stocked up on materials let's move on to preparation!
Prepare The Birdhouse
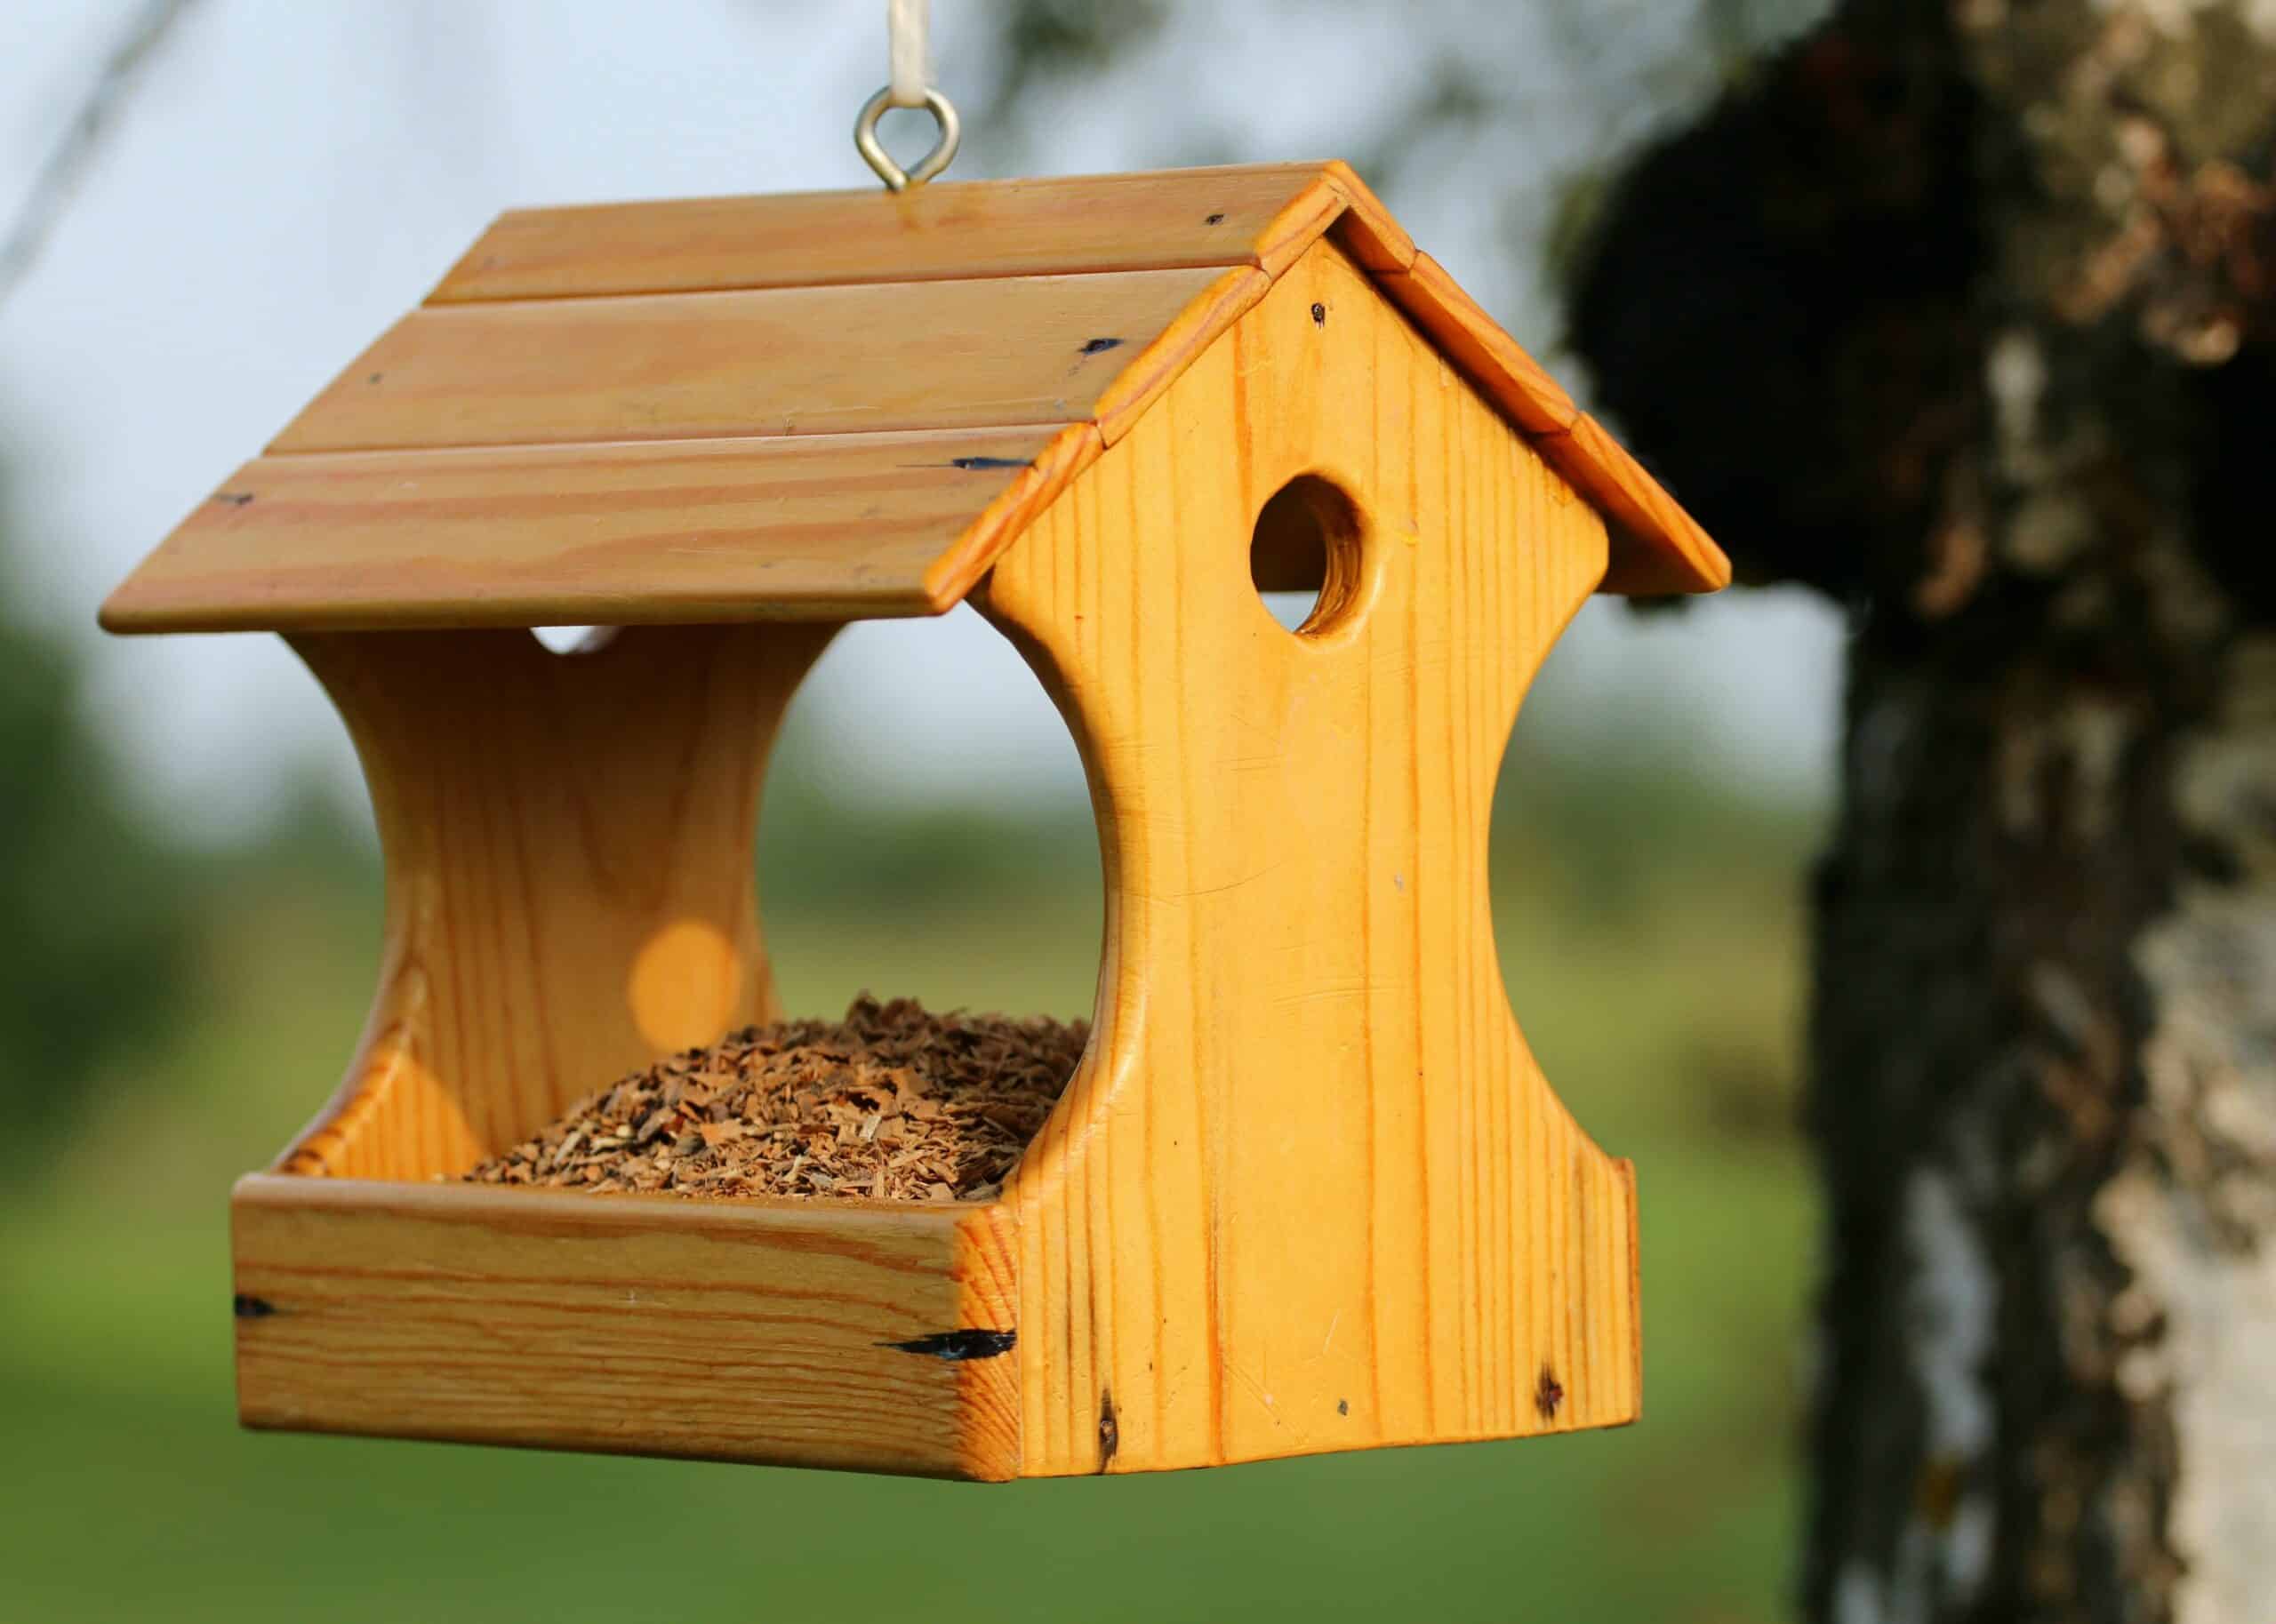
Getting your birdhouse ready for painting is an important part of the process. So, let's start by prepping it! First, you'll need to sand down any rough areas on the surface of your birdhouse. This will help make sure that the paint adheres properly and also gives a nice even finish when painted. Next, give your birdhouse a good cleaning with warm soapy water. Make sure to rinse off all soap residue before moving on to the next step. Lastly, prime and seal your birdhouse.
Primer helps to create a better base coat for the acrylic paint and sealing protects against moisture damage from weather or other elements coming in contact with the finished product.
Now you're ready to mix up some acrylic paint!
Mix The Acrylic Paint
Now that you've prepared the birdhouse and gathered your supplies, it's time to mix up some acrylic paint. Acrylic paints come in a variety of colors, so choose whatever color palette best suits your project. When mixing acrylic paints, make sure to use quality paint supplies like brushes or sponges for application. You can also use a variety of techniques such as layering multiple coats of paint or using a glazing technique with water-based paints. Make sure to experiment with different methods until you find one that works for you!
When you have finished mixing the paint, take care not to spill any on yourself or your project area. Keep in mind that once mixed, acrylic paints cannot be reused; they must be disposed of properly after each painting session. With all these tips in mind, it’s time to apply the paint to the birdhouse and bring this crafty masterpiece to life!
Apply The Paint To The Birdhouse
Once you have all the necessary materials, prepping your birdhouse for painting is a breeze! Grab your acrylic paint and brush and let's get started on transforming this unpainted wood into something special.
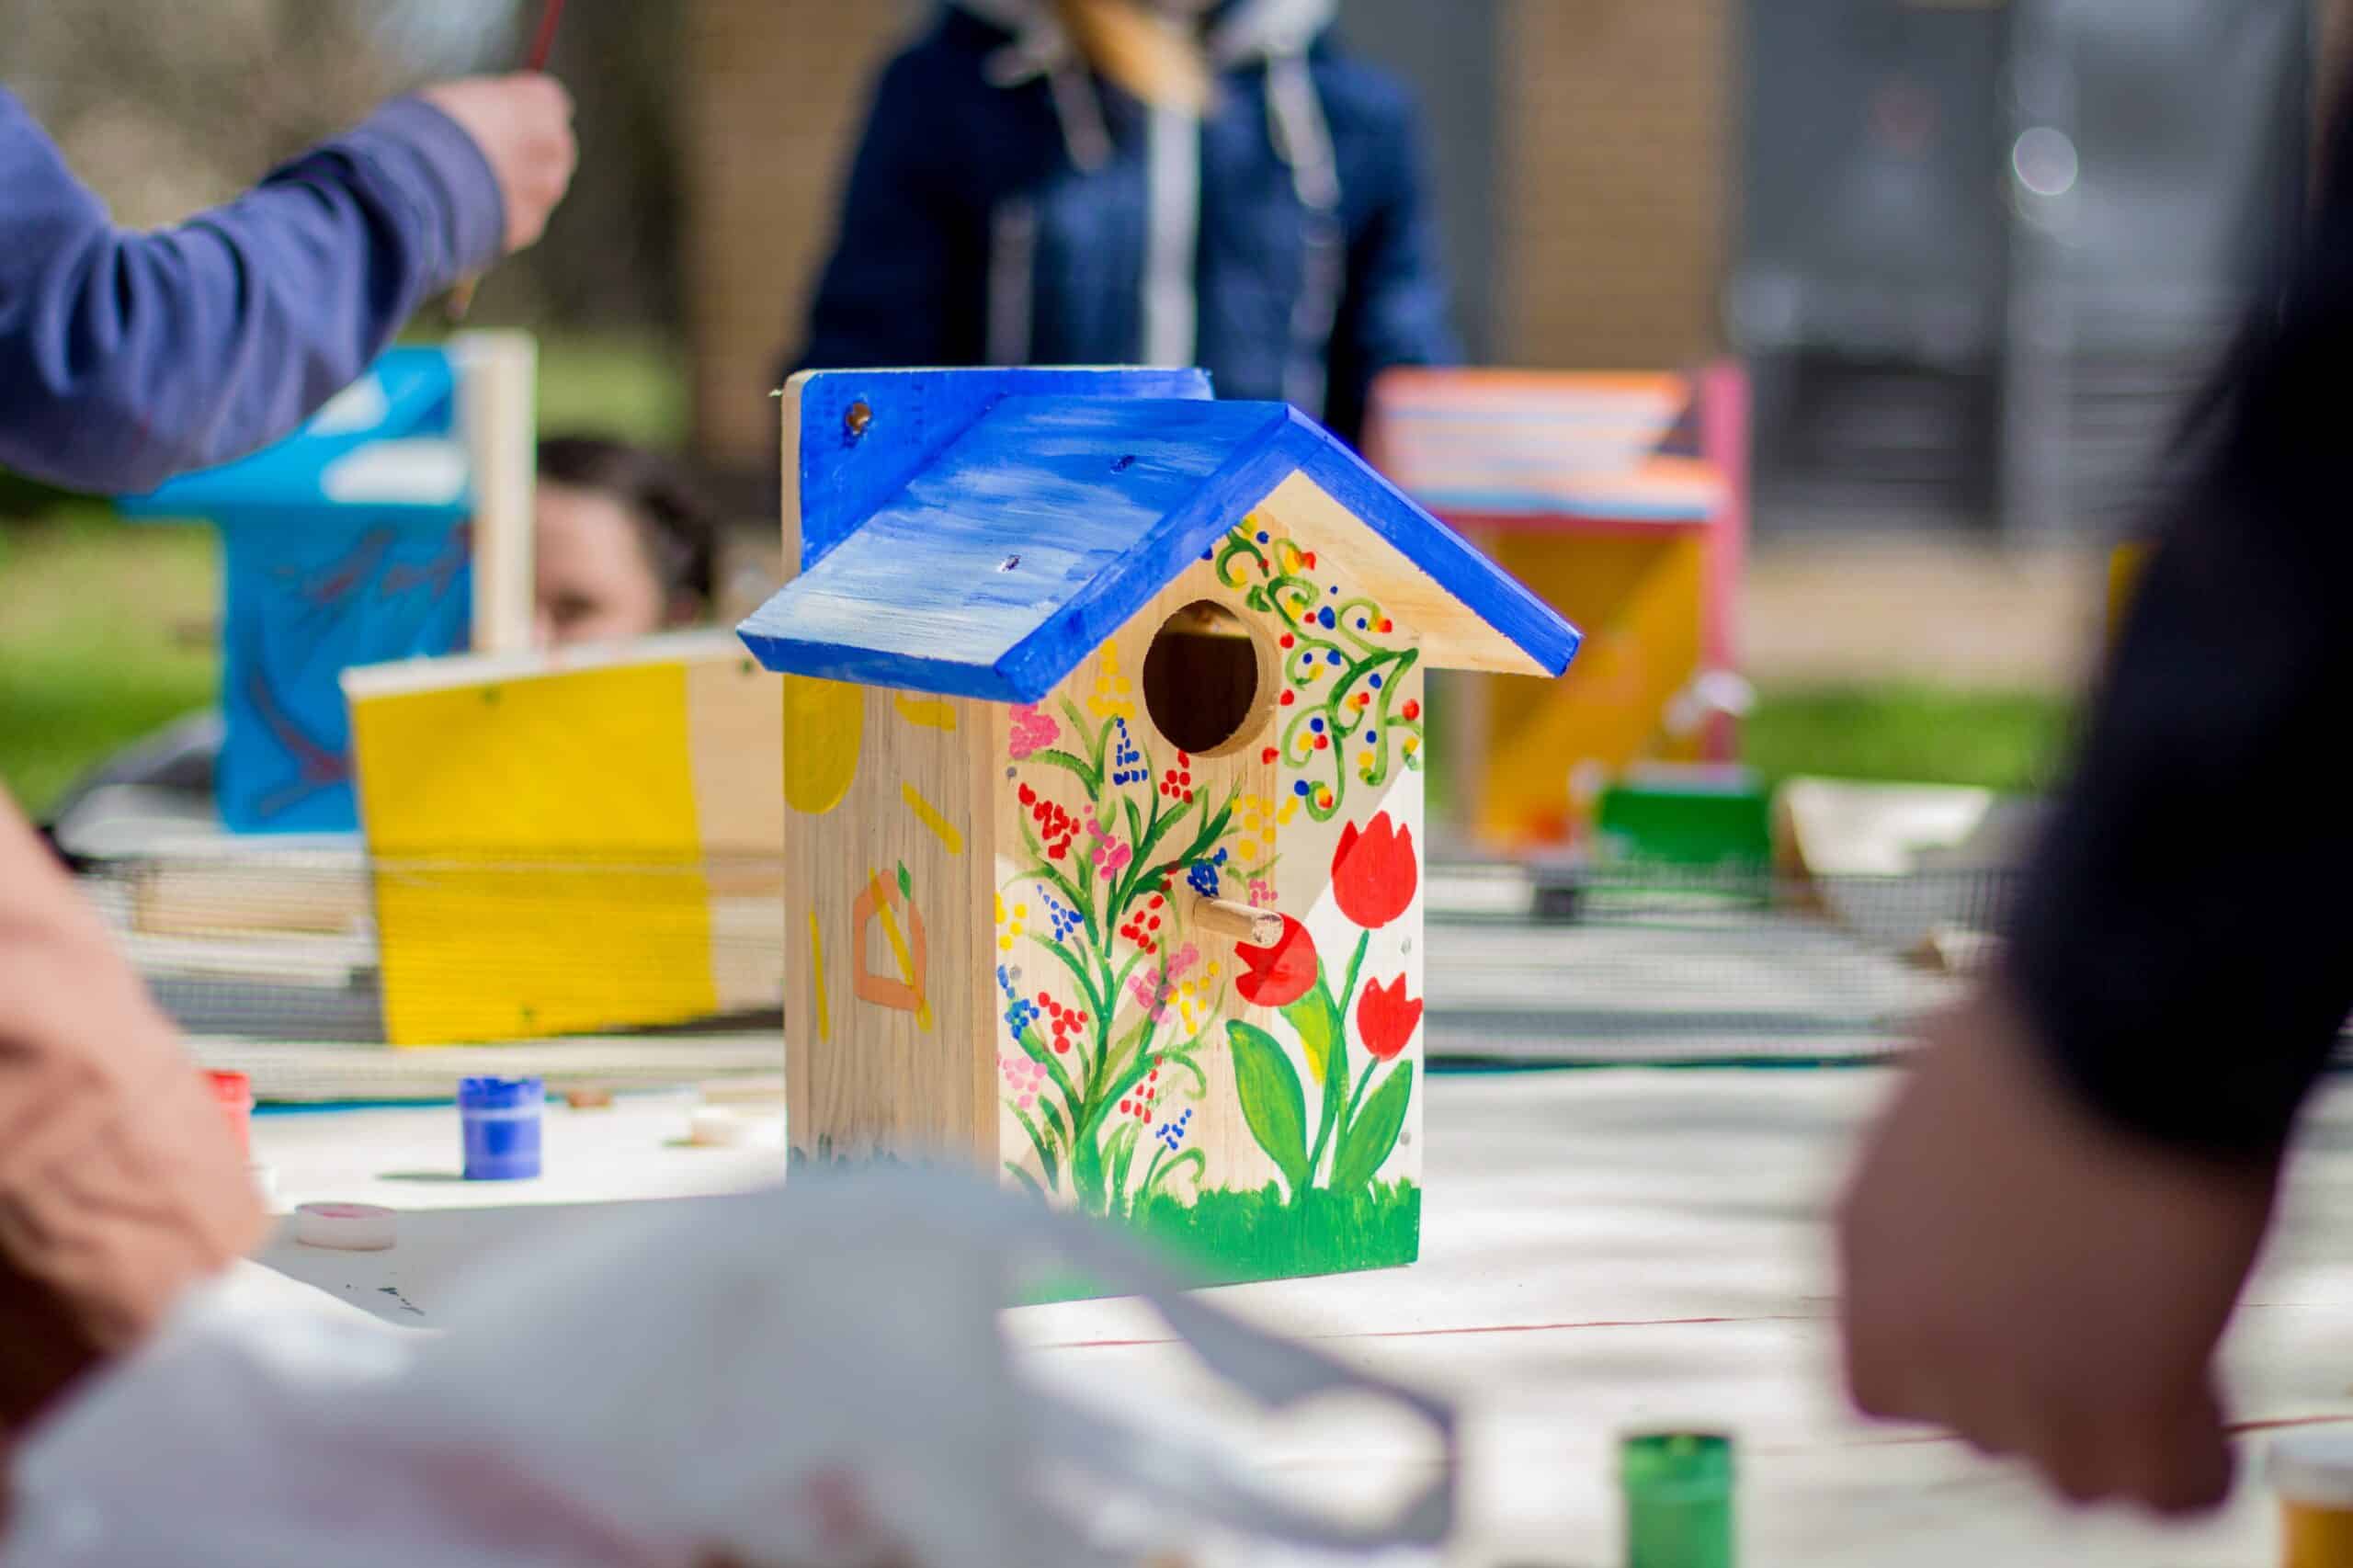
When applying the paint to the birdhouse, always use smooth strokes. Start with the larger sections first, like the sides and roof of the house. Make sure that each area has even coverage; it may take several coats if needed. When you are satisfied with how these areas look, move on to smaller details such as windows or decorations. Use short but precise brushstrokes when working in tight corners or grooves to avoid making mistakes. Be patient – good results come from taking your time when painting!
As you continue to apply paint to the birdhouse, remember to keep an eye out for any imperfections along the way. If needed make corrections before moving on to another section so that there will be no inconsistencies left behind once everything is dry.
Now that we've finished adding color to our handmade birdhouse masterpiece, it's time to set it aside and let it dry before hanging it up outside!
Let The Birdhouse Dry
Now that you have applied the acrylic paint to the birdhouse, it's time to let your work dry. It is important to note that different types of paints will require different drying times, so make sure you are aware of what type of paint you used and how long it takes for it to dry completely. Acrylic paint generally requires a few hours before it can be handled safely.
When letting the birdhouse dry, try not to move or touch it too much as this may cause smudges on the painted surface which could ruin all your hard work. Instead, find a place where you can leave the birdhouse undisturbed for an extended period until the paint has dried properly. If possible, put something underneath the birdhouse such as newspaper or drop cloths in case any excess paint drips off during the process.
Once enough time has elapsed for your particular type of paint to dry, take a look at your creation and admire your handiwork! You're almost finished with your project; now just add some finishing touches like decorative accents or hang up a sign identifying who made the beautiful new birdhouse!
Finishing Touches
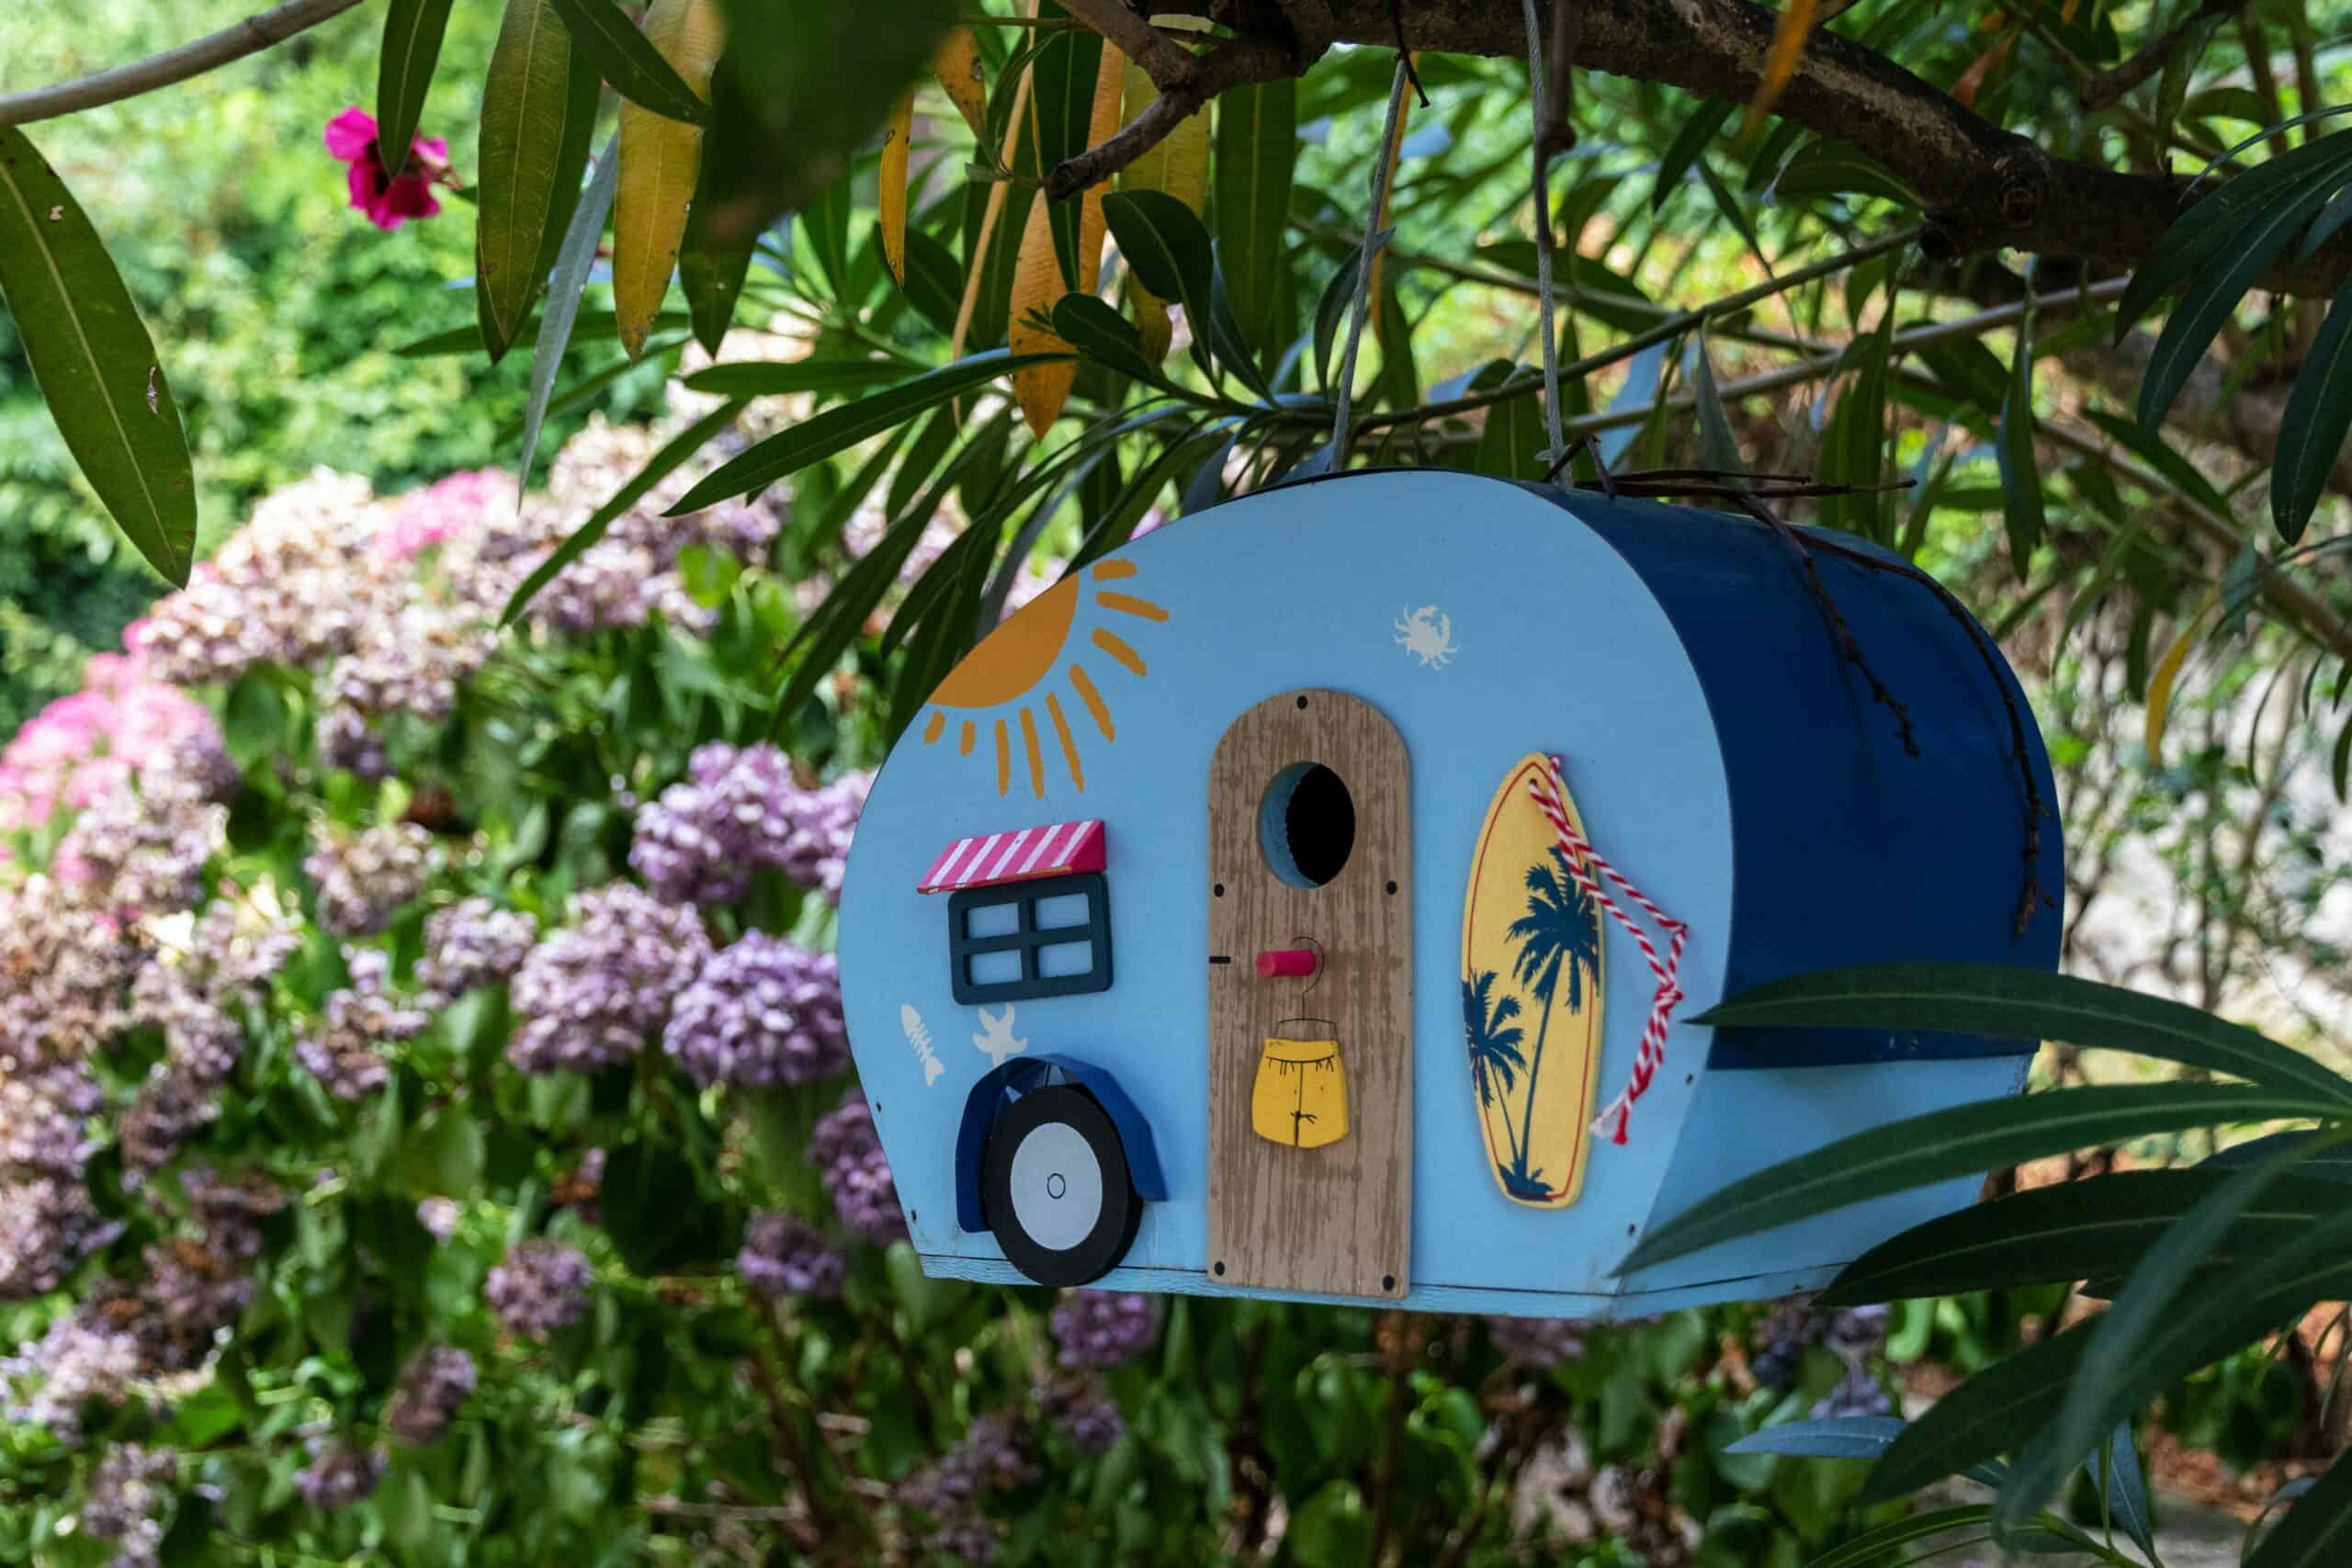
Once the birdhouse has been painted, it's time to give it some finishing touches. There are plenty of options here - you can add additional decorations such as crafting embellishments or outdoor accents that will make your birdhouse truly unique.
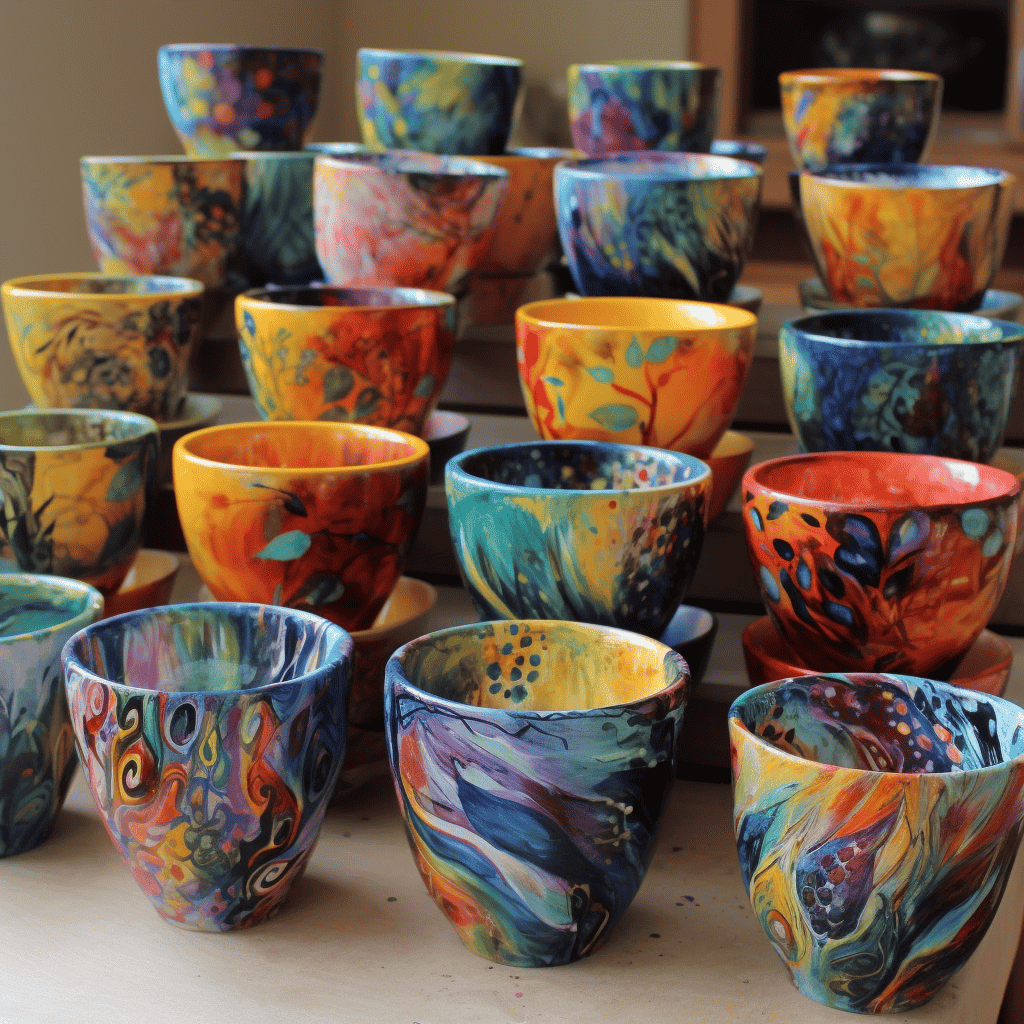
You can also use paint designs and colors to create interesting patterns on the surface of the birdhouse. This is a great way to add an extra touch of personality to your project! Apply a finish coating for protection against weathering and any other elements that may cause damage.
Here’s a list of things you should remember when adding finishing touches:
- Additional decorations such as crafting embellishments or outdoor accents
- Paint designs and colors to create interesting patterns
- A finish coatings to protect the birdhouse from harsh weather conditions
- Ensure all materials used are safe for birds before installing outdoors.
In short, take advantage of these last few steps to customize your birdhouse with special details so you can show off its beauty once installed outside!
Frequently Asked Questions
Are there any special tips for painting with acrylic paint? Absolutely! Acrylic paints offer a great range of possibilities when it comes to creating beautiful, vibrant artwork. Whether you’re an experienced artist or just starting, here are some useful techniques and advice to help you get the most from your acrylic paints.
When painting birdhouses, one of the best pieces of advice I can give is to keep things simple. Start by sketching out the basic design on paper before transferring this onto the birdhouse. Once that’s done, use thin layers of acrylic paint to build up complex colors and textures rather than trying to do too much in one go. This will ensure that each layer is properly dry before adding the next one, helping avoid smudging and making sure your creation looks its best.
For more advanced painters, there are numerous different acrylic painting techniques available which can be used to create interesting effects and finishes. For example, you could try using glazes or blending multiple shades for a subtle change in hue. You might also consider experimenting with texture mediums such as gels or pastes – these products add an extra dimension to paintings without requiring complicated tools or materials. With all of these options at your fingertips, you’ll have no shortage of ideas for bringing life into your birdhouse masterpieces!
Ultimately though, it’s important not to forget about having fun while you’re working on your project – after all, art should be enjoyed both during the creative process and afterward! So take some time out now and again to relax and reflect on what you’ve achieved so far; this will give you fresh eyes when looking at how else you can improve upon what’s already been made. And don’t forget: practice makes perfect!
If you’re wondering if you can use brushes of different sizes for different areas when painting with acrylics, the answer is yes! And no brush size should ever be considered too small. Using a wide assortment of brush sizes and types will give your paint job that extra special touch. You’ll want to have a few basic tools in your arsenal such as a detail brush, a large brush, an angled brush, and even a very small brush for those tiny details on the birdhouse.
Using various-sized brushes will help make sure every part of the birdhouse gets just the right amount of attention it deserves. A detail-oriented artist might find it necessary to switch between larger and smaller brushes throughout their painting process. For example, they may start by using a large flat brush to lay down an even base coat before switching over to an angled or detail brush to add finer strokes and texture around edges or corners. The trick here is to remember that quality trumps quantity – having one good-quality angled or detail brush will go much further than several low-grade ones!
When working with acrylic paints, don’t forget about all the options available for adding depth and complexity to your work. Using multiple layers of mediums like glazes or varnishes can create interesting effects that would be difficult (or impossible) to achieve with just a single layer of paint. So while choosing the right combination of brushes is important for getting great results from your projects, experimenting with other materials can take your artistry up another level altogether!
When it comes to painting a birdhouse, there’s one step that’s often overlooked – the primer. Primers provide an undercoat that helps the acrylic paint adhere better and last longer on surfaces like wood. But is it necessary? Absolutely! Without a primer, you won’t get the same quality of finish when painting with acrylic paint.
So why should you use a primer for your birdhouse painting project? Well, by applying an undercoat first, you’re creating a protective layer between the surface and the actual paint itself. This helps prevent any fading or cracking over time as well as gives your finished product an even smoother look all around. Plus, primers also make sure that no matter what kind of brush sizes you may be used for different areas of your birdhouse, everything will stay put and have a unified appearance in the end.
In short, adding this extra preparation step before beginning to paint with acrylics can go a long way toward ensuring that your birdhouse looks great now and years down the road. Don’t skip out on using primer – it’ll make all the difference in your final result!
Did you know that the average birdhouse is made up of about 70% wood and 30% metal? As an acrylic painting instructor, I’m often asked what kind of birdhouse is best for painting. The answer to this question depends on a few factors including the design of your birdhouse, the type of acrylic paint colors you choose, and the techniques and finishes you plan to use.
When it comes to selecting a birdhouse design, look for one with simple lines and minimal decoration. This will make it easier to paint and allow you to focus on getting creative with different colors and textures. You’ll also want to consider how much space each section offers so that you can effectively apply different layers of paint without worrying about them running together or looking sloppy.
Once you have picked out your birdhouse design, it’s time to decide which acrylic paint colors are going to work best for your project. Before buying any supplies, do some research online or in art stores so that you can get a better idea of what shades will fit into your desired style. Consider mixing different paints as well; this way, you won’t be limited by just one color palette! Additionally, don’t forget all of the necessary supplies such as brushes, palettes, drop cloths, etc., that are required for successful painting projects.
Now that everything has been chosen it’s time to start bringing your vision alive! It takes practice but once familiar with various painting techniques like blending strokes or stippling effects – along with using different types of brushstrokes – then creating beautiful artwork should become second nature. Don’t worry if mistakes are made while learning; they provide great opportunities for creativity too! Just take your time and enjoy exploring various combinations until satisfied with the finished product!
Making mistakes while painting can be intimidating, but it doesn’t have to be. According to research conducted by Crafts Magazine, 70% of beginner painters make some kind of mistake at least once during a project. Knowing how to fix these errors quickly and effectively is key for any painter looking to create a beautiful piece.
When working with acrylic paint, there are several ways you can correct your birdhouse painting mistakes. Here’s an overview :
Covering Up Mistakes:
- Blending Colors: If the color isn’t too drastic, try blending two colors on a palette before applying them to the birdhouse. This will help blend any noticeable lines or transitions between colors.
- Adding Glazes: Use glazing mediums such as gels and pastes to add subtle layers that cover up unsightly mistakes without creating too much contrast or texture difference in the paint job.
- Removing Mistakes: – Acetone Solution: For small spots or splotches of excess paint, use acetone (or nail polish remover) mixed with water for light cleaning that won’t damage the surface of the birdhouse itself.
- Sandpaper/Steel Wool: Heavy-duty mess-ups may require sanding down sections of the birdhouse to remove stubborn areas of excess paint smears and blobs. Steel wool can also come in handy when trying to smooth out ridges created by sloppy brush strokes or overfilled paint containers.
As an instructor teaching acrylic painting techniques, I suggest using multiple methods throughout your work process so you don’t find yourself overwhelmed should something go wrong due to inexperience or human error! Experimenting with blends and layering techniques beforehand will allow you to test out different approaches until you find one that works best for you – then all you need do is apply it when necessary and continue crafting your masterpiece!
Conclusion
Painting a birdhouse with acrylic paint is an enjoyable and rewarding experience. With the right techniques, you can create something beautiful that will last for years. When painting a birdhouse, it's important to choose one made of durable material such as wood or metal so your hard work doesn't go to waste. You should also familiarize yourself with acrylic paints, brushes, and primers before beginning your project. Using different-sized brushes allows you to get into those intricate details without much hassle. Lastly, don’t forget to prime your birdhouse beforehand; this will provide a good base coat and make sure the color shows up brighter in the end!
The best part about painting with acrylics is that mistakes are easy to fix! If you happen to mess up while applying the paint, just let it dry then use some sandpaper or steel wool on the surface until you achieve the desired look. Finally, take a step back and admire your handiwork—you have created something unique that stands out among all other garden decorations! As they say “practice makes perfect” - so don’t be afraid to experiment with new colors and designs each time around. After all, like any artist would tell you: ‘painting is not merely recreating reality but rather creating a masterpiece from scratch!'

