Mastering Oil Painting Glazing Techniques: A Step-by-Step Guide
Oil painting glazing techniques are an essential part of creating a work of art that you can be proud of. As an oil painting expert, I'm here to provide you with the information and guidance you need on this important topic. By understanding the concepts behind these techniques, it's possible to create stunningly beautiful works of art with depth and texture.
In this article, we'll discuss everything from the basics of glazing to more advanced tips for achieving the desired result. We'll also explore some of the different materials available for use in your artwork so that you can make informed decisions about which ones will best suit your project. Lastly, I'll share my personal experiences as an artist who has used oil painting glazing techniques extensively throughout my career.
Whether you're just starting or have been practicing oil painting for years, there is something valuable to learn in this article. With a better understanding of how to correctly apply glazes to your work, you can elevate your paintings to new heights!
Definition Of Glazing
Glazing is a centuries-old painting technique used by artists to add depth and luminosity to their paintings. It can be defined as the process of applying thin layers of transparent or semi-transparent paint over an already-painted surface to create subtle color changes and highlight details. The term "glaze" refers both to the techniques used, as well as the actual material applied. Glazing involves mixing oil paints with varnishes such as linseed oil, turpentine, resins, and other solvents - creating a viscous solution that can be brushed onto canvas. This mixture allows for greater control of color saturation and tone than traditional painting methods. When done correctly, glazing adds texture, contrast, transparency, and vibrancy to any artwork.
With its numerous advantages, it’s no wonder why so many professional painters use this time-honored method of art making. From adjusting colors without completely changing them to adding a touch of drama through shadowing effects – glazing truly unlocks the potential of your work! But getting started isn't always easy; there are certain steps you must take for your glazes to turn out perfectly every single time. To help ensure success when embarking on your creative journey using this powerful technique, let's explore some of the benefits that come along with mastering oil painting glazing techniques…
Benefits Of the Glazing Technique
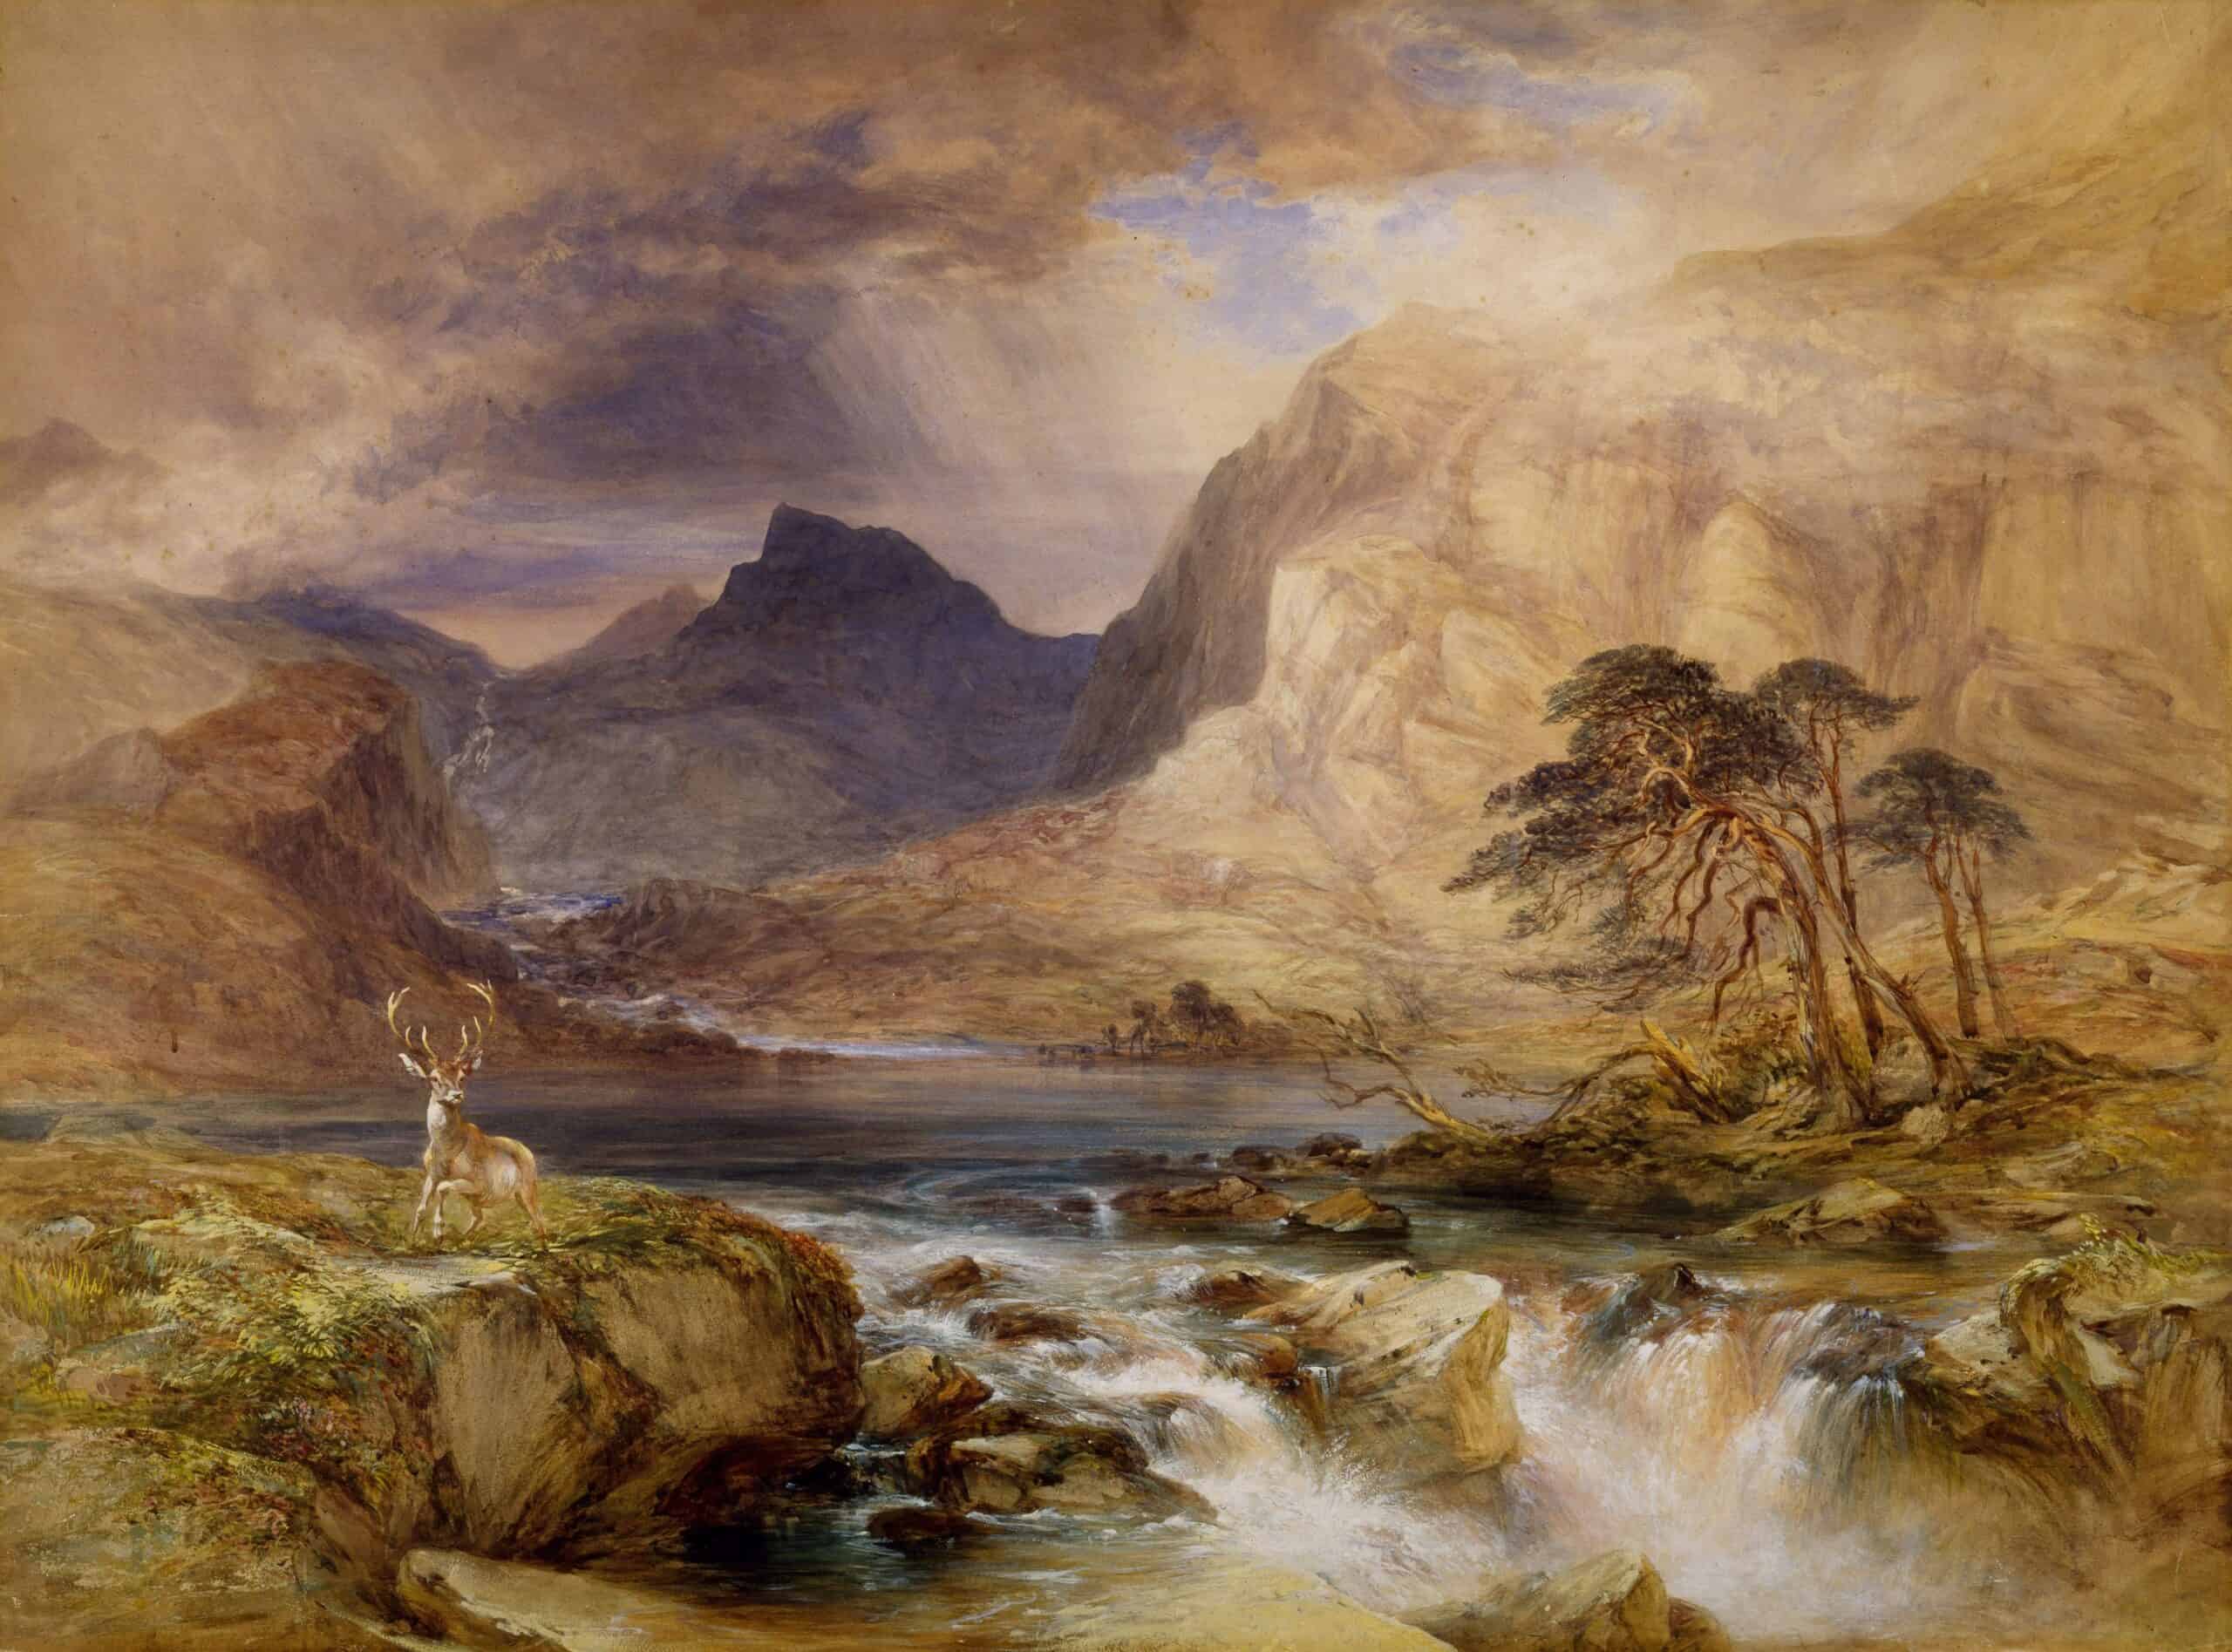
The use of glazing techniques in oil painting provides a unique set of advantages when compared to other types of painting. Firstly, the process of layering multiple glazes creates an incredibly vibrant and luminous effect on the canvas, allowing for more depth than traditional painting can provide. Secondly, this technique adds texture as well as color to your piece; making it look more realistic and appealing. Finally, because of its translucent quality, it allows light to pass through the layers creating a beautiful glow that cannot be replicated with regular paints.
All these benefits make glazing an ideal choice for any artist looking to add something extra special to their work. With just a few simple steps you can create stunning effects that will bring life and beauty to your paintings. The results are truly remarkable - no matter what type or theme of artwork you’re creating!
Glazing also has several practical implications which make it even more attractive. It is relatively easy to learn and requires only basic supplies, meaning you don't have to invest too much time or money to get started. Additionally, since each layer dries quickly there's less chance of mistakes occurring during application. This makes experimenting with different colors and textures fun and straightforward!
Using glazing techniques in oil painting has many incredible benefits that can help bring out the best in your artworks – from adding vibrancy and realism through richly layered surfaces, all the way down to help save time and money while learning how to paint effectively with oils. Now let's move on to exploring different types of glaze.
Different Types Of Glaze
Glazing techniques for oil painting are like a beautiful and intricate dance, with each movement creating its unique canvas. In this section, we will discuss the different types of glaze mediums, colors, and properties to help you create your masterpiece.
Transparent glazes allow light to pass through them, giving an almost ethereal quality to the finished artwork. They can be used in a variety of ways such as adding luminosity to darker areas or highlighting certain features while still allowing some underlying brushstrokes to show through. Semi-opaque glazes provide more coverage than transparent glazes but less than opaque ones. This type of glaze is often used when you want to add subtle shifts in tone and color without completely obscuring details underneath it.
Oil painting glaze colors come in both warm and cool shades depending on what effect you’re trying to achieve. Warm colors tend to make objects appear closer while cooler tones bring things further back in space - so choose wisely! You may also consider using metallic pigments which reflect light from their surface providing additional dimensionality that regular organic pigments cannot replicate.
When working with any kind of glaze, remember that layering takes time but yields amazing results – especially if done correctly! Experimenting with different combinations of hues, values, and transparencies allows for endless possibilities within one single artwork. From here, let's move on to how best to prepare your canvas before getting started on your next project.
How To Prepare The Canvas
Preparing the canvas is a crucial step in oil painting glazing techniques. Properly prepping the surface ensures that your work will endure for years to come. I'll show you how to prepare an oil painting canvas and help ensure that your artwork looks beautiful after it's finished.
First, check the size of your canvas. It should be large enough to accommodate whatever project you're working on - my recommendation is at least 1-2 feet larger than the desired piece of art. Next, lay out your supplies: primer or gesso (for preparing surfaces), brushes, sponges, and any other tools needed for cleaning and sanding the canvas. Now comes the fun part – priming! Gently rub primer over the entire area with a brush or sponge until every nook and cranny has been covered completely. This helps protect against warping and damage when you apply multiple layers of paint later down the line. Allow ample time for drying before moving on to the next steps.
Once dry, lightly sand the primed area using very fine-grain sandpaper so that there are no bumps or lumps in the surface texture; this allows for an even application of paint throughout your piece of art. Finally, wipe off any residue from dust particles left behind by sanding and make sure all areas are clean before starting on applying a glaze layer.
Applying A Glaze Layer
Having prepped your canvas, you are now ready to begin applying a glaze layer. Glazing is an essential technique used in oil painting that adds depth and richness to the work - much like adding extra layers of flavor to a dish. To start, gather all materials needed for this process: a variety of brushes, linseed oil, turpentine, and mineral spirits.
Begin by mixing the glaze mixture which is composed of one part paint pigment to four parts medium (linseed oil or Turpenoid). Using a soft brush such as sable or squirrel hair, apply the glaze over areas where you want the color to be darker. Make sure each stroke starts from outside of the area and moves inward towards it so that no hard lines appear on the surface. The trick here is to use many thin coats instead of just one thick coat; this will help ensure even coverage without any visible brushstrokes. For more intense effects, try using multiple colors blended while layering them until the desired look is achieved.
Finally, take some time to review your painting and make any necessary adjustments before moving on to blending and shading techniques for further refinement. With practice, you’ll soon master how to accurately control transparency levels to create dynamic paintings with stunning results!
Blending And Shading Techniques
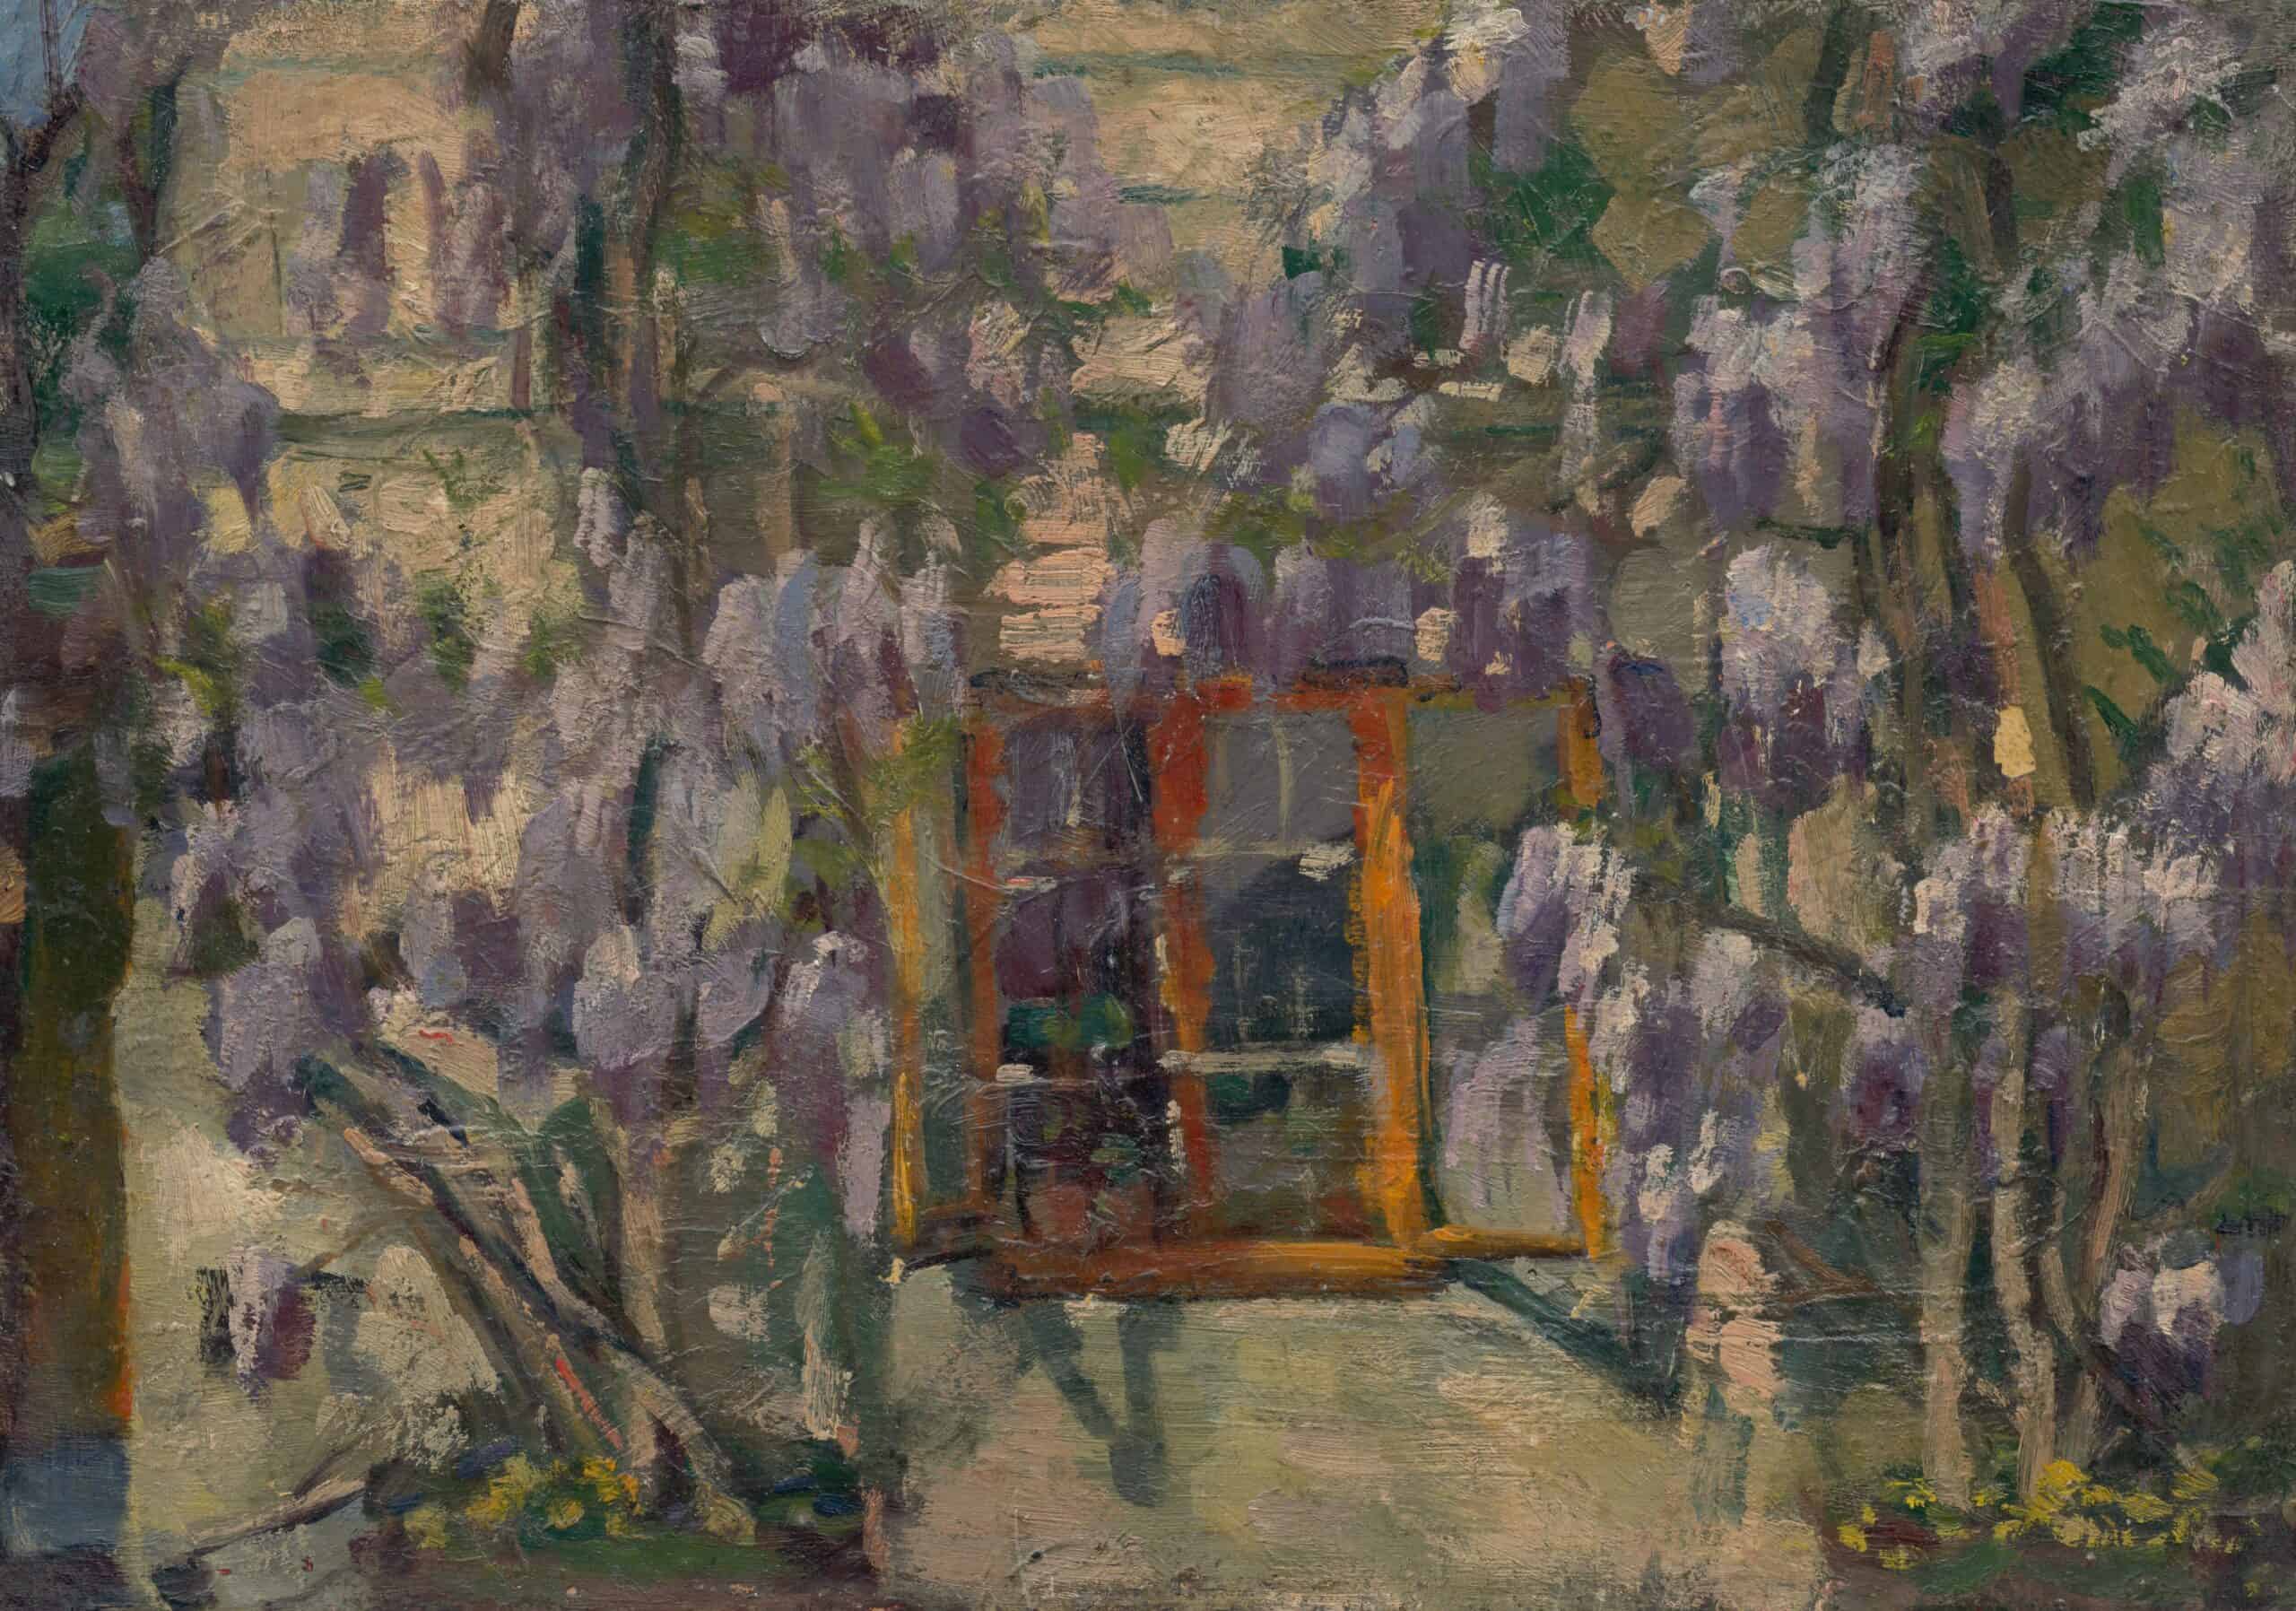
Once you have achieved the desired glaze effects, it's time to move on to blending and shading techniques. This is where your creative juices can flow! With oil painting techniques, there are so many possibilities for adding beautiful detail and dimension to a piece of art with just a few brushstrokes.
When it comes to blending colors, one popular technique is wet-on-wet. This method involves applying different layers of color while they are still wet, then allowing them to mix and create an interesting effect. Another option is dry brushing – which requires more skill but also offers great results. Dry brushing uses very little paint and is best used when creating intricate details or textures like fur or leaves.
Using various shades of the same color in successive glazing layers will help to add depth and contrast. By strategically layering dark over light or vice versa, subtle variations in tone and texture can be created that make all the difference in how realistic your artwork looks. You can use these shading techniques combined with other oil painting methods such as scumbling or impasto for even greater impact!
From here we'll move on to finishing touches - exploring ways to enhance the beauty of our work by adding highlights and shadows.
Finishing Touches
"The last brush strokes are the most important". This adage is especially true when it comes to oil paintings, where small details and finishing touches can make all the difference. From creating shadows to adding highlights, polishing edges, and texturing effects, there are several techniques for finalizing your work:
- Creating Shadows
- Blending dark colors with light ones
- Adding glazes of black or blue-gray paint
- Using a dry brush technique
- Adding Highlights
- Applying white accents as desired
- Incorporating metallic pigments such as gold or silver leaf
- Utilizing opaque paints in select areas
- Polishing Edges & Texturing Effects
- Softening jagged lines using an angular paintbrush
- Focusing on particular shapes within the painting's composition
- Experimenting with various types of glazing mediums (e.g., resins, waxes) for added texture and depth
In short, taking care of your finishing touches will help ensure that your oil painting looks its best. With practice, you'll be able to create unique textures and subtle shades that bring each piece alive—and draw viewers in!
Conclusion
The art of glazing is truly a beautiful thing. When done correctly, it can transform an ordinary painting into something extraordinary. It adds depth and dimension to the canvas, creating a unique visual experience for viewers.
When you take the time to master the techniques of glazing, you open up a whole new world of possibilities in your artwork. The different types of glaze layers allow you to create textures and effects that would otherwise be impossible with traditional painting methods. With practice, skill, and creativity, you can use these tools to bring life to any canvas.
Glazing brings out the best in oil paintings - from subtle shading details to bold color contrasts. Each layer has its own story to tell and each brushstroke offers its insight into what we see on the canvas before us. Let us all continue our journey through this wonderful craft together!

