Mastering Wet-on-Wet Acrylic Painting: Tips and Tricks for Beginners
Wet-on-wet acrylic painting techniques are an incredibly versatile and fun way to create masterpieces. As a professional artist, I've found that these particular methods can be used for both beginners and experts alike; there's something here for everyone! Whether you're just starting or have been practicing art for years, this article will teach you the basics of wet-on-wet acrylic painting so you can explore the limitless possibilities it offers.
Wet on wet technique is all about working quickly while your paint is still wet to achieve desired effects like blending colors, creating gradients, and building up layers of texture. While it may seem intimidating at first, mastering this type of painting isn't as difficult as you might think - with practice and patience come great results! In this guide, we'll cover everything from different types of paints and brushes to the best ways to mix them together for maximum effect.
By the end of this article, you'll know how to use wet-on-wet acrylics effectively - no matter what kind of artwork you'd like to create. So whether you're looking for tips on abstract expressionism or detailed realism, read on and discover how easy it is to make stunning art using these simple yet powerful techniques!
Definition Of Wet-On-Wet Painting
Wet-on-wet is a popular painting technique used in acrylic painting. It's an incredibly versatile medium that allows the artist to blend, layer, and mix colors on the canvas without waiting for previous layers of paint to dry first. Wet-on-wet painting can create some stunning works of art and it can be incorporated into mixed media projects as well. This type of painting style gives artists more freedom when creating their pieces by allowing them to make adjustments with ease. The wet-on-wet method has opened up many possibilities for both beginners and experienced painters alike to explore different approaches and techniques. By utilizing this form of acrylic painting, you can achieve beautiful results quickly and easily. With so much creative potential at your fingertips, wet-on-wet painting offers endless possibilities for all types of artwork.
Materials Needed
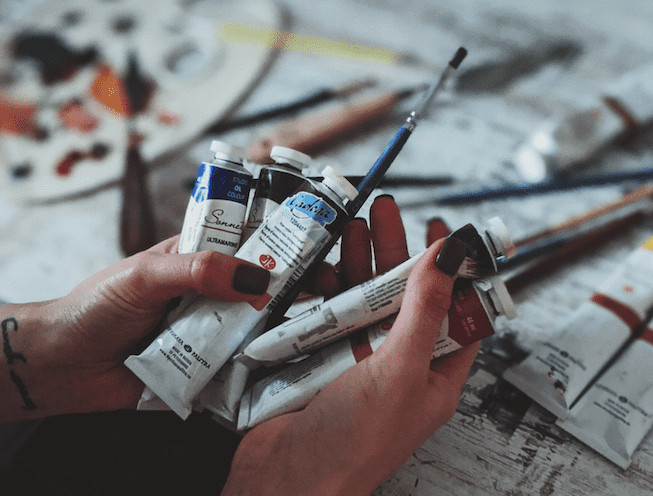
Creating a beautiful work of art starts with the right materials. When it comes to wet-on-wet acrylic painting techniques, having the proper tools and supplies is essential for creating stunning pieces. To get started, here are some items you'll need:
- Acrylic paint: Make sure to buy quality paints as these will dry more quickly than cheaper brands.
- Canvas board: This type of canvas is ideal for wet-on-wet acrylic painting because it can absorb moisture without warping or cracking over time.
- Paint brushes: Use different-sized brushes depending on your desired effect; from small detail brushes to larger ones for background washes.
- Paper towels: Useful for wiping off mistakes and cleaning up spills while painting.
- Water container: Keep a bowl of water nearby to rinse out your brush after every use.
With everything gathered together, you're now ready to start preparing your canvas!
Preparing The Canvas
Now that you have all the essential materials to get started with your wet-on-wet acrylic painting techniques, it’s time to prepare the canvas. Preparing a canvas is an important step in creating a successful piece of art. The process includes prepping the canvas by adding layers of gesso and priming it before stretching it out or using a pre-stretched canvas.
When preparing your own stretched canvas, use high-quality cotton duck fabric for extra durability. Make sure to choose one that's appropriate for the size of your painting. To stretch the fabric correctly, measure two inches from each corner and staple them onto a wooden frame. Build tension gradually as you go around until it forms a taut surface.
Put another layer of gesso on top followed by the primer to create an even smoother base for applying color later on.
For those who prefer convenience, there are also plenty of options when it comes to buying pre-stretched canvases which come ready for use right away. Either way, if you decide to start with your project, make sure your canvas is primed properly so that colors will stay true and vibrant over time! With a well-prepared surface now at hand, let’s move on to applying paint directly onto our canvas!
Applying Color To The Canvas
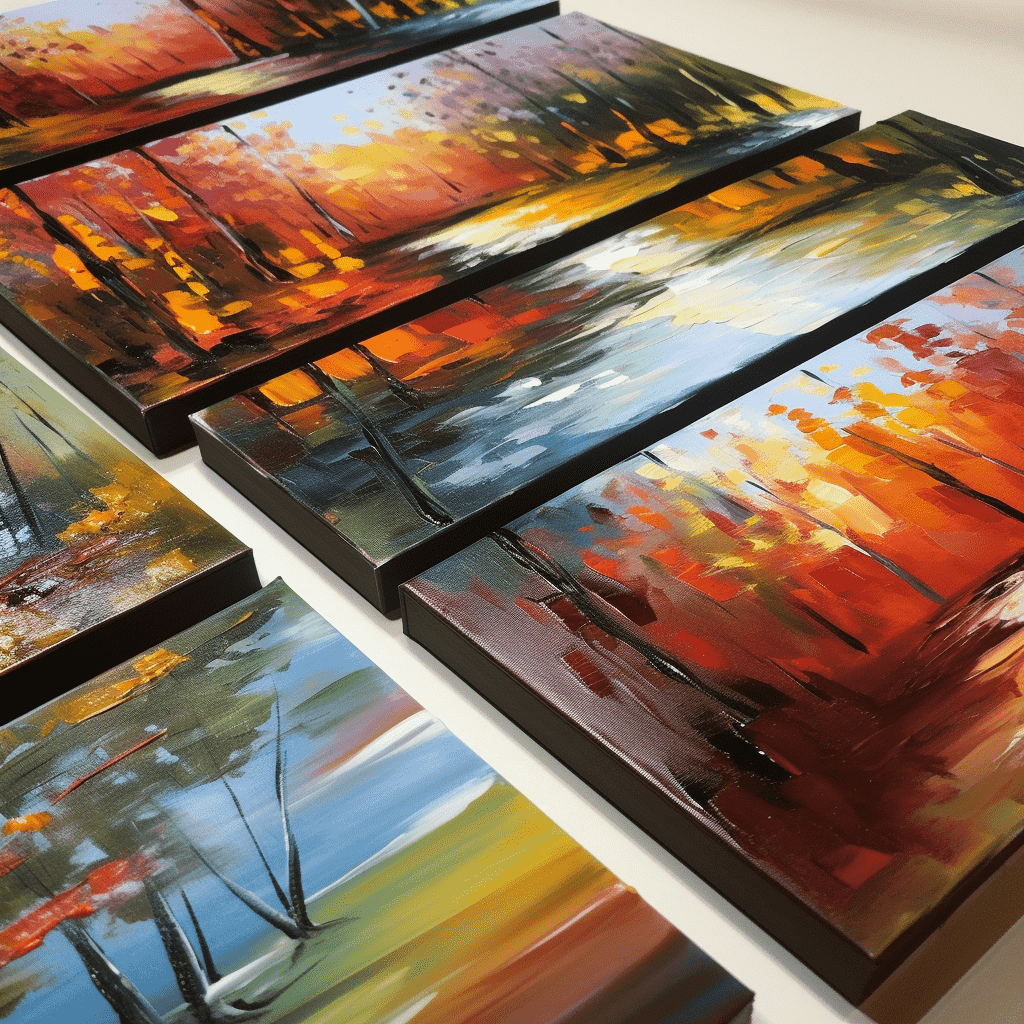
Let's get started with applying paint to the canvas! As an acrylic painting expert, I can assure you that wet on wet technique is one of the most exciting ways to bring a piece of art to life. This method allows for vibrant colors and unique textures to be achieved in your artwork. To begin, let's look into how color should be applied and brush techniques used while creating layers of depth within your paintings.
Technique | Description |
|---|---|
Applying Paint | Putting pigment onto the surface using brushes or other tools. |
Mixing Colors | Combining two or more hues to create a new shade. |
Brush Techniques | Utilizing specific strokes when adding texture & detail. |
Painting Layers | Creating multiple levels by layering paints over each other. |
Building Texture | Adding dimension through various methods such as splattering or dabbing paint on the top layer(s). |
Experimentation is key here - experiment with different types of brushes, varying pressure, experimenting with diverse mixtures of colors, and always have fun while doing it! You'll find yourself gradually building up the image by combining all these elements at once; this will allow you to express yourself fully in the painting process without feeling restricted.
Wet on wet technique provides great versatility when applying color: from thin washes and subtle gradations to thick impasto effects that build luminous surfaces reminiscent of oil paintings. The possibilities are truly endless – so don't be afraid to explore what works best for you! With practice, you'll soon become confident enough to masterfully mix and blend colors like an experienced painter!
Blending And Mixing Colors
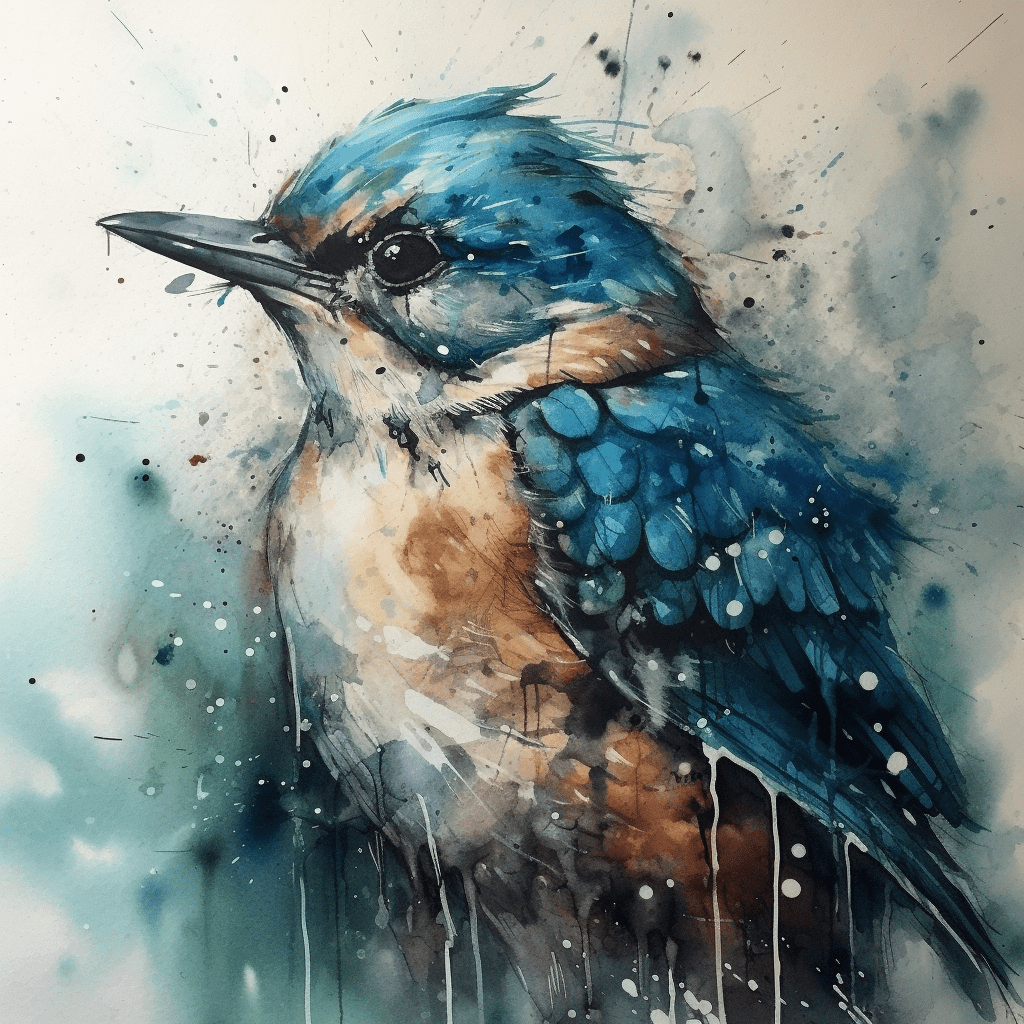
Now that you've learned how to apply color to the canvas, it's time to learn how to blend and mix colors. Blending and mixing acrylic paints is a key element in successful wet-on-wet painting techniques. With these two processes combined, you can create amazing works of art with intricate details and vivid colors.
To begin blending and mixing colors, start by selecting your paint consistency. If you're using an acrylic medium or gel, this will help keep the paints from drying out too quickly while working with them on the canvas. Then determine what type of color combinations you'd like to use for your painting. Some popular choices are complementary and analogous colors which provide interesting contrast when blended.
Once your desired combination of paints has been chosen, experiment with different brush strokes to combine the colors until they have fused into one harmonious hue. Take care not to overwork any area as this could cause unsightly muddiness within certain areas of the artwork. During this process, always remember that practice makes perfect!
Don't be discouraged if things don't look quite right at first - just be patient, and eventually, you'll get there!
By understanding these fundamental principles behind blending and mixing acrylic paints, you'll be able to take your wet-on-wet technique up a notch by creating beautiful color combinations that bring life and energy into each artwork produced through trial-and-error exploration. Now let's move on to the finishing touches of our paintings: exploring various techniques that give our creations even more depth and texture!
Finishing Techniques
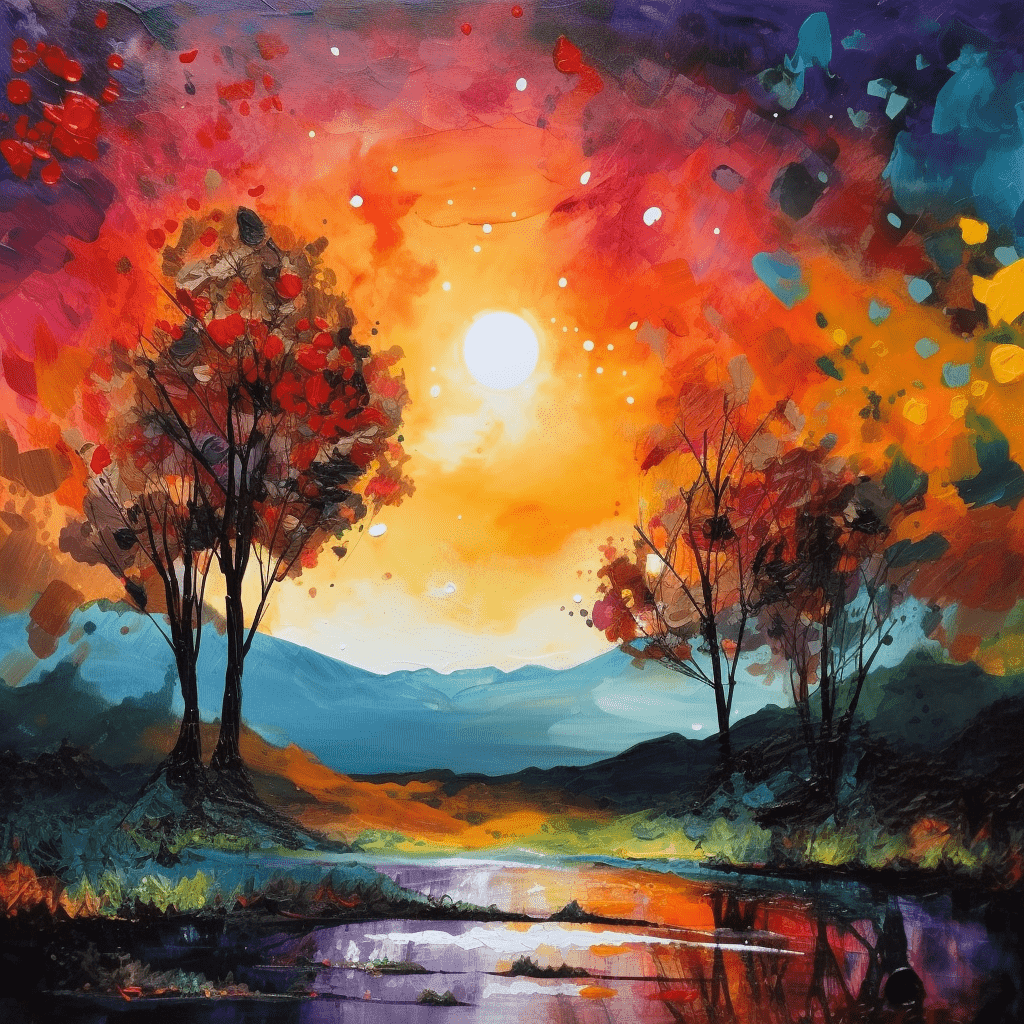
Once the painting is completed, it's time to finish off with some special touches. I love using the dry-brush technique for adding texture and creating an impasto effect. This involves lightly brushing a brush loaded with paint over the surface of the canvas in small circular motions. The result is wonderful! You can also use a glazing technique to add richness and depth to your artwork. To do this, simply apply thin layers of transparent color which will give the painting more dimension.
Another great finishing touch is to varnish-coat your work once it has dried completely. This creates a protective layer that both preserves and enhances the colors in your painting. It also gives a lovely sheen when viewed from different angles or under light sources. Lastly, you can experiment with various texture-work techniques such as sanding, scraping, or sponging to create unique effects on your acrylic painting.
Now that you have finished applying these finishing touches, it’s time to move on to clean up & care - something essential for any artist looking to keep their work looking its best!
Clean Up & Care
Once you’ve finished your painting, the next step is to clean up and care for your supplies. Properly cleaning and caring for acrylics can mean the difference between years of use or having unusable tools after just a few paintings. Cleaning up with wet-on-wet acrylic painting techniques isn't as difficult as it may seem if done properly.
The first thing to do is ensure that all paint is washed off brushes, palette knives, and other implements used in the painting process. It's best to start this process while the paint is still wet using warm water and mild soap. This will help prevent any remaining paint from hardening on these items which would make them impossible to use again without damaging their shape or bristles. Once everything has been cleaned thoroughly then rinse them with cool water and let them air dry completely before putting them away.
Acrylic paints are known for being extremely durable when they have dried but they still need some extra protection when stored away between uses. It’s important to store all pieces in an area where there won’t be too much moisture or heat since either one can cause damage over time. Additionally, keeping products organized by size and type makes finding what you need much easier down the line so you don’t have to worry about sorting through messy piles of tools every time you want to create a new work of art!
No matter how often you find yourself reaching for those beloved supplies, taking good care now will save you money in the long run by ensuring that your materials last longer than expected!
Frequently Asked Questions
When it comes to painting with acrylics, wet-on-wet techniques offer great freedom of expression. But do you need to use a medium or other additives? It’s an important question to consider when working in this style.
The answer is that using different mediums and/or additives can help add textures, extend the drying time of acrylic paints, increase their transparency, adjust sheen levels, and more. In general, I’d recommend experimenting with different types of mediums and additives to find out which ones work best for your particular artwork. Here are some examples of items you could use:
Gels and pastes – used for thickening paint and creating texture
Mediums – used for increasing flowability and decreasing dry times
Retarders – used for slowing down the drying process
Glazing liquid – used for extending the life of layers
Besides these items, various techniques can be employed while painting wet on wet – such as blending colors or laying down washes quickly over large areas. As an artist who works frequently with acrylics, my advice would be to experiment with all sorts of things until you find the right combination that works well with your art. That way you’ll produce results just like what you’re imagining!
No matter what materials or techniques you choose to use to achieve your desired effect, being mindful of how long each layer takes to dry will ensure everything goes smoothly without unwanted surprises along the way. Keep in mind that practice makes perfect so don’t get discouraged if something doesn’t turn out exactly how you wanted; keep trying new approaches until it does!
Yes, wet-on-wet painting does require a lot of skill. To illustrate this point, consider the example of an artist creating a landscape painting using the wet-on-wet technique. This involves mixing different shades and tones on the canvas while also blending them together to create realistic textures that evoke a sense of depth in the picture. The process requires artistic talent as well as knowledge about acrylic paint properties and techniques for manipulating wet pigment on canvas.
The type of brush used is important too; it needs to be able to handle the thickness of the acrylic paint without leaving visible streaks or smudges. In addition, skilled painters know how to apply pressure and quickly move around with their brush strokes to achieve better effects more efficiently. All these skills combine into making wet-on-wet painting something that only experienced artists can master.
In short, there’s no substitute for years of practice when it comes to mastering any kind of art form – including wet-on-wet acrylic painting. Those who have acquired all necessary skills through learning and experimenting will be able to produce beautiful artwork that stands out from amateurish attempts at similar projects.
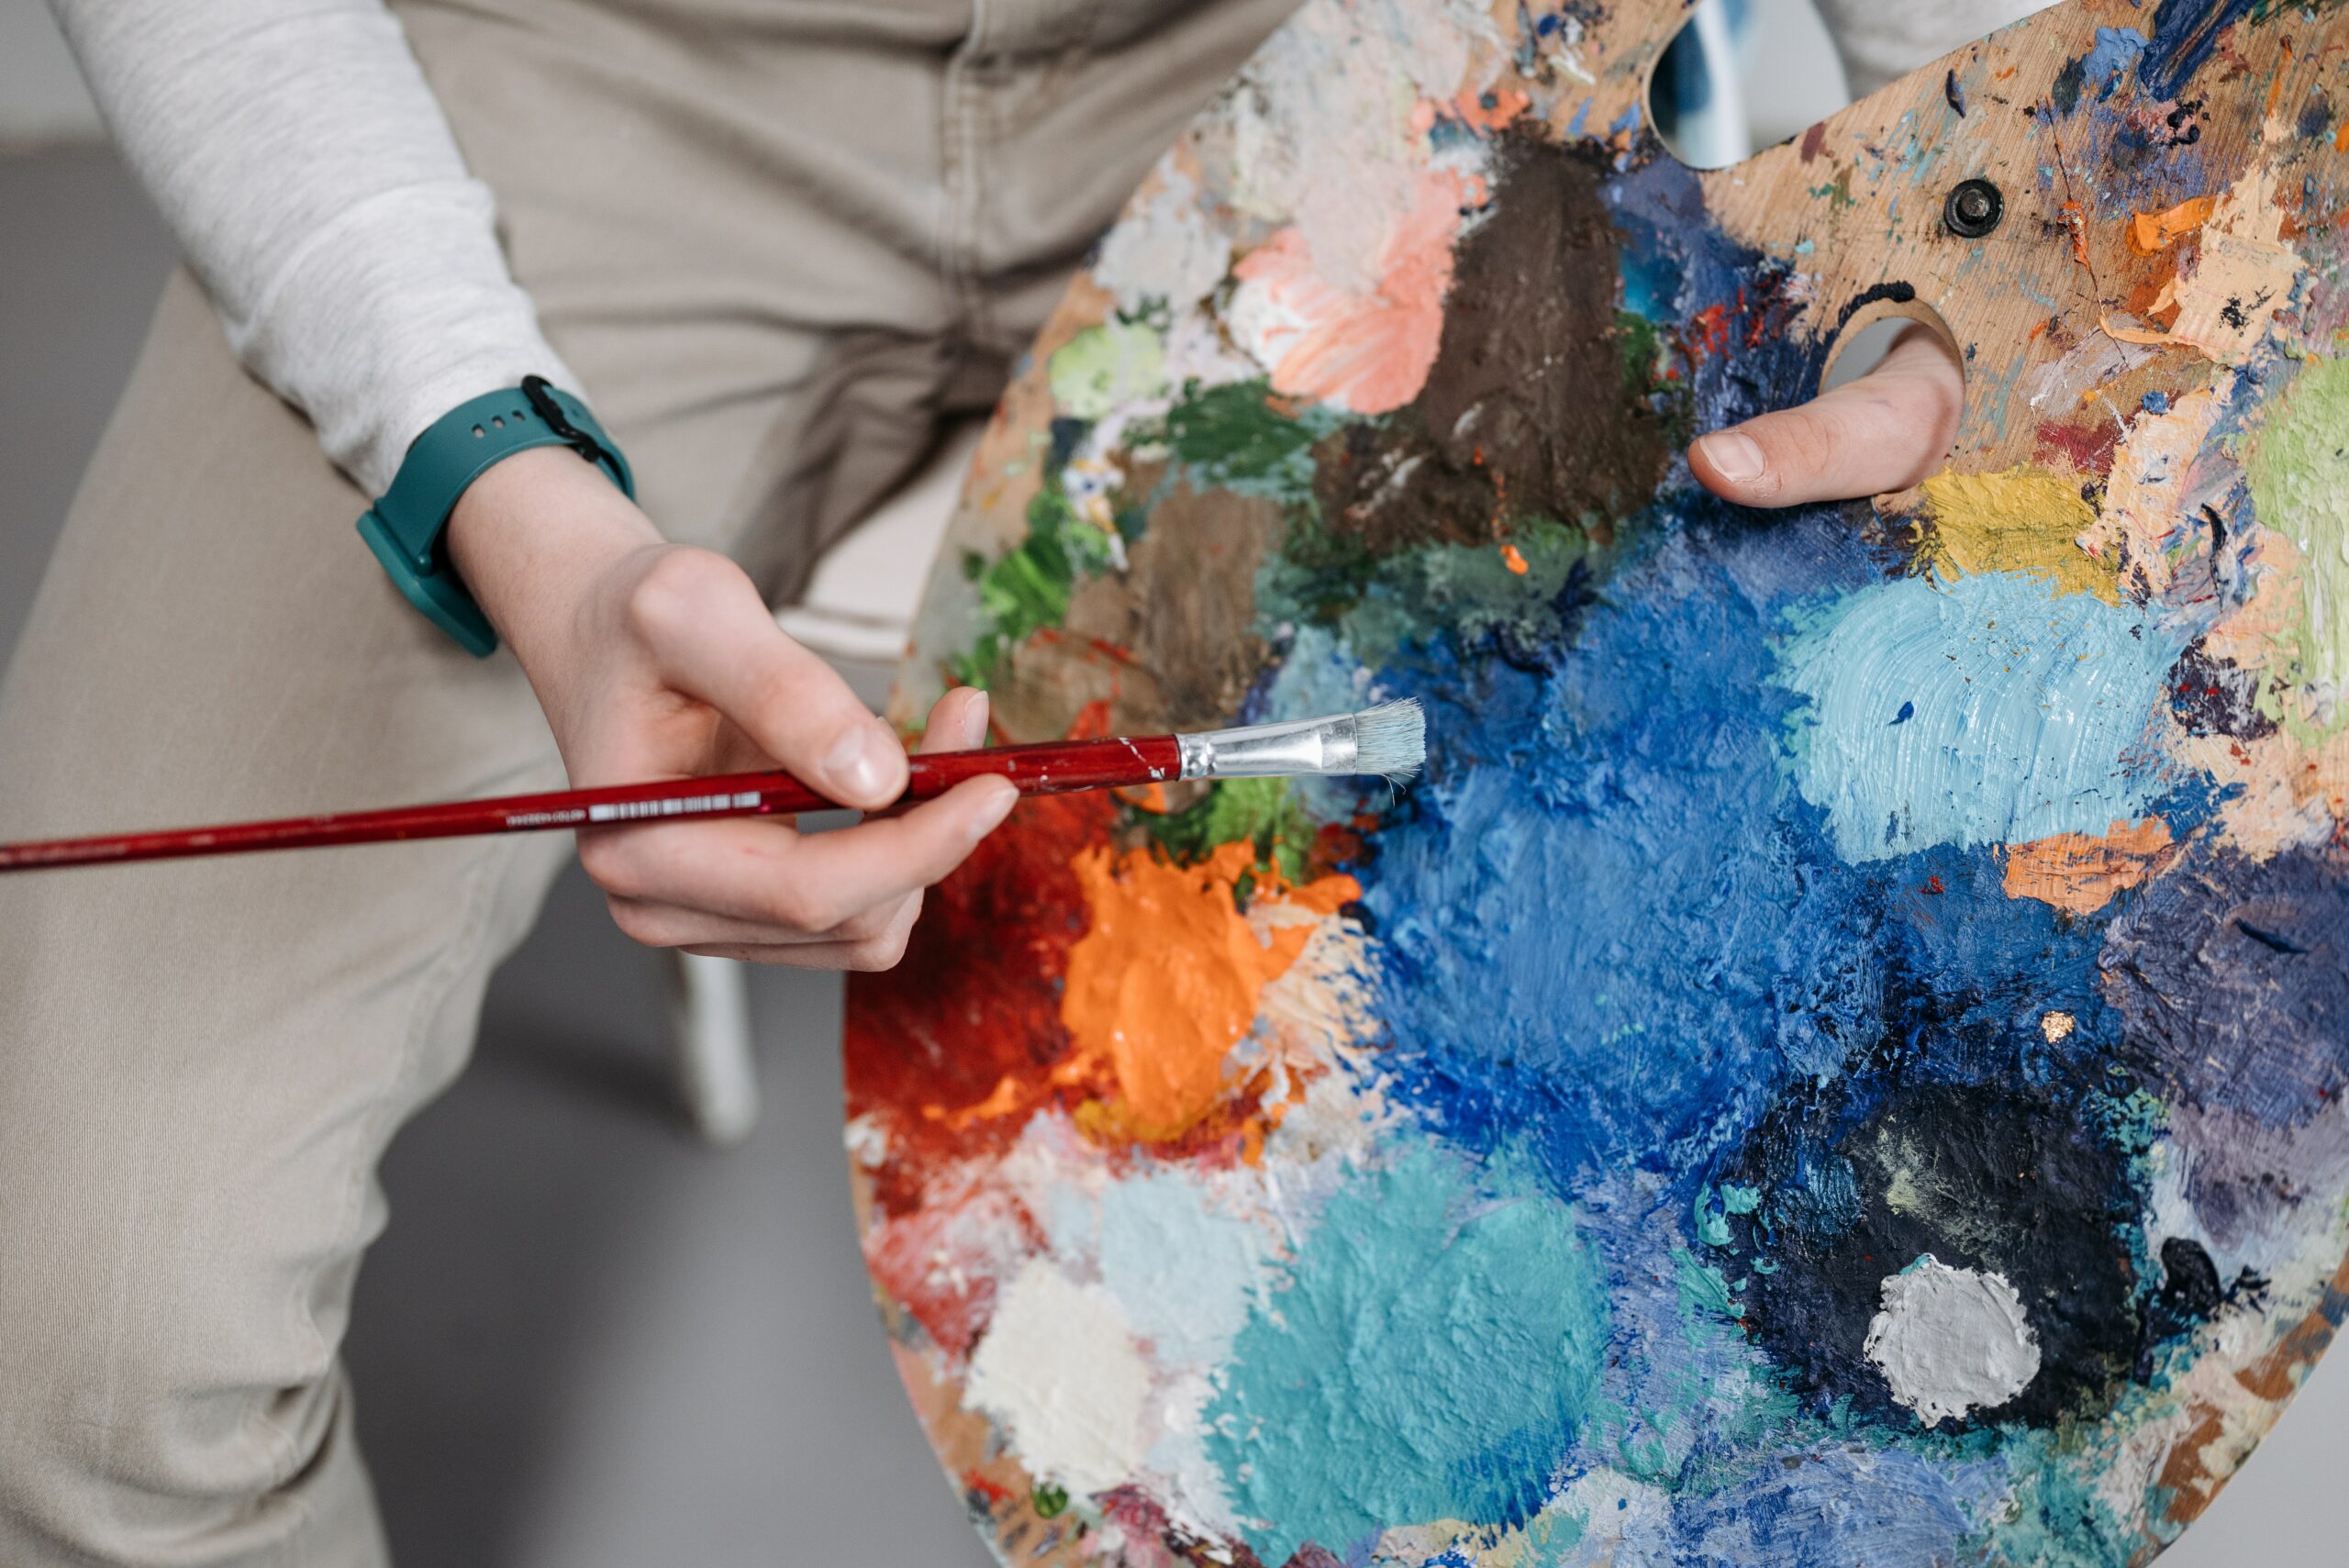
It’s almost ironic how quickly acrylic paint can dry out – you hardly have time to enjoy the creative process before your masterpiece is ruined! But there are several strategies that serious artists employ to prevent their paints from drying out too quickly.
Acrylic paints consist of pigments suspended in a polymer emulsion, which makes them extremely versatile and easy to use. However, this also means they’re quick-drying and require some extra care when painting with them. Since air exposure causes acrylics to dry faster than other mediums, artists need to take steps to keep them from drying out too fast.
One way to extend the lifeline of wet acrylic paint is by using an opaque palette; these palettes provide a layer between the paint and the outside environment, slowing down its evaporation rate. Additionally, keeping a damp cloth overtop of any exposed paints can help absorb excess moisture and slow down drying as well. Some artists even go as far as spraying or misting their paintings on occasion with plain water – this helps maintain their desired level of humidity while still allowing enough airflow so that the paints don’t become soggy or moldy. Finally, it’s helpful to remember that certain colors like yellow tend to dry more quickly than others such as blue or green; taking into account the speed at which each hue will evaporate can be critical in achieving successful results with acrylic painting techniques.
So if you want your artwork to last longer than just a few minutes in duration, then following these guidelines will ensure your canvas remains fresh and vibrant until completion!
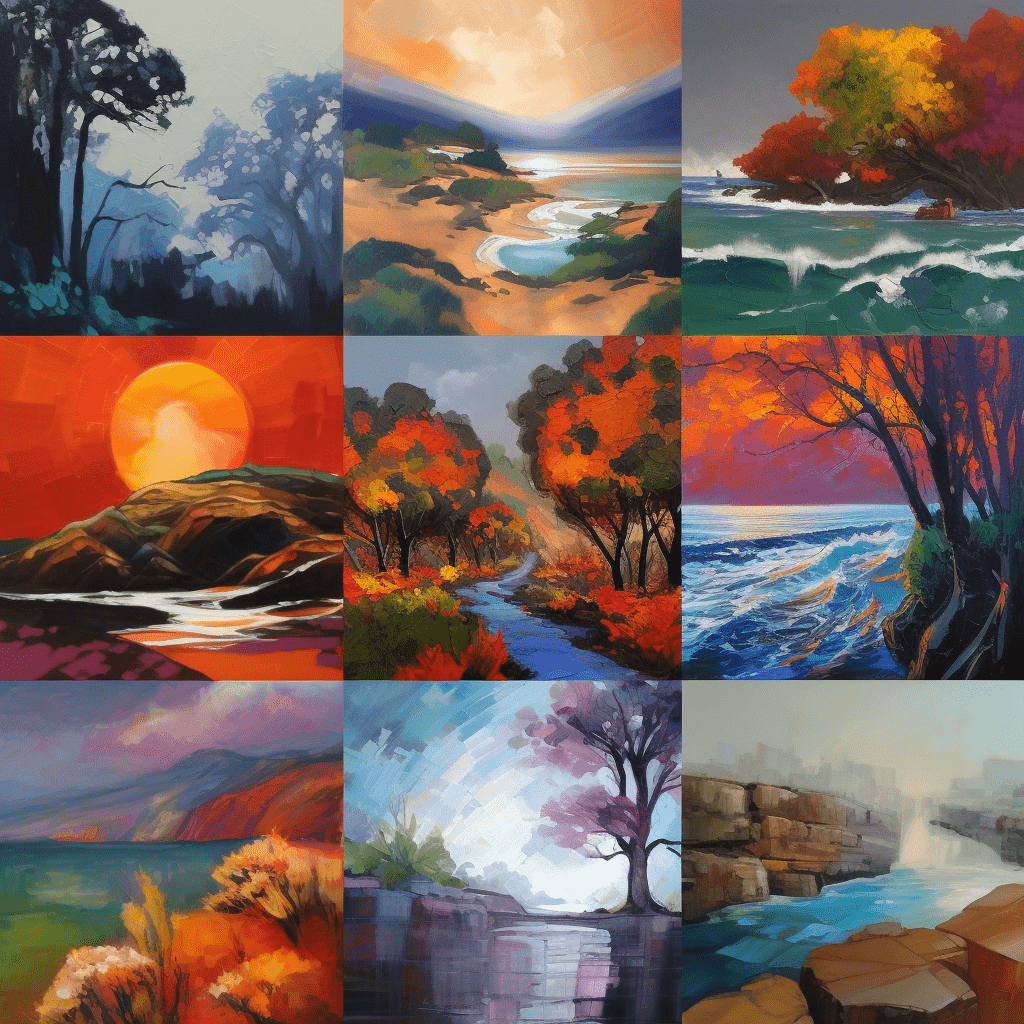
When it comes to painting, wet-on-wet is a popular technique. It’s used by many artists and can produce some stunning results when done properly. But one of the most common questions people ask about this method is whether or not it’s possible to achieve a variety of textures with it. The answer is yes! With acrylic paints and careful application, you can create an array of effects that will make your artwork pop.
Using wet-on-wet painting techniques, you can create different kinds of textures in your paintings. For example, if you want to give your work a more textured look, try applying thick layers of paint on top of each other while they are still damp. This will help build up interesting ridges and grooves in the canvas. If you’re looking for something smoother, however, thinning out the paint with water before using it will give you a much sleeker finish. Experimenting with these methods can yield beautiful results every time!
Acrylic paints are ideal for achieving a range of textures through wet-on-wet painting techniques because they dry quickly and adhere well to surfaces without smudging or running off. Additionally, since acrylics come in such a wide variety of colors there really isn’t any limit to what kind of unique effects you can achieve with them. So don’t be afraid to explore new ways of working with this type of medium -you may just find yourself pleasantly surprised at what happens!
No matter which texture effect you’re aiming for in your artwork, wet-on-wet painting makes it possible to realize all kinds of creative ideas quickly and easily. Not only does this technique allow for greater control over how color is applied on the canvas but also provides opportunities for experimentation so that each piece has its unique character.
When it comes to painting with acrylics, selecting the right brush is essential for achieving your desired results. When using a wet-on-wet technique, several types of brushes can be used. Here are some tips on how to choose the best type of brush for this particular style of painting:
Firstly, when choosing a brush for wet-on-wet acrylic painting techniques, look for one made from synthetic fibers such as nylon or polyester. These types of brushes will hold their shape better and last longer than natural bristle brushes which tend to become misshapen over time.
Secondly, select a brush size based on the scale of your work – if you’re working on larger pieces then opt for bigger sizes whereas smaller works may require finer detail so you’ll need smaller-sized brushes. Additionally, consider the width or thickness of the bristles depending on whether you want thick or thin lines in your painting.
Finally, think about what kind of marks you’d like to create and go for either flat brushes (which will give clean straight edges) or round brushes (which allow you to make curved strokes). Below is a list outlining the pros and cons of each type: * Flat Brushes: Pros – produce evenly smooth surfaces; Cons – not suitable for making curved lines * Round Brushes: Pros – good at producing curves; Cons – difficult to achieve sharp edges
As an artist experienced in acrylic painting techniques, I recommend experimenting with different kinds of brushes until you find one that suits your needs. Consider all factors including size, material, and shape before making your decision so that you have the perfect tool for creating beautiful artwork!
Conclusion
As an acrylic painting techniques expert, I can confidently say that wet-on-wet acrylic painting is a great way to create vibrant and beautiful works of art. With the right brush selection, you can create some truly stunning effects. While this technique may require more skill than other methods, practice makes perfect - so don't be afraid to experiment! You can achieve a variety of textures with wet-on-wet painting and have fun with it while doing so. To prevent your paints from drying out too quickly, use a medium or add a few drops of water to keep them moist. Finally, if you want to take your artwork even further, consider incorporating special additives such as gels for extra texture and depth. With wet-on-wet acrylic painting techniques, there's no limit to what you can create!
