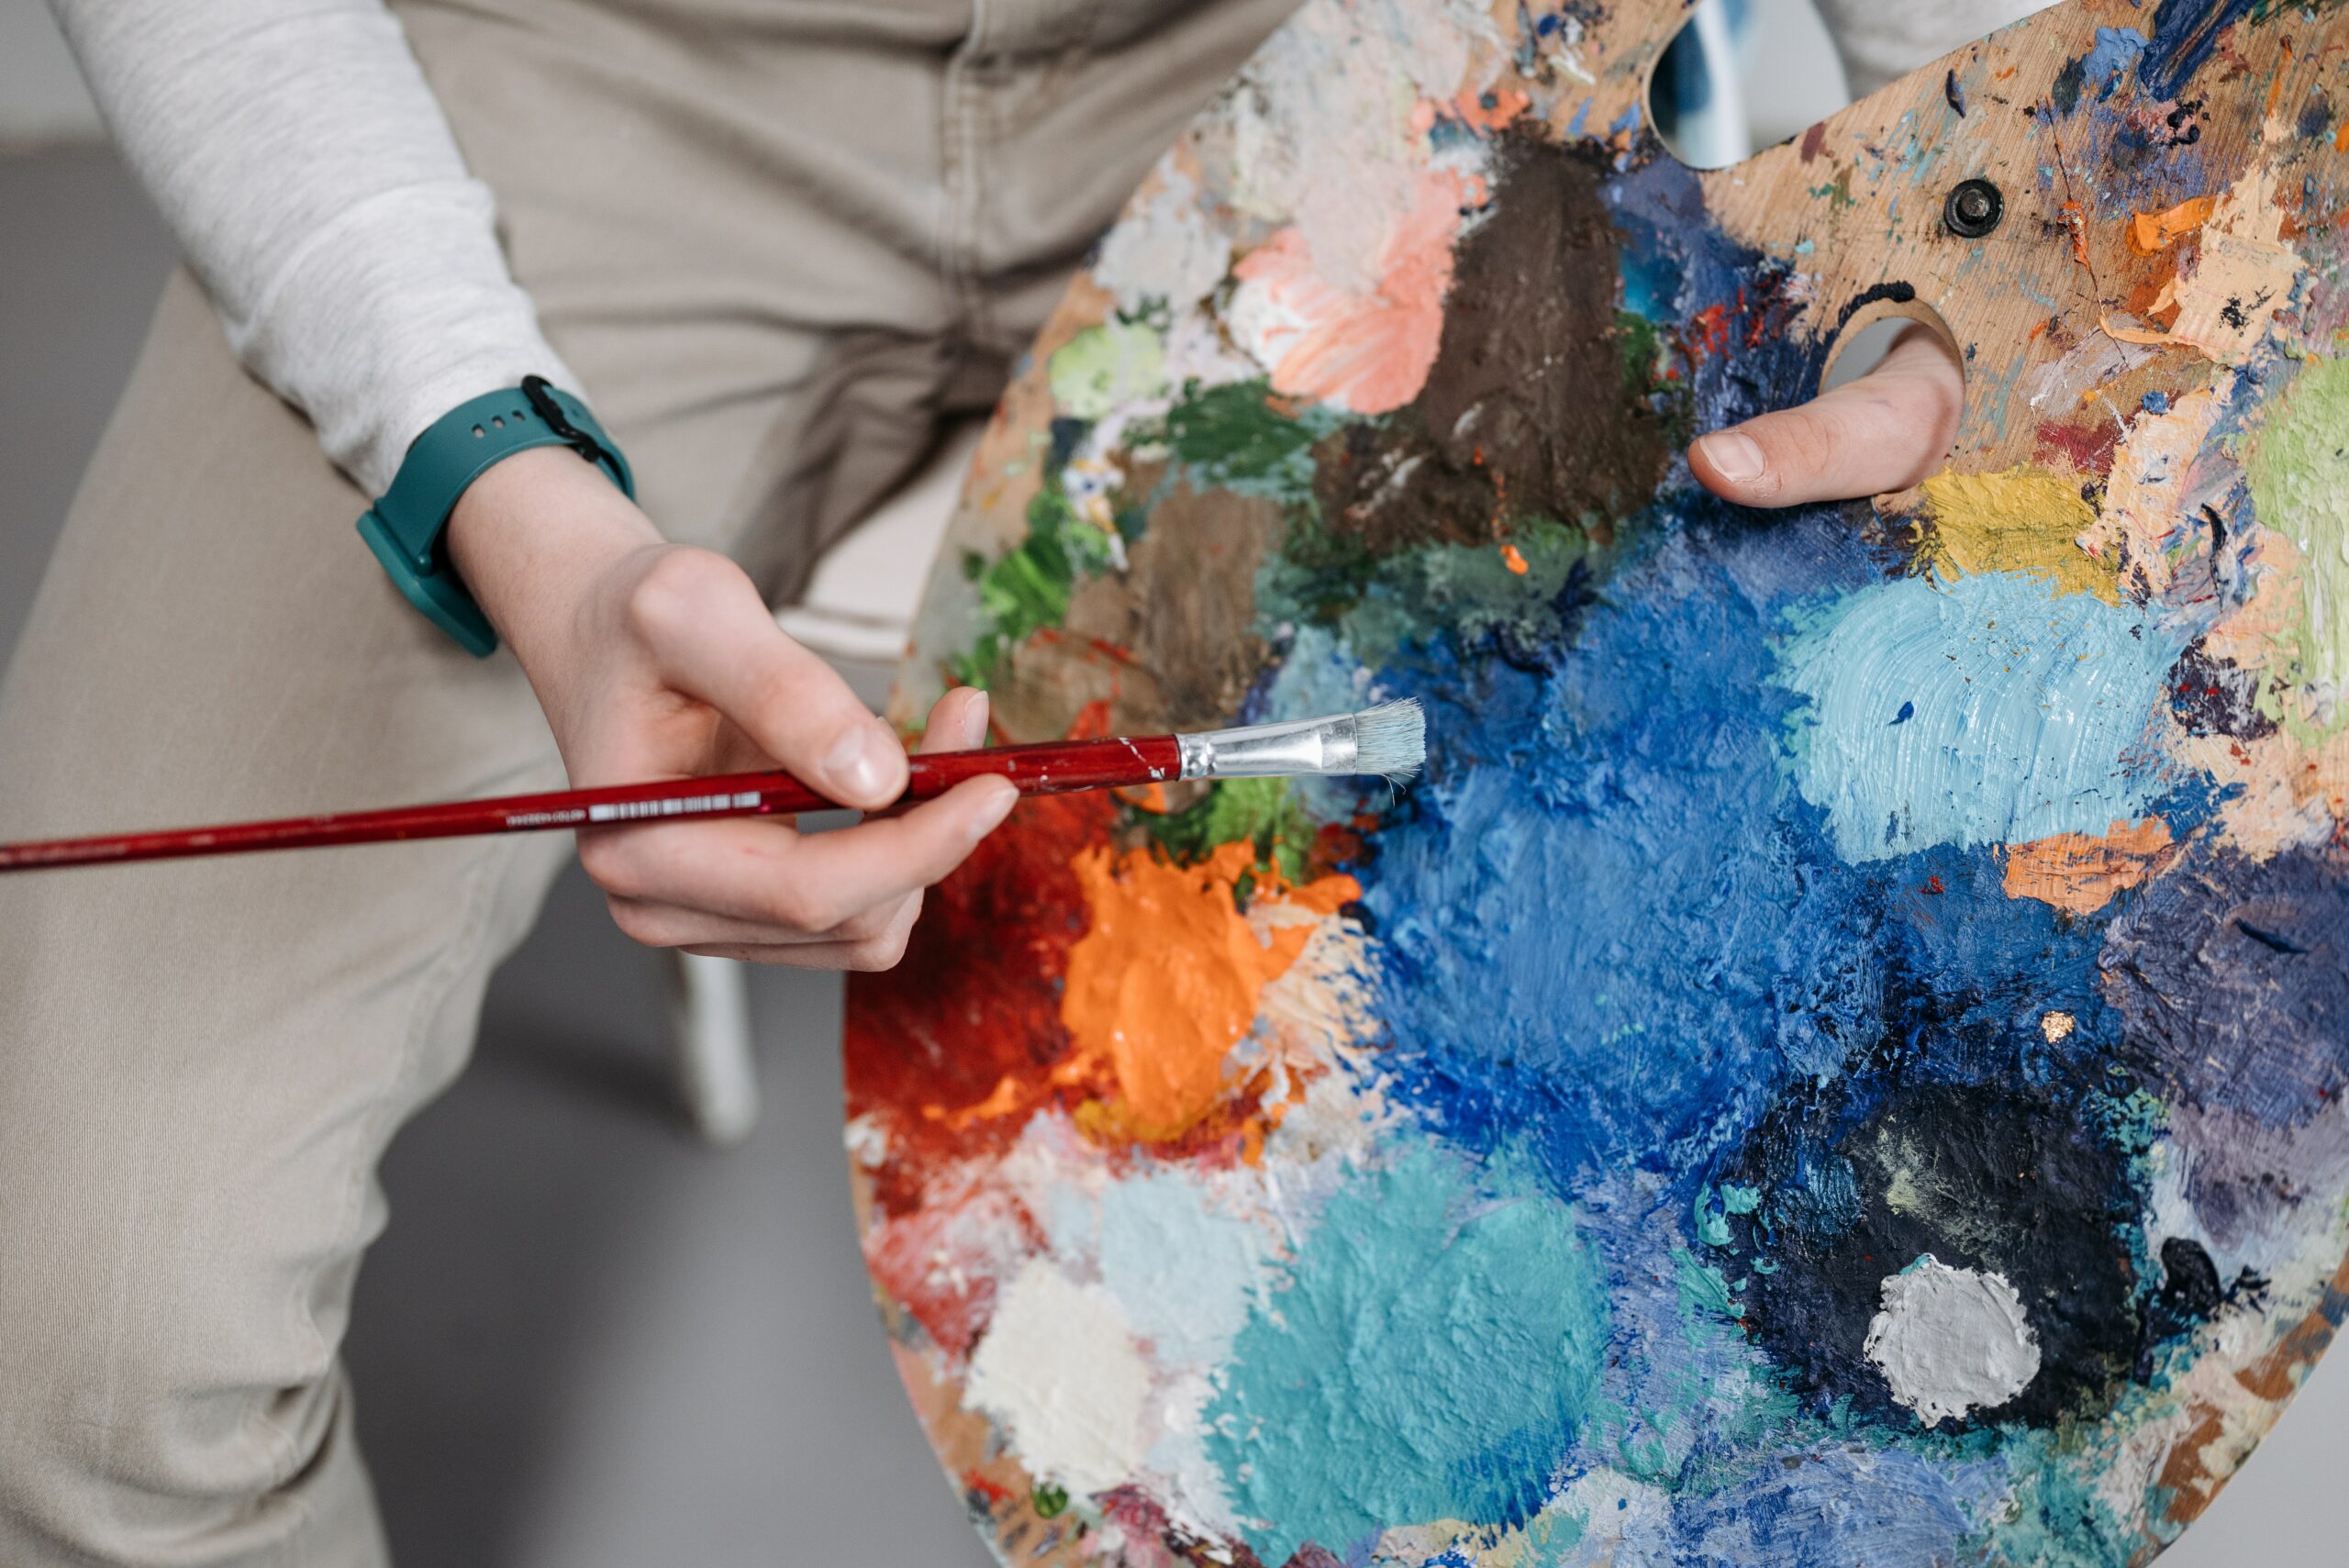
Smooth Moves: Removing Lumps and Bumps from Acrylic Paint
Do you have a project that requires painting with acrylics, but the paint is lumpy and not giving the results you want? Don't worry - I'm here to help! As an experienced paint finishing specialist, I know all about how to fix lumpy acrylic paint. In this article, I'll walk you through every step of the process so you can get your project looking its best in no time.
First off, let's talk about why your acrylic may be lumpy in the first place. There are several possible causes - from improper stirring or mixing techniques to inadequate storage conditions for your materials. Once we understand what might be causing it, then we can move on to fixing it!
Finally, once we've identified and addressed any underlying issues contributing to lumpiness, some certain tricks and techniques will make sure your acrylic remains smooth throughout application and drying. With my expert advice at hand, you won't need to throw out another batch of lumpy acrylic ever again!
What Is Acrylic Paint?
Acrylic paint is a popular choice among painters and DIYers alike. It’s versatile, easy to clean up with water, comes in many colors, and can be used on almost any surface. From canvas painting to furniture refinishing, it has become an essential part of the artist's palette. To understand how to fix lumpy acrylic paint, first, let’s explore what makes this unique type of paint so special.
When mixed with binder agents like polyvinyl acetate or styrene-butadiene copolymer (SBC), acrylic resin creates a thick liquid that dries quickly into a hard plastic film when exposed to air. This combination allows for better adhesion than traditional oil paints and results in more vibrant colors because the binder helps trap pigment particles within the layer of paint. The two main types of acrylic paints are craft grade and professional grade; the latter being generally thicker, longer lasting, and offering greater flexibility during application.
The ingredients that make up each type vary slightly but usually include pigments, binders, fillers, solvents, and surfactants – all working together to create different shades of color as well as giving control over drying time and texture while allowing for easier manipulation once applied onto surfaces. Acrylic paints require minimal preparation before use since they don’t need much priming before application - making them ideal for beginners and those who want quick results without having to worry about extensive prepping beforehand. With its versatility and ease of use, it’s no wonder why acrylic paint remains one of the most popular choices for both experienced artists and hobbyists alike!
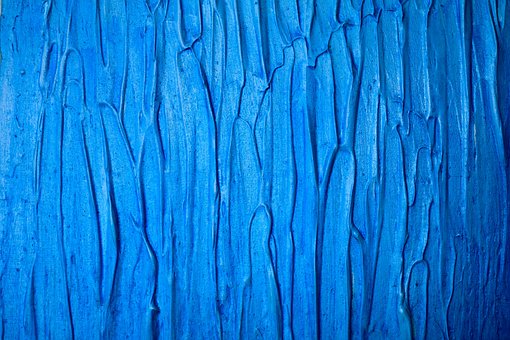
Causes Of Lumpy Paint
Now that we understand the basics of acrylic paint, let's look at why it might be lumpy. There are several factors to consider when trying to fix lumpy paint: viscosity, temperature, stirring, and brands or additives.
Viscosity is an important factor in preventing lumps from forming. If your acrylic paint is too thick, it will not flow smoothly onto the canvas and can result in clumpy patches. To avoid this, make sure you use a thinner that matches the brand of acrylic paint you're using. Thinning out your paints with water or mediums also helps reduce their thickness and ensures they are mixed properly before application.
Temperature plays an important role as well; if your paints are too cold then they may not mix properly resulting in lumpiness. It's best to keep acrylic paints between 65-75 degrees Fahrenheit for optimal results when applying them to any surface. Stirring the mixture thoroughly can help ensure all components are evenly distributed throughout the paint before application begins. This prevents lumping during painting time and makes for smoother coverage overall.
Finally, different brands of acrylic paints have varying levels of viscosity and may require specific thinning agents depending on what type you buy. Some brands include additives such as glazing liquids which can affect how smooth or textured your finished product looks so choose wisely!
Some artists prefer certain types of brushes over others due to how much texture they allow each color layer to retain while still blending nicely without creating large blobs of paint on the canvas.
No matter which strategy you opt for though, taking into account these key elements should help eliminate those pesky chunks of lumps in your final masterpiece! Preparing the painting surface correctly beforehand is essential for achieving great results - start by priming with gesso if necessary and smoothing down any bumps before continuing with adding layers of color.
Preparing The Painting Surface
Before you start working on your lumpy acrylic paint, it is important to make sure that the painting surface is properly prepared. Without a proper base layer, the finished product will not look as good as it could. Here are some tips for preparing different types of surfaces:
- For canvas, use gesso primer before beginning to apply your acrylic paints. This will help keep the paint from warping and provide a better result overall.
- When preparing walls, use an acrylic primer to ensure that the paint sticks well and does not chip or peel off over time. This step can also prevent any unwanted odors from lingering in your home due to exposure to chemicals used in traditional primers.
- Always sand down any rough patches or bumps before starting to paint so that the final result looks smooth and even once dry.
These steps may seem tedious but they are essential if you want a professional-looking finish when fixing up lumpy acrylic paint. Taking the extra time here can save you money and frustration by avoiding mistakes later on in the process. With a properly prepared painting surface, you're now ready to move on to mixing techniques!

Mixing Techniques
Mixing acrylic paint is a delicate art. It requires the knowledge of techniques for ensuring proper consistency, and can be done with a brush, roller, or stirring device. To fix lumpy acrylic paint, it's essential to understand how each tool works and use them in the right way.
A brush gives you great control over the amount of liquid that gets mixed into your paint for even coating. Paint rollers are also useful if you want an even application without worrying about drips or splatters. And finally, stirrers are best suited for mixing large amounts of liquids or materials quickly and efficiently.
No matter what type of equipment you choose, always make sure to mix thoroughly so that all particles are evenly distributed throughout the mixture. This will ensure that no lumps remain in your finished product and create a smooth surface when painted onto any material.
Keep in mind that it takes practice to get used to working with different tools; patience is key!
Finishing Touches
Now that we've discussed mixing techniques, it's time to focus on how you can give your acrylic paint a glossy finish. The key is in the brush strokes and color blending. You'll want to use gentle, even strokes when applying the paint, avoiding any harsh lines or ridges. To make sure all of your edges are smooth and blended correctly, try using a damp cloth or sponge with water to lightly wipe away any mistakes. This will also help keep your colors from separating after they dry.
When you're finished painting, be sure to seal each layer as soon as possible so that it doesn't crack down the line due to weathering or other factors. Sealing layers ensures that the paints remain vibrant and true-to-color for years to come! With these tips in mind, you should have no problem achieving the perfect glossy finish for your artwork.
Now that our canvas has been given its finishing touches, let's move on to discussing storage solutions for preserving your work and keeping it looking beautiful for years ahead!
Storage Solutions
When it comes to keeping your acrylic paint in tip-top condition, storage is key! As a professional paint finisher, I can’t stress enough how important it is to store your art supplies and paints correctly. If you want to keep your paints from becoming lumpy or drying out, then airtight containers are an absolute must! Not only will they protect them from dust, dirt, and debris that could affect their texture, but they'll also help keep moisture away which helps prevent lumps from forming.
It's also essential to label each container with what type of paint is inside so there's no confusion when selecting colors for future projects. Additionally, make sure all caps are tightly secured on each bottle before storing them away. This provides added protection against spills and evaporation which can cause clumping of the acrylics. Plus if you ever need to transport wet paintings or canvases somewhere else, having everything adequately stored ahead of time makes travel much easier.
To sum up: taking these simple steps now will save you lots of headaches later down the road. Properly storing your acrylic paint not only ensures its quality remains intact but also saves you money as well by preventing waste and spoilage due to improper storage conditions.
Now let's look at how we can ensure our tools remain clean during cleanup and maintenance.
Cleanup And Maintenance
As a paint finishing specialist, I know firsthand how important it is to keep your painting tools and supplies in top shape. To ensure that you can fix lumpy acrylic paint problems quickly and effectively, here are some essential cleanup and maintenance tips:
Cleanup tools | maintenance tips |
|---|---|
Paint remover | Check the consistency of the paint frequently. |
Brush cleaner solution | Don't use old or dry paint. |
Soft cloths/paper towels | Store paints properly. |
Paint thinner (optional) | Keep brushes clean after each use. |
When using these tools for cleaning up any lumpy acrylic paint residue, make sure to wear protective gloves, goggles, and an apron as they can be hazardous if not used with caution. Once all of the excess paint has been removed from surfaces, use soft cloths or paper towels to wipe down areas thoroughly until no more residue remains. If necessary, apply a thin layer of fresh paint over the affected area to improve its appearance. Additionally, don’t forget to store leftover paints in airtight containers away from heat sources so they will last longer and provide better results when used again in future projects.
By following these simple steps every time you finish a project involving acrylic paints, you'll have less trouble dealing with lumpy textures caused by drying out clumps of pigment particles on the finished artwork. Take the time now to invest in quality equipment and materials – paying attention to proper storage techniques - and you won't regret it later!
Frequently Asked Questions
Figuring out if your acrylic paint is too thick can be like trying to find a needle in a haystack. However, it’s an important step for any paint-finishing project. As a specialist, I know that the key to evaluating the thickness of the paint lies in understanding the signs and testing techniques available for acrylic paint thickness.
When assessing whether or not your paint is at its optimal thickness there are certain visual clues you should look out for. If your brush leaves visible lines or ridges when applied onto a surface then this could indicate that your acrylic paint is too thick and will require thinning down before use. Additionally, if after brushing on one layer of paint appears uneven or lumpy then this could also signify over-thickening.
To get a more accurate indication of how thick your acrylic paint is, there are various tests that professionals often undertake such as the drawdown test or viscosity cup test – both effective ways to measure the specific gravity of paints and other liquids quickly with some basic equipment. These tests provide precise readings which makes them ideal tools to assess exactly what type of changes need to be made to achieve the desired results from your painting project.
No matter what method you use, having an understanding of acrylic paint thickness and being able to identify potential problems early on can save time and money in the long run. By following these steps you’ll have greater control over achieving flawless finishes every time!
When it comes to diagnosing lumpy paint, the texture of the paint can tell you a lot. As a paint finishing specialist, I know that if your acrylics are getting thick and clumpy, then there’s a good chance they’re still usable. However, when checking out the consistency of your paints, it’s important to be able to spot any obvious signs of damage or deterioration to determine whether or not they’re still usable.
The first step is to look for any large lumps or chunks in your acrylics – if these exist, the chances are that the paint has gone bad and should no longer be used. If however, you only find small lumps which appear evenly distributed throughout the mixture, then you may have just been unlucky with how quickly the medium evaporated from them. In this case, adding more medium could help restore their original texture.
It’s also worth considering why you think your paints might have become lumpy in the first place – maybe you left them open too long? Or perhaps you added too much binder? Sometimes even high temperatures can cause lumpy textures due to quick evaporation rates! Regardless of what caused it though, by taking some time to diagnose exactly how lumpy make sure that your paints are still usable before attempting any fixes.
When working with acrylic paint, preventing lumpy results is key to achieving a smooth finish. Being aware of the right techniques and tools needed for mixing acrylics correctly can help you avoid lumpy paint. As a paint finishing specialist, I understand how important it is to prevent lumpy acrylic paints to get an even, polished result.
To start, using the appropriate amount of water when mixing your acrylic paints ensures that they don’t become too thick or thin – this helps avoid lumpy results. Secondly, always use clean brushes and palettes because any dirt mixed into the acrylic will cause lumps and bumps on the surface. Finally, make sure to stir rather than shake your mixture as vigorous shaking can introduce air bubbles which may lead to uneven textures or lumps after drying.
It’s also worth noting that if you do end up with some small lumps in your finished piece, there are ways to fix them by sanding down the area until it is smooth again. Overall, taking extra care while mixing and applying your acrylic paints will ensure that you get great-looking results every time!
When should I add a medium to my acrylic paint? It’s important to know when and what type of mediums you should be adding to your acrylic paint. As a finishing specialist, I recommend using different mediums with acrylic paints to achieve the desired look or texture. Here are some tips that can help you get started:
- Consider the purpose for adding a medium – Is it for increasing workability, changing finish or texture, extending color, or creating glazes or washes?
- Understand which medium types are best suited for certain effects – Different mediums have different properties so make sure to select the right one for the job. For example, gels and pastes provide more control than liquid ones when working on thick layers while gloss varnishes will create an even sheen across the entire surface.
- Learn about the different types of mediums available – There are many kinds of acrylic painting media such as alkyds, extenders, retarders, modeling paste, and much more. Each has its unique characteristics and uses so research them before deciding which one is best for you.
It’s essential to understand when adding each type of medium may be beneficial. Alkyd-based media like Liquitex Modeling Paste or Golden Soft Gel Gloss allow artists to build up thicker layers without worrying about cracking or drying too quickly; they also offer increased flexibility once dry. Extenders can be used to extend coverage over larger areas while maintaining transparency; this makes them ideal for backgrounds with lots of details. Retarders slow down drying time allowing painters time to blend colors together smoothly while keeping brushstrokes visible; these are especially useful when trying to achieve softer blends between light and dark values. Lastly, other specialized products like crackle paste can give paintings interesting textures by enabling air bubbles to form underneath the layer of paint after application due to their water-soluble nature.
By understanding how and when various types of mediums should be added to your artwork, you’ll be able to unlock new creative possibilities with your acrylic paints!
Conclusion
If you've ever experienced the dreaded lumpy acrylic paint, then you know how frustrating it can be to try and correct it. Thankfully, there are some simple steps that you can take to save your painting project from disaster! By understanding when and why acrylic paint becomes too thick, as well as the best way to prevent it from happening again, you'll never have to worry about lumpy paint ruining your masterpiece.
A critical step for avoiding lumpy acrylic paint is recognizing when it's time to add a medium — before it gets too late! Once the paint has become too thick or textured, it may still be usable but fixing it will require much more effort than if you had added a medium sooner on. To make sure this doesn't happen again, always keep an eye out for indicators of texture while mixing your paints so that corrective measures can be taken promptly.
By following these tips and tricks from a seasoned painter like myself, I guarantee that not only will you learn how to fix lumpy acrylic paint but also avoid having to do so altogether! With enough practice and patience (and maybe even one wild hyperbole here and there), soon enough you’ll find yourself creating beautiful works of art without any fear of paint-related mishaps.

