The Art of Drying: Tips for Getting Your Oil Paint to Dry Faster
Are you an oil painter looking for ways to make your paint dry faster? You’ve come to the right place! As an oil painting consultant, I know that it can be frustrating when you want to move on to the next stage of a project but have to wait for your paints to dry. Today, I’m going to share some top tips on how you can speed up the drying process and get back into creating in no time.
The great thing about oil painting is that it gives you complete control over your creative expression. However, with this control comes responsibility and part of that responsibility involves ensuring that your paintings are properly cared for as they dry. To help make sure that everything goes smoothly and quickly, here are my best techniques for making oil paint dry fast.
We all know that having patience is important – especially when we’re talking about art – but sometimes time isn’t a luxury we have or the result we desire. If this sounds like something you’d benefit from then keep reading because these tried-and-tested methods will give you all the guidance you need on how to make oil paint dry quickly without compromising quality or success.
Understanding The Drying Process
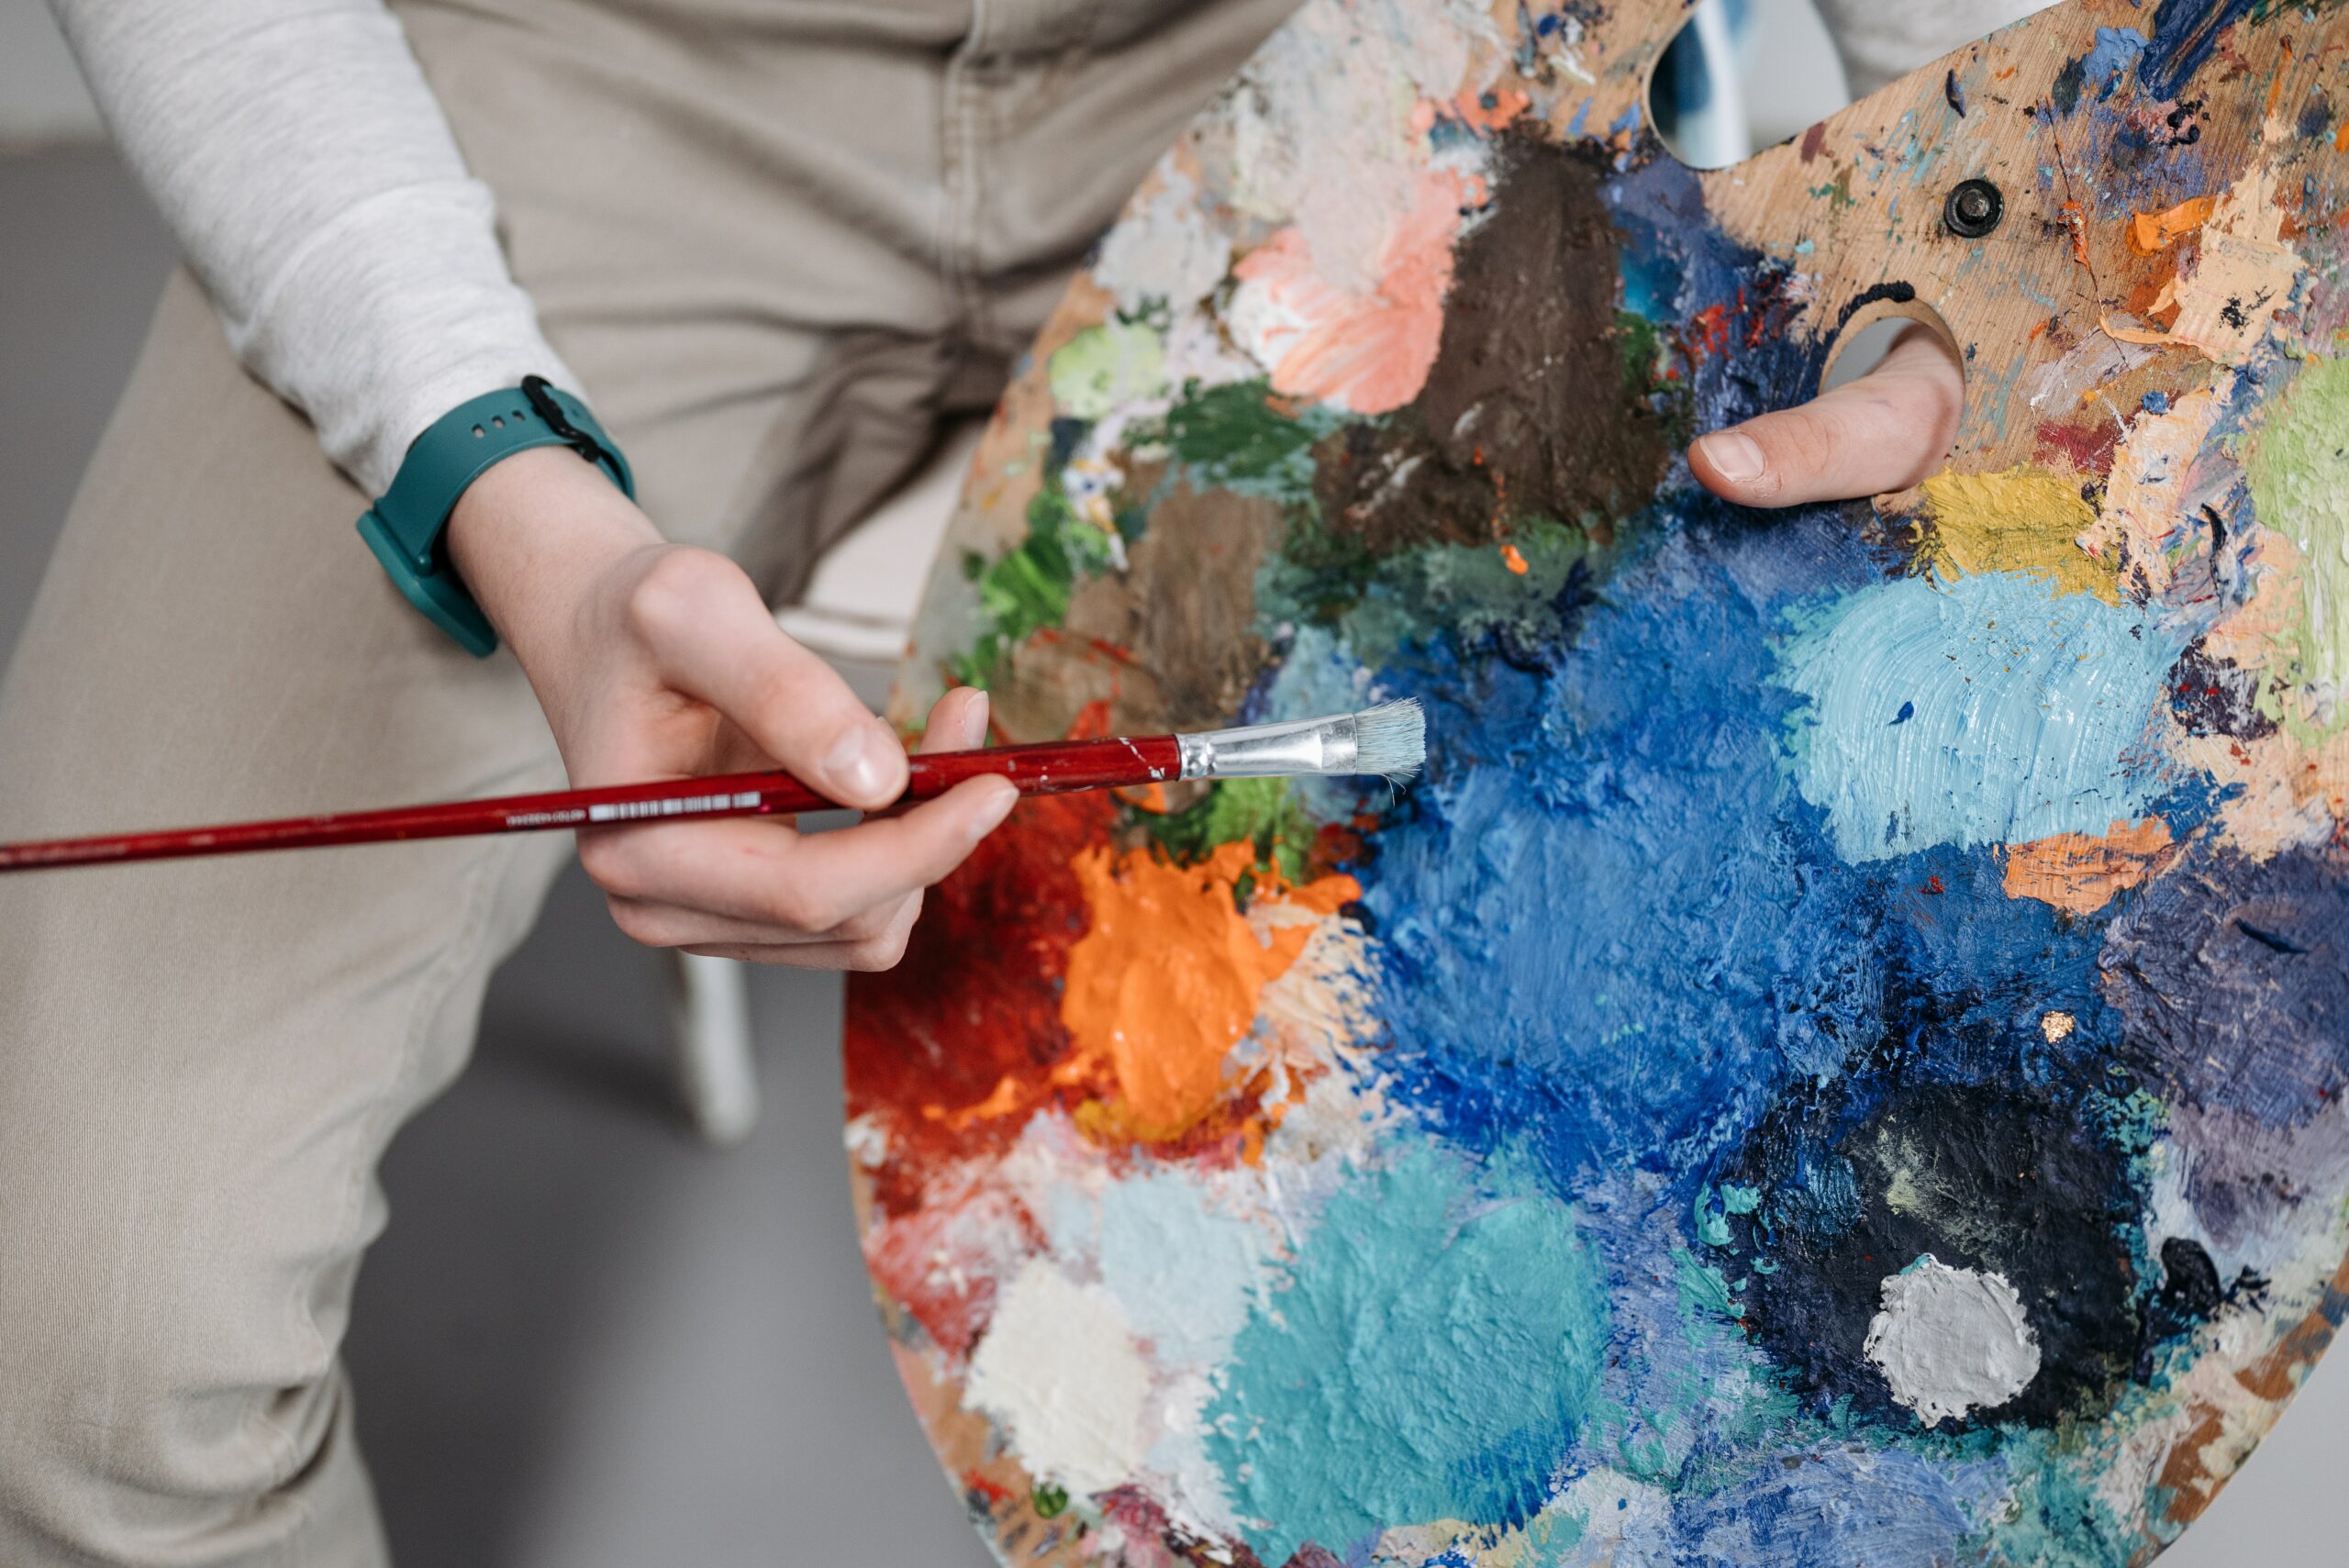
Did you know that oil paint can take up to a few months to completely dry? This is because understanding the drying process of oil paint is essential for creating beautiful, lasting works of art. As an oil painting consultant, I'm here to help guide you through this process and get your paintings looking their best!
The first step in getting your oil paints to dry properly is being aware of how long it takes for each layer to be ready for the next one; different colors need more or less time depending on their pigment content. Generally speaking, lighter colors such as yellow will dry faster than darker hues like reds and blues. Each layer needs its own set of conditions to cure correctly: temperature, humidity levels, air circulation, and exposure all affect the rate at which oils harden.
It's important to remember that when working with multiple layers of oil paint, there are certain safety precautions you should take; too much heat applied during curing can cause cracking or bubbling in the finished piece. To avoid any potential problems, make sure you allow enough time between coats so that each one has had ample opportunity to fully dry before applying another coat – usually around 24 hours per layer. With these simple steps in mind, you'll be well on your way toward achieving perfect results every time!
By now you’ve gained some insight into what goes into making sure your oil paintings look amazing - but there’s still one key factor left: preparing the painting surface. By following the necessary steps outlined below, you’ll ensure that your artwork looks professional and lasts for years to come!
Preparing The Painting Surface
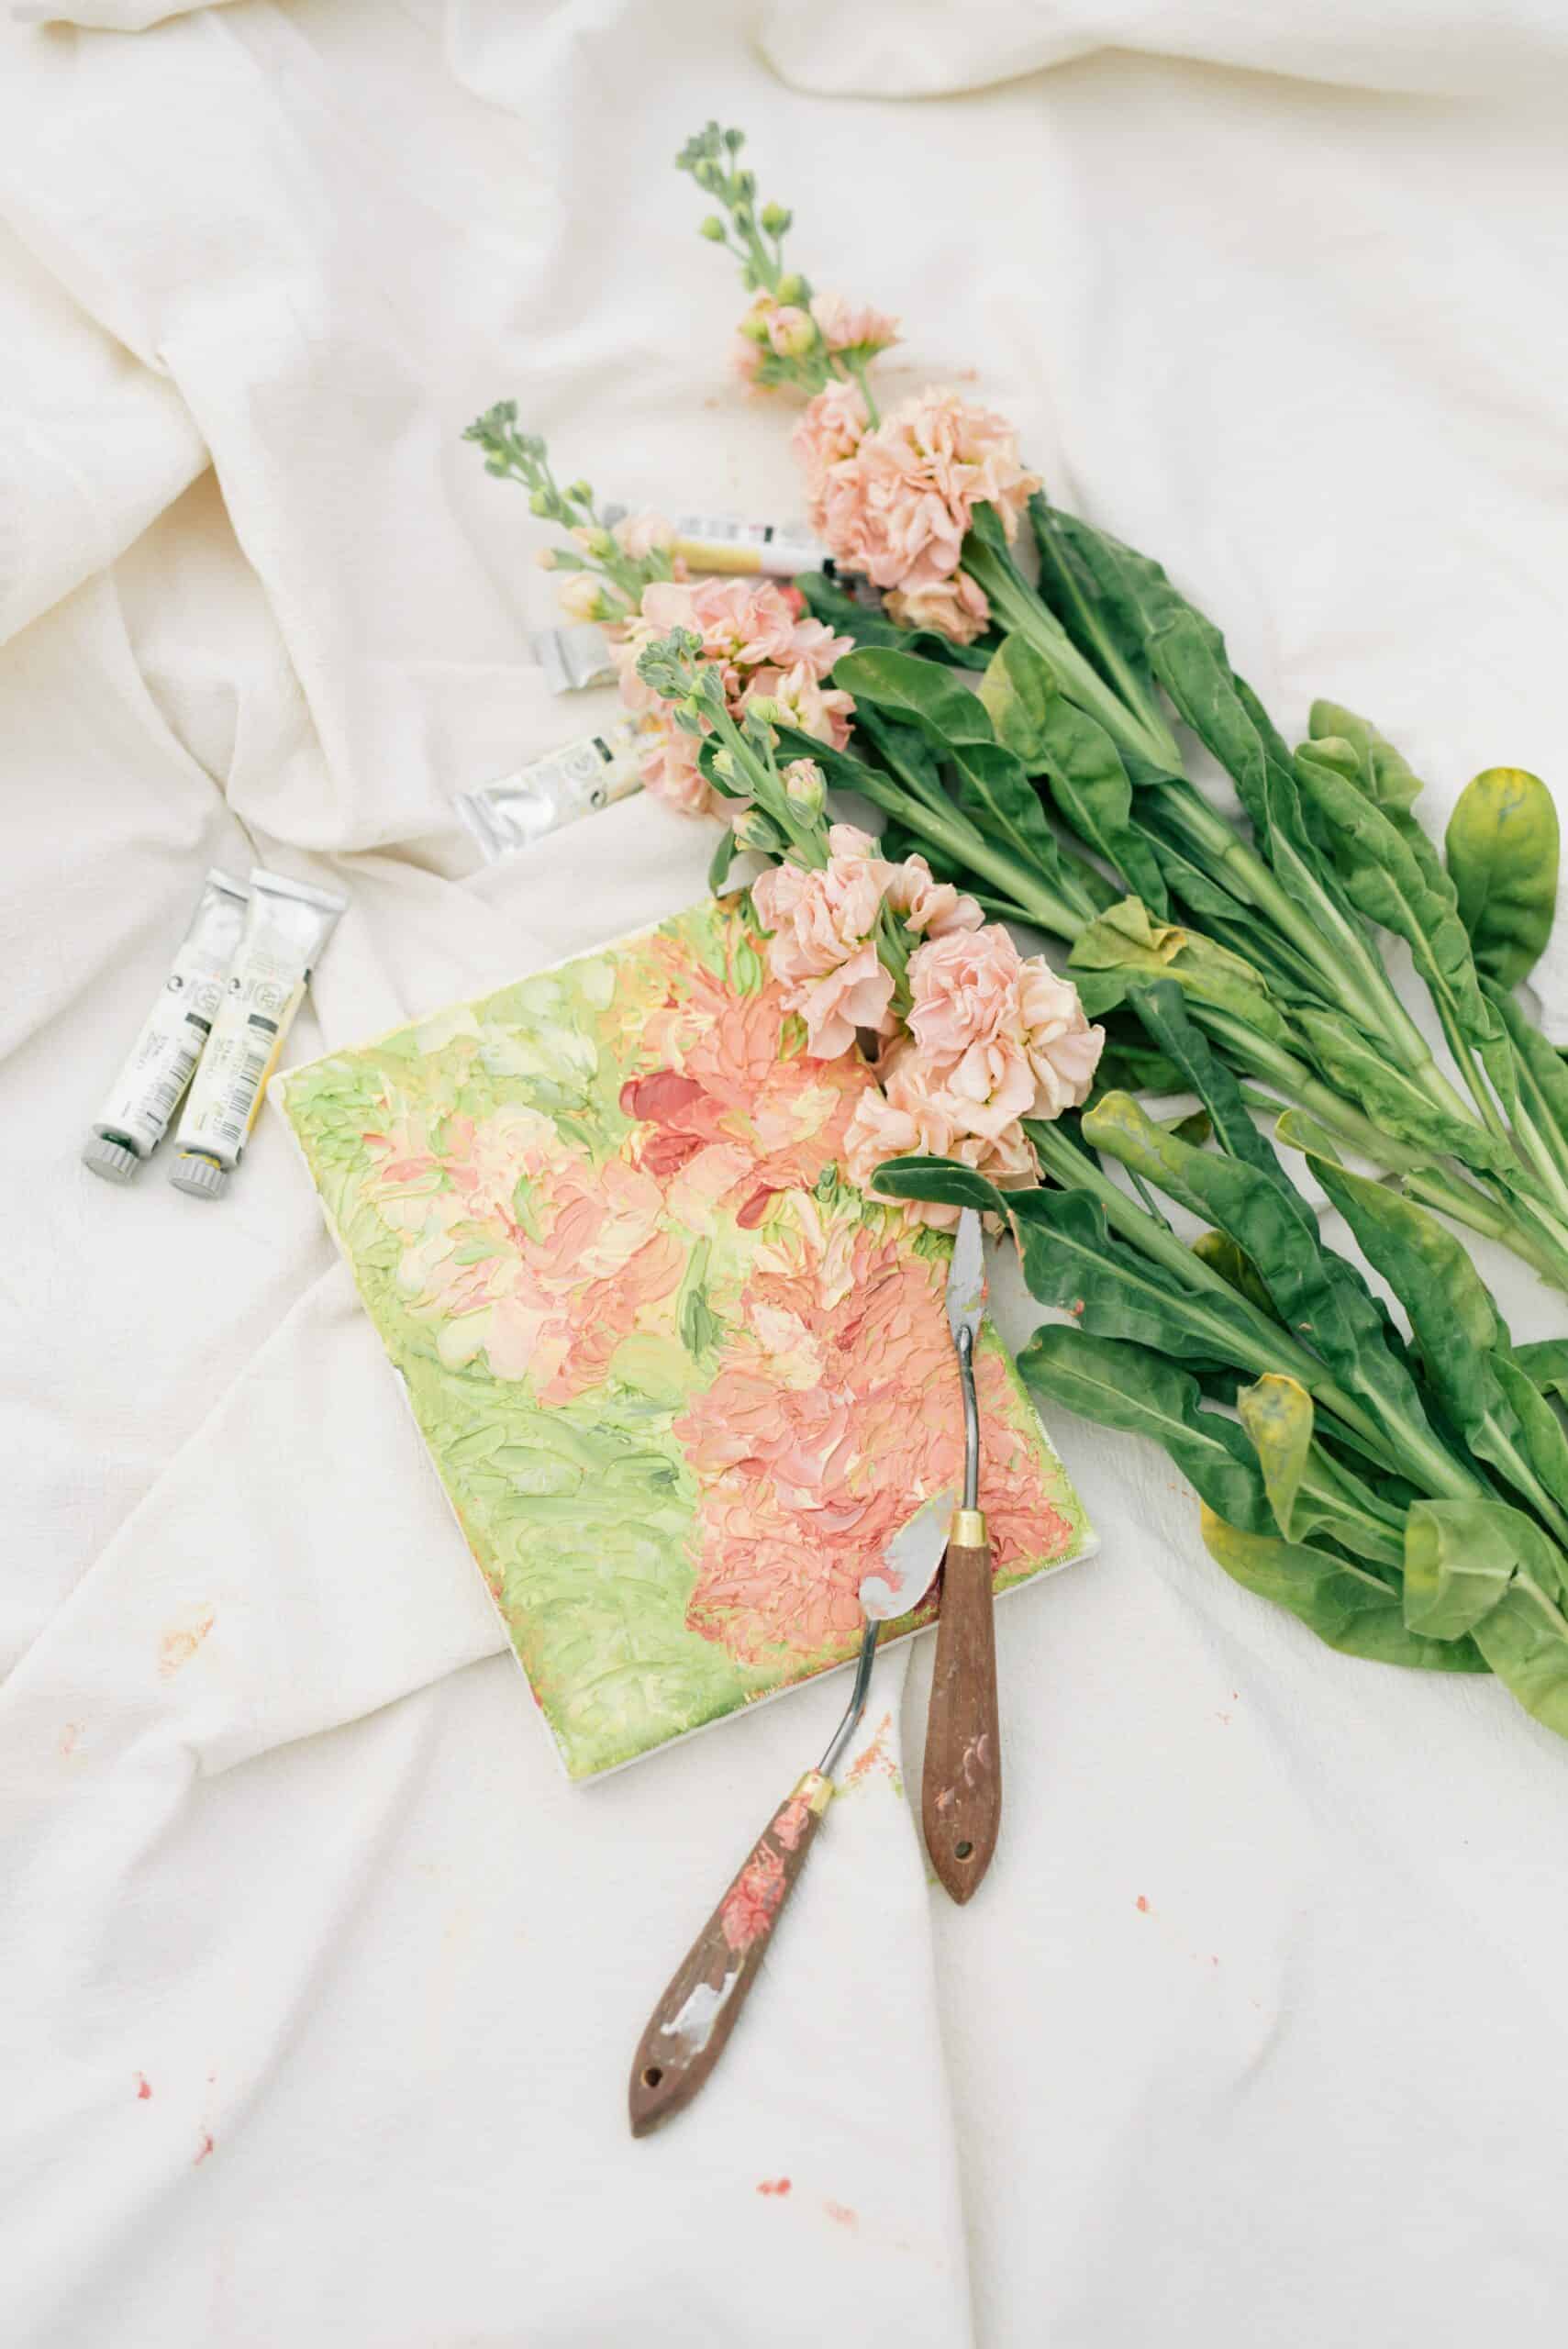
After understanding the essential drying process of oil paint, it’s time to prepare the painting surface. This is a critical step in creating successful artwork and can make or break your masterpiece. As an oil painting consultant, I recommend having a proper foundation before beginning any project.
The first step when preparing the painting surface is to choose between canvas or wood for your project. If you are using canvas, you will need to prime it with a gesso coating to protect against moisture and cracking later on. To do this, simply spread several coats evenly over the entire fabric until completely covered; then let dry overnight. On the other hand, if you decide to go with wooden boards as your substrate, sand them down lightly before applying multiple layers of primer. By doing so, you’ll create a smooth base that allows the colors of your artwork to come alive and stand out more vibrantly than ever!
To ensure optimal results while preparing your painting surface, don't forget to use all necessary preparation techniques such as priming canvases or sanding wood before starting an art piece. With these simple steps completed ahead of time, you'll be well on your way toward achieving success with every new work of art!
Now let's move on to selecting the right oil paints for our desired effects.
Choosing The Right Oil Paint
When it comes to oil painting, choosing the right type of paint can be critical. It's important to understand the different types of oil paints that are available and how they differ in terms of pigment binders, drying oils, and other painting mediums. For instance, some brands may use a variety of different pigments while others focus on creating one specific hue or color. Additionally, depending on the desired effects you want to achieve with your paintings, certain types of oil paints will work better than others.
The first thing to consider when selecting an oil painting is the type of binder used to hold the pigment particles together. Different binders offer varying levels of stability as well as water resistance. If you need paint that is more durable and less susceptible to damage from moisture or heat, then look for a product that uses high-quality binders such as linseed oil or walnut oil. On the other hand, if you're looking for something with a softer texture and vibrant colors, opt for products containing lighter-weight oils like safflower oil or poppy seed oil.
In addition to considering the properties of various binders, also pay attention to what kind of drying oils have been added to your chosen brand's formulation. Some common drying oils include cold-pressed linseed (or flax) oil, stand oil, and sunflower seed oil; each has its unique characteristics which can affect everything from brush stroke clarity and vibrancy of color saturation to surface sheen and even longevity. So make sure you research different brands thoroughly before making a purchase decision - this way you'll know exactly what kind of results you should expect after applying your finished artwork!
Applying The Paint Properly
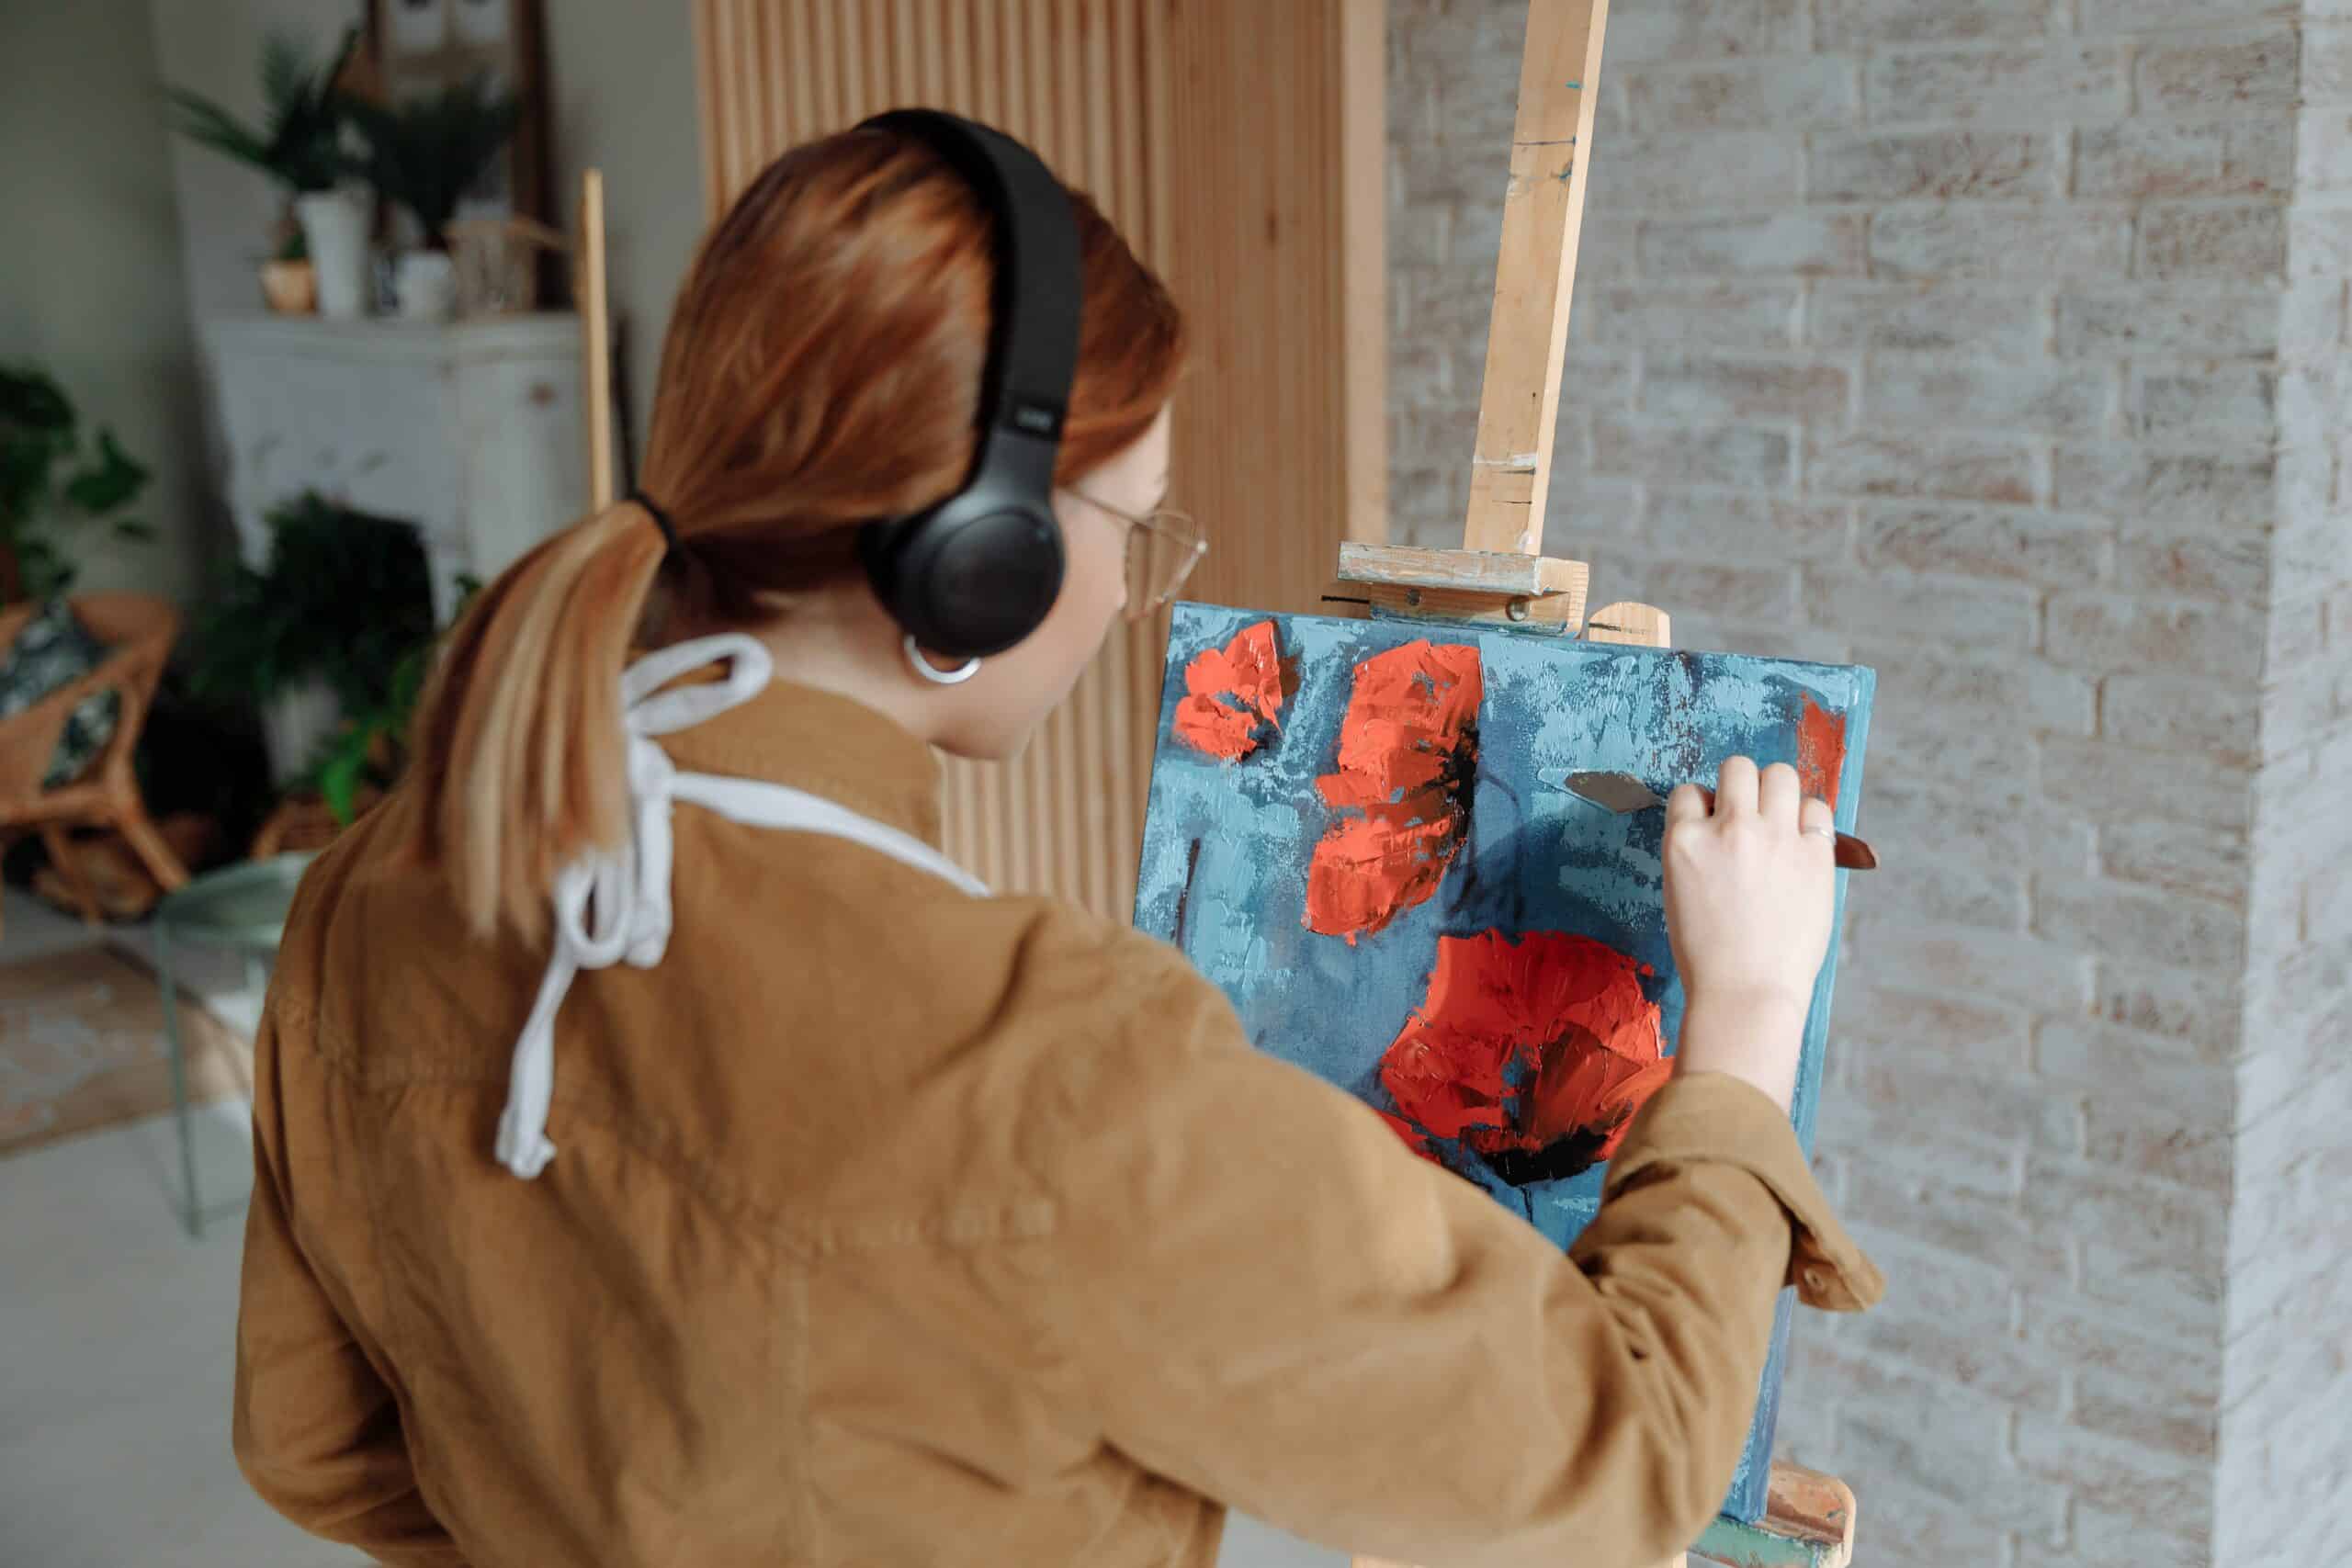
When it comes to applying paint, the right technique can make all the difference. As an oil painting consultant, I always recommend layering your colors and using different brush techniques when mixing paints. It's important to work slowly, taking special care with each stroke of your brush - no matter how small! Lay down a thin layer of paint and blend in any edges you want smoother. Then take some time to add more color or texture by laying strokes over one another until you've achieved the desired effect.
Consider adding depth and dimension through multiple layers of paint that overlap each other as you work from lightest to darkest tones. This will help create interesting visual effects on your canvas without too much effort. You'll be surprised at how quickly these simple steps will build up the richness of your painting!
Now that you know how to apply paint properly, let's move on to something even more exciting: adding heat to accelerate drying time!
Adding Heat To Accelerate Drying Time
Now that you've applied the paint properly, it's time to consider how to make your oil painting dry faster. One way is through heat acceleration. Adding a bit of warmth can speed up the drying time significantly and help ensure an even finish on your piece.
When applying heat for accelerated drying, remember that too much can damage or discolor your artwork—so use caution! Start by setting the room temperature at around 75°F (23°C). If this isn't enough, try using a hairdryer set on low heat and directed away from your canvas. You don't want to scorch it! Keep in mind that if there are areas that need more attention than others, you may want to focus extra heat on those spots specifically.
These tips should help get your oil paintings dried in no time! But keep in mind that increased temperatures also increase humidity levels, so controlling these conditions carefully while accelerating drying times with heat will be key to achieving success.
Controlling Humidity Levels
Controlling humidity levels is the key to unlocking your oil painting’s drying process. Much like a lock and key, if you don't have the right combination of elements in place - namely temperature and moisture - then it will be impossible for your paint to dry properly. As an oil painter's consultant, I can tell you that there are no shortcuts when it comes to controlling humidity levels: without this crucial step, achieving professional-looking results is nearly impossible.
To get the best possible results with your oil paintings, aim for relative humidity between 40% and 70%. To reach these ideal conditions, consider using a dehumidifier or air conditioner. Humidity control units can help maintain consistent temperatures that optimize oil paints' drying times and prevent cracking from happening too soon. Additionally, installing vents or fans in the room where you work may also help improve circulation and reduce excess moisture in the air.
By keeping humidity at an optimal level while you work on your masterpiece, you'll ensure that all of your hard work pays off! So take time to experiment with different techniques until you find what works best for you – after all, nothing beats quality craftsmanship when it comes to creating beautiful artwork!
Finishing Techniques
Now that you've taken the necessary steps to control your painting environment's humidity levels, it's time to move on to the finishing touches. As an oil painting consultant, I highly recommend using quality drying oils to help the paint dry faster, such as linseed and walnut oil. You can also use waxes on top of your paintings for added protection and luster. When varnishing layers of oil paints, there are various types of professional-grade oil painting varnish available for different effects—some glossy and some matte.
The best way to ensure a perfect finish with your work is by taking care when applying each layer or coat of paint and varnish. Be sure to wait until the previous coats have dried completely before adding another one; otherwise, you could end up with smudges if the layers aren't set properly. For more tips on how to get the most out of your artwork, check out my blog posts where I share detailed advice from years of experience!
Conclusion
Painting with oil is an incredibly rewarding experience. When done properly, the results can be truly breathtaking. However, it's important to understand the drying process and know how to make your oil paint dry so you can achieve desired effects on time. By preparing the painting surface well, choosing the right kind of paint, applying it correctly, adding heat when needed, controlling humidity levels, and trying out finishing techniques, you will ensure that your artwork turns out exactly as planned. With these tips in mind, you'll soon discover that having patience and taking time to practice is key to unlocking all of the incredible potentials within your work as an oil painter.

