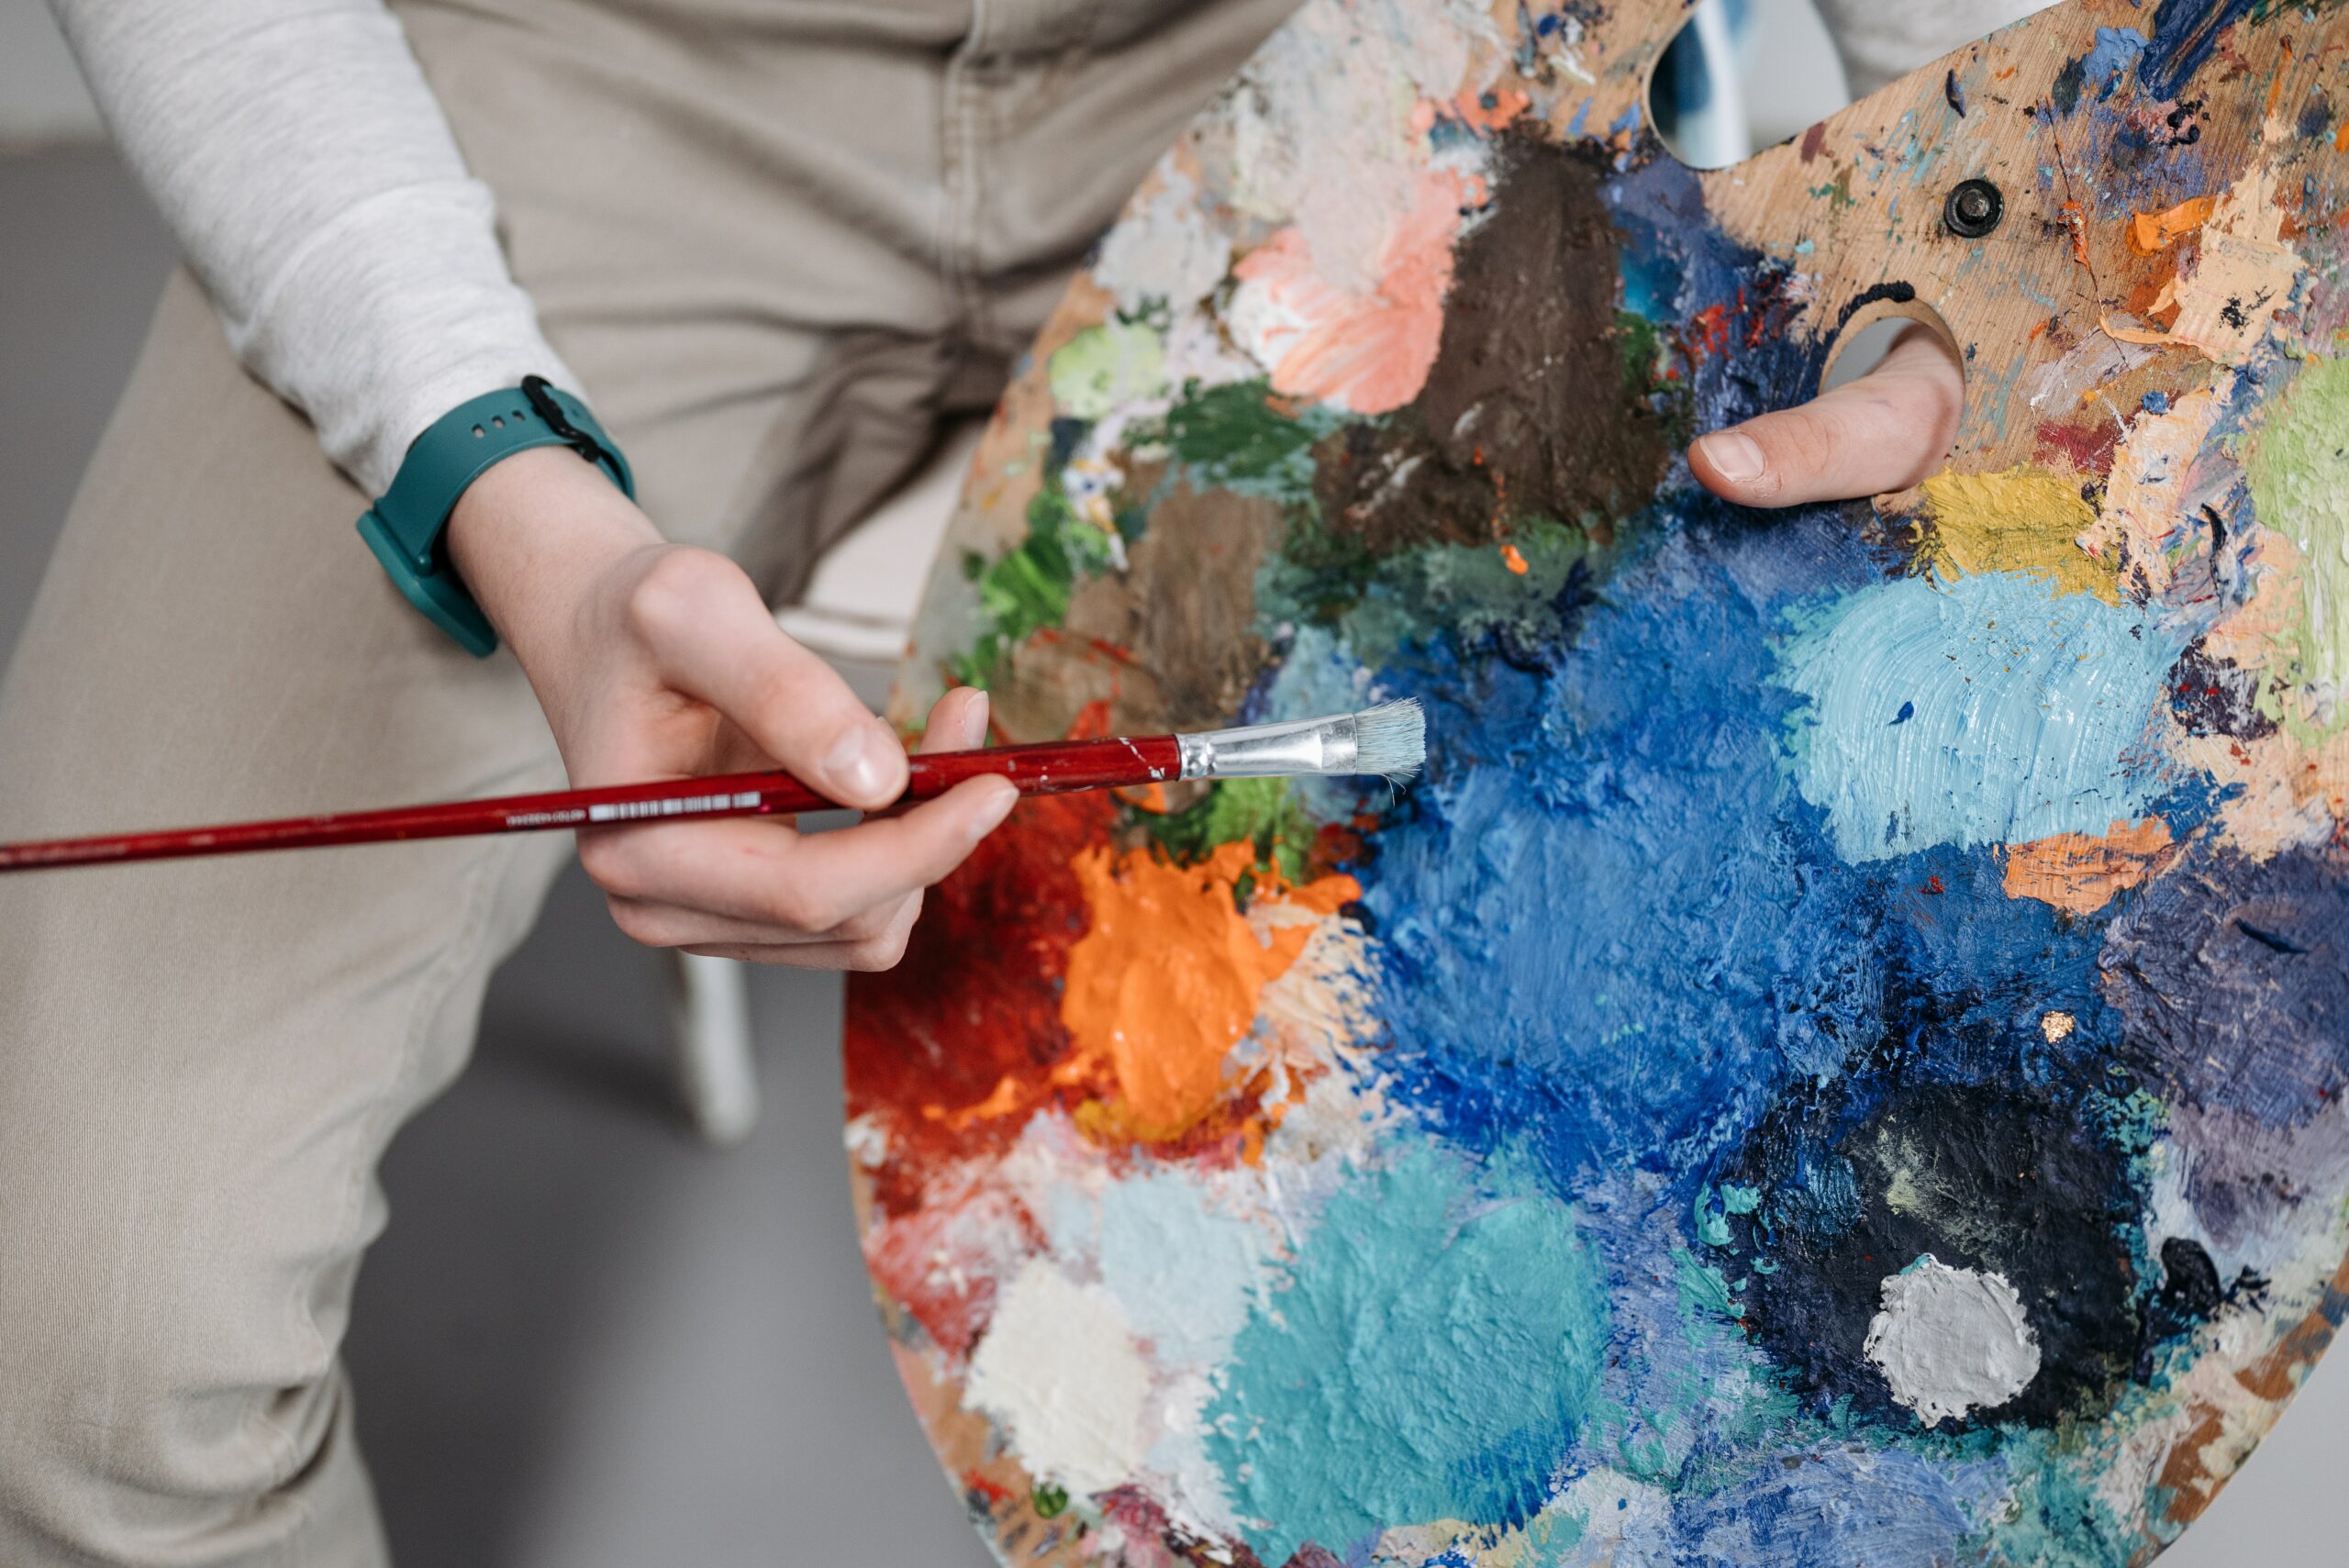
The Ultimate Guide to Painting on Wood with Acrylics
Painting on wood is an art form that requires both skill and creativity. Whether you’re a seasoned artist or just starting, learning how to paint on wood with acrylics can be exciting and rewarding. I’ve been painting on wood for years, so let me share some of my tips and tricks for creating beautiful works of art with this versatile medium.
Acrylic paints are great for painting on wood because they allow the artist to layer multiple colors quickly and easily – perfect for achieving vibrant results in no time! In addition, there are many different techniques available when it comes to making your work stand out from the crowd. From brush strokes to washes, you can create stunning effects with acrylics.
In this article, we’ll take a look at all aspects of working with acrylic paints on wood: preparation, application methods, finishing touches, and more! So if you're eager to get started right away, then grab your brushes, and let's dive into the wonderful world of painting on wood with acrylics!
Materials Needed
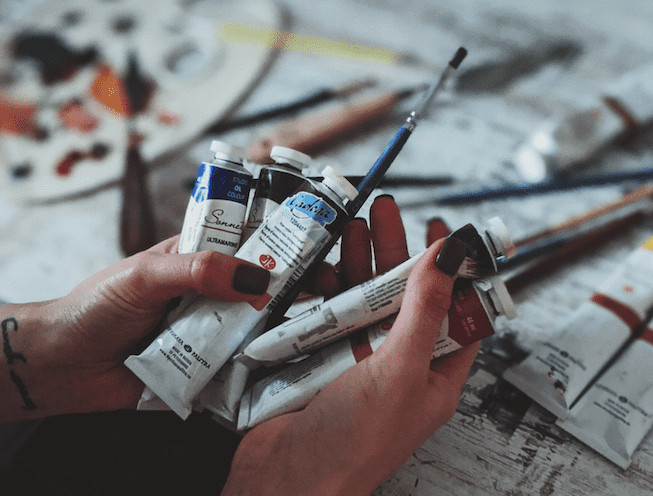
Painting on wood with acrylic is an incredibly rewarding experience! I know from personal experience that there's nothing quite like seeing the result of your hard work. To get started, you'll need some basic supplies: acrylic paint, wood panels, gesso primer, paint brushes, and sealing varnish. The key to success is having quality materials so make sure to purchase these items from a reputable supplier.

When it comes to selecting paints for your project, consider buying artist-grade products as they offer superior coverage and color saturation. You can also experiment with different types of wood surfaces such as hardwood or softwood boards depending on what effect you're trying to achieve. Additionally, a thin layer of gesso primer will help protect the surface of your panels while providing a smooth base for painting. Finally, be sure to seal your artwork with a few coats of glossy varnish once you've done it – this will give it a professional finish and protect it against moisture damage in the long run.
With all these supplies ready at hand, you’re now ready for surface preparation; which we'll discuss next!
Surface Preparation
Preparing the wood surface is the key to a successful and attractive painted finish. This involves several steps, including sanding, cleaning, priming, and smoothing. Here's what you need to know before getting started:
- Wood Sanding: Start by lightly sanding with medium grit (80-120) paper or steel wool to remove any dirt or debris from the surface of your workpiece. It's important to go in one direction only when sanding for an even finish.
- Wood Preparation: After sanding, wipe down the piece with a soft cloth dampened with mineral spirits to remove all dust particles. Allow it to dry completely before moving on to the next step.
- Primer Application: Once the wood has been prepped, apply a coat of primer using a brush or roller and allow it to dry thoroughly before painting over it. Make sure that all sides are properly sealed and protected so that your paint job looks professional and lasts longer!
- Wood Cleaning: Before applying gesso, use a clean rag or sponge moistened with water to gently wash away any remaining residue left behind after sanding and preparing the wood surface. Be sure not to let any moisture seep into cracks or crevices as this can cause damage later on down the line.
- Wood Smoothing: To get an ultra-smooth finish on your project pieces, use fine grit (220-320) paper or steel wool after washing off all excess dirt and dust particles from previous steps. This will ensure that your final product looks polished and professional!
Now that you've completed these steps for proper wood preparation, you're ready for gesso application – but first, make sure everything is completely dry before proceeding!
Gesso Application
Are you hesitating to take on the challenge of painting wood with acrylics? Don't worry - I'm here to guide you through it! The first step in our journey is the gesso application. It's easier than it sounds and will create a beautiful surface for your artwork.
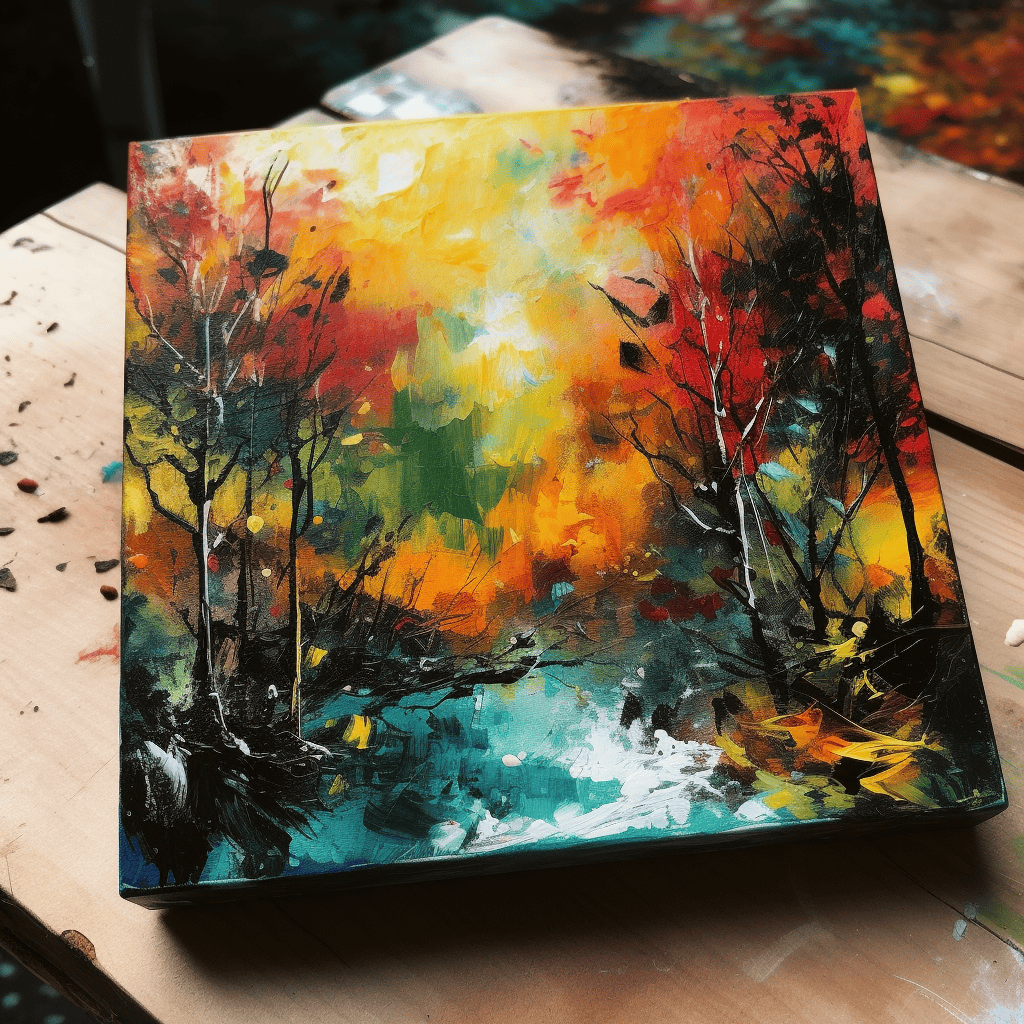
Acrylic gesso is an ideal primer for preparing wood surfaces, as it seals the grain and creates an even, non-porous base layer – perfect for paint adhesion. Start by applying a generous coat of gesso over the entire surface using a roller or brush. Make sure to use smooth strokes so that you don’t disrupt the texture of the wood beneath. Allow this first coat to dry before applying more coats if necessary. You can also mix water into your gesso at a 1:1 ratio before application if desired.
Doing this will help reduce any cracking that may occur during drying time since acrylic paints tend to be thick and heavy when applied directly onto untreated wood surfaces.
Once your preparation is complete and all layers are completely dry, you're ready for color selection & mixing! With just a few simple steps, we'll turn an ordinary piece of wood into an extraordinary work of art!
Color Selection & Mixing
Choosing the right colors for your wood painting can be a daunting task. But with the right knowledge and tools, you can mix acrylic colors to create any pigment combination – all while having fun! Here's how:
Color Selection | Mixing Colors | Pigment Mixing |
|---|---|---|
Choose an inspiring color palette from samples or photos. | Use different amounts of primary colors (red, yellow, blue) to achieve desired shades. | Experiment by adding white to lighten or black to darken hues. Then add small increments of other colors for unique tones. |
Having a basic understanding of color theory is key when selecting acrylic paints for your piece. Consider warm versus cool tones, analogous and complementary palettes, as well as monochromatic options. With mixing techniques such as tonal variation and chroma intensity at hand, almost anything is possible! And don't forget about transparent vs opaque pigments - they will affect the overall effect of the finished product in different ways.
By planning and taking some time to experiment during the pre-painting process, you'll have full control over your project's result! Whether it’s a gradient sunset sky or a delicate floral arrangement, each brush stroke will come alive on wood with vibrant vibrancy if done correctly. Now that we've covered color selection & mixing, let's move on to discussing brush techniques.
Brush Techniques
Now that you have the colors chosen and mixed, it's time to get creative with brush techniques. With a variety of painting strokes, blending techniques, dry brushing, and brush textures available to you - it is easy to create beautiful works of art on wood using acrylic.
It all starts with selecting the right type of brush for your project. A flat brush will give you more control over your lines while a round brush can help blend different colors. Bristle brushes are great for creating texture in your paintings as well. Experimenting with different types of brushes is key to finding what works best for you.
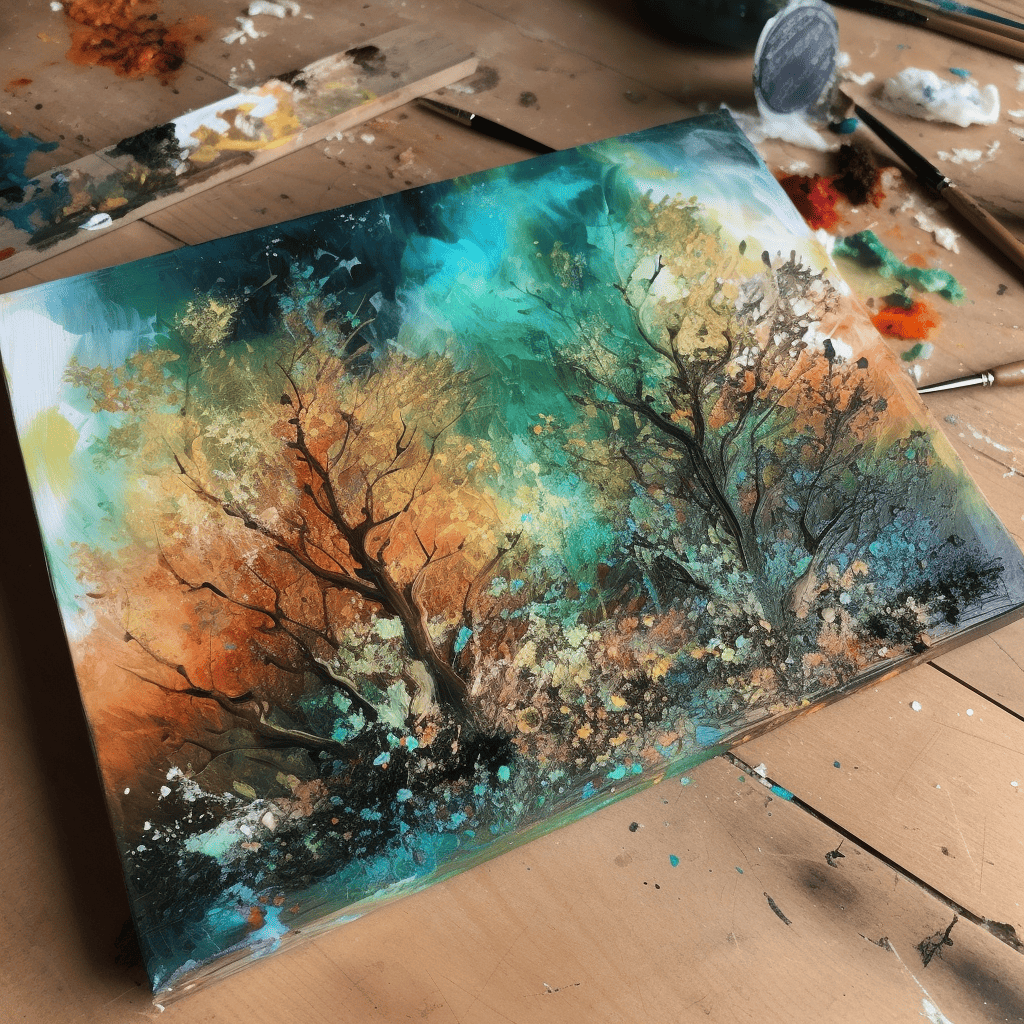
Once you've selected the perfect brush(es), practice making small strokes and circles on scrap wood until you feel comfortable enough to start working on whatever project you're planning. Then begin applying paint onto the wood surface in short bursts or long sweeps - depending on the desired effect. From here, use various other techniques such as dry brushing (scraping off excess paint) and feathering (blending two adjacent colors into each other). With these methods combined, you can create intricate details and unique designs on any piece of wood! When it comes to painting on wooden surfaces, there are still some finishing touches left before calling your masterpiece complete. The next step involves adding depth, dimensionality, and polish to make sure everything looks just right.
Finishing Touches
The finishing touches of an acrylic painting on wood can be the most rewarding part. They are what turn a good piece into a great one! Here is how you can add that extra special touch to your artwork: * Distressing - Use sandpaper to gently distress and age the surface, creating depth and texture.
- Antiquing - Apply a layer of antiquing medium over the paint, then wipe away any excess with a cloth. This will give it an aged look while still preserving color vibrancy.
- Glazing - This technique involves mixing glaze medium, water, and pigment colors to create a transparent wash effect. Experiment with different ratios until you achieve the desired hue and translucency.
- Staining & Crackling - Stain the surface before applying acrylic paint or use crackle paste to make cracks in the paint layers once dry. Both techniques can produce interesting effects which bring out unique details within your work.
Now that you have finished adding all those final touches, it's time to seal and protect your masterpiece from dust, dirt, and moisture damage so it lasts for years to come!
Sealing & Protecting
Now that you've finished your acrylic painting on wood, it's important to protect and seal your work. One of the best ways to do this is with an acrylic sealer specifically designed for use on wood. After applying a thin coat of the sealer, let it dry completely before adding any additional coats. When applying multiple layers, make sure each layer has been given sufficient time to dry before proceeding.
When sealing or protecting your painted woodwork, always remember that less is more. Too much protection can cause issues such as yellowing or fading over time due to trapped moisture in the wood.
To avoid potential damage down the line, take care not to apply too many coats of either paint or protective coating when working with wood.
A few other tips include using sandpaper between coats if needed and experimenting with different techniques like brushing versus spraying the sealant onto your wood surface. Each method will provide slightly different results which may be better suited for certain projects than others. With these simple steps and some practice, you'll soon become a pro at sealing and protecting all your wooden masterpieces!
Conclusion
As a woodworking artist, I have found the process of painting wood with acrylic to be both enjoyable and rewarding. There is something special about transforming a simple piece of timber into a work of art that will last for many years.
Having said this, it’s important to remember that every project requires careful planning, preparation, and technique to obtain the best results. You must select the right materials, choose proper colors, apply gesso properly, practice brush techniques, and finish your masterpiece with care if you want your artwork to stand out.
For me, there’s nothing quite like seeing my final creation come together after all the hard work I put into it; from selecting the perfect piece of wood to laying down those last few brushstrokes. It never fails to bring a sense of satisfaction and joy knowing that my artwork will be around for generations!

