The Ultimate Guide to Painting Rocks for Hiding: Tips and Techniques
Are you tired of your garden or yard looking plain and boring? Then why not try rock painting as a way to spruce things up? Rock painting is an easy and inexpensive craft that can bring a unique touch to any outdoor space. With just some basic supplies, you can create beautiful works of art out of ordinary rocks - perfect for hiding in the backyard if you want to add an extra bit of fun with a scavenger hunt. As an expert in rock painting, I'm here to help make sure you do it right. Let's get started on how to paint rocks to hide!
First off, let me start by saying that there are many different ways to go about painting your rocks. You'll need some basic supplies such as acrylic paints, sealant, brushes, and other tools depending on what kind of design you'd like to achieve. It's best to use waterproof paint so that your artwork doesn't run when exposed to rain or snowfall. To ensure maximum durability, apply two coats of sealant after each layer of paint has dried completely. This will prevent the colors from fading over time due to weather exposure as well.
Now that we have our supplies ready, it's time to pick out the perfect-shaped rocks for hiding! If you're wanting your hidden stones to look natural then opt for ones with uneven surfaces that would blend better into their environment. Once you've found the ideal stone shape for your project it's time for the fun part - deciding on a design! Finding inspiration online is always great but don't forget that this activity should be a creative outlet; let yourself explore new ideas and designs without worrying too much about perfectionism. Have fun with it!
Materials Needed
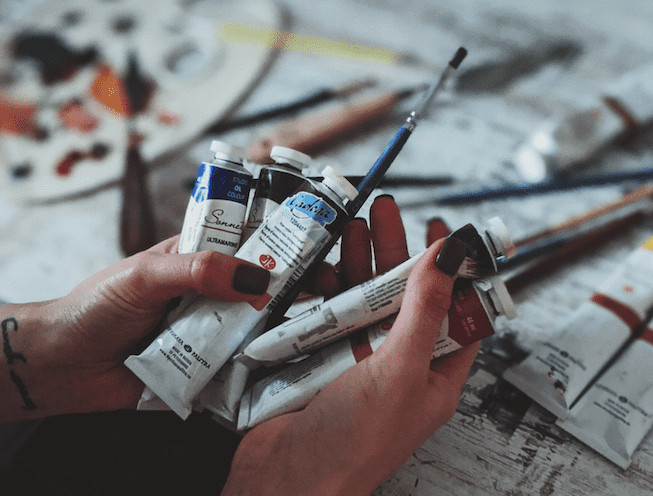
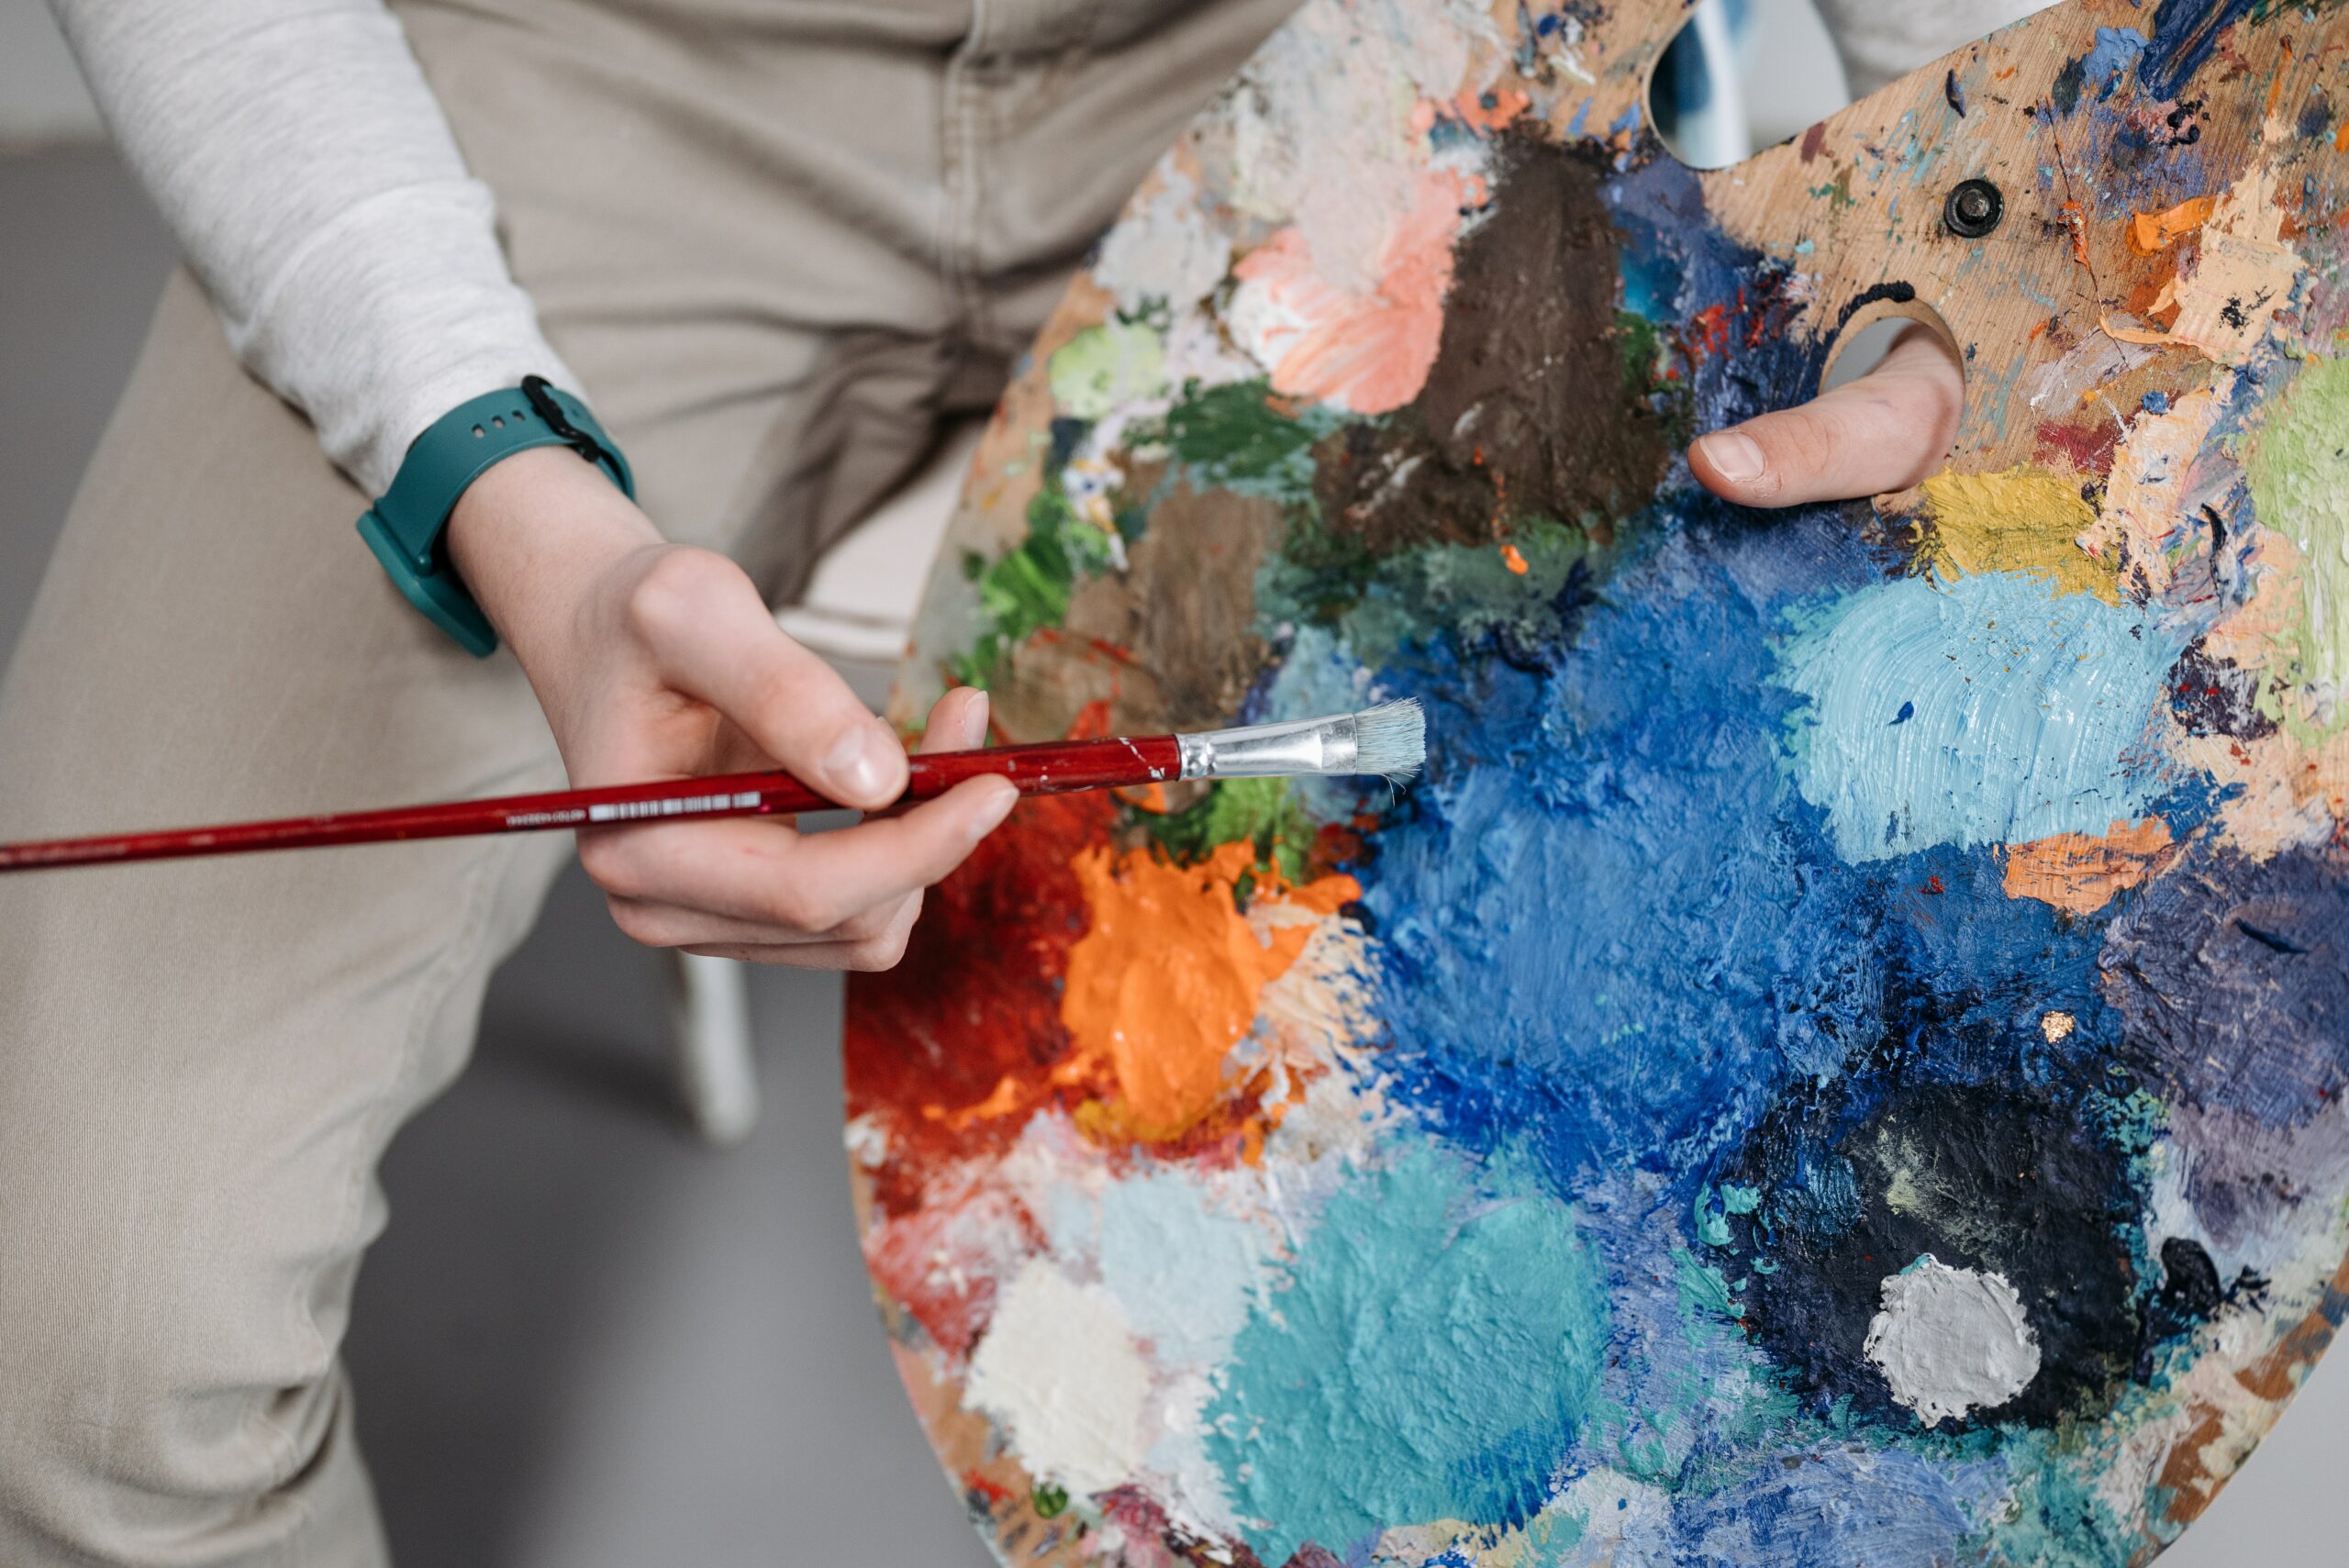
Getting started with rock painting is easy! You'll need a few basic supplies to get going: a paintbrush, some paints, and a palette- the more colors you have the better. I usually like to use craft glue to make sure my artwork stays in place too. Wax paper is also helpful for keeping your workspace clean. And don't forget a sealant such as a varnish or polyurethane spray - this will protect your work from wear and tear over time. Now that you've gathered all of your materials, it's time to prepare the rocks for painting.
Preparing The Rocks
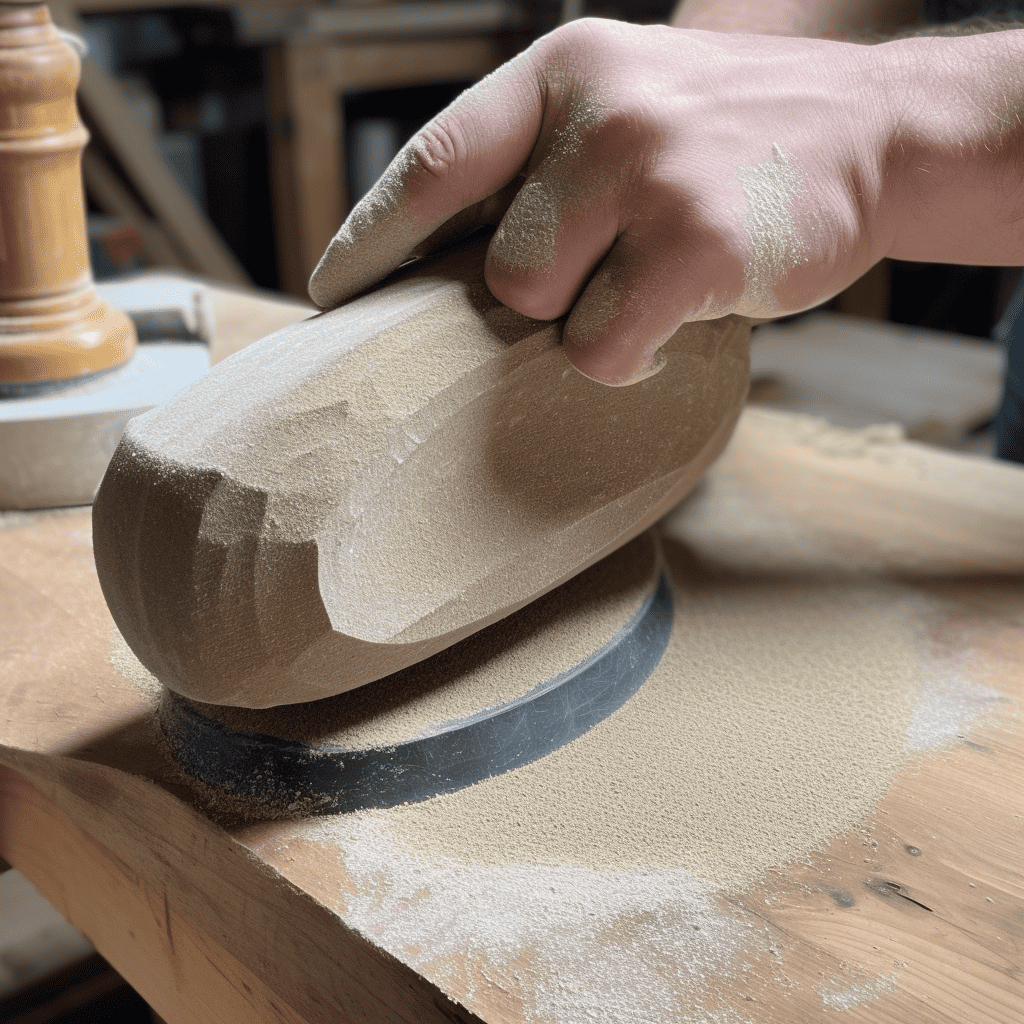
I'm so excited to get started on your rock painting journey! The first thing we need to do is make sure our rocks are prepped and ready for paint. It's important to give them a good clean, sanding, polishing, and washing before starting the actual painting process.
Let's start with cleaning; this will help remove any dirt or debris that may be stuck onto the surface of the rocks. Use a damp cloth to rub away any dirt and then dry off afterward. Next up is sanding; use fine-grit sandpaper to smooth out any rough surfaces on the rocks until they feel complete even when you run your hand over them. After that, it's time for polishing; this will help add shine and luster to the rocks once painted. Simply use a soft cloth and some furniture polish in circular motions until you can see your reflection in them - beautiful! Finally, wash all of the dust from each rock using warm water and soap. Make sure they're dried off properly as well before moving on to mixing paints and glue.
The result should be a set of stunningly polished stones waiting to be transformed into gorgeous works of art! Now let’s move on to mixing paint and glue...
Mixing Paint And Glue
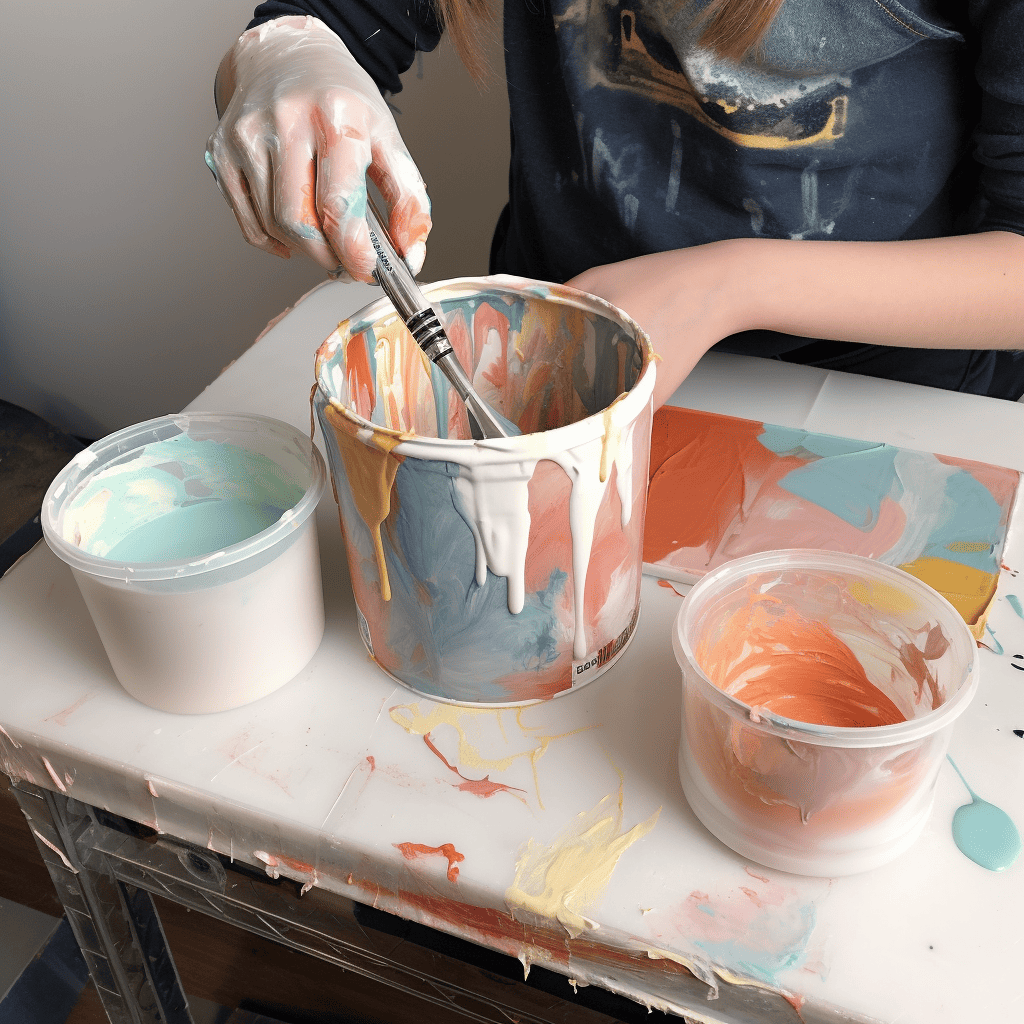
Now that your rocks are ready, it's time to mix up the paint and glue. This step is like opening a portal into a realm of creative possibilities - you have access to an array of hues and shades just waiting for application!
To begin, you should start by combining your chosen paints with the appropriate amount of glue. As a rule of thumb, use 1 part paint to 2 parts glue.
For example, if you’re using one cup (237ml) of paint then add two cups (474ml) of glue.
Mix until completely blended. You may need to adjust the ratio depending on how thick or thin you want your mixture to be. Once mixed well, set aside so it can settle before applying it to your rocks.
Next comes the fun part: painting! With all this prep work done, now you're ready for some real rock transformation action! Get out those brushes and sponges and get to work – soon enough your stones will become vibrant works of art!
Applying Paint And Glue To The Rocks
Preparing your rocks for painting is essential to a successful rock-painting project. Before you can begin applying paint and glue, the rock must be prepped. Here's how:
- Clean the surface of the rock with soap and water to remove any dirt or debris that might interfere with the adhesion of paint and glue.
- Make sure all sides of the rock are dry before beginning painting or gluing.
- Sand down rough edges if desired, using either an electric sander or sandpaper by hand.
Now it's time to apply paint and glue! Depending on what type of look you want to achieve, there are different methods you can use when gluing materials onto your painted rocks. For example, if you're creating a mosaic pattern out of small stones or pebbles, you'll need to use a strong adhesive like epoxy resin in addition to craft glue so everything will stay in place securely after drying. You may also opt for other types of decorative elements such as stick-on gems or fabric cutouts - just make sure they adhere properly before moving on to painting techniques!
Painting Techniques
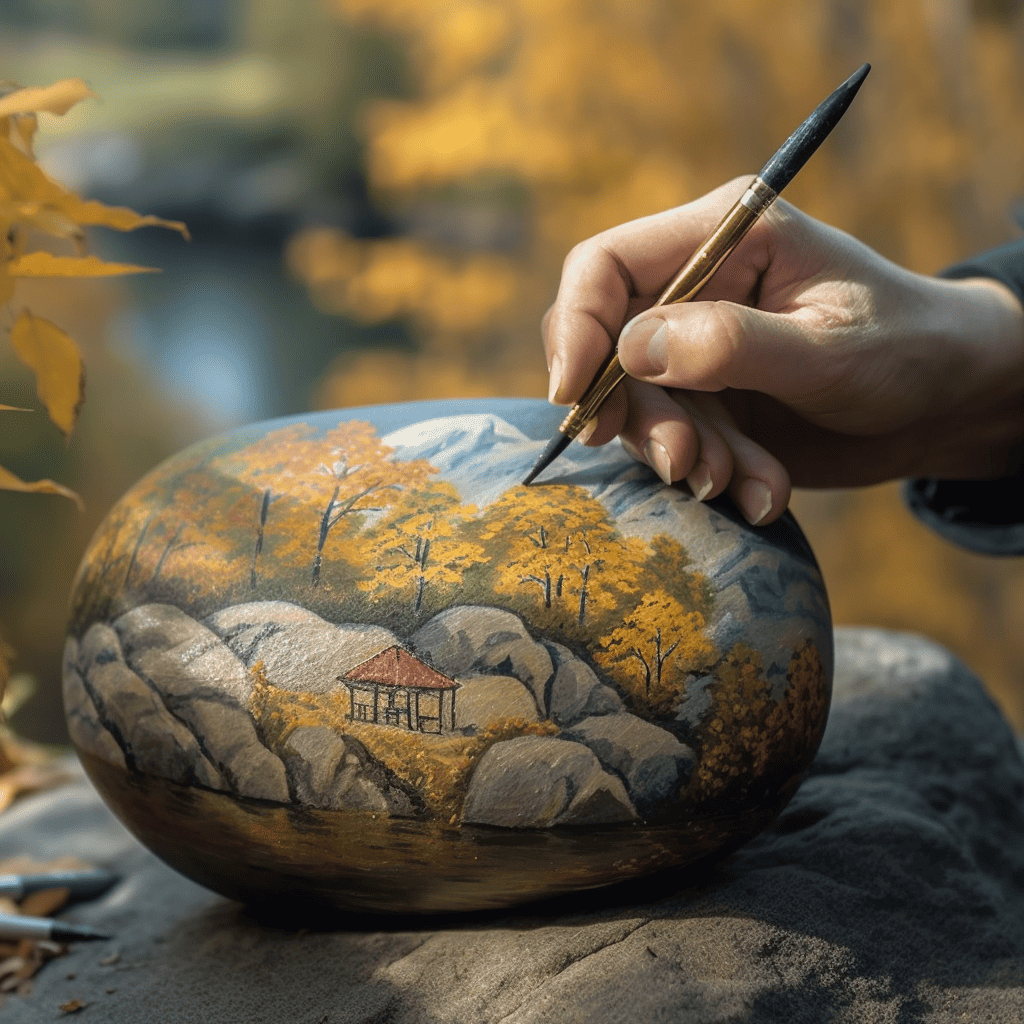
Did you know that rock painting is said to be one of the oldest forms of art? It's a great way to unleash your creativity and give personality to an ordinary rock. With some practice, it's easy to learn how to paint rocks with eye-catching patterns and textures.
The techniques used for painting rocks are quite simple yet very effective. First, choose the right kind of paint for your project - watercolors, acrylics, or oil paints work well on most types of rocks. Then prepare your workspace by laying down newspaper or cardboard, so that any spills won't ruin surfaces underneath. Next, start sketching out ideas onto the surface before applying paint using brushes or sponges.
When creating patterns and textured effects, use thicker layers of paint so they stand out more clearly against the stone’s texture. You can also add extra details like glitter or beads when needed.
To ensure a long-lasting finish, make sure all painted areas have been completely dried before sealing them with a protective layer such as varnish or sealant spray. As you become more experienced in rock painting, try experimenting with different colors and various painting ideas until you find something which appeals to you personally! This will help bring out your unique style and truly transform these stones into beautiful pieces of artwork. Now let's move on to discussing ways we can create interesting patterns and textures.
Creating Patterns And Textures
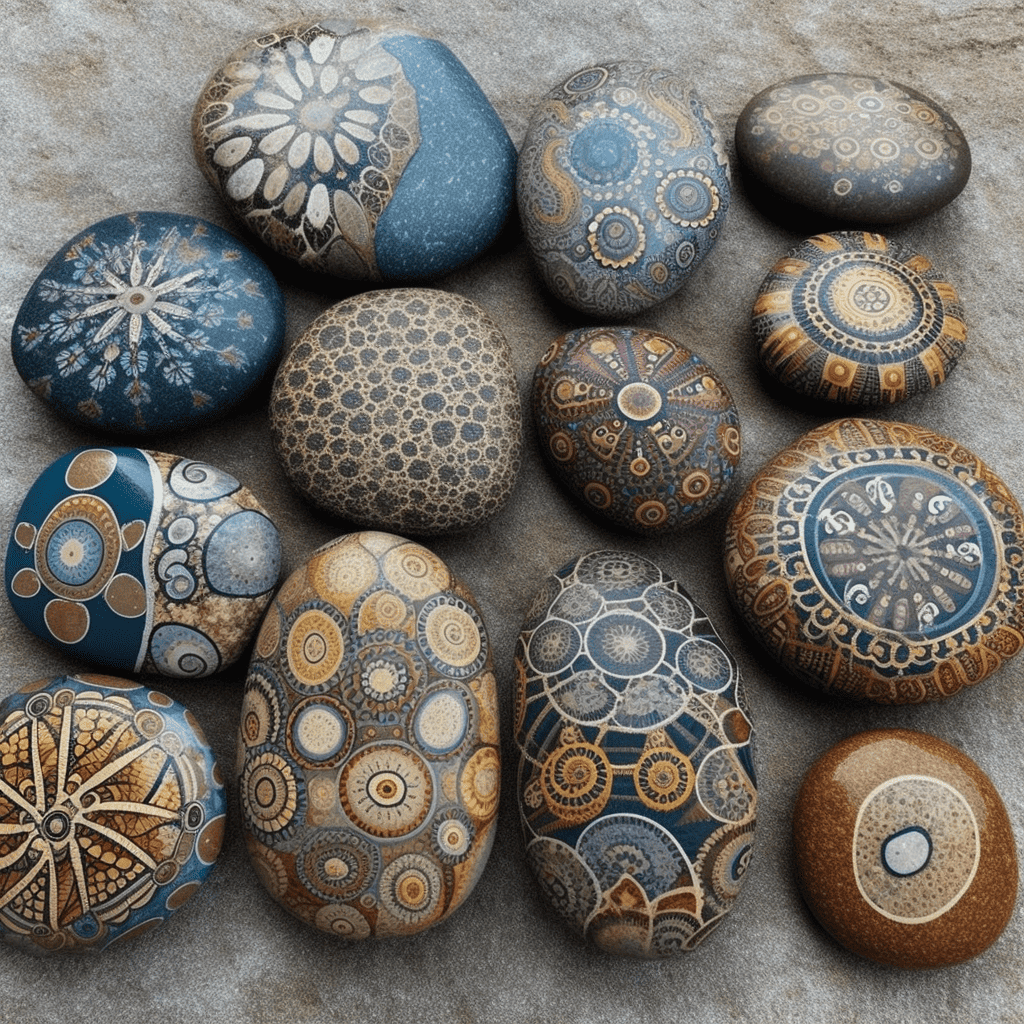
Creating patterns and textures on rocks is a great way to hide them. It can be hard to find the right colors of paint, so mixing hues is often necessary. Mixing paints allows you to create more subtle tones and shades that blend in with their surroundings easily. Before beginning, make sure your supplies are ready: all colors of paint, brushes, glue, and any other materials needed for pattern ideas.
First, start by applying thin layers of different colors of paint onto the rock to create shadows or gradients. Remember to let each layer dry before adding another one! This will help keep from smudging the colors as they're layered. You should also experiment with blending multiple colors into one shade for an even richer texture.
Next, it's time for pattern-making. Get creative here - anything goes! Use stickers, markers, stencils, stamps – whatever you have available - to add unique designs to your painted rock. To finish off the textured look, use glue to attach small pebbles or pieces of glass around the edge of the rock. The combination of these elements will give your finished product an interesting visual appeal and uniqueness that won't go unnoticed!
Now that you've created beautiful patterns and textures on your rocks it's time for some finishing touches such as using varnish or sealants. These products both protect against wear and tear while also preventing fading due to sun exposure over time. Additionally, they provide added sheen which helps bring out all those intricate details you applied earlier!
Finishing Touches
Now that you've created your patterns and textures, it's time to finish off the project. To ensure that your decorative rocks will last through any weather conditions, they need a sealant coat. This can be done with clear acrylic spray or pour-on sealer. Once you’ve applied the sealant, let the rocks dry completely before handling them again.
When all of your rock painting is complete, use a paintbrush to add an extra layer of protection in areas where the sealant might not have reached. With this final touch, your decorative rocks are now ready for display!
You should also consider adding a glossy topcoat to make your designs pop. A simple coating of varnish will do the trick and give your painted stones a smooth and sparkling finish.
Rock painting doesn't just have to be limited to outdoor decorations though; why not create something special for the inside too? You'll find plenty of ideas online - from wall art to paperweights - perfect for displaying indoors year-round!
Conclusion
Painting rocks is a great way to give ordinary objects an extra special touch. With the right materials and techniques, you can create beautiful works of art that will last for years. Whether you’re looking to hide something, or just want to add some color and texture to your space, painting rocks is a fun and rewarding project.
As with any artwork, practice makes perfect! The more time you spend on each rock, the better it will look in the end. Don't be afraid to experiment with different colors and patterns - this is your chance to get creative! You don't have to follow any rules when it comes to painting rocks; just let your imagination run wild!
When all's said and done, there's nothing quite like seeing the results of your hard work. Painting rocks may seem intimidating at first, but once you get started you'll realize how much fun it can be! So grab some paints and glue, find some interesting rocks, and start creating something unique today!

