Unleash Your Creativity: Step-by-Step Guide to Mandala Rock Painting
Painting mandala rocks is a fun and creative way to express yourself! As an expert in this art form, I'm excited to share my tips on how to paint your own beautiful stones.
Mandala rock painting can be both calming and energizing - it's the perfect activity for any mood or skill level. With some supplies from your local craft store, you'll be able to create stunning works of art that will last a lifetime. Plus, they make great gifts too!
Painting mandalas is all about letting go and having fun with color and patterns. Once you get started, you won't want to stop. Keep reading for more details on how to start creating these mesmerizing stone designs today!
Materials And Tools Needed
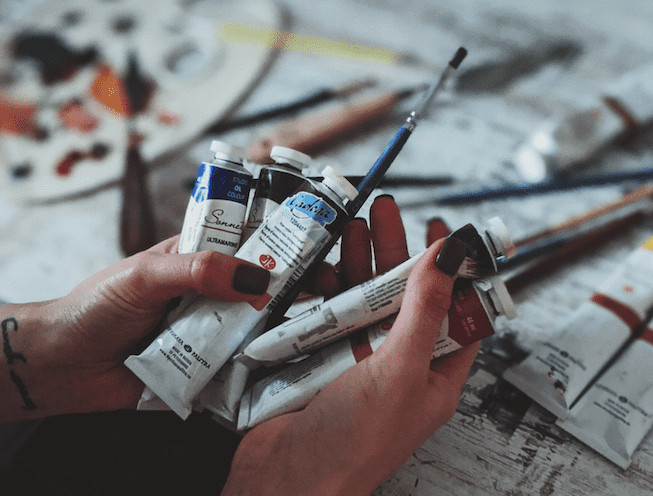
I’ve been doing mandala rock painting for years and I'm here to share what you need when it comes to supplies. First, let's talk about the rocks themselves - they should be smooth with no sharp edges or jagged surfaces that could cause injury when handling them. You'll want to use small-to-medium-sized stones (no bigger than your palm). Next up are the materials needed for creating the art: acrylic paint, sealant spray, brushes, ruler, pencils/markers, and a few other items depending on what type of design you create. For brush types, get yourself some thin ones as these will give you more control over intricate details. When choosing paints, look for brands specifically labeled 'rock painting' as these have better adhesion qualities and can withstand outdoor conditions once sealed properly. Sealants come in different forms such as varnish or even clear nail polish but my go-to is an aerosol sealant which gives great coverage while still allowing the colors of your work to shine through! That just about covers all the basics for getting started with mandala rock art. Now we're ready to move on to preparing the rocks.

Preparing The Rocks
Once you have gathered all your supplies and materials, it’s time to start prepping the rocks for painting. Cleaning them is essential to ensure that no dirt or debris gets mixed up with the paint. Start by selecting smooth stones of various sizes and shapes that are ideal for mandala rock designs. Inspect each one thoroughly for any cracks or chips before setting them aside. Once you have selected your rocks, take a damp cloth or sponge and wipe down each stone, removing any dust or dirt from their surfaces.
Use some fine-grit sandpaper to lightly sand the rocks until they are completely smooth. This step helps create an even surface so that the paint will adhere better when applied later on. Make sure not to press too hard while doing this as it could cause damage to the rocks! Apply a base coat of white acrylic paint onto each rock, allowing sufficient drying time between coats if necessary.
Now you're ready to move on to creating your beautiful mandala design!
Creating The Mandala Design
It's time to start designing the mandala pattern. I'm always excited when I begin this part of painting my rocks because there are so many possibilities! To create a mandala design, you need some drawing tools - markers, pencils, or paintbrushes all work great. If you're feeling more creative and adventurous, try using different objects like sticks and stones to draw your design.
Once you have selected the tools for your task, it’s time to get started on creating that beautiful mandala rock painting. Start by sketching out an outline of the shapes you want in your mandala onto the stone. Once that is done, fill in with patterns and details within each shape until your desired look is achieved. Use as much creativity here as possible – don't be afraid to make mistakes since they often lead to unexpected results!
When your design looks complete, take a step back from it and decide if any changes should be made before moving on to painting. Make sure that the whole thing comes together harmoniously without too much repetition of elements or clashing colors; otherwise, keep tweaking until you're satisfied with how it looks!
Painting The Mandala
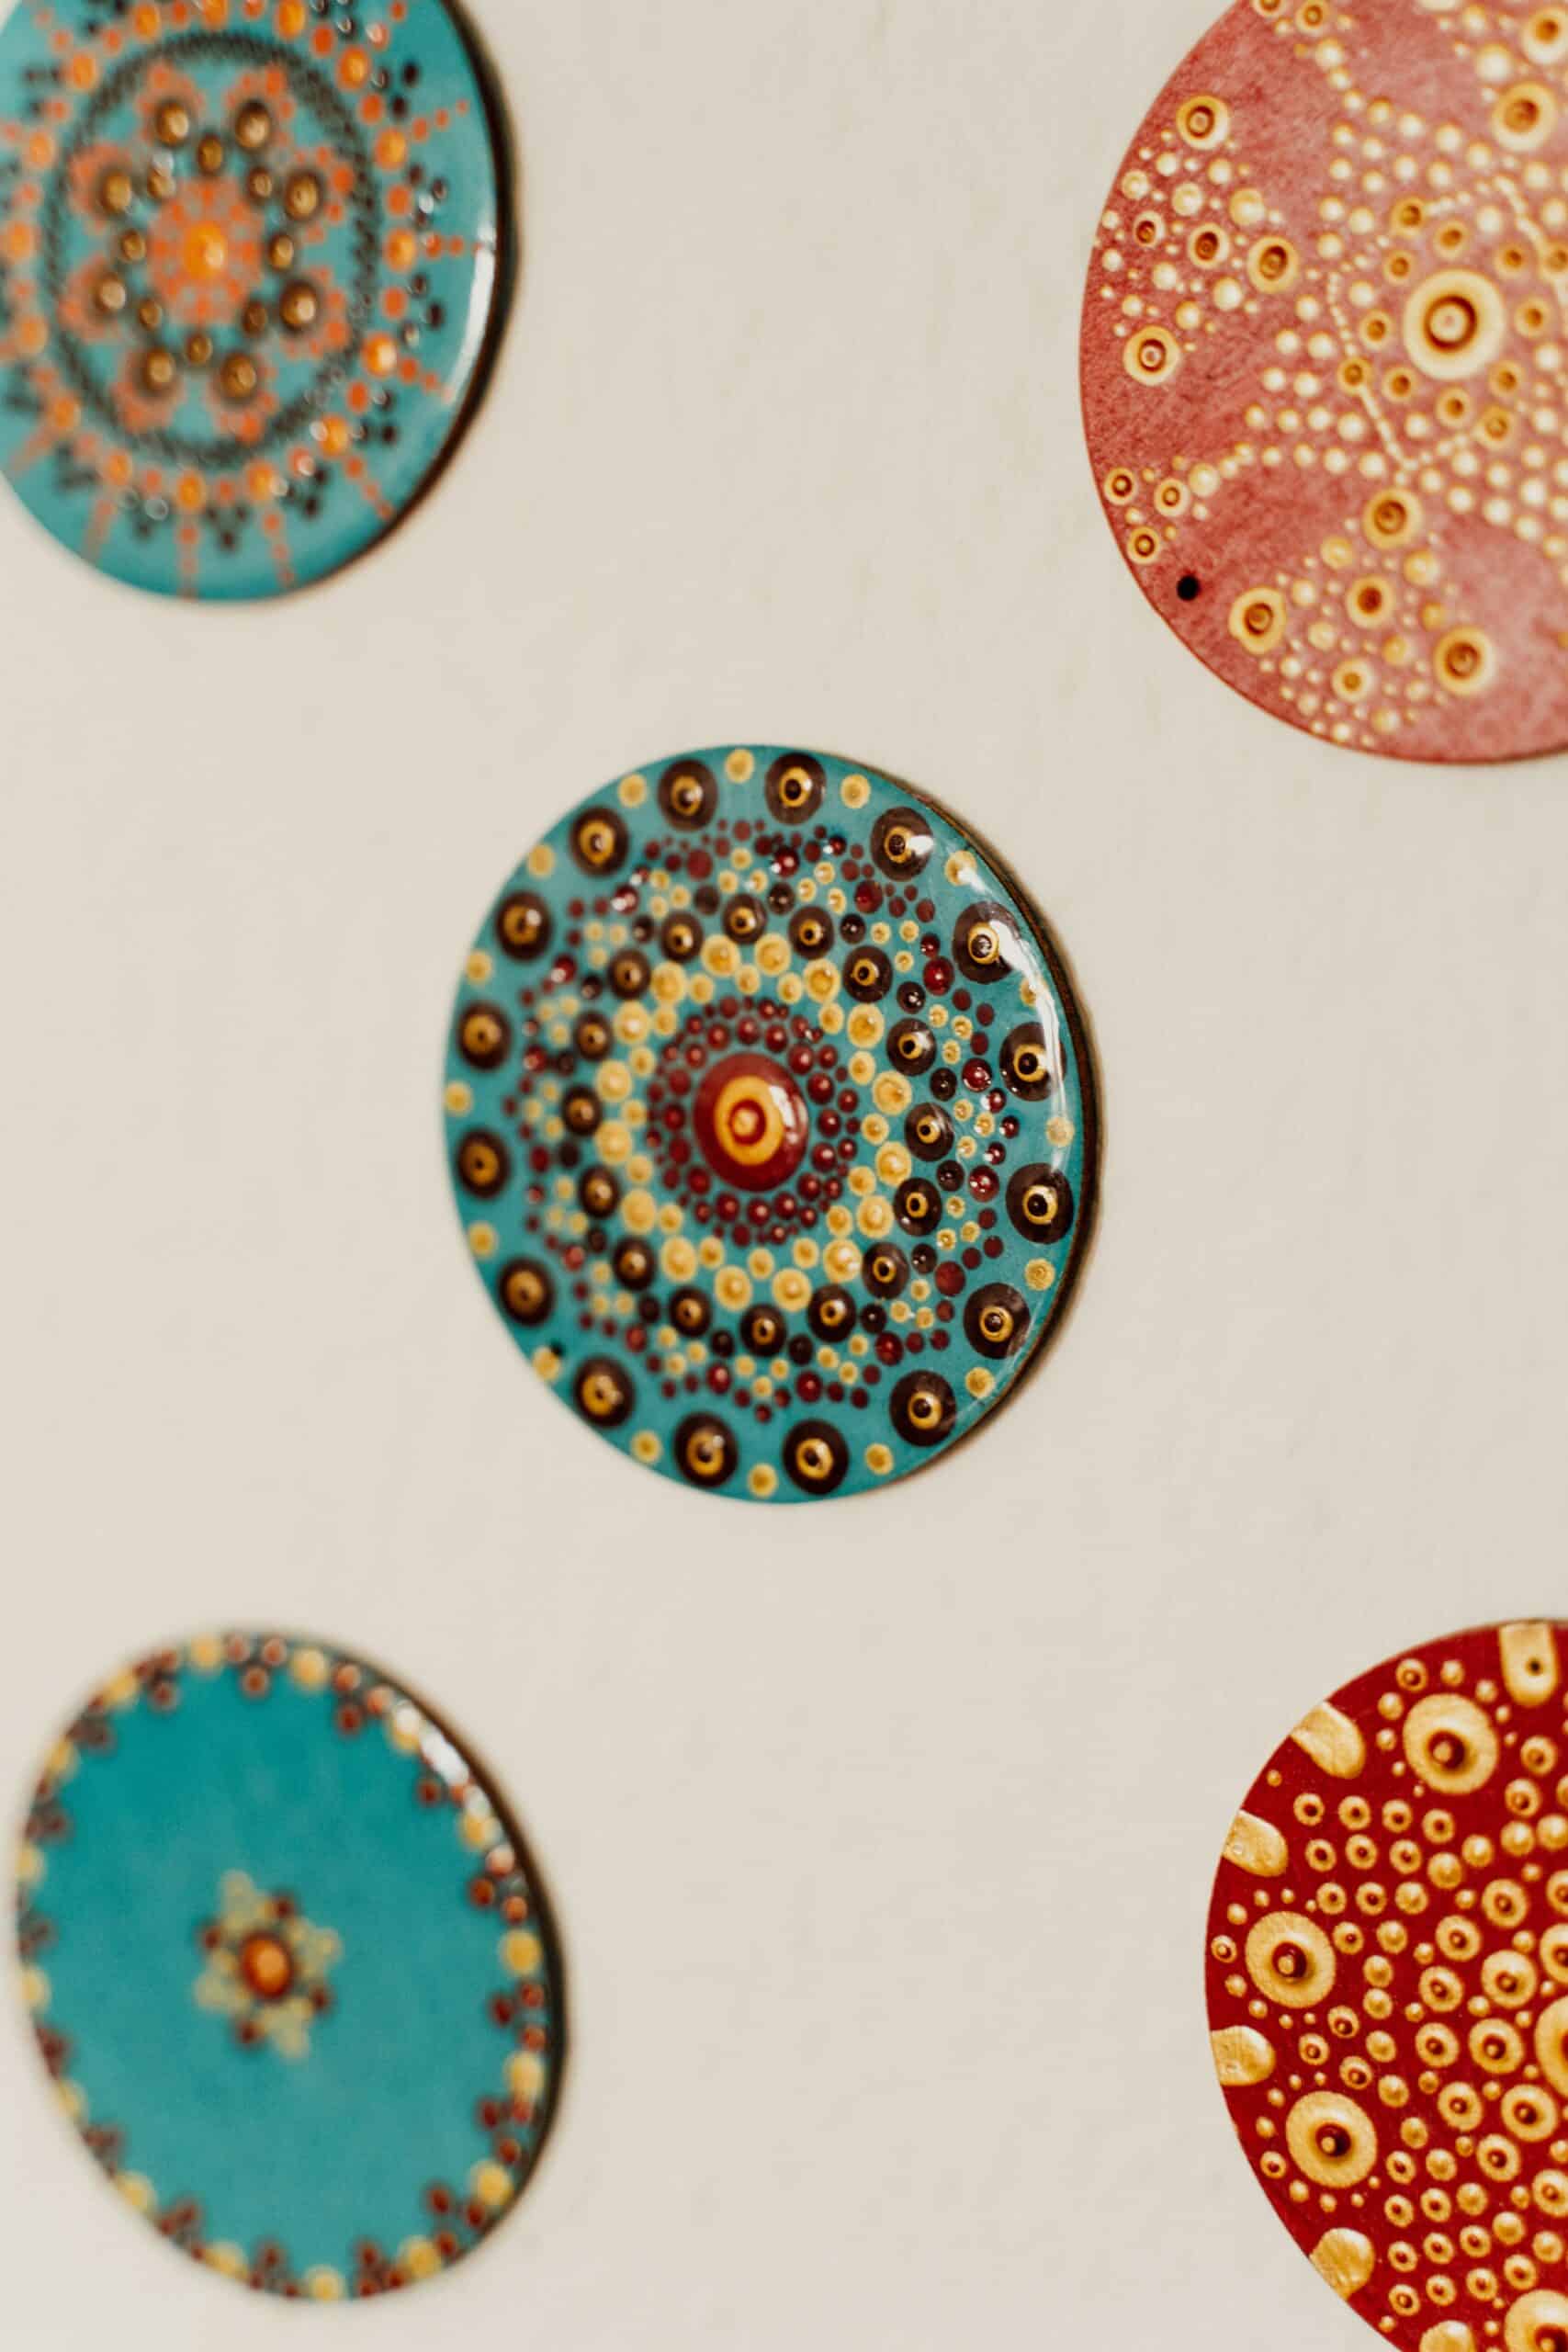
Painting mandala rocks is an art form that can be as intricate and detailed or as simple as you desire. With just a few colors, some steady hands, and your imagination, you’ll be able to create beautiful designs on any rock. To get started painting the perfect mandala rocks, there are several steps to follow:
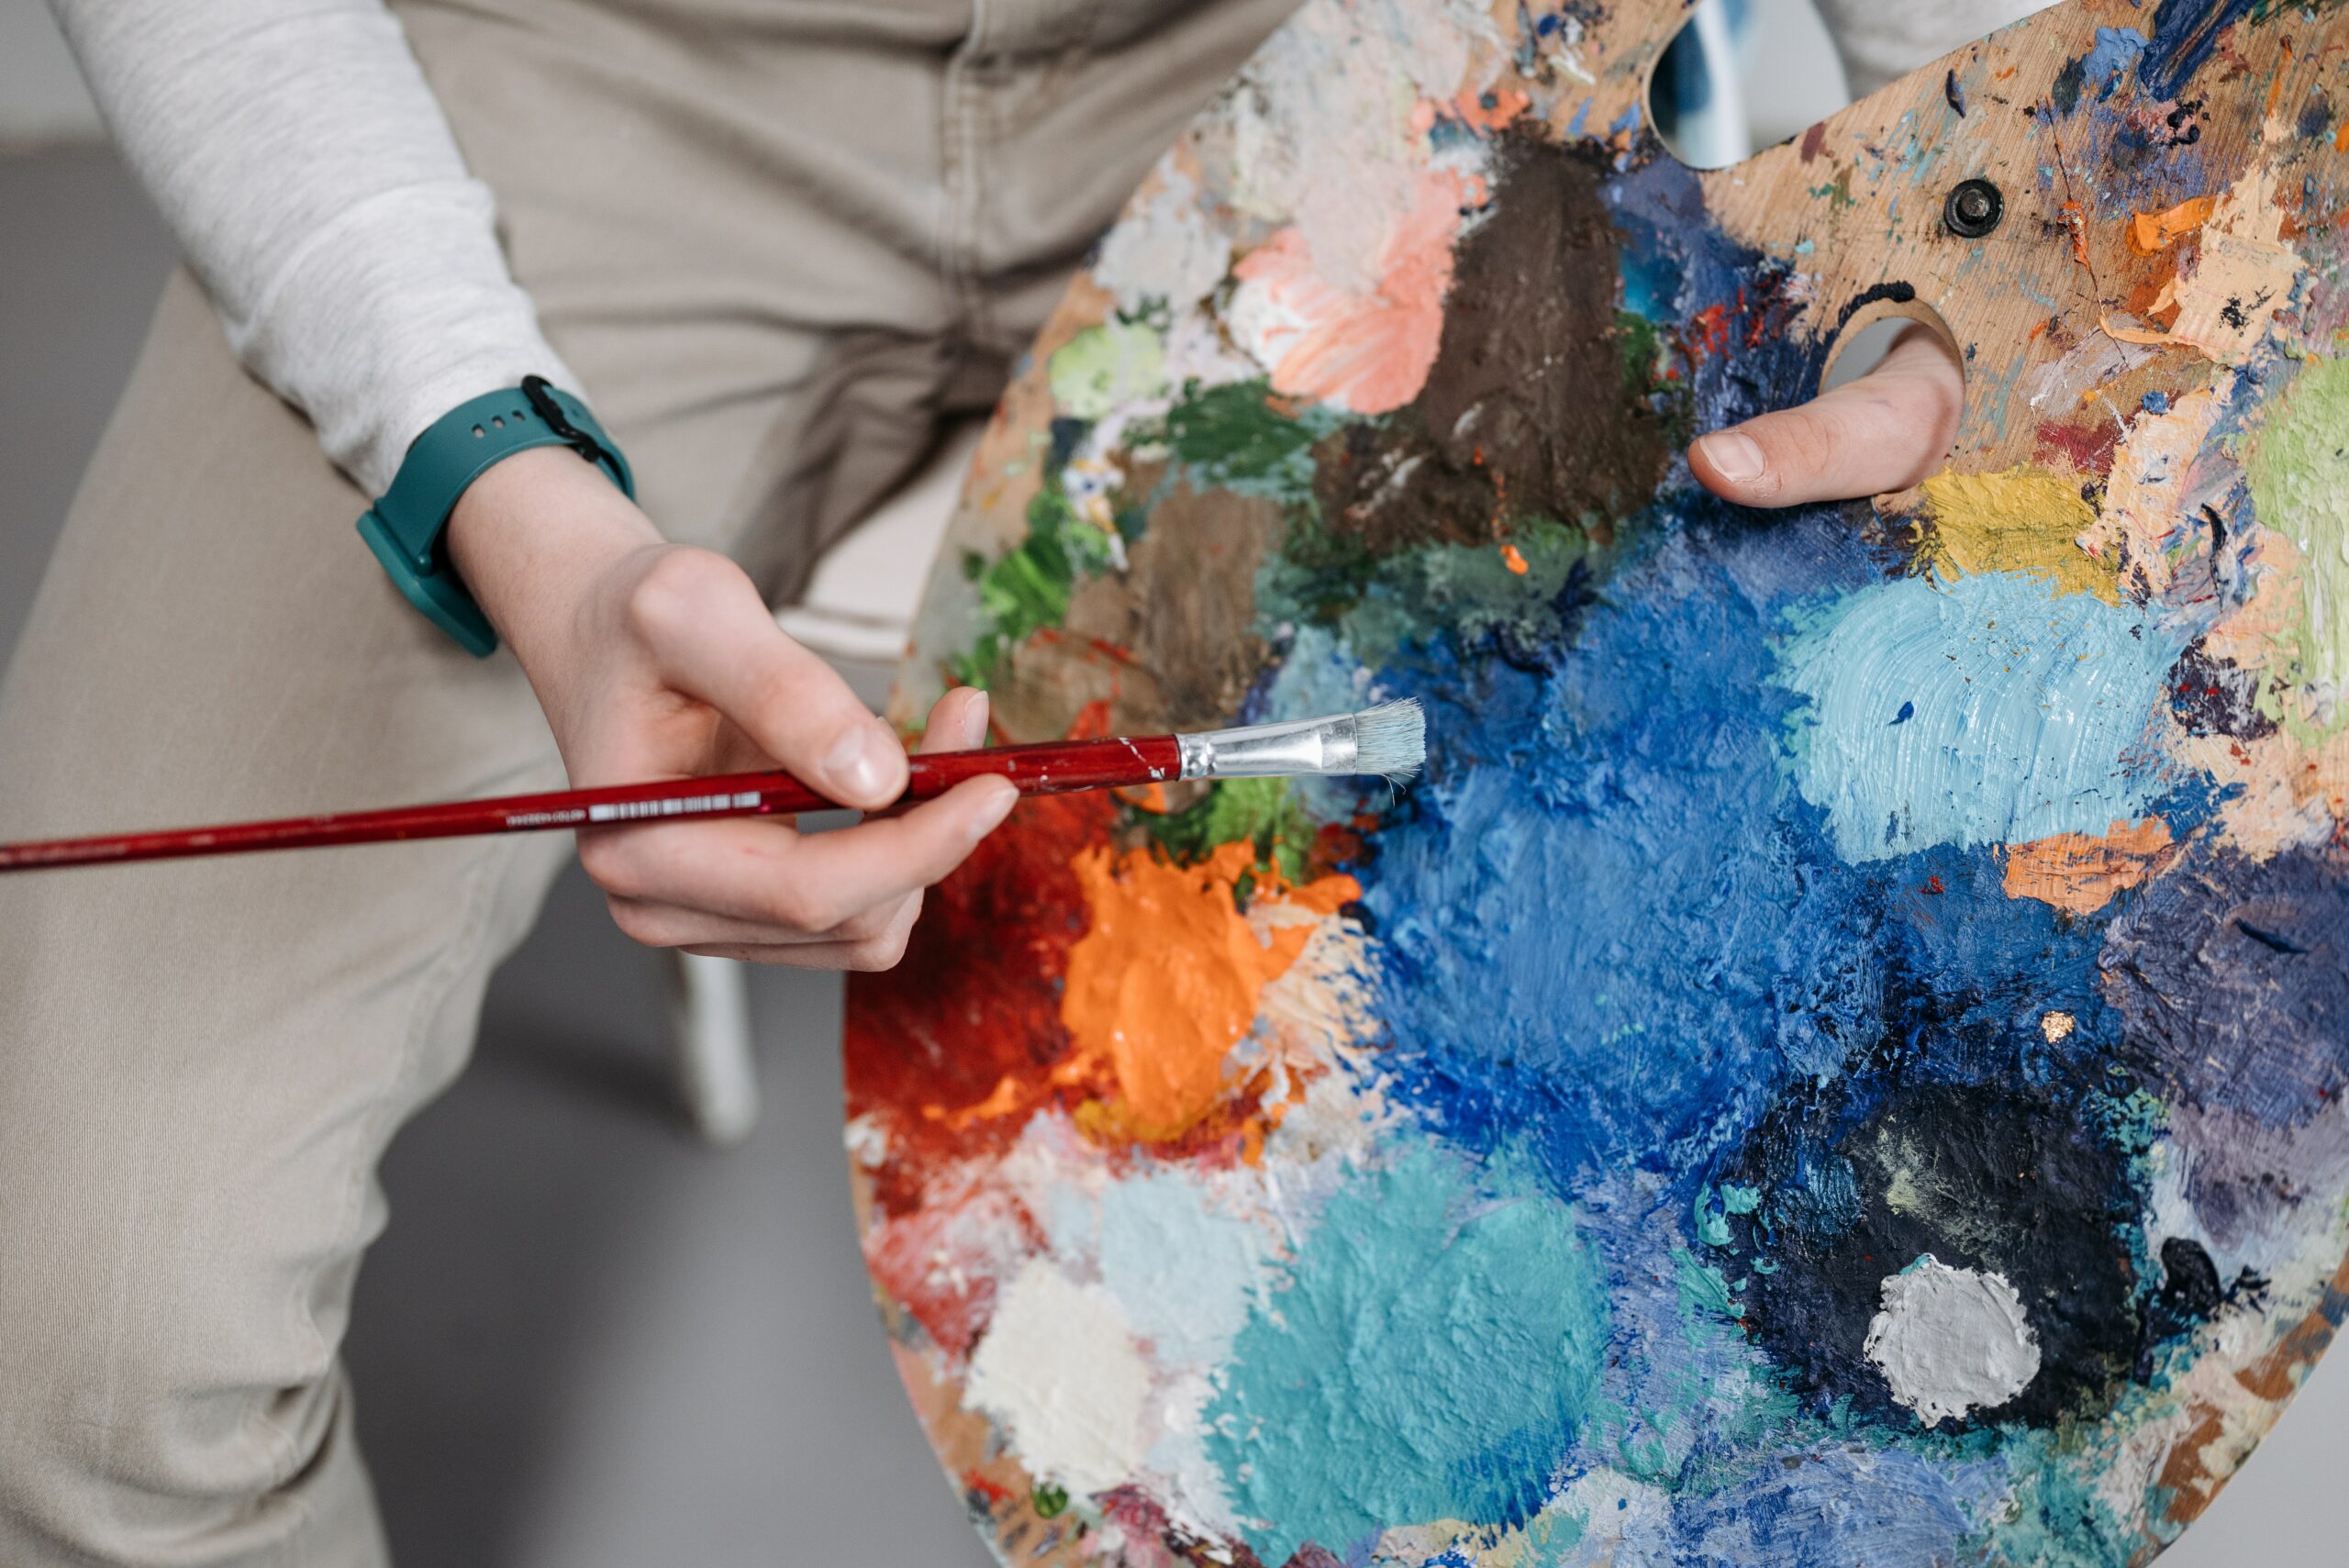
First, choose which colors will work best for your design. It's important to consider how each color interacts with one another when deciding what hues should go together in your finished product. You may want to stick with a single-color palette or add more variety through complementary shades. Once you have chosen the colors for your project, it's time to apply them! When applying paint to the rock surface making sure not to use too much pressure so that it doesn't smudge your design.
Creating patterns on the rock using the colors of choice will give life to each piece. This step requires patience and focus but don't forget that mistakes happen and they can be fixed easily by repainting them if needed. Whether it's swirls or geometric shapes, this part of making mandala rocks is where creativity shines through!
Finally, all that’s left is adding those finishing touches - like dots or stars - around the edges, and voila! Your masterpiece is complete!
Finishing Touches
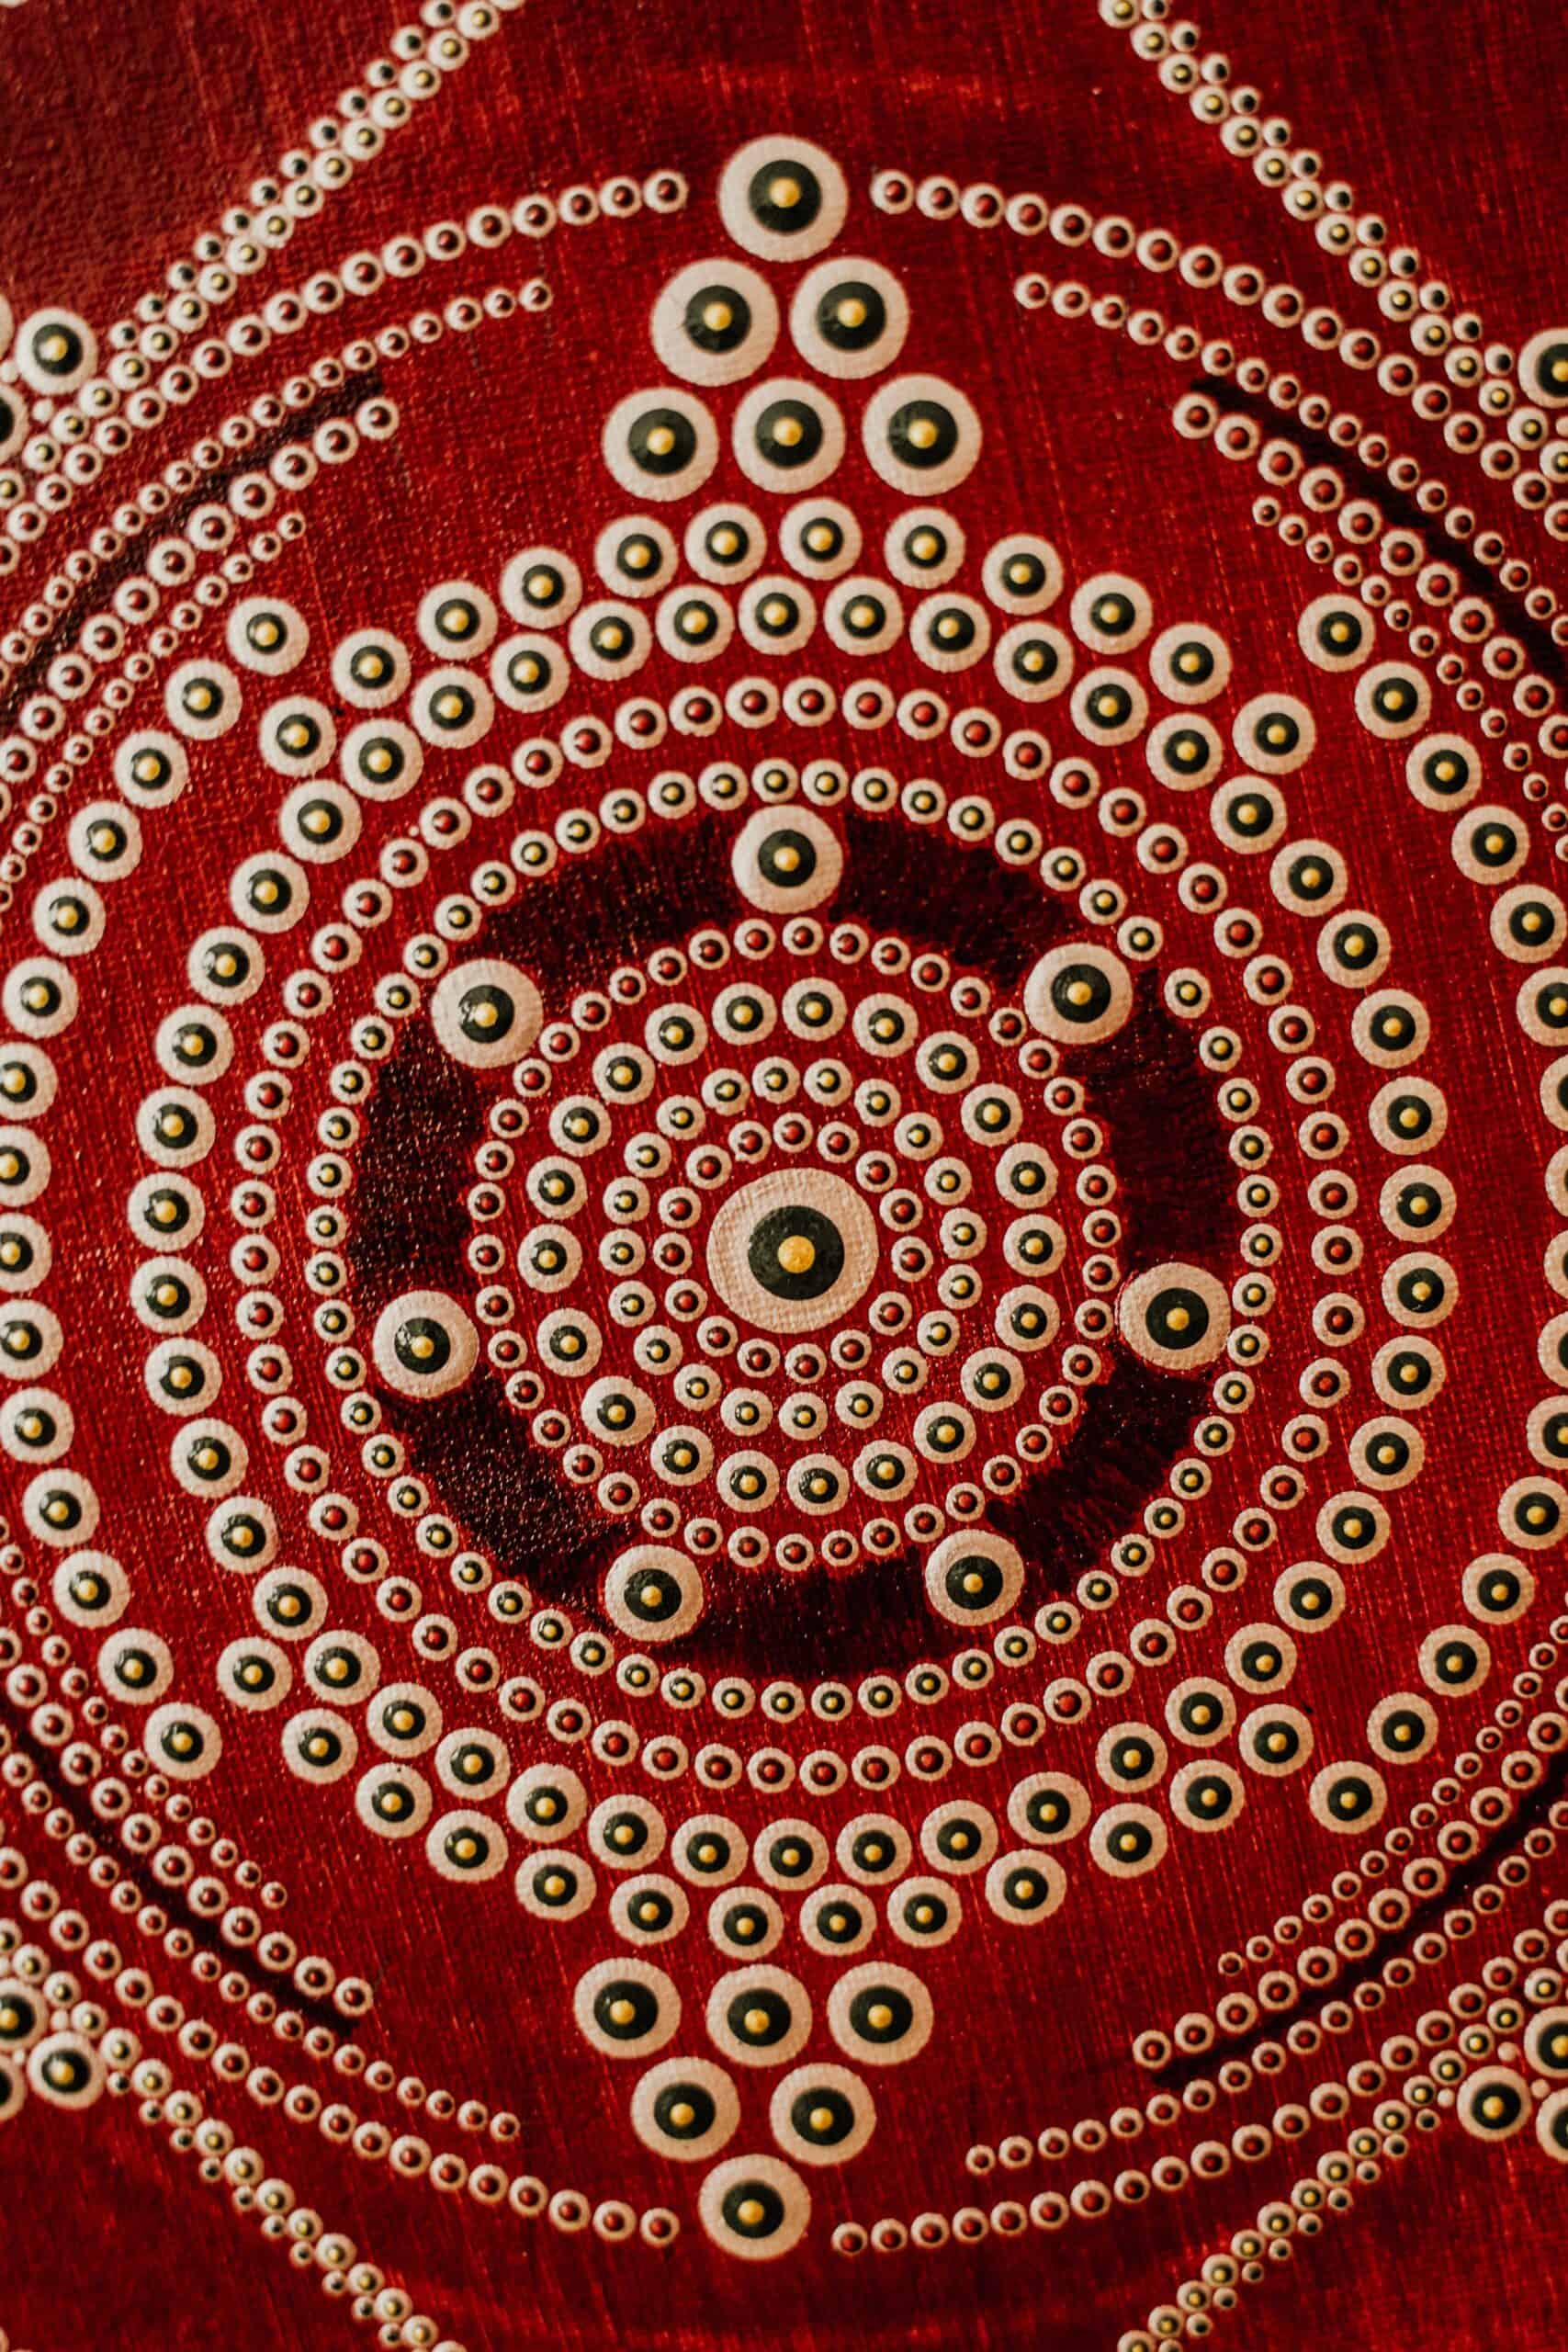
Once you have finished painting your mandala rock, it's time to add some finishing touches. To make the design even more vibrant and eye-catching, I like to use accent colors around the edges. Metallic accents can give a beautiful shimmer that will reflect in any light. For an extra touch of sparkle, consider adding glitter details or jewel decorations to bring out the beauty of your artwork.
To preserve your masterpiece, I highly recommend sealing it with a clear coat spray sealant. This will protect your work while also enhancing its glossy finish. And when you're ready to display your creation, find a safe place for it where everyone can admire it and be reminded of its creative energy!
Sealing And Displaying
Once you've finished painting your mandala rocks, the next step is to make sure they are sealed and ready for display. Applying a sealing agent like a rock varnish or even a clear spray paint will help protect your artwork from any wear and tear it might experience if left out in the open. Plus, it gives them an extra glossy finish that makes the colors of your masterpiece stand out!
When applying a sealant to your rocks, it's important to be mindful of how much you use - too little won't provide enough protection, but too much could cause discoloration or other damage. Start with just one light coat and let it dry completely before adding another layer. That way, you'll be able to ensure your mandala decorations stay looking as beautiful as when you first painted them.
Finally, once they're all sealed up and dry, there's nothing quite like displaying your creations proudly around your home or office space!
Place them on shelves or windowsills where everyone can admire their beauty and intricate designs. You can also give some away as gifts for friends and family - no doubt they'll love having their own unique piece of art created by you.
Frequently Asked Questions
Creating mandala rocks is an incredibly popular and fun way to express yourself through art. But, just how easy are they to make? Let’s investigate the truth of this theory and find out!
Painting intricate designs on rocks can be a tricky task, especially when it comes to creating beautiful mandalas. Creating these stunning pieces of artwork requires more than just a few brush strokes – you need patience, skill, and the right painting techniques. So while making mandala rocks may not be as simple as other craft projects, with some practice anyone can learn the basics of painting them.
When it comes to getting started with your first mandala rock painting project, there are several essential supplies that you will need: – Acrylic paints or permanent markers in various colors – A variety of paintbrushes for different sized details – Pencil and eraser for sketching your design – Sealant (optional but recommended) Once you have all of your tools ready to go, take some time to experiment with different shapes and patterns until you find one that feels right. Keep in mind that each pattern will require its own unique set of skills and techniques so don’t get discouraged if it takes a while before you feel like a pro! You may even want to look up tutorials online or join a local class to help hone your skills further.
As a mandala rock painting expert I’m here to tell you that yes –mandala rocks are certainly possible for even novice crafters. With some basic materials, creativity, and lots of patience anyone can master this rewarding art form quickly!
When it comes to mandala rocks, how long does it take to complete a painting? This is an important question for both beginners and experienced painters. Painting mandala rocks can be a time-consuming process, but the duration of painting depends on many factors including skill level, the complexity of design, the size of the rock, the type of paint used, and more.
As a mandala rock painting expert, I understand that the time needed to paint a mandala rock varies greatly depending on what you’re trying to achieve. Beginners may need up to two hours or longer while more experienced painters can finish in under one hour if they are already familiar with their tools and techniques. Complex designs will require additional time as well. The size of your rock also affects the amount of time needed – larger pieces take longer than smaller ones. And finally, some types of paints dry faster than others so this should be taken into consideration when calculating your total painting duration for mandala rocks.
It’s difficult to give an exact answer when asked about the length of time required for mandala rock painting because there are too many variables involved. However, knowing these key points – skill level, the complexity of design, the size of the rock, and the type of paint used – can help you estimate roughly how much time you’ll need before starting out on your project.
When it comes to creating intricate mandala patterns, there are lots of paint techniques and tools available. Whether you’re a beginner or an experienced rock painter, you can use paintbrushes and other art supplies to create beautiful designs on your rocks! With the right technique, you can make even the most basic designs look more detailed and complex.
One way to create intricate mandala patterns is by using multiple colors. For example, if you want to draw a flower pattern on a rock, start with one color for the center circle, then add two different colors for each petal. This will help bring out all the details in the design and give it more depth. You could also try adding smaller circles within larger ones or combining several shapes to form unique patterns.
Another great option is to layer paints on top of each other. Start with a light base coat of white acrylic paint and let that dry before adding layers of additional colors. This gives your finished design extra vibrancy while still showing off its intricate detailing. If you need some inspiration when designing mandala rocks, don’t forget to check out online tutorials or watch videos from professional artists who specialize in this type of artwork!
With these tips in mind, anyone can learn how to turn simple stones into pieces of art that showcase their stunningly intricate designs! From choosing the right colors and painting techniques to finding inspiring ideas online – there are plenty of ways to make sure every single detail stands out perfectly when crafting your masterpieces.
When it comes to cleaning rocks for painting mandalas, there are a few tips and tricks that can help you get the best results. After all, if your rock isn’t clean enough, it will be difficult for paint or other art materials to stick properly. Here’s what I recommend:
First off, make sure you know the type of rock you’re working with so you don’t accidentally damage it! Some types of rocks like sandstone may need special care when it comes to cleaning them. It’s also important to use the right cleaning solution – one that won’t strip away any sealant already on the rock.
Once you’ve chosen your cleaner, here is my recommended approach for getting your mandala rocks as clean as possible: – Use an old toothbrush or soft brush to scrub away any dirt or debris from the surface of the rock. – Rinse well with water until no soap residue remains. – Wipe down with rubbing alcohol and let dry completely before beginning your project. – For more stubborn stains, try using a small amount of diluted white vinegar; this should help remove any grime without damaging the rock in any way. – Finally, use a lint-free cloth to finish buffing up your stone until it’s glossy and ready for painting!
Cleaning your rocks correctly is key to having success when creating beautiful mandala designs on them – whether they be decorative pieces for around the home or gifts for loved ones! Taking this extra step ensures that there won’t be any issues during application and gives you peace of mind knowing that everything will turn out exactly how you envisioned it. So take some time upfront to ensure proper preparation and make sure your final product looks perfect every single time!
When it comes to painting mandalas on rocks, acrylic paint is the go-to choice of many rock art enthusiasts. It’s easy to use, dries quickly, and produces vibrant colors. Plus, you can find a wide variety of supplies for this type of painting in your local craft store or online. Whether you’re just starting with mandala rock painting or you’ve been doing it for years, there are plenty of options when it comes to choosing the best paints for the job.
Acrylics come in both tube and bottle form and provide an array of color choices. The opaque texture allows light to reflect off the surface which creates stunning effects that make your painted rocks stand out even more. They also offer great coverage so you don’t have to worry about multiple coats or touchups after completing your artwork. When using these types of paints, be sure not to overload your brush as too much paint will cause bleeding and smudging.
If you want something that has a bit more flexibility than acrylics then watercolor paints may be a better option. These transparent pigments create beautiful gradients and allow light through them giving off softer hues that look almost like stained glass art. You’ll need some extra supplies such as special brushes and paper towels but they can help take your rock paintings up another level if used correctly. As well as being easier on the pocketbook due to their low cost compared with other types of paint, watercolors require less cleanup making them ideal for those who are short on time or patience!
No matter what kind of paint you choose for creating mandala designs on rocks, keep in mind that practice makes perfect! With each piece that you complete comes new techniques and ideas which will only improve upon future projects – so get creative and have fun playing around with different materials until you find ones that work right for you!
Conclusion
As a mandala rock painting expert, I have seen many beautiful creations come out of this art form. Not only is it fun and therapeutic for the artist, but also for those who admire their work! Mandala rocks are symbols of transformation and journey. The paint that you use can represent your emotions at any given moment in time, as well as how far you’ve come on your path. Painting these designs onto rocks allows us to express ourselves without words – letting our creative energy flow freely. The process of creating a mandala rock may take some practice and patience, but once completed it will be something to be proud of. It does not matter if the design is simple or intricate; every piece has its own special meaning. So don't forget to take care when cleaning the rocks before beginning and enjoy immersing yourself in this unique art form that brings peace and harmony within oneself.

